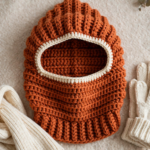
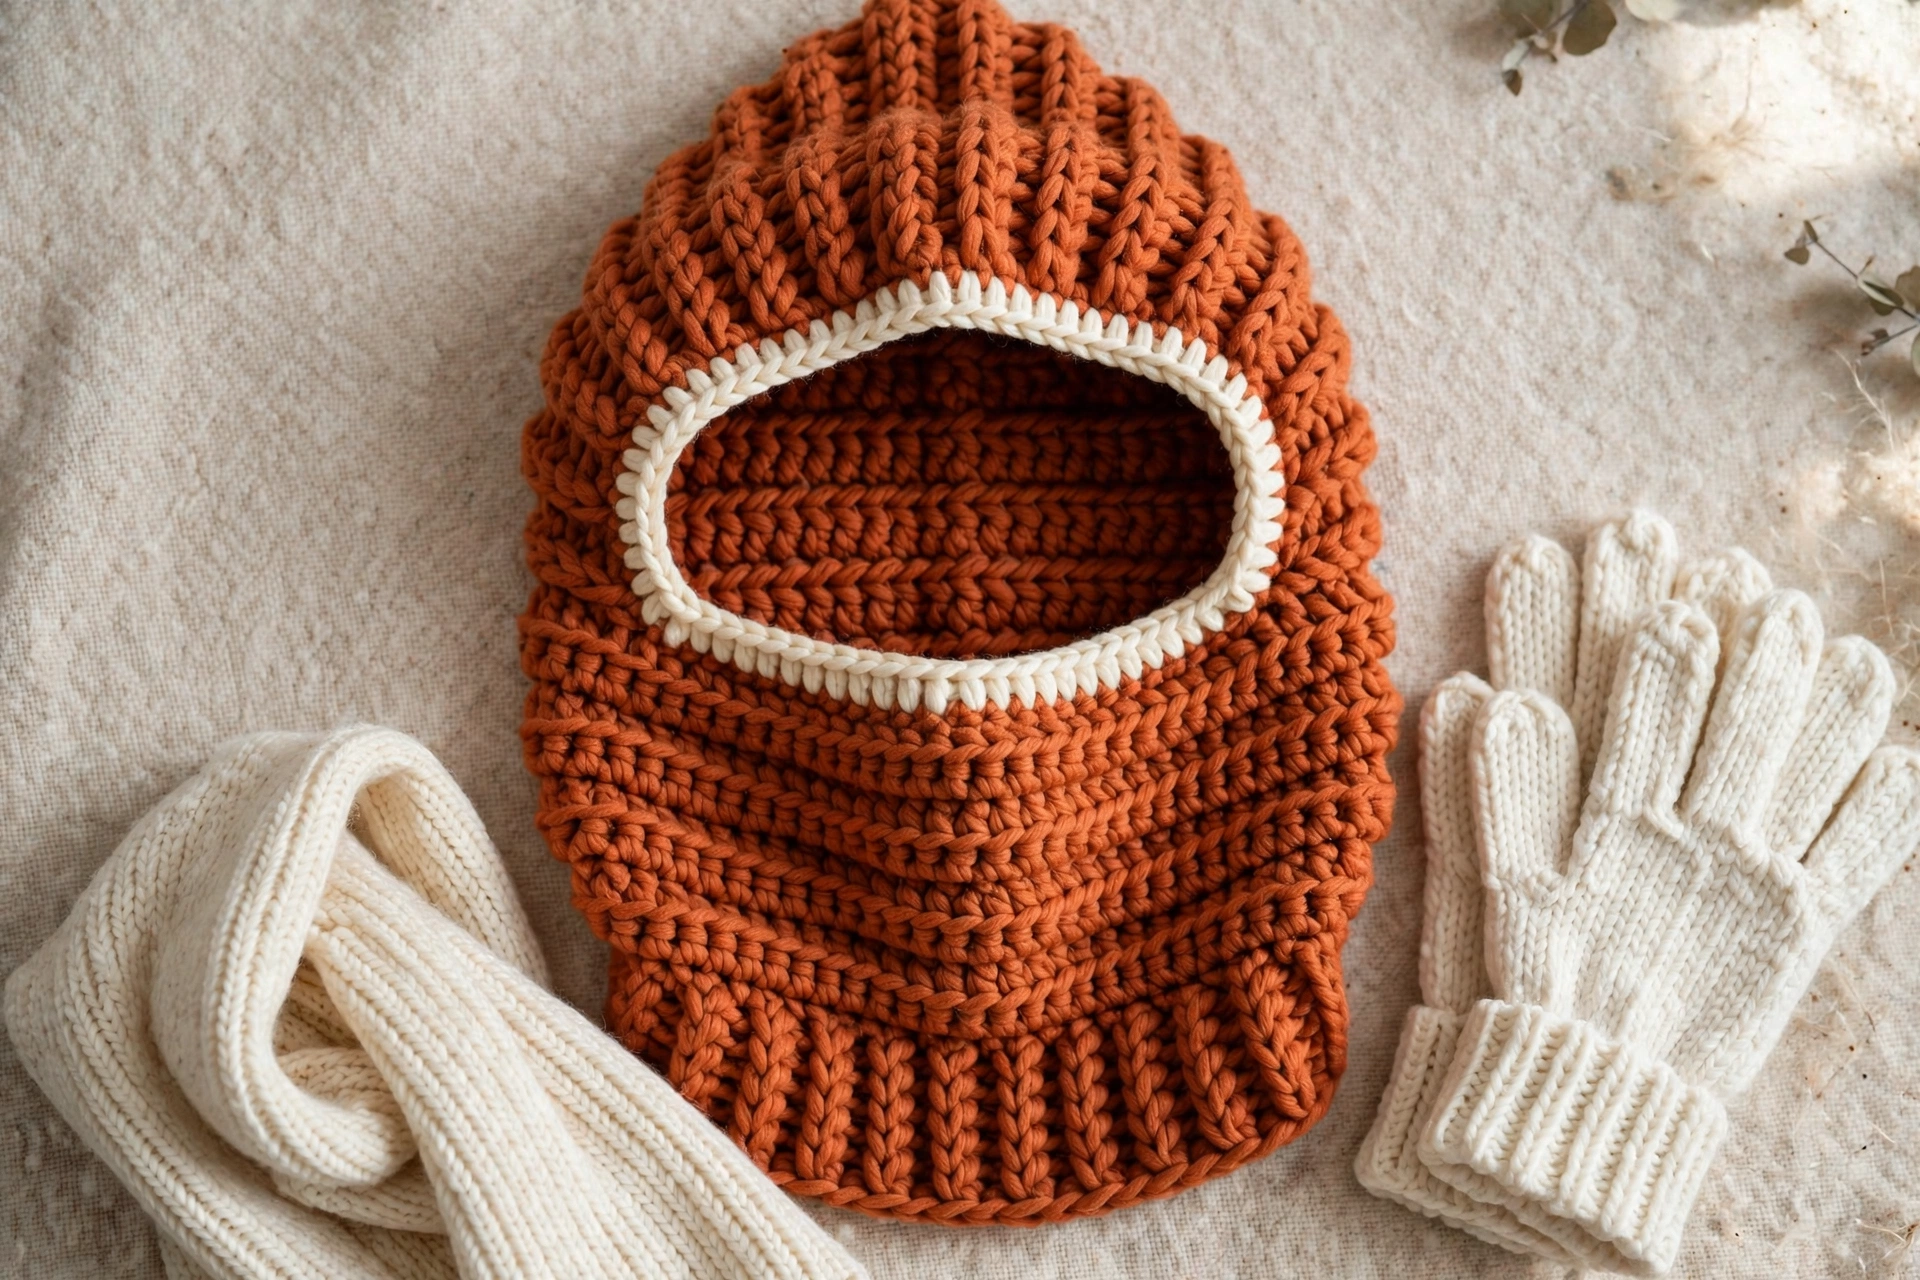
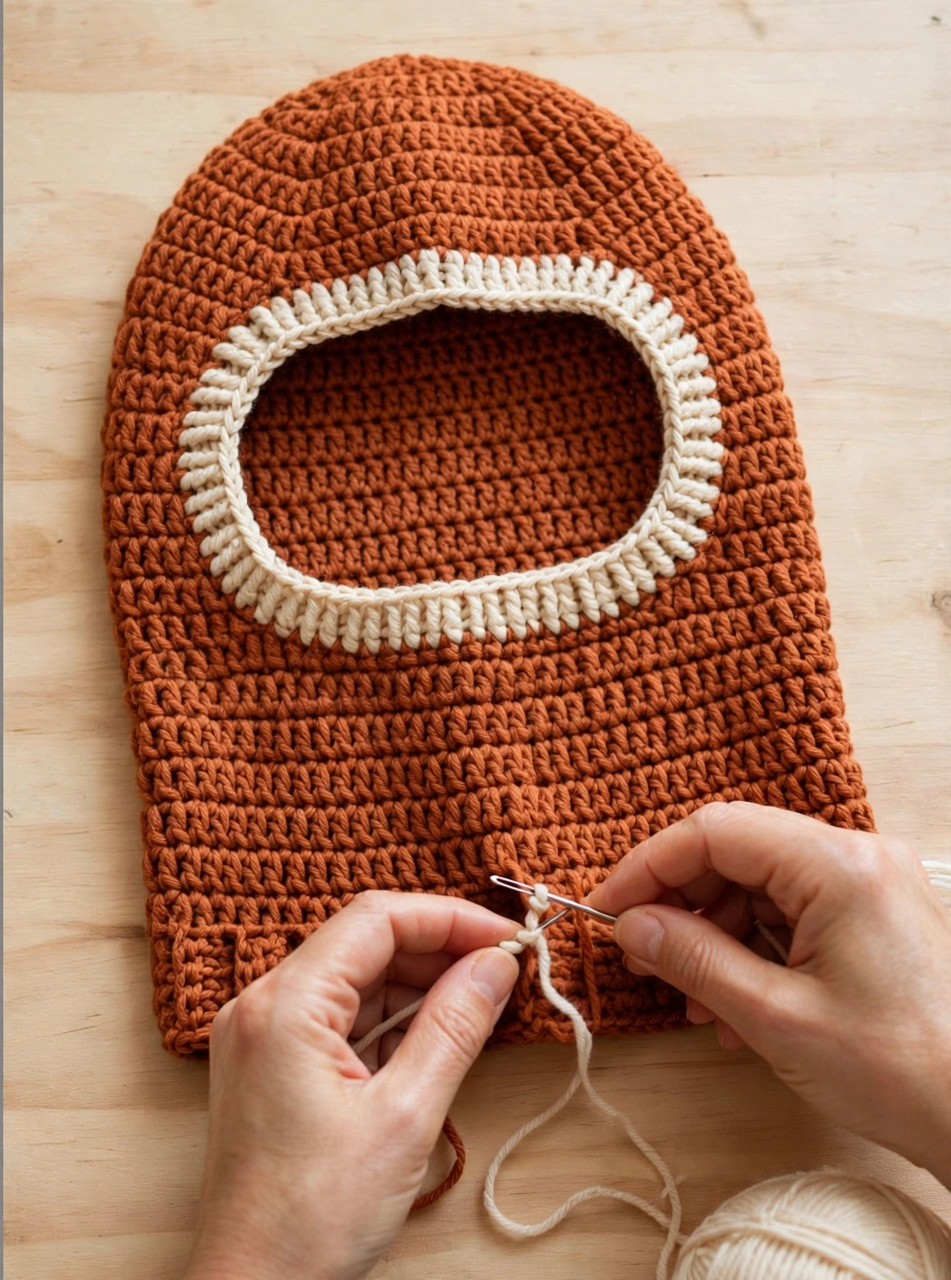
This crochet balaclava pattern makes the warmest hood you will reach for all winter: a rust-orange hooded ski mask with a neat cream-trimmed face opening and a ribbed neck collar that tucks inside your coat. It looks like a knitted helmet hood, yet it uses one simple stitch worked in the back loop only.
The whole balaclava is crocheted flat as a single ribbed panel, so there are no separate pieces to keep track of. The face opening is formed in the middle rows with one clever chain gap, the crown and back are seamed at the end, and the collar is worked straight onto the bottom edge. This crochet balaclava pattern is written for one adult size that fits most heads.
Materials
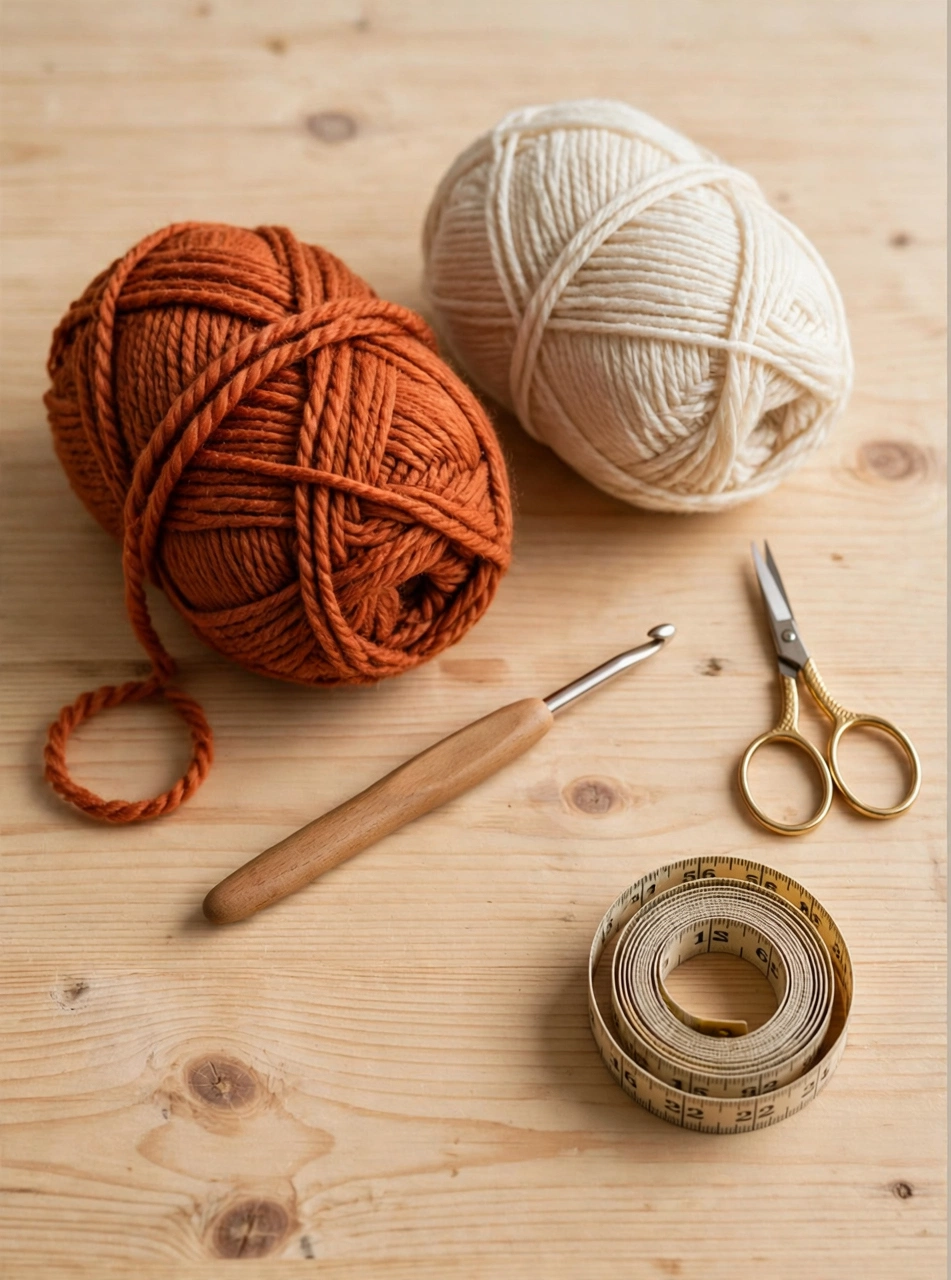
- Worsted (aran) weight yarn, approx. 460 m total: rust orange approx. 420 m (4 × 100 g balls) and cream approx. 40 m (1 ball)
- 6.0 mm (J-10) crochet hook
- Yarn needle with a large eye, scissors, tape measure
- 2 stitch markers
Choose a smooth worsted yarn with good stitch definition and a little spring. Brands such as Lion Brand carry several warm wool-blend worsted yarns in this shade family. Gauge: 13 stitches × 9 rows = 10 cm / 4 in in half double crochet back loop only with a 6.0 mm hook. Match gauge carefully — every count in this crochet balaclava pattern depends on it.
Step 1: Learn the Back-Loop Ribbing
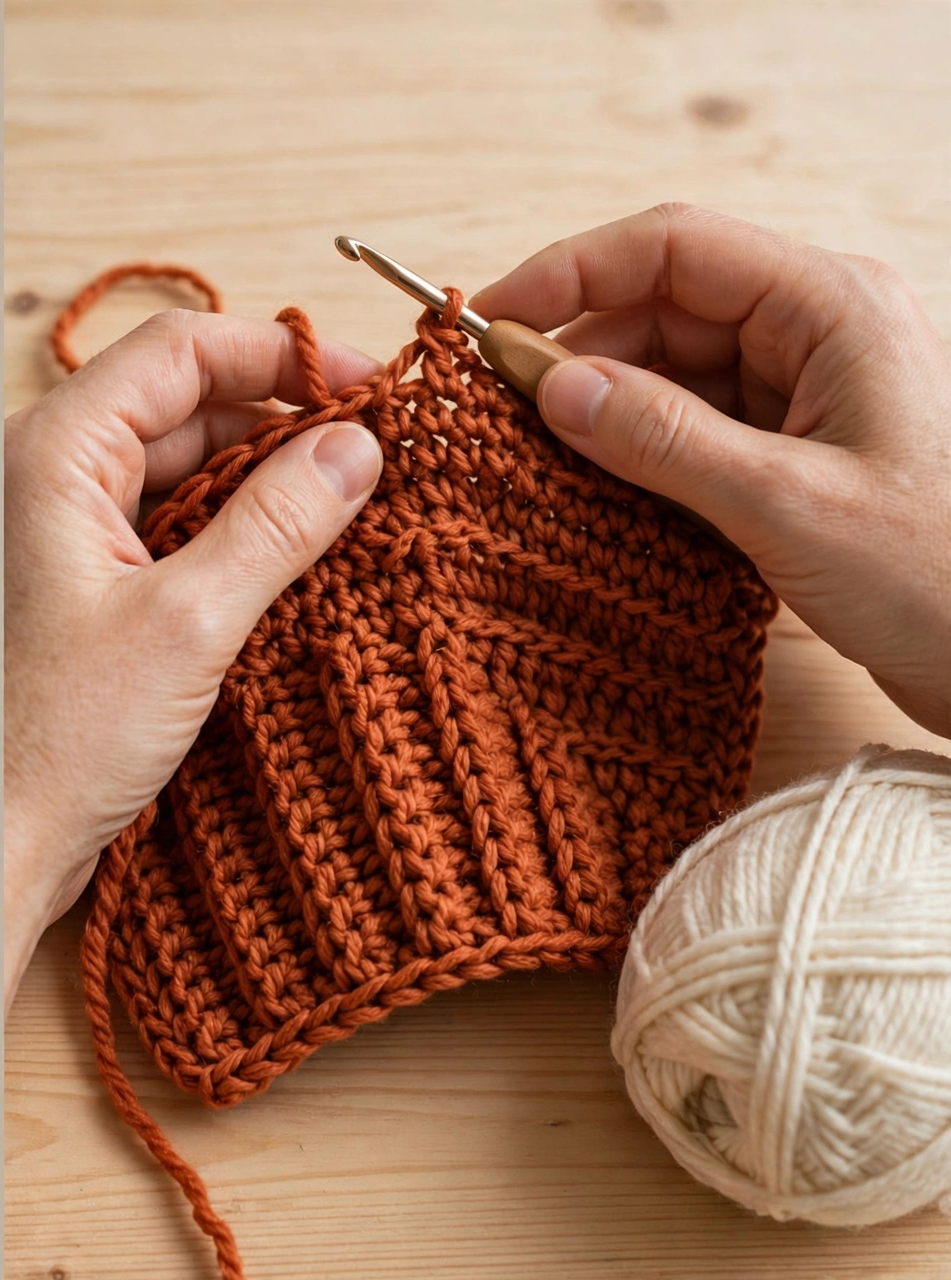
Every row of this crochet balaclava pattern uses the same stitch: half double crochet worked in the back loop only. Inserting the hook under just the back loop leaves the front loop standing proud on the surface, and row after row those loops stack into deep, stretchy ribs that look knitted. Practise on a small swatch first: chain 15, work a few rows of half double crochet back loop only, and watch the ridges appear. The ribbing runs vertically on the finished hood, which is what gives this crochet balaclava pattern its snug, flexible fit around the head.
Step 2: Work the Panel — Rows 1 to 16
With rust orange, chain 41. Row 1: half double crochet in the 3rd chain from the hook and in each chain across (40 stitches — the turning chain does not count as a stitch). Row 2: chain 2, turn, half double crochet in the back loop only of each stitch across. Repeat row 2 until you have worked 16 rows in total. Every row of this crochet balaclava pattern is worked the same way, so settle into the rhythm and count your 40 stitches at the end of every few rows. At this point the panel measures about 18 cm / 7 in wide; the rows you add are building the circumference that will wrap around the back of the head, while the 40 stitches of each row form the height from the neck hem up to the crown (about 31 cm / 12.3 in).
Step 3: Form the Face Opening — Rows 17 to 32
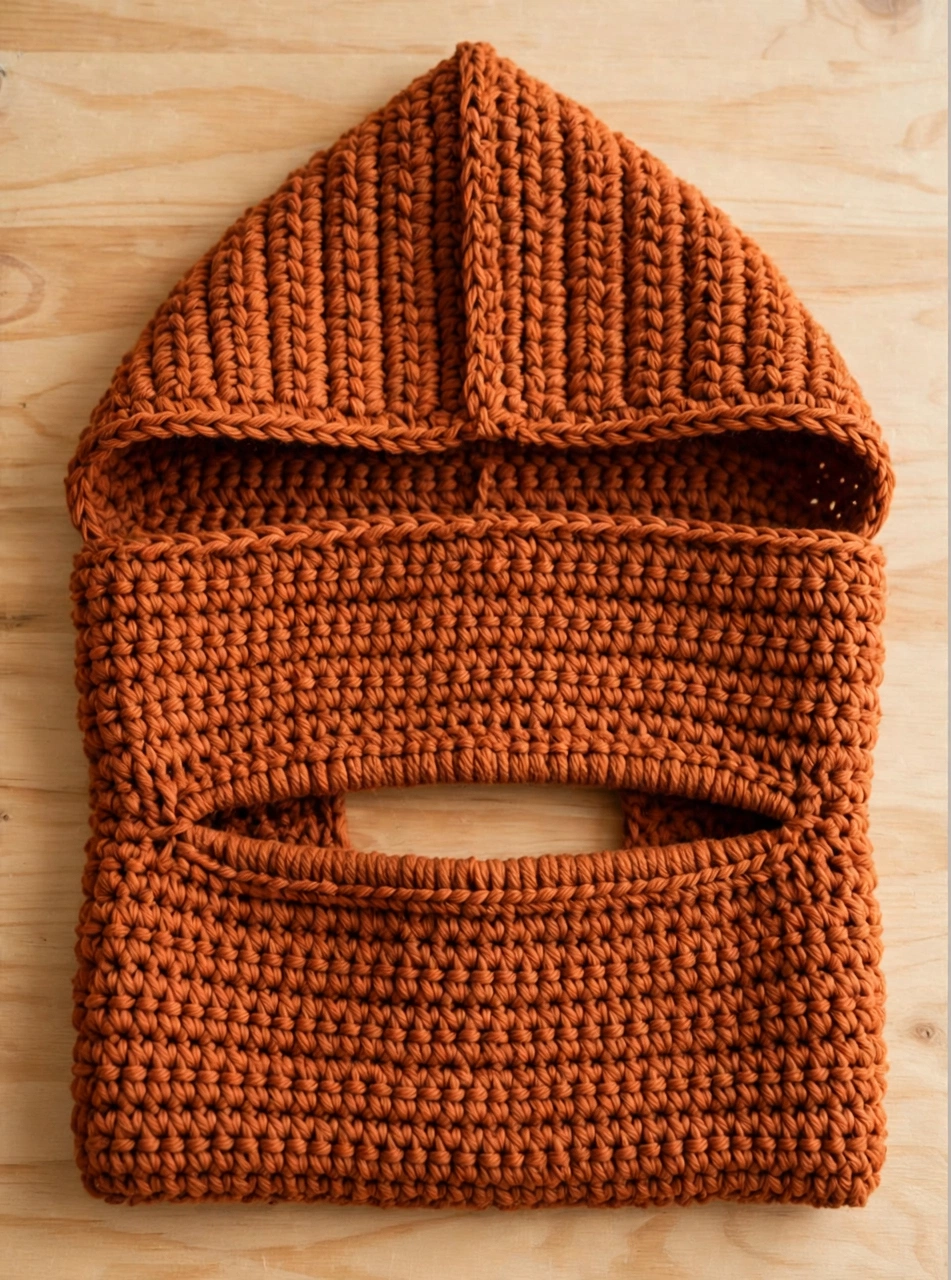
The opening is formed over the next 16 rows. Row 17 is the set-up row: chain 2, turn, half double crochet in the back loop only of the first 20 stitches (this lower section becomes the chin and neck coverage below the opening), chain 14, skip the next 14 stitches, then half double crochet in the back loop only of the last 6 stitches (the forehead section above the opening). Check your maths: 20 + 14 + 6 = 40. Row 18: work the 6 forehead stitches, work 14 half double crochets into the chain-14 space, then work the 20 lower stitches — 40 stitches again. Rows 19–32 repeat row 18, working into the stitches of the previous row as normal. The chain gap grows into a neat horizontal slot about 18 cm / 7 in wide and 11 cm / 4.3 in tall. Place a marker at each end of the slot on row 17 if it helps you keep track — this is the heart of the crochet balaclava pattern, and it is much easier than it looks.
Step 4: Finish the Panel and Seam the Crown
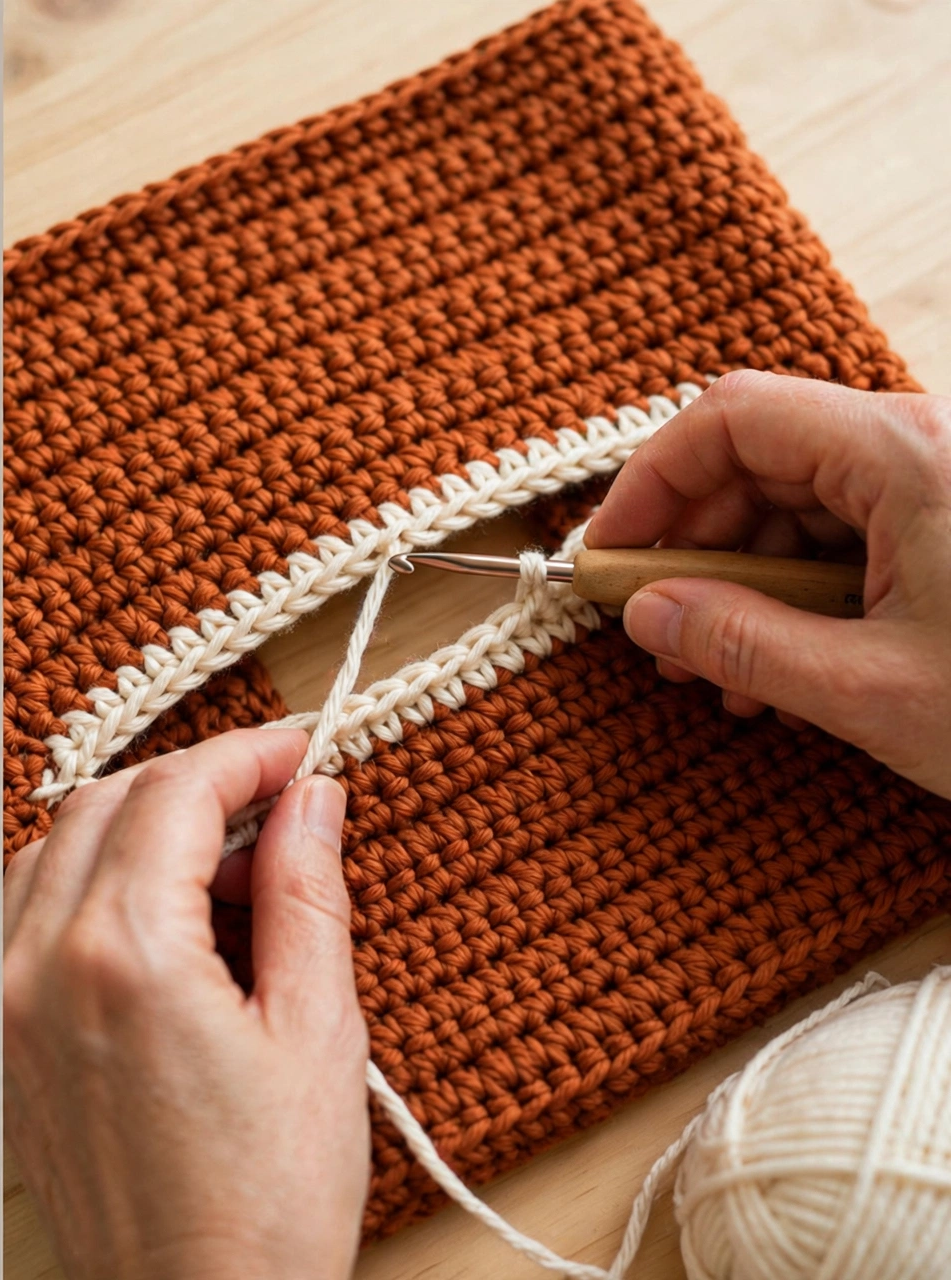
Rows 33–48: go back to plain rows of 40 half double crochet back loop only, exactly as in step 2 — 16 more rows. Your panel is now complete at 48 rows, about 54 cm / 21.3 in wide and 31 cm / 12.3 in tall. Fold the panel in half with the face opening centred at the front (the fold sits between rows 24 and 25) and the two short edges meeting at the back. Using rust yarn and your needle, seam along the top edges to close the crown, then seam the two back edges together below the crown seam. Finally, join cream yarn at one corner of the face opening and work the first edging round: 60 single crochets evenly around the opening — 14 along the bottom chain edge, 16 up the first side (one into the end of each opening row), 14 along the top edge and 16 down the other side (14 + 16 + 14 + 16 = 60).
Step 5: Crochet the Neck Collar
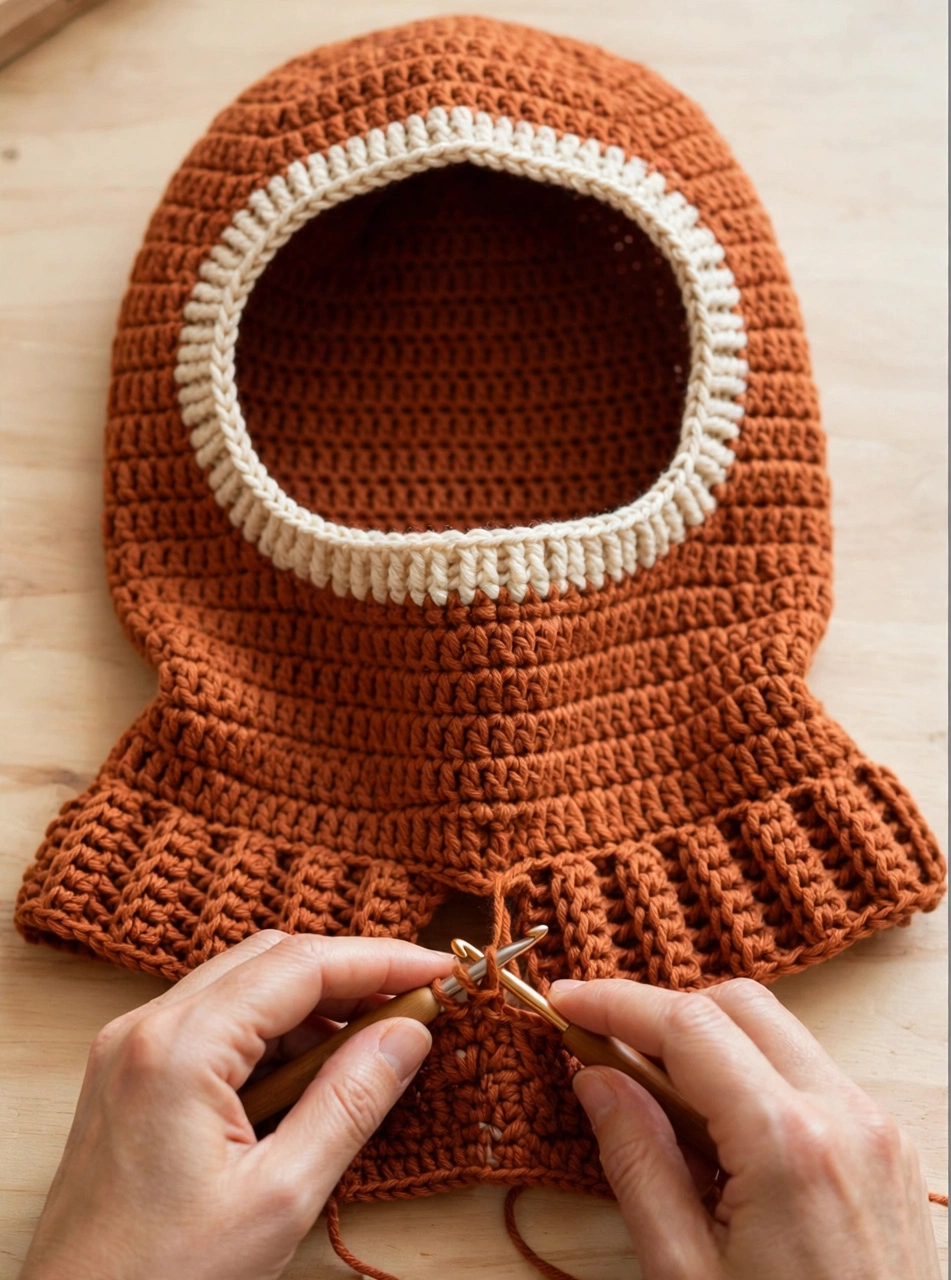
The collar of this crochet balaclava pattern is worked in rounds straight onto the bottom edge, so there is nothing to sew on. With rust orange, join yarn at the back seam and work round 1: 48 half double crochets evenly around the bottom edge — exactly one into the end of each of the 48 rows. Join with a slip stitch. Rounds 2–6: chain 2, half double crochet in the back loop only of each stitch around, join with a slip stitch (48 stitches per round). Five ribbed rounds give a collar about 5.5 cm / 2.2 in deep that hugs the neck and slides easily under a jacket. The finished neck opening measures about 38 cm / 15 in unstretched, and the ribbing stretches comfortably as you pull the balaclava on over your head.
Step 6: Finish the Cream Edging
Two more edging rounds frame the face opening and stop it stretching out of shape. Round 2: with cream, single crochet in the back loop only of each of the 60 edging stitches. Round 3: repeat round 2 once more (60 stitches). Working in the back loop only gives the cream trim the same ribbed look as the body of this crochet balaclava pattern, so it reads as one designed detail rather than an add-on. Fasten off, weave in every end with your yarn needle, and lay the balaclava flat for a few hours so the seams settle. The finished piece measures about 37 cm / 14.5 in from crown to hem.
Tips for the Perfect Balaclava
- Count the gap, not the row. On the opening rows, count 20 stitches, chain 14, count 6 — if those three numbers are right, the slot can never drift off centre.
- Keep the turning chain loose. A tight chain 2 pulls the side edges in; the ribbing should stay springy from edge to edge.
- Try it on before the collar. The panel should wrap your head with the opening centred before you seam — adjust by adding or removing plain rows at either side. Love hooded layers? Our crochet scoodie pattern is a cosy hooded scarf from the same family.
Frequently Asked Questions
How much yarn does this crochet balaclava pattern use?
About 460 m of worsted in total — roughly 420 m of rust orange for the panel, seams and collar, and about 40 m of cream for the face-opening edging.
Can a confident beginner make this balaclava?
Yes — there is only one stitch to learn (half double crochet in the back loop only), the panel is worked flat, and the face opening is a single chain gap repeated over 16 rows. If you can count stitches, you can make it.
How do I make a different size?
The pattern as written fits adult heads of about 53–61 cm / 21–24 in. For a smaller teen size, work 44 rows in total: 14 plain rows, the opening over rows 15–30, then 14 plain rows. For a larger fit, work 52 rows: 18 plain, opening over rows 19–34, then 18 plain. The 40-stitch height and the chain-14 gap stay the same.
How do I wash the balaclava?
Machine wash gentle, cold, in a mesh laundry bag; reshape and dry flat. Store it folded with the winter hats so the ribbing keeps its spring.
Conclusion
This crochet balaclava pattern gives you a complete winter hood from one flat panel — crown, face opening, cream trim and neck collar included. Pick your two colours, download the free PDF pattern below, and hook a hood that will earn its place on every cold-weather walk. Happy crocheting!