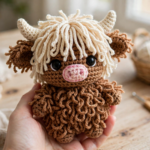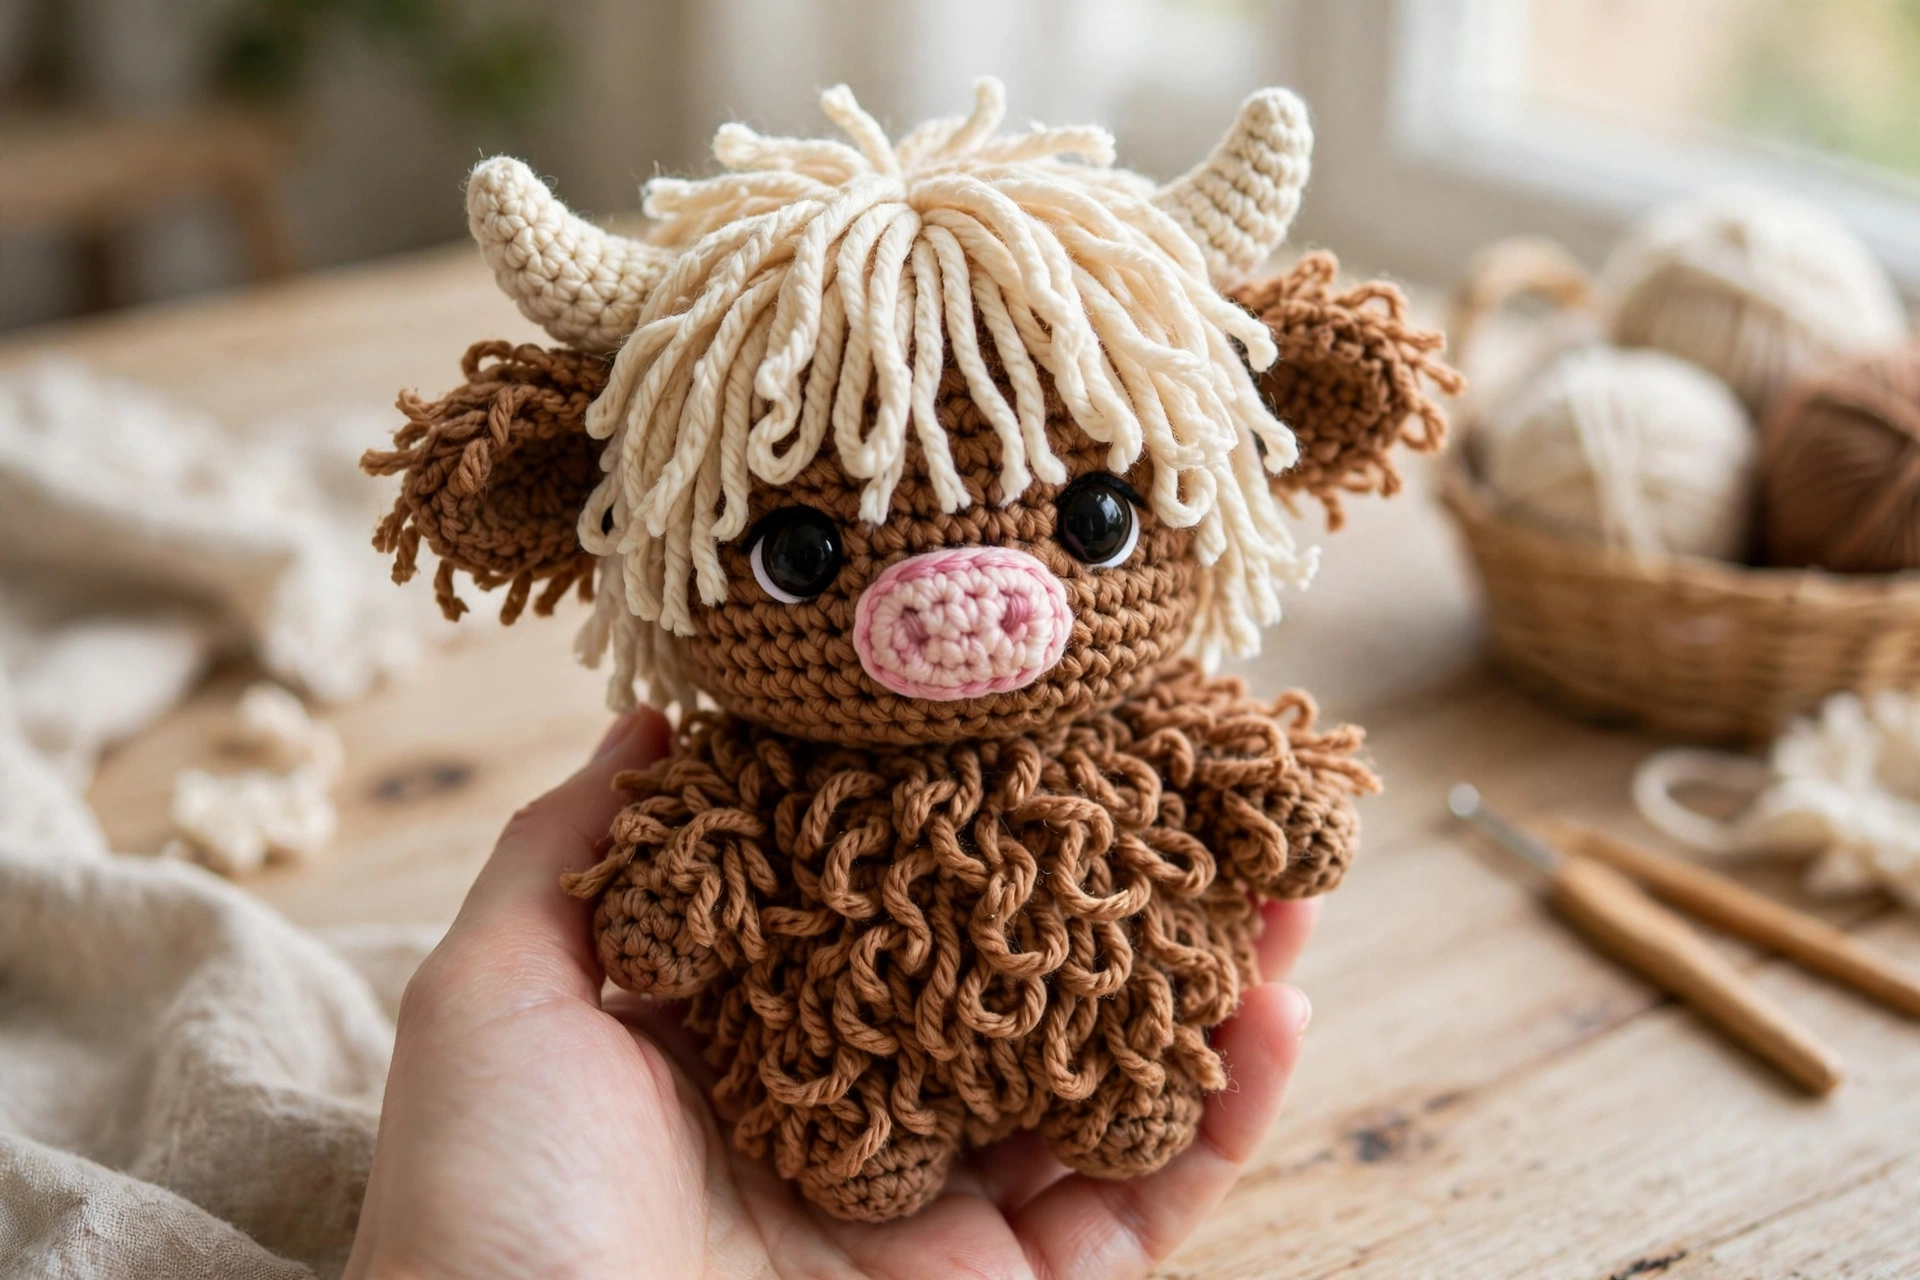
If there is one amigurumi project that owns 2026, it is the Highland cow. Those shaggy fringes, tiny cream horns, and sweet sleepy faces are everywhere — on craft fair tables, in nursery photos, and all over Pinterest. This crochet Highland cow pattern walks you through every step with clear photos, so you can make your own fluffy little cow even if you are still fairly new to amigurumi.
The finished cow measures about 12–14 cm (5–5.5 inches) tall using worsted weight yarn, which makes it the perfect size for a shelf decoration, a baby shower gift, or a craft market bestseller. So let’s get hooking!
Materials
- Worsted weight yarn in brown (body), cream (fringe and horns), and pink (nose)
- 3.5 mm crochet hook
- 10 mm black safety eyes
- Polyester fiberfill stuffing
- Yarn needle
- Scissors
- Stitch marker
Step 1: Crochet the Body
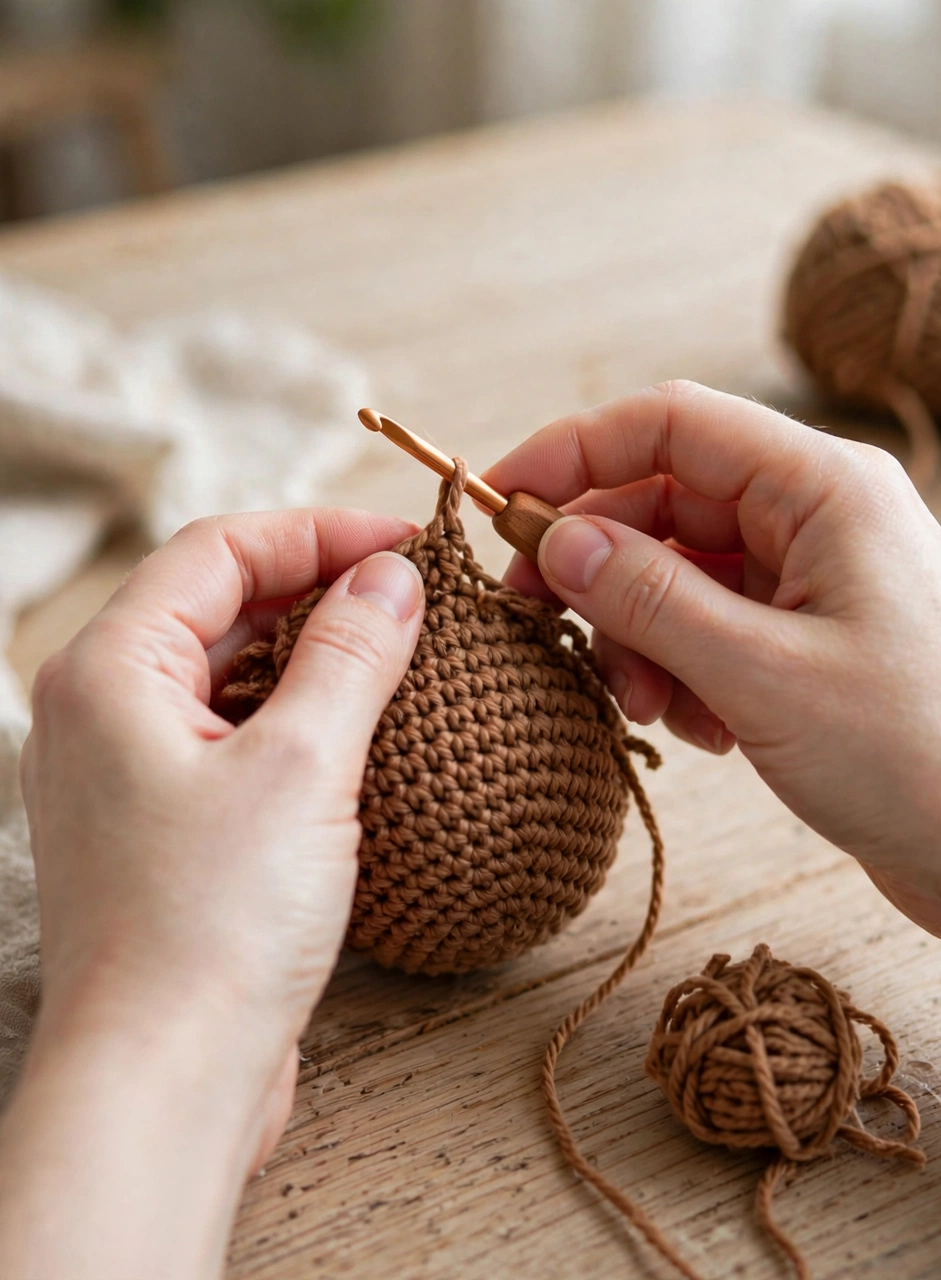
Start your crochet Highland cow pattern with a magic ring and work 8 single crochet into it. Increase evenly over the next rounds until the body measures roughly 9 cm across, then work even rounds to build the height. The body of a Highland cow is nice and round, so keep your tension even and move your stitch marker up at the start of every round. Use a slightly smaller hook than your yarn label suggests — tight stitches keep the stuffing hidden and give the fluffy coat a solid base.
Step 2: Add the Shaggy Fringe
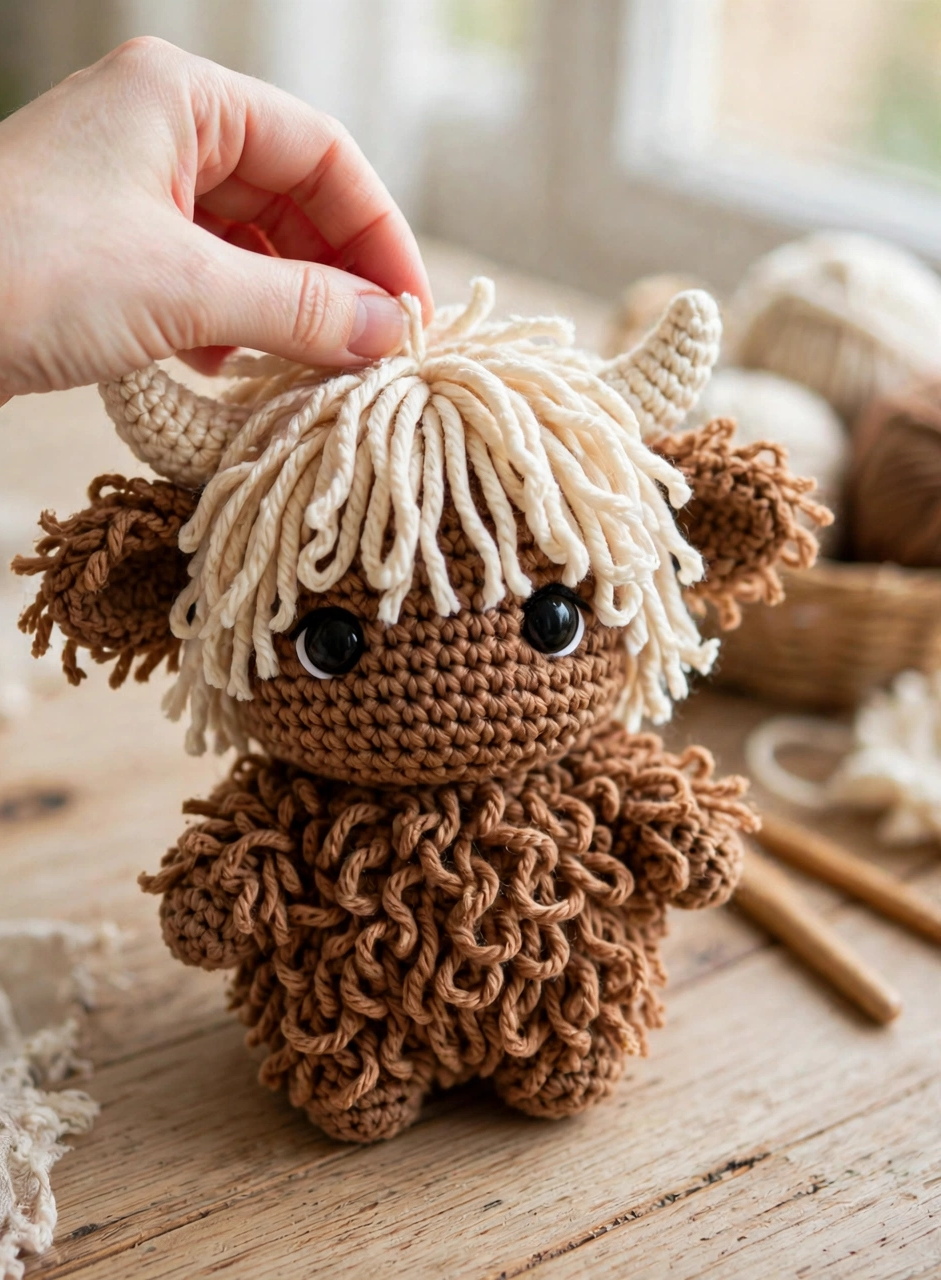
The fringe is what makes a Highland cow instantly recognizable. Cut strands of cream yarn about 8 cm long and attach them around the top of the head using lark’s head knots, working in neat rows from the crown downward. Once the whole head is covered, trim the fringe so it falls just over the eyes — that sleepy, half-hidden look is exactly what you want. Finally, fluff each strand with your fingers as you go.
Step 3: Make the Horns and Ears
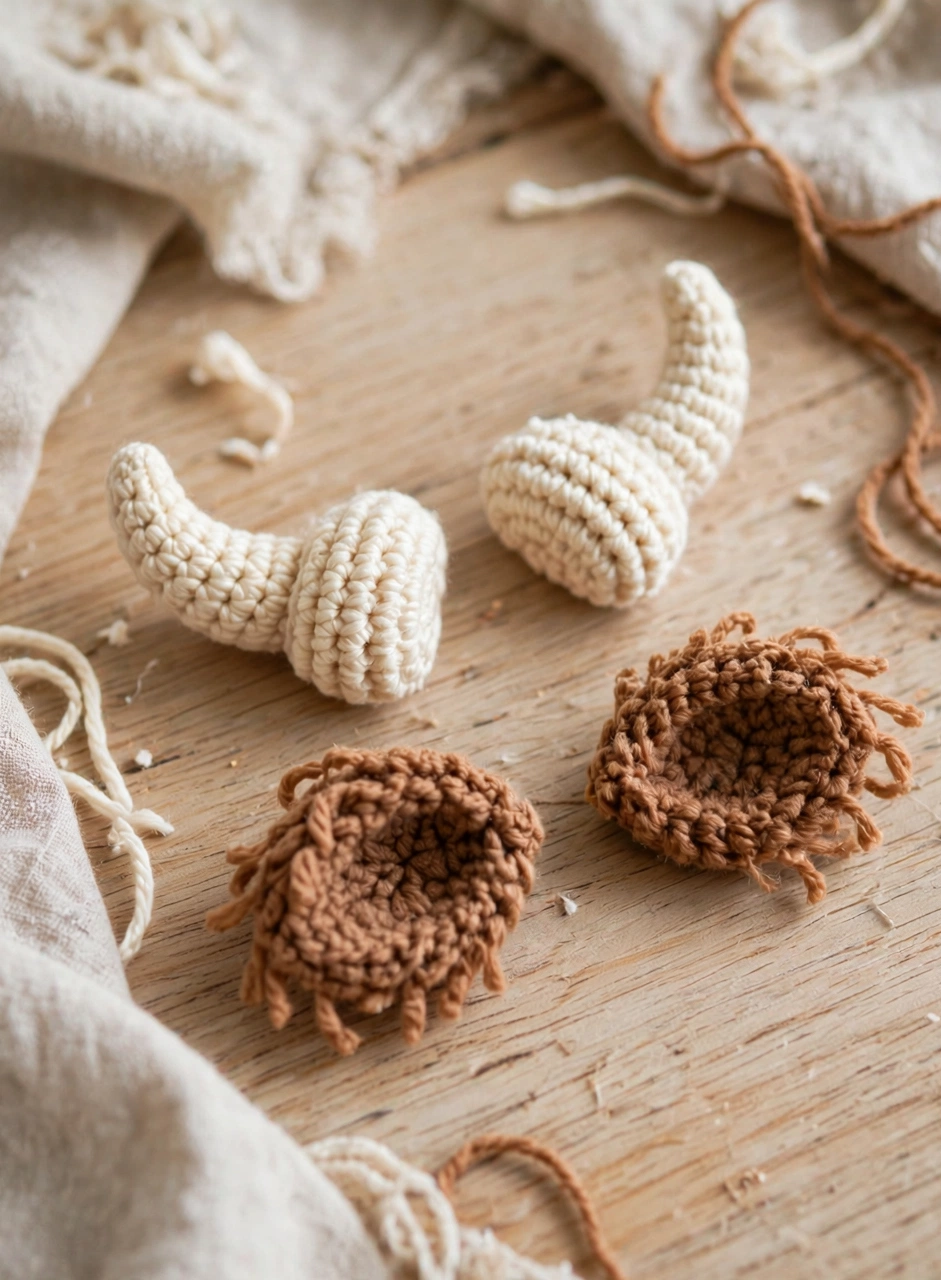
Of course, every crochet Highland cow pattern needs those signature little horns. With cream yarn, crochet two small tapered horns: start with 4 single crochet in a magic ring and increase gently over 4–5 rounds, then work one even round. Make two brown ears the same way but slightly flatter — a simple oval of 6 rounds is enough. Stuff the horns very lightly so they hold their curve.
Step 4: Attach the Horns and Ears
Pin the horns to the top of the head first, just behind the fringe line, and sew them on with the yarn tail, stitching through both the horn base and the head for a firm join. Position the brown ears slightly below and to the sides of the horns. Take your time with placement — symmetric horns and ears are what give the finished Highland cow its charming, balanced face. Lastly, weave in all tails securely.
Step 5: Stuff and Shape
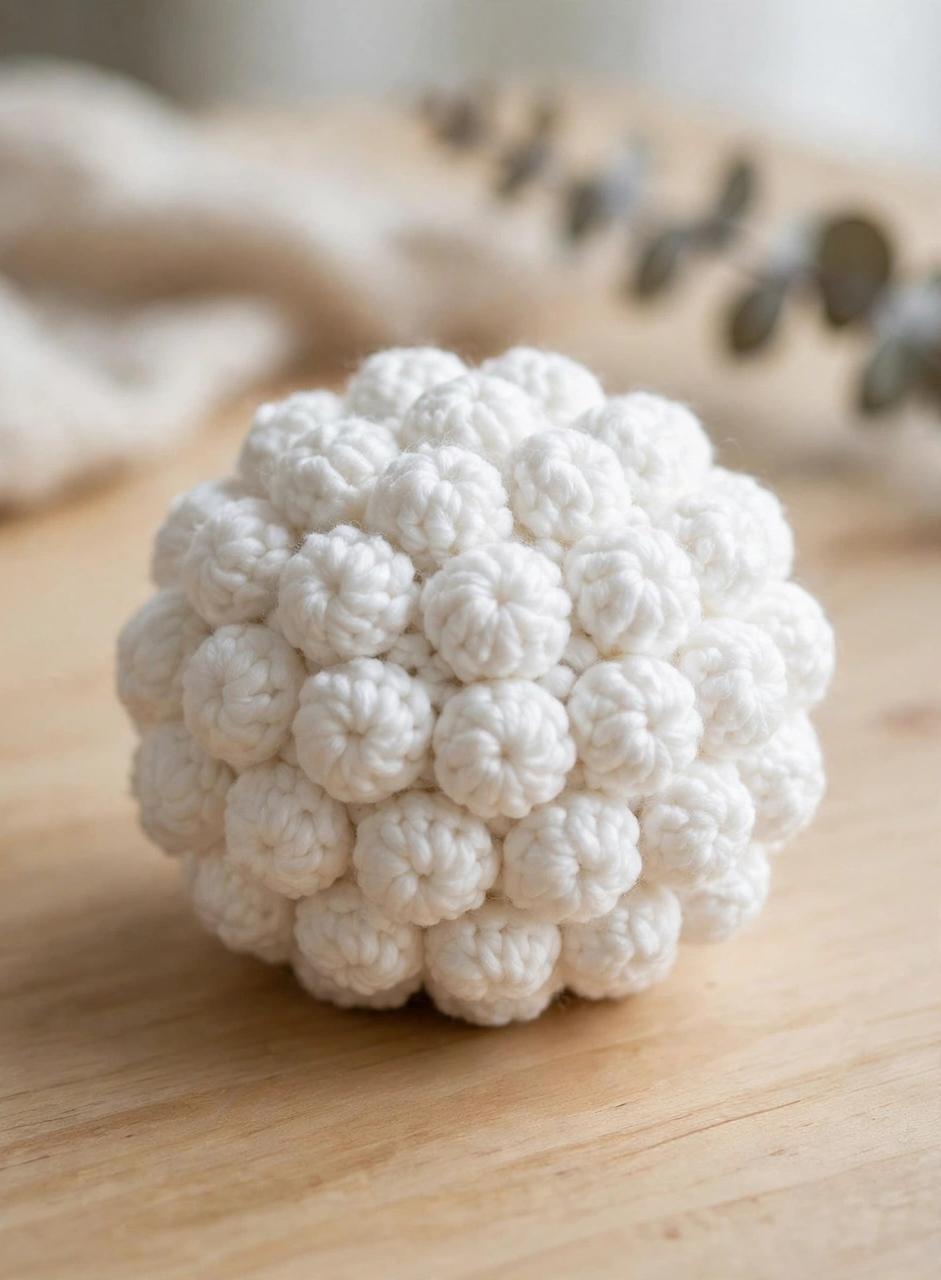
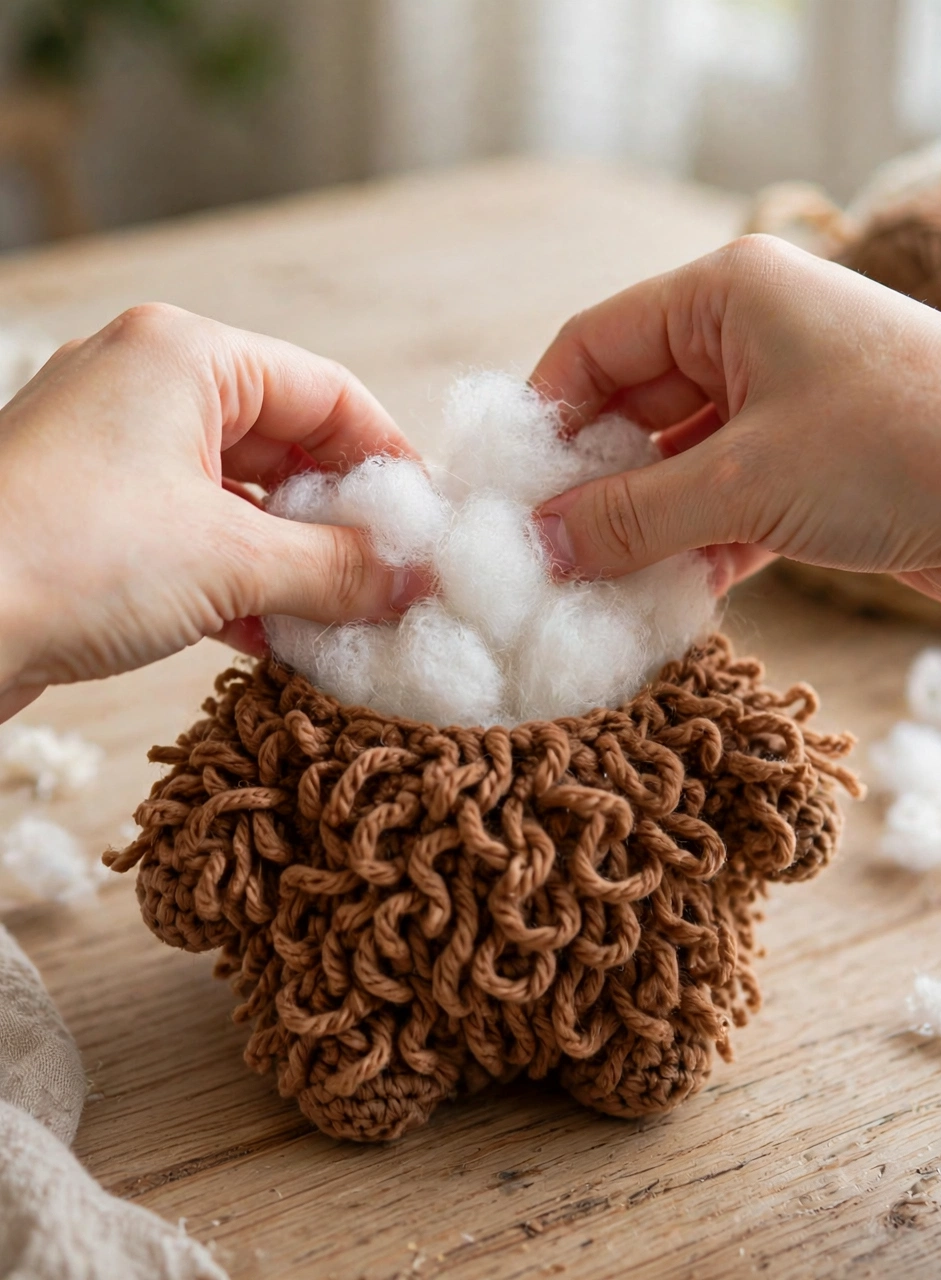
Fill the body firmly with polyester fiberfill, adding small handfuls at a time and shaping as you go. A Highland cow should feel plump and round, so don’t be shy with the stuffing — press it into the cheeks and the base so the cow sits upright on its own. Once you are happy with the shape, crochet the final decrease rounds to close the bottom.
Step 6: Finishing Touches
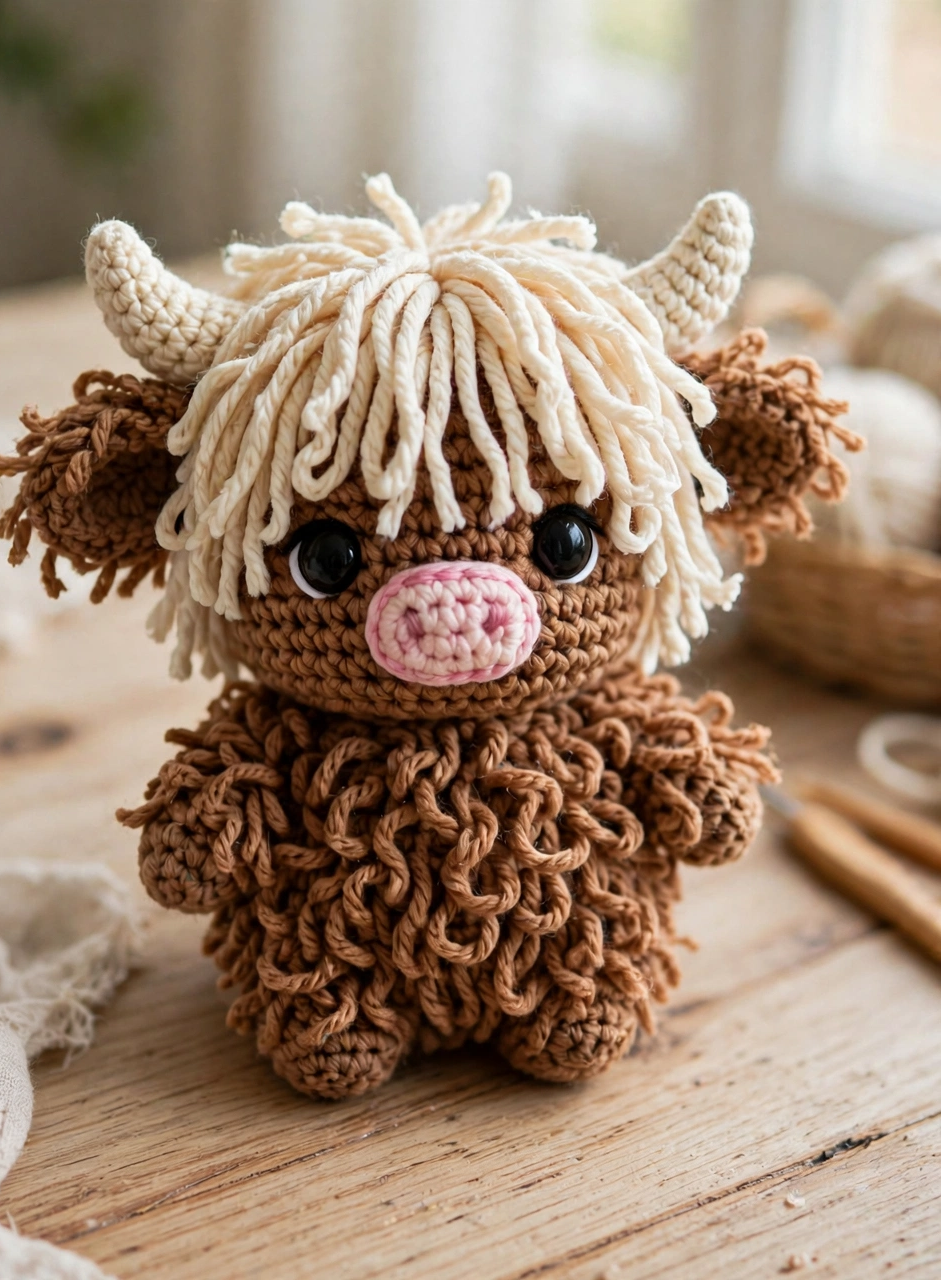
Insert the 10 mm safety eyes between the fringe strands, then embroider or sew on the pink nose with a few neat stitches. Give the whole cow a final fluff: gently separate the fringe strands and trim any uneven ends. Weave in every remaining tail, and your crochet Highland cow is ready! Stand back and admire that shaggy little face.
Crochet Highland Cow Pattern: Tips for Extra Fluff
- Loop stitches add extra fluff. Work a few rounds of loop stitch into the body for a shaggier coat that looks just like real Highland cattle hair.
- Brush the fringe gently. A clean pet slicker brush separates the cream strands beautifully — use light strokes so you don’t pull them out.
- Stuff firmly for a round shape. A well-stuffed body holds the fringe and horns in the right positions and photographs much better.
Crochet Highland Cow Pattern FAQs
How long does it take to crochet a Highland cow?
In fact, most makers finish this crochet Highland cow pattern in 3–4 hours. The fringe takes the longest, so put on a podcast and enjoy the process.
What yarn is best for a crochet Highland cow?
Worsted weight acrylic or a wool blend works best. Acrylic holds the fringe shape well and is easy to wash, while wool blends give a softer, more realistic coat.
Is this Highland cow pattern beginner friendly?
Yes! If you can single crochet in the round, increase, and decrease, you can make this cow. The fringe technique looks fancy but is just knotted strands of yarn.
How big is the finished amigurumi cow?
About 12–14 cm (5–5.5 inches) tall with worsted weight yarn and a 3.5 mm hook. Use bulky yarn and a 5 mm hook for a jumbo version.
Conclusion
Ultimately, this free crochet Highland cow pattern proves that the cutest trends are often simpler than they look. With a round body, a shaggy cream fringe, and two tiny horns, you’ll have a Highland cow that melts hearts wherever it goes. For more cozy projects, browse our other crochet patterns — and if you want to learn more about yarn weights, the guides at Yarnspirations are a great next stop. Happy crocheting!