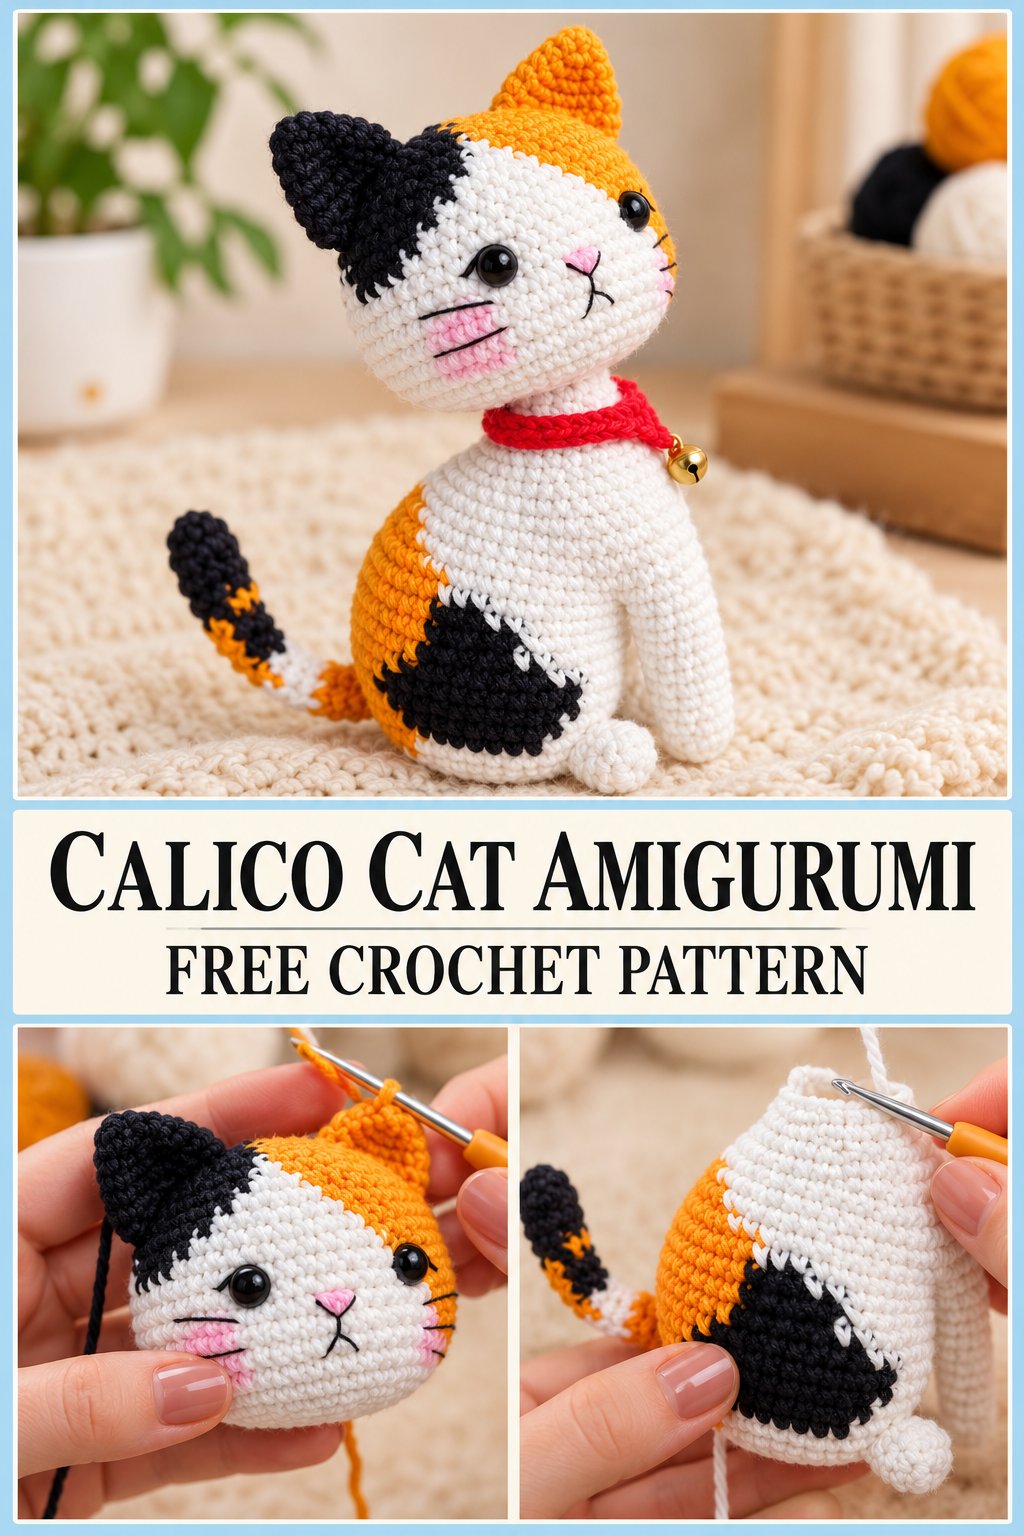
Few amigurumi projects are as charming as a calico cat. Those patchy orange, black, and white markings make every single one unique — just like real calico cats. This calico cat crochet pattern walks you through the whole project, from the first magic ring to the final red collar with its tiny gold bell, so you can crochet a sitting kitty that looks ready to purr.
The finished cat measures about 14–16 cm (5.5–6 inches) tall using worsted weight yarn — the perfect size for a desk companion, a gift for a cat lover, or a craft fair bestseller. Let’s get hooking!
Materials
- Worsted weight yarn in white (main color), orange, and black (patches)
- Red yarn for the collar
- 3.5 mm crochet hook
- 10 mm black safety eyes
- Small gold jingle bell
- Polyester fiberfill stuffing
- Yarn needle
- Scissors
- Stitch markers
- Pink embroidery thread for the nose
Step 1: Crochet the Head
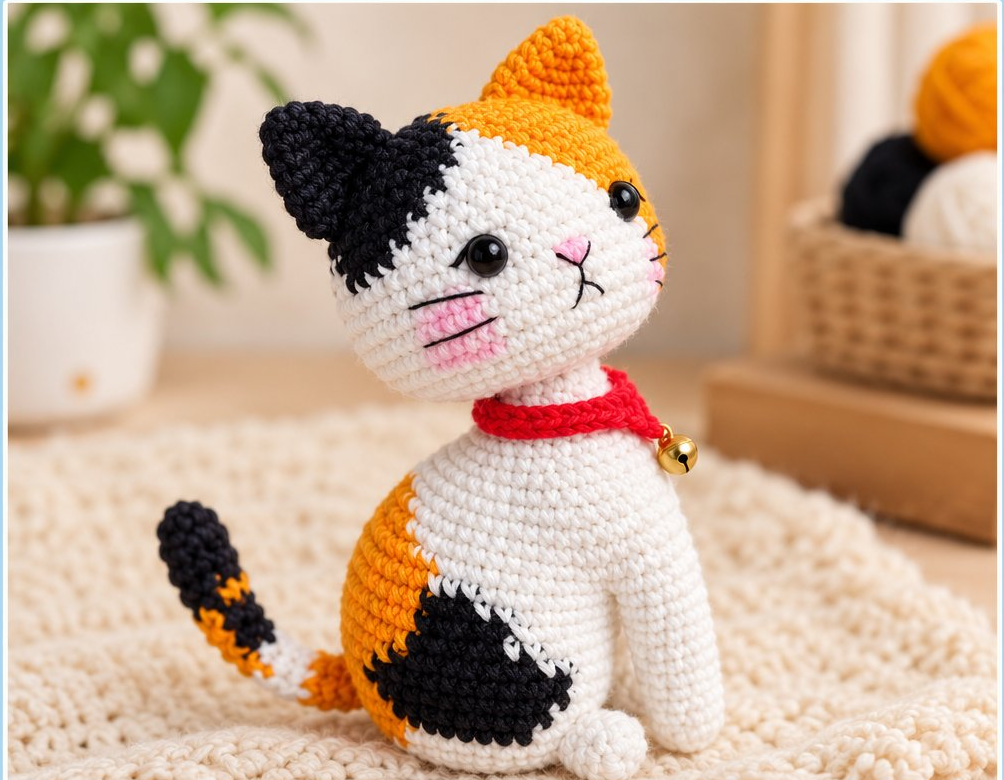
Every calico cat crochet pattern starts with the head, and this one is worked in the round from the top down. Begin with white yarn: make a magic ring and work 6 single crochet into it, then increase evenly over the next rounds until the head is nicely round. The trick to the calico look is switching colors as you go — work a few rounds in white, then change to orange for a patch over one ear side, and black for the opposite side. Carry the unused colors loosely inside; the color changes are what give this cat its signature patchy face.
Step 2: Shape the Muzzle and Face
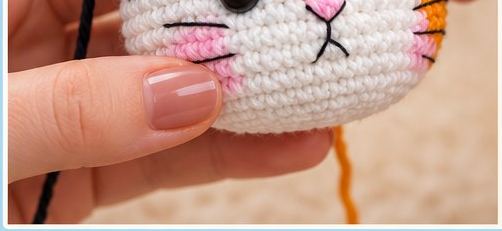
Once the head is the right size, work a couple of decrease rounds to gently shape the muzzle area. Insert the 10 mm safety eyes while the head is still open — position them wide apart for that sweet kitten look. With pink embroidery thread, stitch a small triangle nose and a simple mouth, then add a few straight whisker stitches on each cheek. A touch of pink blush on the cheeks (a little embroidered color or fabric-safe blush) gives the face its adorable expression.
Step 3: Make the Ears
Crochet two triangle ears: one in orange and one in black, just like a real calico’s mismatched markings. Each ear starts with 4 single crochet in a magic ring and increases over 3–4 rounds into a neat triangle. Fold the base of each ear slightly and sew them to the top of the head, one orange and one black. Slightly tilting them outward gives the cat a curious, alert look.
Step 4: Crochet the Body
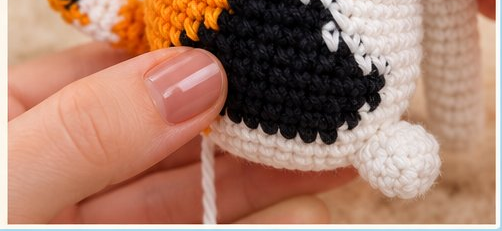
The body is a simple rounded shape worked from the bottom up in white, with orange and black patches crocheted in as you go — a big orange patch on one side and a black patch on the other mimic classic calico markings. Stuff the body firmly with fiberfill as you work so it holds its plump sitting shape. The body should be wide enough at the base that the finished cat sits upright without tipping over.
Step 5: Legs, Tail, and Assembly
Crochet two front legs in white and two back legs with orange and black sections, then sew them to the body — the front legs straight down, the back legs tucked to the sides in a sitting pose. The tail is a fun striped piece: alternate orange, black, and white rounds for a candy-like calico tail, then attach it curving up behind the body. Sew the head to the body with the yarn tail, stitching firmly all the way around so the head sits straight.
Step 6: The Collar and Finishing Touches
With red yarn, crochet a simple chain long enough to wrap around the neck, then join it into a loop and sew on the tiny gold bell. Slip the collar over the head and position it neatly. Weave in every remaining yarn tail, give the whole cat a gentle fluff with your fingers, and your calico cat is done! Check the sitting balance and adjust the back legs if needed.
Calico Cat Crochet Pattern: Tips for Perfect Patches
- Plan your patches. Decide which rounds get orange and which get black before you start — a quick sketch keeps the markings balanced on both sides.
- Carry yarn neatly. When switching colors, carry the unused yarn inside the stitches with even tension so the fabric stays smooth and the stuffing doesn’t show through.
- Stuff as you go. Amigurumi shapes are much easier to stuff firmly while the opening is still large — don’t wait until the end.
- Safety eyes go in early. Always insert safety eyes before closing the head; the washers can’t be added after stuffing.
Calico Cat Crochet Pattern FAQs
How long does it take to crochet a calico cat?
Most makers finish this calico cat crochet pattern in 4–5 hours. The color changes slow things down a little, but the result is worth it.
What yarn is best for a calico cat amigurumi?
Worsted weight acrylic is ideal — it comes in the bright orange, deep black, and clean white you need, holds its shape well, and is easy to wash.
Is this calico cat pattern beginner friendly?
Confident beginners can absolutely make it. You need single crochet, increases, decreases, and basic color changes. If you’ve finished one amigurumi before, you’re ready.
How big is the finished cat?
About 14–16 cm (5.5–6 inches) tall sitting, using worsted weight yarn and a 3.5 mm hook. Go up a hook and yarn size for a bigger cuddle cat.
Conclusion
This free calico cat crochet pattern gives you a patchy little friend with a personality as bold as its markings. With its orange and black patches, pink nose, and jingling red collar, it makes a wonderful gift for any cat lover. For more adorable projects, browse our other crochet patterns — and if you want to master color changes, the tutorials at Yarnspirations are a great next stop. Happy crocheting!