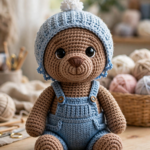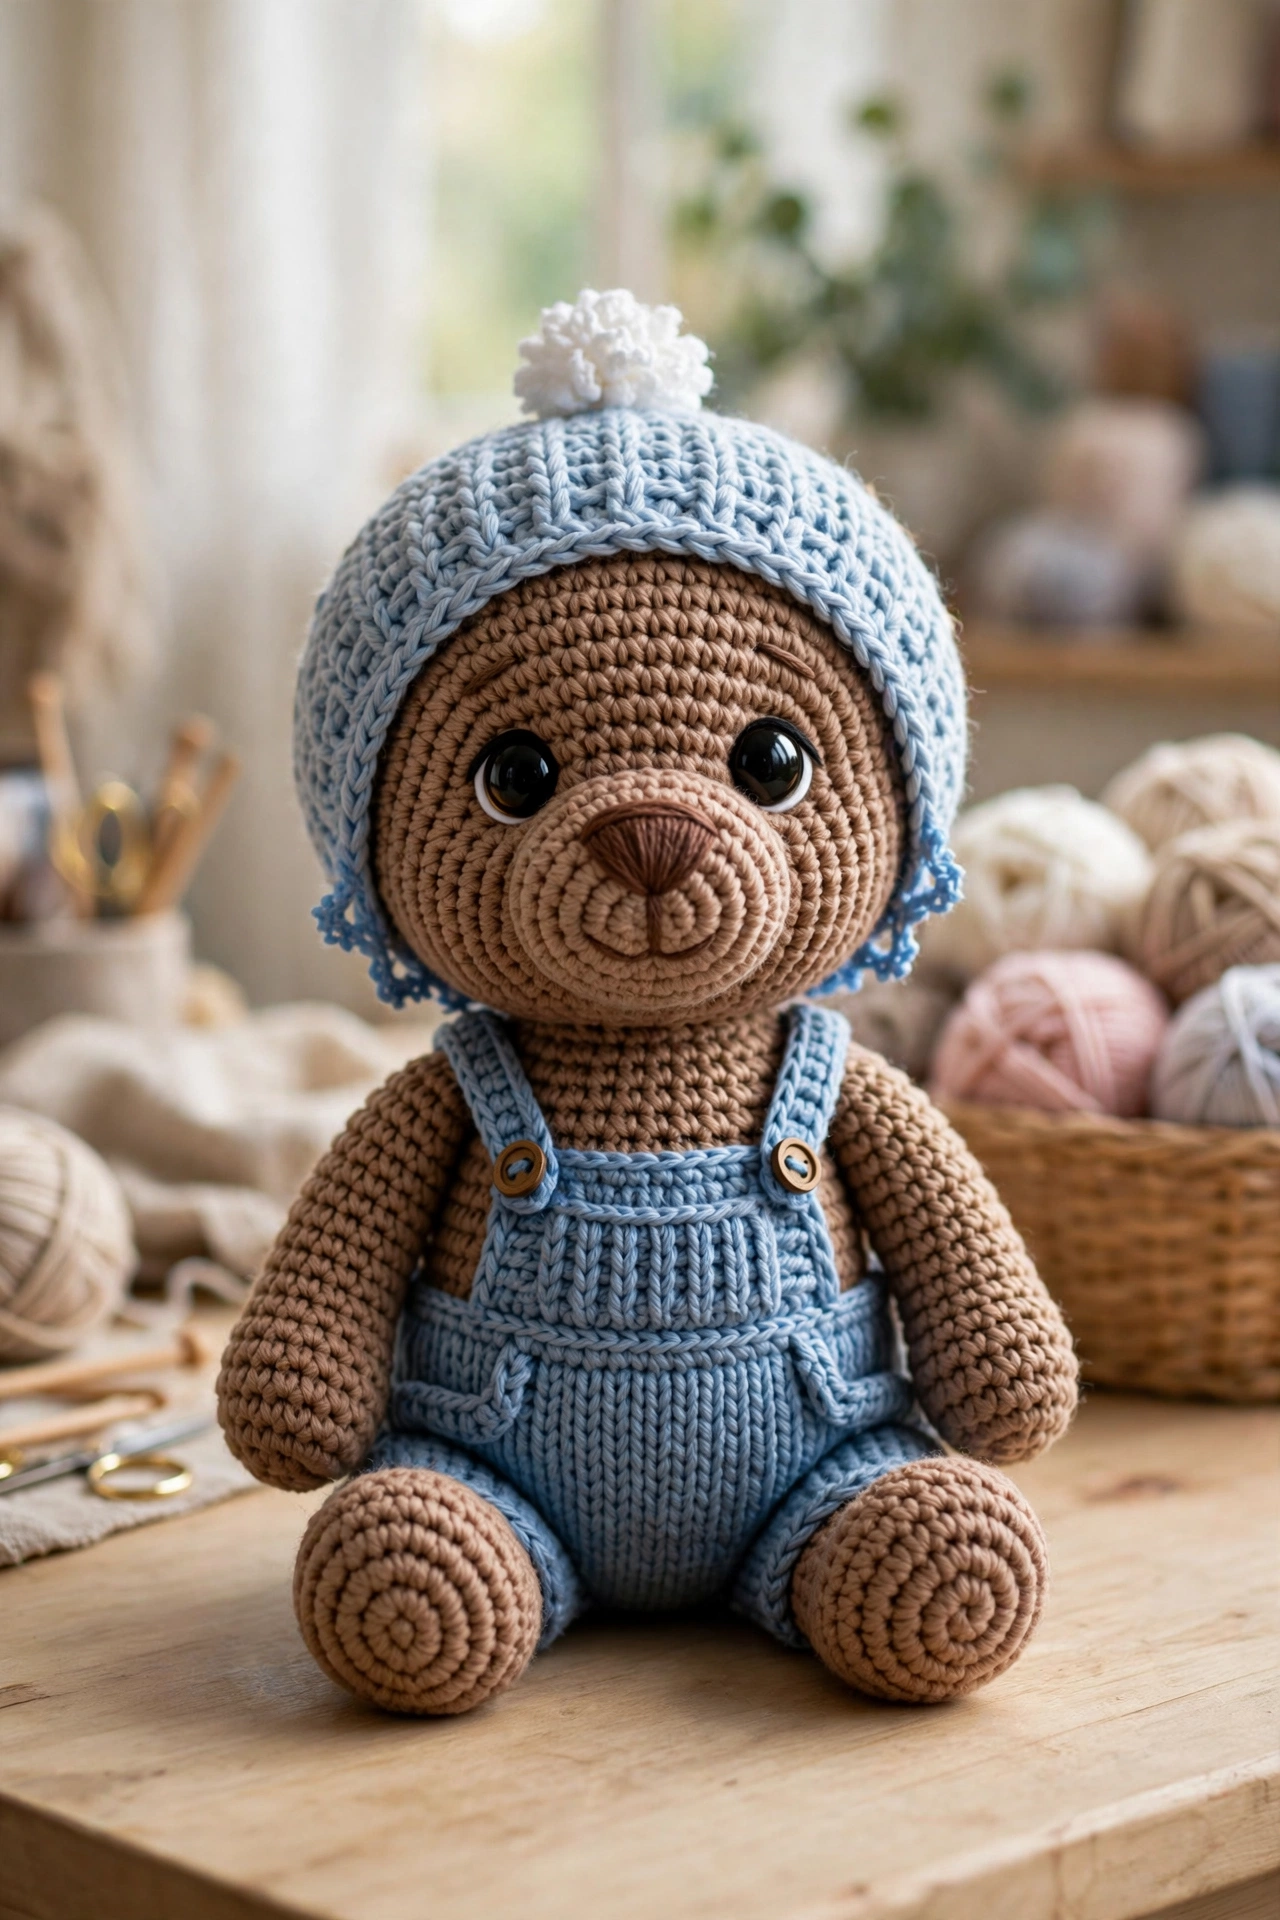
There is something timeless about a handmade teddy bear. This teddy bear crochet pattern walks you through every stitch of an adorable amigurumi bear dressed in a sweet blue bonnet and matching overalls. Whether you are making a nursery gift, a baby-shower present, or a keepsake for your own shelf, this free teddy bear crochet pattern is beginner-friendly and works up in just a few cozy evenings.
Finished size: about 10 inches (25 cm) tall when seated, using worsted-weight yarn and a 3.5 mm hook.
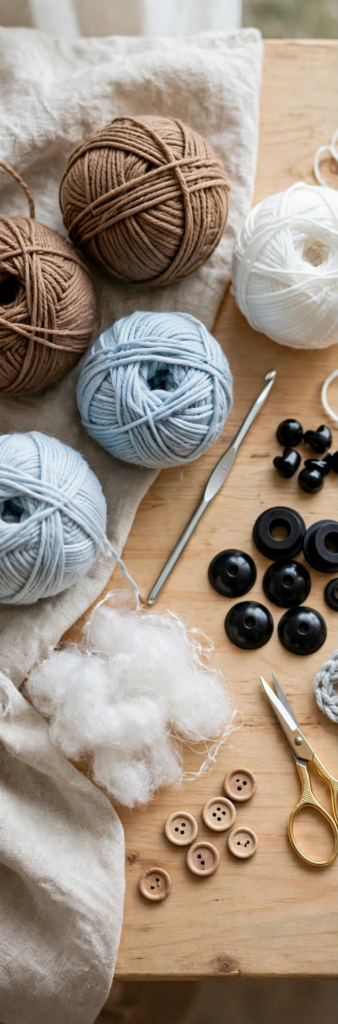
Materials for This Teddy Bear Crochet Pattern
- Worsted-weight yarn in brown (main color), light blue (bonnet + overalls), and white (pompom)
- 3.5 mm crochet hook
- 12 mm black safety eyes
- Polyester fiberfill stuffing
- Yarn needle, scissors, stitch markers
- Two small wooden buttons (for the overalls straps)
Step 1 – Crochet the Head
Start every great amigurumi with a magic ring. Using brown yarn, work 6 single crochet into the ring, then increase round by round until the head measures about 4 inches across. Keep your stitches tight and even so no stuffing peeks through later.

Work even rounds to shape the sphere, place the safety eyes between rounds 12 and 13 (about 7 stitches apart), then begin decreasing. Stuff the head firmly before closing — a well-stuffed head keeps its round shape forever. Embroider the nose and mouth with brown yarn using a simple triangle and vertical line.
Step 2 – Crochet the Body
The body of this teddy bear crochet pattern is a classic amigurumi egg shape: increase from a magic ring to a wide middle, then decrease toward the neck. Leave a long tail for sewing. Stuff firmly and sew the head to the body with your yarn needle, weaving the tail through both pieces several times for a secure join.
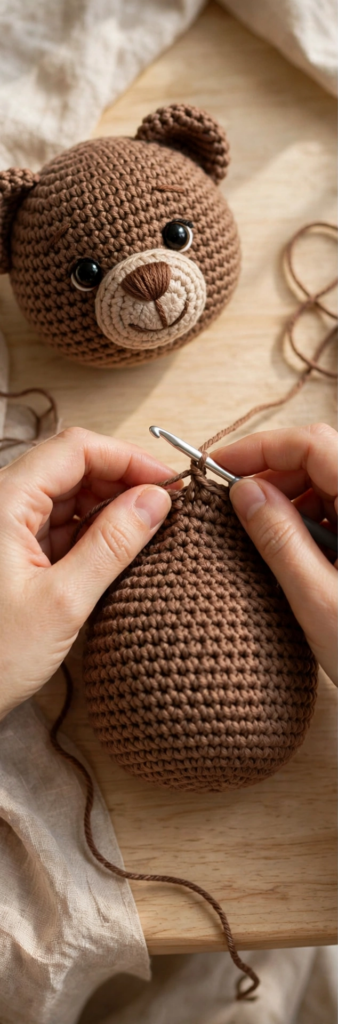
Crochet the arms and legs separately — two small capsules for the arms and two slightly larger ones for the legs — stuff lightly, and sew them to the body. Position the arms at the sides of the upper body and the legs at the front base so the bear sits upright on its own.
Step 3 – Crochet the Blue Bonnet
Now for the outfit! With light blue yarn, crochet the bonnet starting from the crown: a magic ring, increases to fit the head, then straight rounds to create the cozy cap shape. Add a scalloped edge for a sweet vintage look.
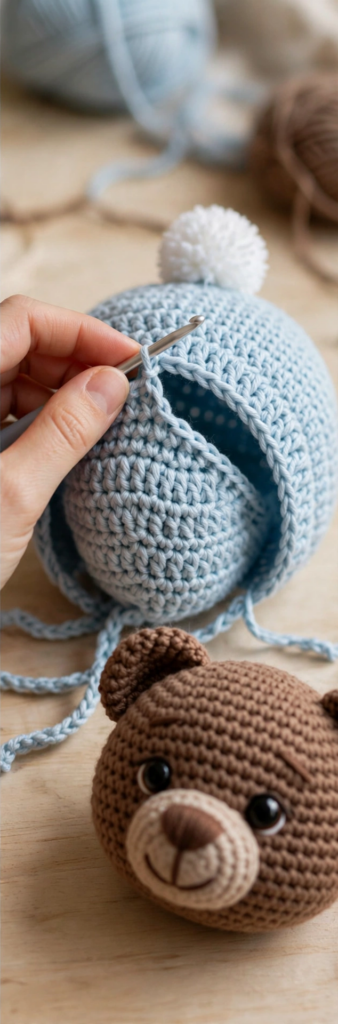
Make a small white pompom (wrap yarn around a fork, tie the middle, trim) and sew it to the top of the bonnet. Crochet two short ties and attach them to the sides — they are purely decorative, so keep them short if this bear is for a small child.
Step 4 – Crochet the Overalls
The overalls are the cutest part of this teddy bear crochet pattern. Worked in light blue with a ribbed texture (front-post and back-post double crochet), the overalls start at the waistband and grow into two leg openings. The bib front and straps come next, with the two wooden buttons sewn on as charming details.
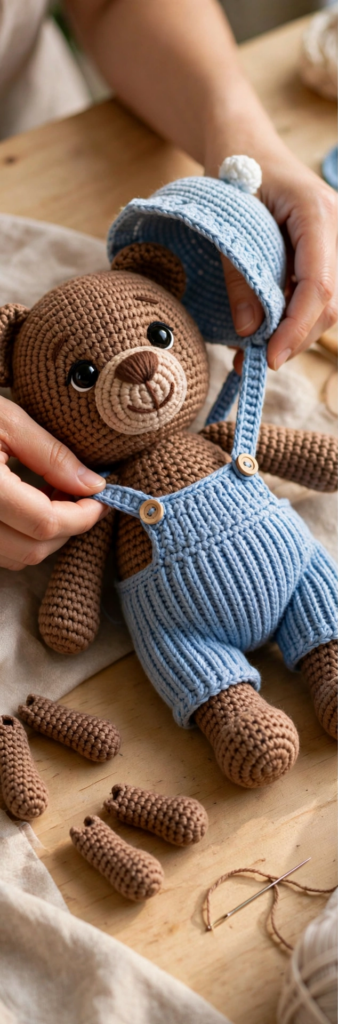
Slip the overalls onto the bear’s body, pull the straps over the shoulders, and secure everything with a few hidden stitches at the back. Pop the bonnet on the head, tie the straps loosely, and your teddy bear is dressed!
Step 5 – Final Touches and Assembly Check
Give your bear a once-over: are the eyes level? Is the nose centered? Fluff the stuffing through the stitches if any spot looks flat. Weave in every loose end with your yarn needle, pushing tails deep inside the body where they disappear.
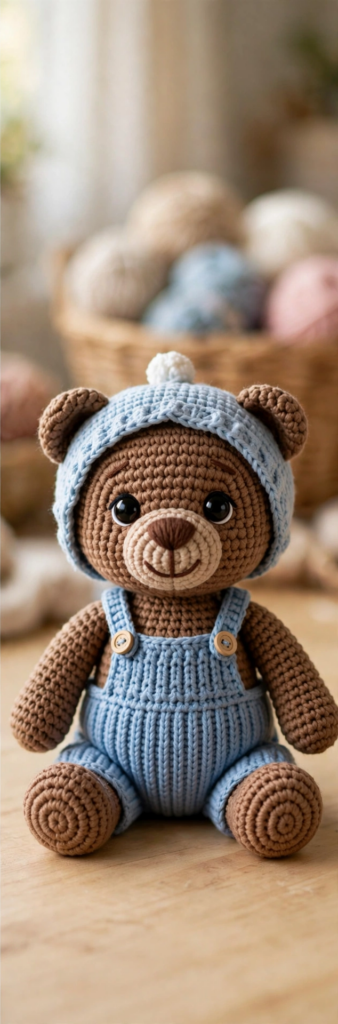
Brush the finished bear gently with a soft clothes brush to lift the yarn fibers — this gives handmade amigurumi that extra-soft, store-bought look.
Tips for a Perfect Teddy Bear
- Keep tension tight. Amigurumi uses stitches one hook size smaller than the yarn label suggests. Tight stitches = no stuffing showing through.
- Stuff as you go. Add fiberfill in small handfuls and shape with your fingers rather than cramming it all in at the end.
- Count your rounds. A stitch marker in the first stitch of every round saves you from losing your place — especially on the bonnet’s scalloped edge.
Teddy Bear Crochet Pattern FAQ
Is this teddy bear crochet pattern good for beginners?
Yes! If you can single crochet, increase, and decrease, you can make this bear. The overalls’ ribbed texture uses front-post stitches, which the pattern explains step by step.
How long does it take to crochet the teddy bear?
Most crocheters finish in 6–8 hours spread over a few evenings. The bear itself takes about 4 hours; the bonnet and overalls add the rest.
What yarn works best for amigurumi teddy bears?
A smooth worsted-weight acrylic or cotton-acrylic blend holds its shape best. Avoid fuzzy novelty yarns for your first bear — they hide your stitches and make counting rounds hard.
Can I sell finished bears made from this pattern?
Yes — finished items made from this free pattern may be sold in small quantities with credit to TopNoted. Please do not redistribute the pattern itself.
Conclusion
This free teddy bear crochet pattern gives you a huggable, gift-ready amigurumi with a personality all its own. Make one in classic brown and blue, or switch up the colors for a whole bear family. Happy crocheting — and do not forget to pin this tutorial for your next cozy project!
Looking for more plush friends? Try our free crochet axolotl pattern next. For yarn and hook basics, the Craft Yarn Council is a great reference.