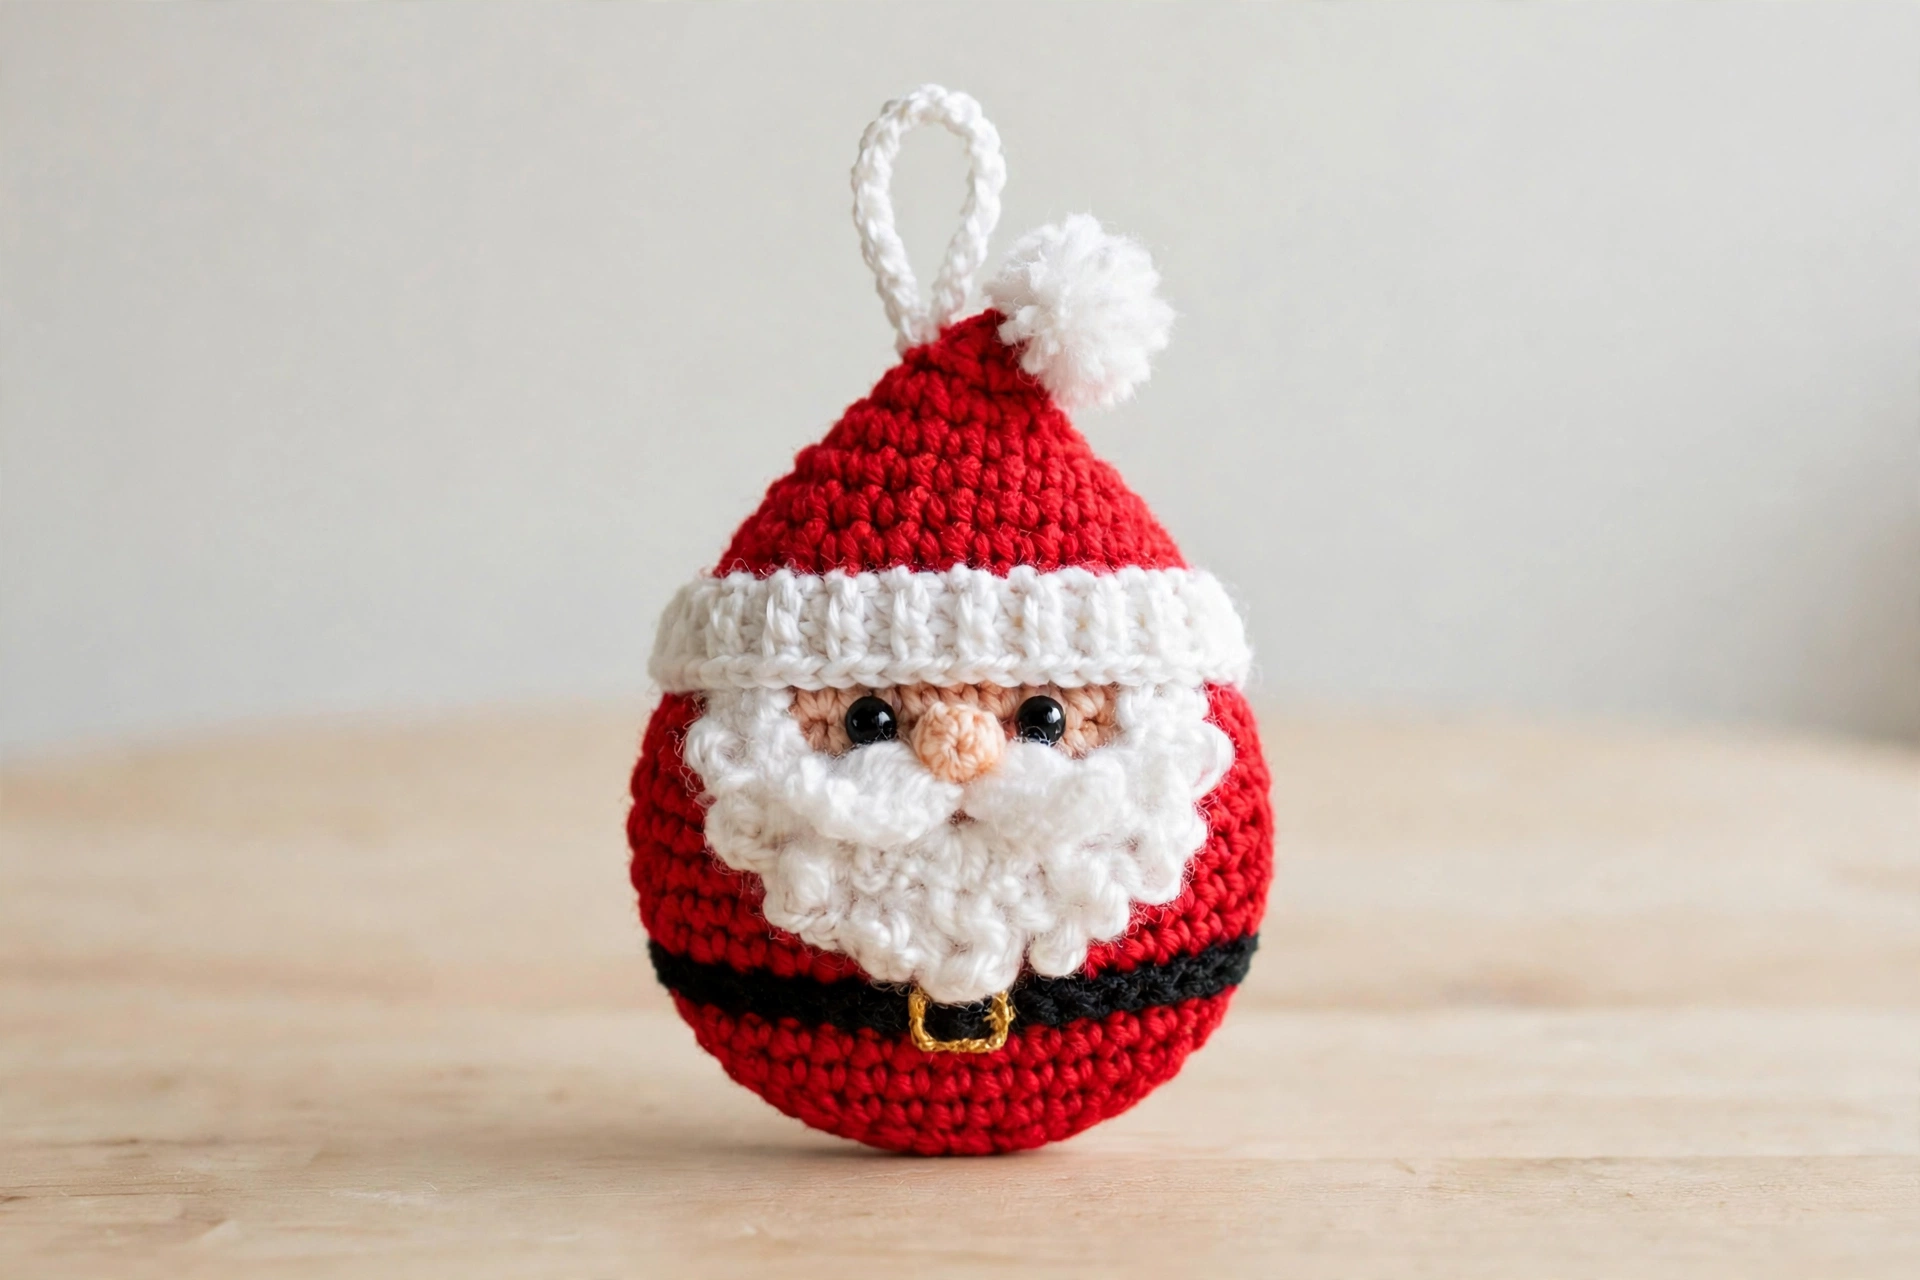
This free crochet santa ornament pattern turns a few scraps of yarn into the jolliest little Santa for your Christmas tree. He is a small round Santa with a bright red body, a fluffy white beard and a pointed red hat. The hat has a white brim and pom pom. He wears a black belt with a gold buckle and a hanging loop. He is ready for the tree, a gift tag or a garland. The whole ornament takes about an hour, uses only basic stitches, and is a perfect beginner project for the holidays.
The finished Santa ornament measures about 9 cm (3.5 inches) tall from the bottom of the body to the tip of the hat. He is about 6.5 cm (2.5 inches) wide, not counting the hanging loop. He is worked flat in two discs for the body. They are sewn together with just a whisper of stuffing, so he keeps his shape without getting puffy. Make one in an evening, or batch a whole set in different belt colours for gifts and craft fairs.
Materials
- Worsted-weight yarn in red (about 25 g), white (about 15 g), black (a small amount), peach or skin tone (a small amount) and gold or yellow (a small amount)
- 3.5 mm crochet hook
- Two 6 mm black safety eyes (or small black beads)
- A small amount of polyester fiberfill stuffing
- Tapestry needle
- Scissors
- Stitch marker
Step 1: Crochet the Santa Body
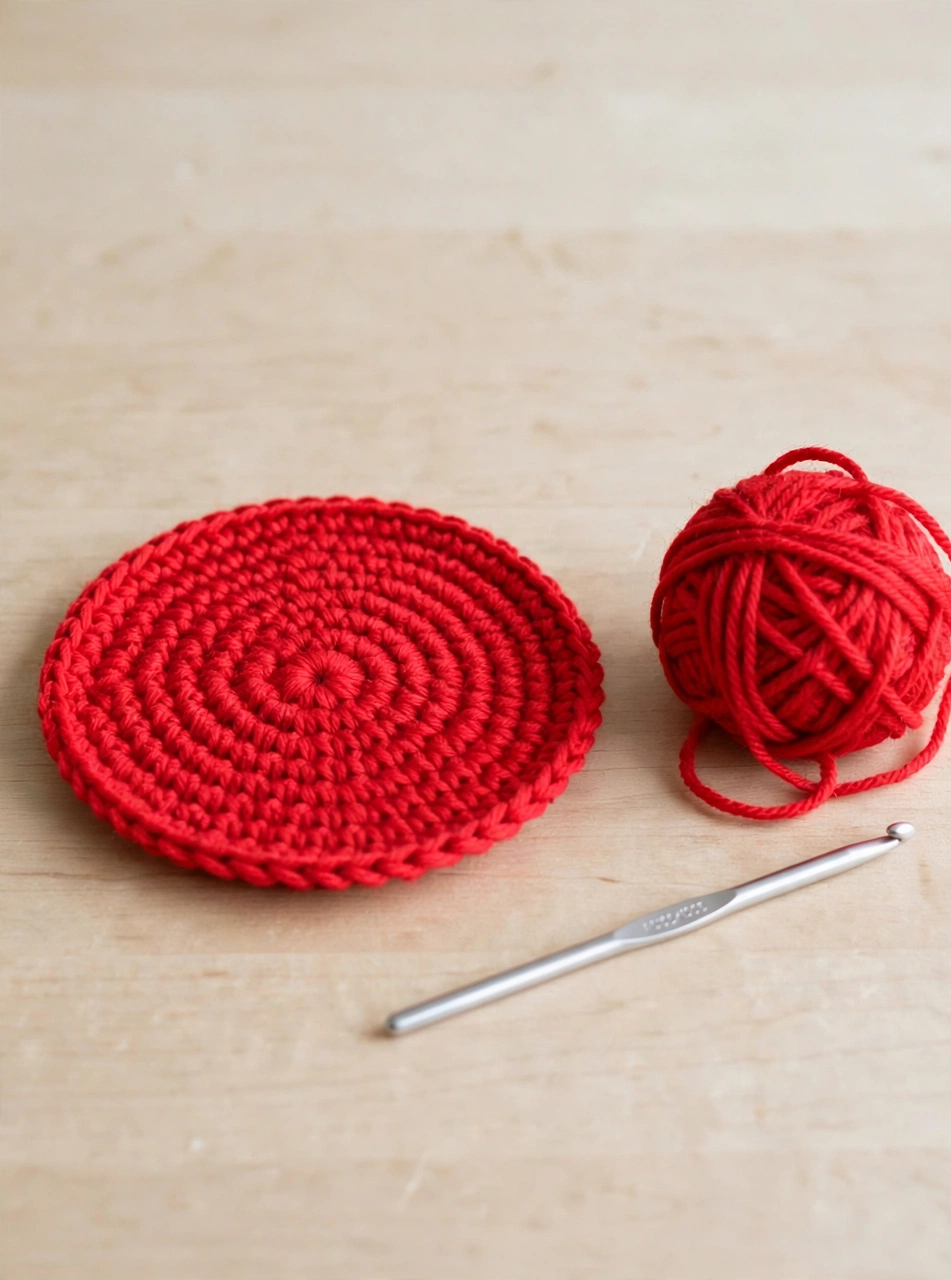
Start your crochet santa ornament pattern with the body, worked in red yarn. Make a magic ring and work 6 single crochets into it. Then increase evenly in every round: 12 stitches in round 2 and 18 in round 3. Work 24 in round 4, 30 in round 5, 36 in round 6 and 42 in round 7. Work one more round of 42 single crochets with no increases to firm up the edge. Make a second identical disc. Then hold the two discs together and single crochet around the edge through both layers. Tuck in just a pinch of stuffing before you close the last few stitches.
Step 2: Crochet the Fluffy White Beard
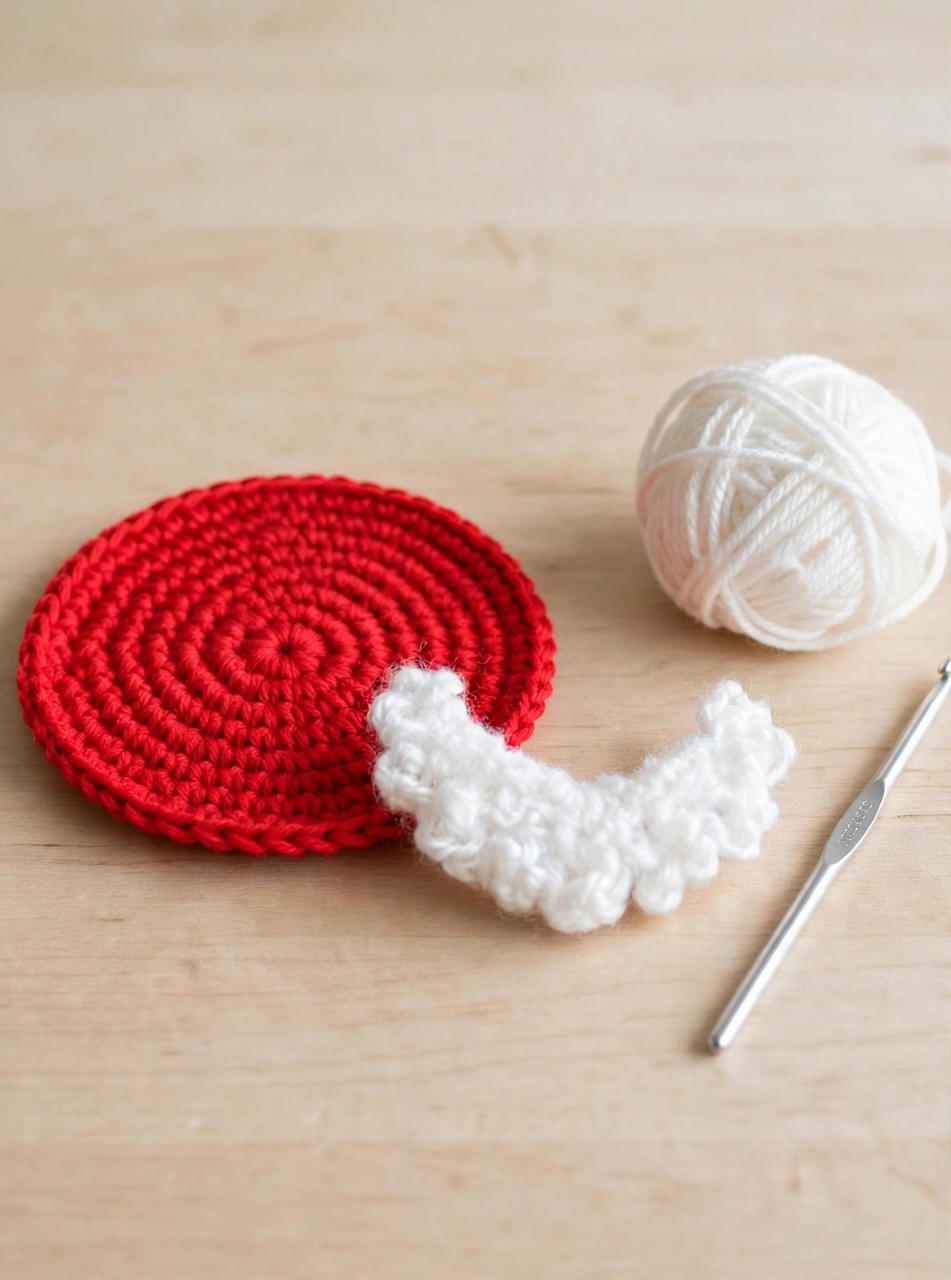
The beard is what makes this Santa ornament instantly recognisable, and it is worked in simple rows. With white yarn, chain 16. Then single crochet in the second chain from the hook and in each chain across (15 stitches). Work four more rows, decreasing one stitch at each end of every row. You will have 13 stitches in row 2, 11 in row 3 and 9 in row 4. For the fluffy bottom edge, work row 5 as bobble stitches. Alternate one bobble stitch and one single crochet across the row. A bobble stitch is 5 double crochets worked into the same stitch and closed together. This gives you 5 bobbles and 4 single crochets. Sew the beard to the lower half of the red body. Its straight top edge should sit just below the centre of the disc.
Step 3: Crochet the Santa Hat
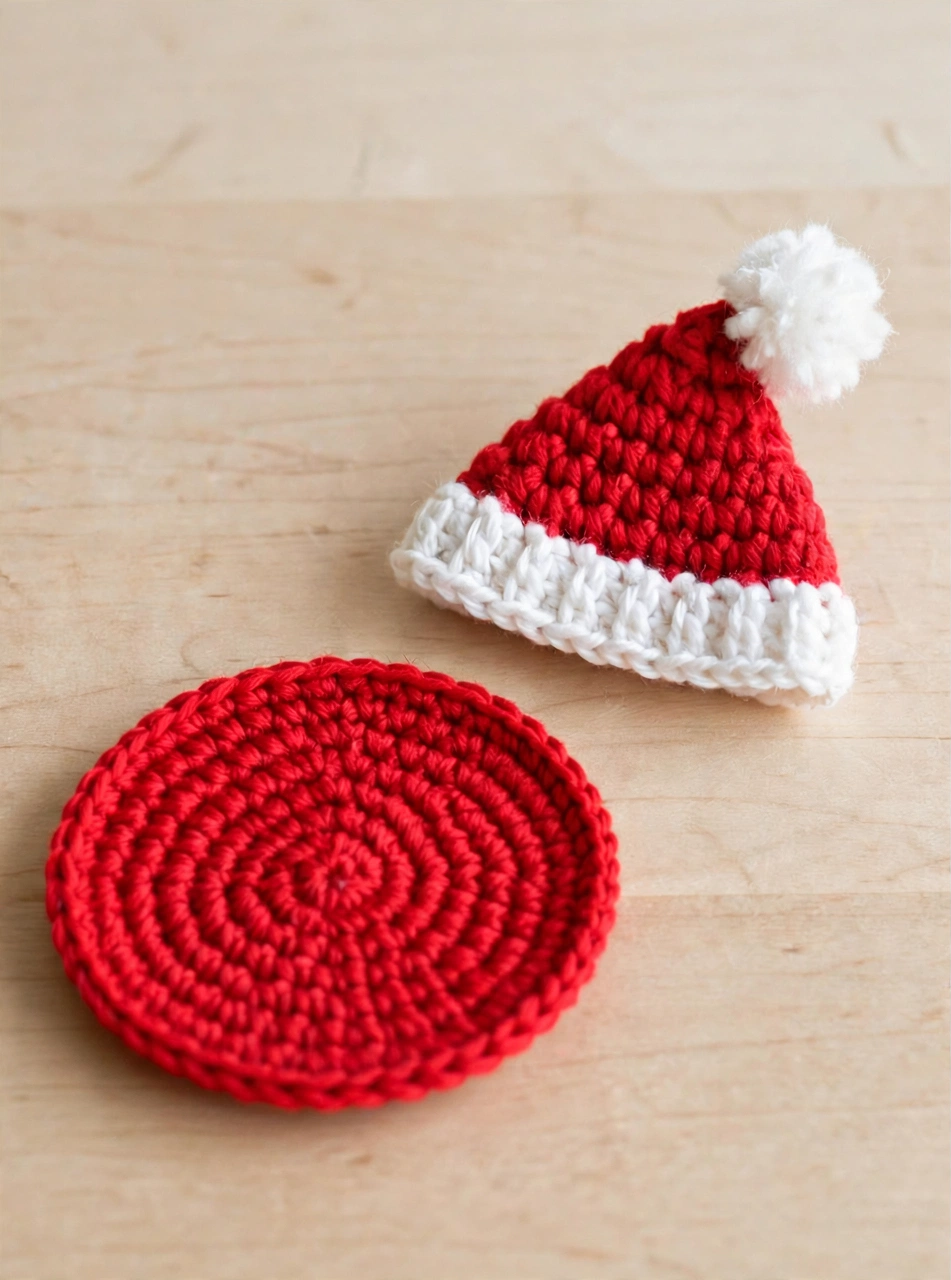
The pointed Santa hat is a tiny cone worked in the round. With red yarn, work 6 single crochets into a magic ring, then work one round of 6 with no increases. Increase slowly to keep the point. Work 9 stitches in round 3 and round 4, 12 in rounds 5 and 6, and 15 in rounds 7 and 8. Then work 18 in rounds 9 and 10, and 24 in rounds 11 and 12.
Switch to white yarn for the brim. Work one round of 24 single crochets. Then increase to 30 in the next round, with one increase every fourth stitch. Work one final round of 30 with no increases. For the pom pom, wrap white yarn around three fingers about 30 times. Tie it tightly in the middle, cut the loops and trim it into a round ball. Then sew it to the tip of the hat. Sew the finished hat to the top of the body, tilted very slightly to one side for personality.
Step 4: Add the Face
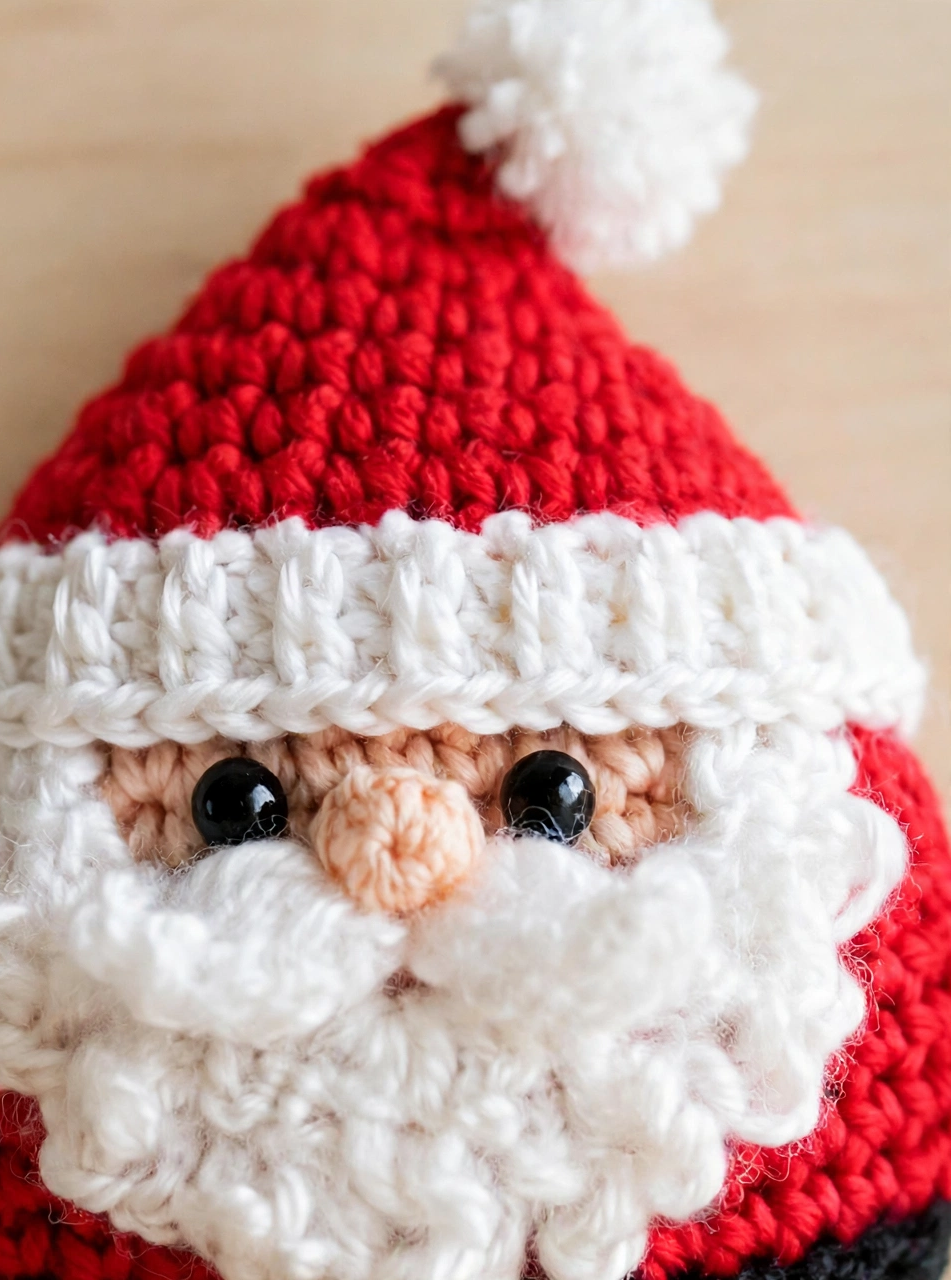
Now Santa gets his face. Place the two black safety eyes on the upper part of the body, about four stitches apart. They should sit just under the brim of the hat. For a young child, sew on small black beads instead. The nose is a tiny peach cone. Work 4 single crochets into a magic ring. Increase to 6 in round 2, then work one round of 6 with no increases. Fasten off and tuck in a tiny bit of stuffing. Sew the nose to the centre of the face, right above the top edge of the beard. For extra charm, embroider two tiny white moustache swirls with a chain stitch on either side of the nose. Curl them down into the beard.
Step 5: Add the Belt and Gold Buckle
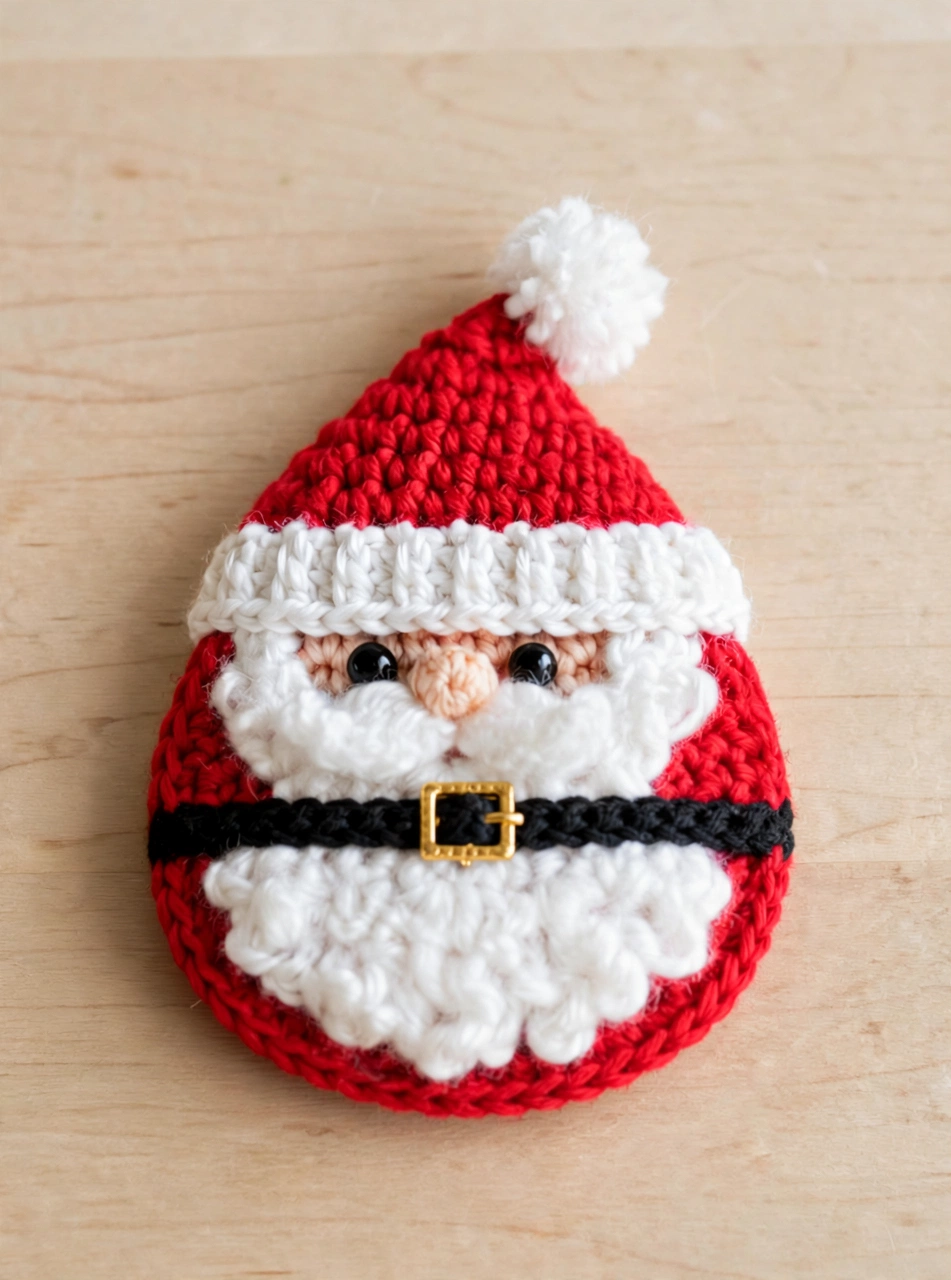
The belt is a simple black strip that turns the red disc into Santa’s suit. With black yarn, chain 30. Single crochet in the second chain from the hook and in each chain across (29 stitches). Then chain 1, turn, and work one more row of 29 single crochets. Fasten off. Wrap the strip around the body just below the beard and sew the ends together at the back. For the buckle, use gold yarn. Chain 8 and slip stitch to join into a ring. Then work 8 single crochets around the ring and fasten off. Sew the little gold square to the centre front of the belt. Your Santa suddenly looks ready for Christmas Eve.
Step 6: Add the Hanging Loop
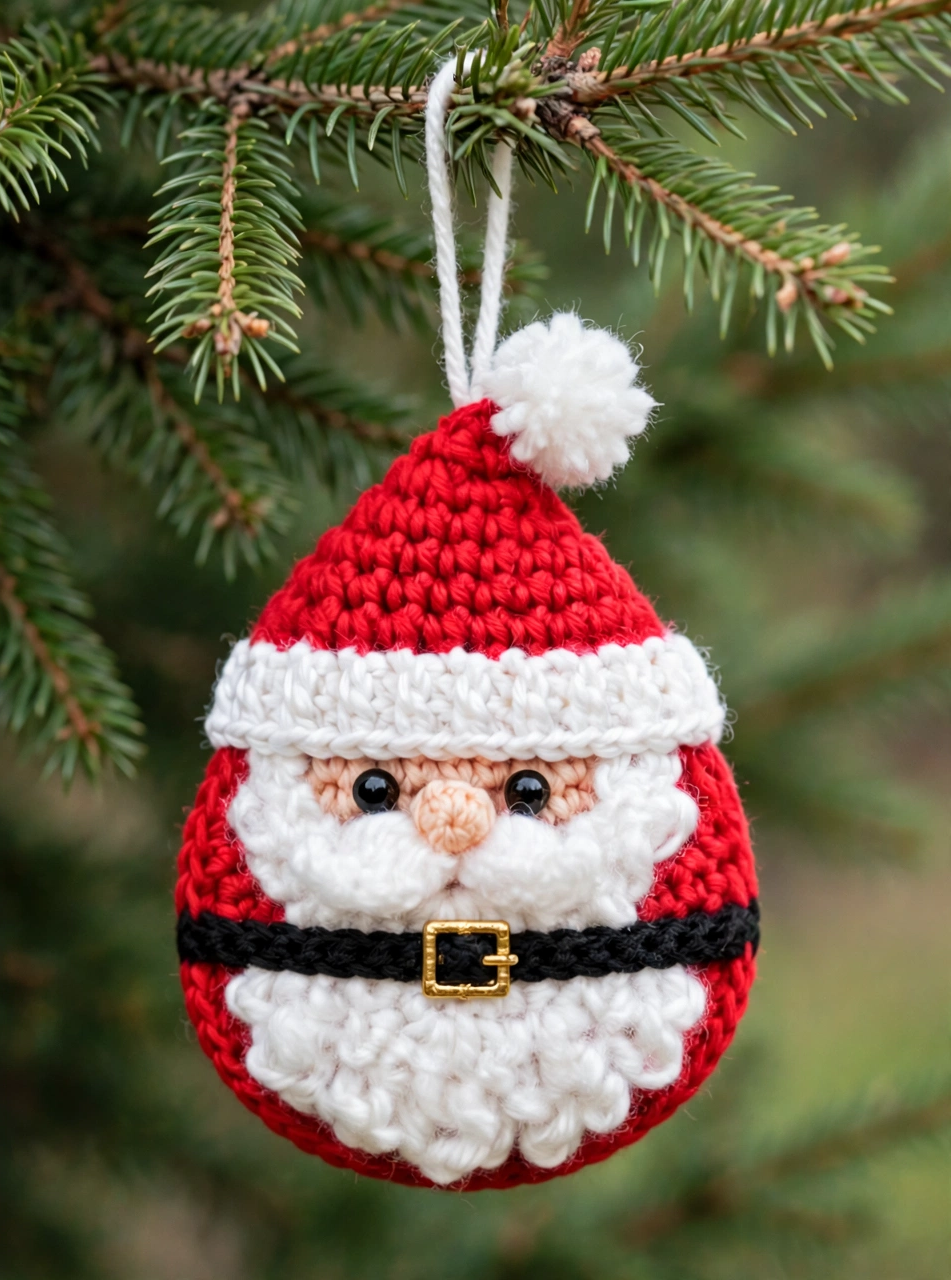
The last step is the hanging loop. With white yarn, chain 18 and slip stitch into the top of the hat to form a loop. Then fasten off and weave in the end inside the hat so the knot is hidden. Give Santa a gentle shake — he should hang straight and face forward. Your crochet Santa ornament is ready for the tree! He also looks lovely tied to a wrapped gift or hung in a window. Try him strung along a garland with a few of his friends.
Tips for a Perfect Santa Ornament
- Work tight stitches. A slightly tighter tension than usual keeps the stuffing hidden and the flat discs crisp. If you can see stuffing through your stitches, go down to a 3.0 mm hook.
- Fluff the beard with a brush. After sewing the beard on, gently brush the bobble row with a clean toothbrush or a small pet slicker brush. The white yarn blooms into a soft, fluffy beard that looks twice as full.
- Sew the hat on before the face. Placing the hat first lets you centre the eyes and nose under the brim. This way the face never ends up crooked under a tilted hat.
FAQ
How long does this crochet santa ornament take to make?
About one hour for an experienced beginner, and a relaxed evening at most for a first-timer.
What yarn is best for a crochet santa ornament?
A smooth worsted-weight acrylic or cotton yarn in red works best. The stitches stay crisp and the red reads as Santa’s suit. Avoid fuzzy or eyelash yarns: they hide the stitch definition that makes the flat circles look neat. If you need yarn inspiration, Yarnspirations has a wide range of worsted-weight yarns in exactly these colours.
Can I make this Santa ornament without safety eyes?
Yes. Sew on small black beads or French knots instead. This is a safer choice for ornaments that will hang where small children can reach them. You can also embroider two tiny round eyes with black yarn if you prefer a fully stitched face.
Is this pattern suitable for beginners?
Absolutely. You only need the magic ring, single crochet, increases, a chain and a bobble stitch. The pattern includes a free printable PDF with the full round-by-round instructions. If you enjoyed this make, try our crochet santa claus pattern next. It is a bigger amigurumi Santa with a full body. Or try our crochet snowman ornament pattern for a matching tree decoration.
Conclusion
This little crochet Santa ornament is proof that the best Christmas decorations are the handmade ones. One evening, a few scraps of yarn and six easy steps give you a keepsake. It will come out of the decoration box year after year. Download the free printable PDF pattern below. Make a whole Santa family in different belt colours and share your finished ornaments. We would love to see them on your tree!