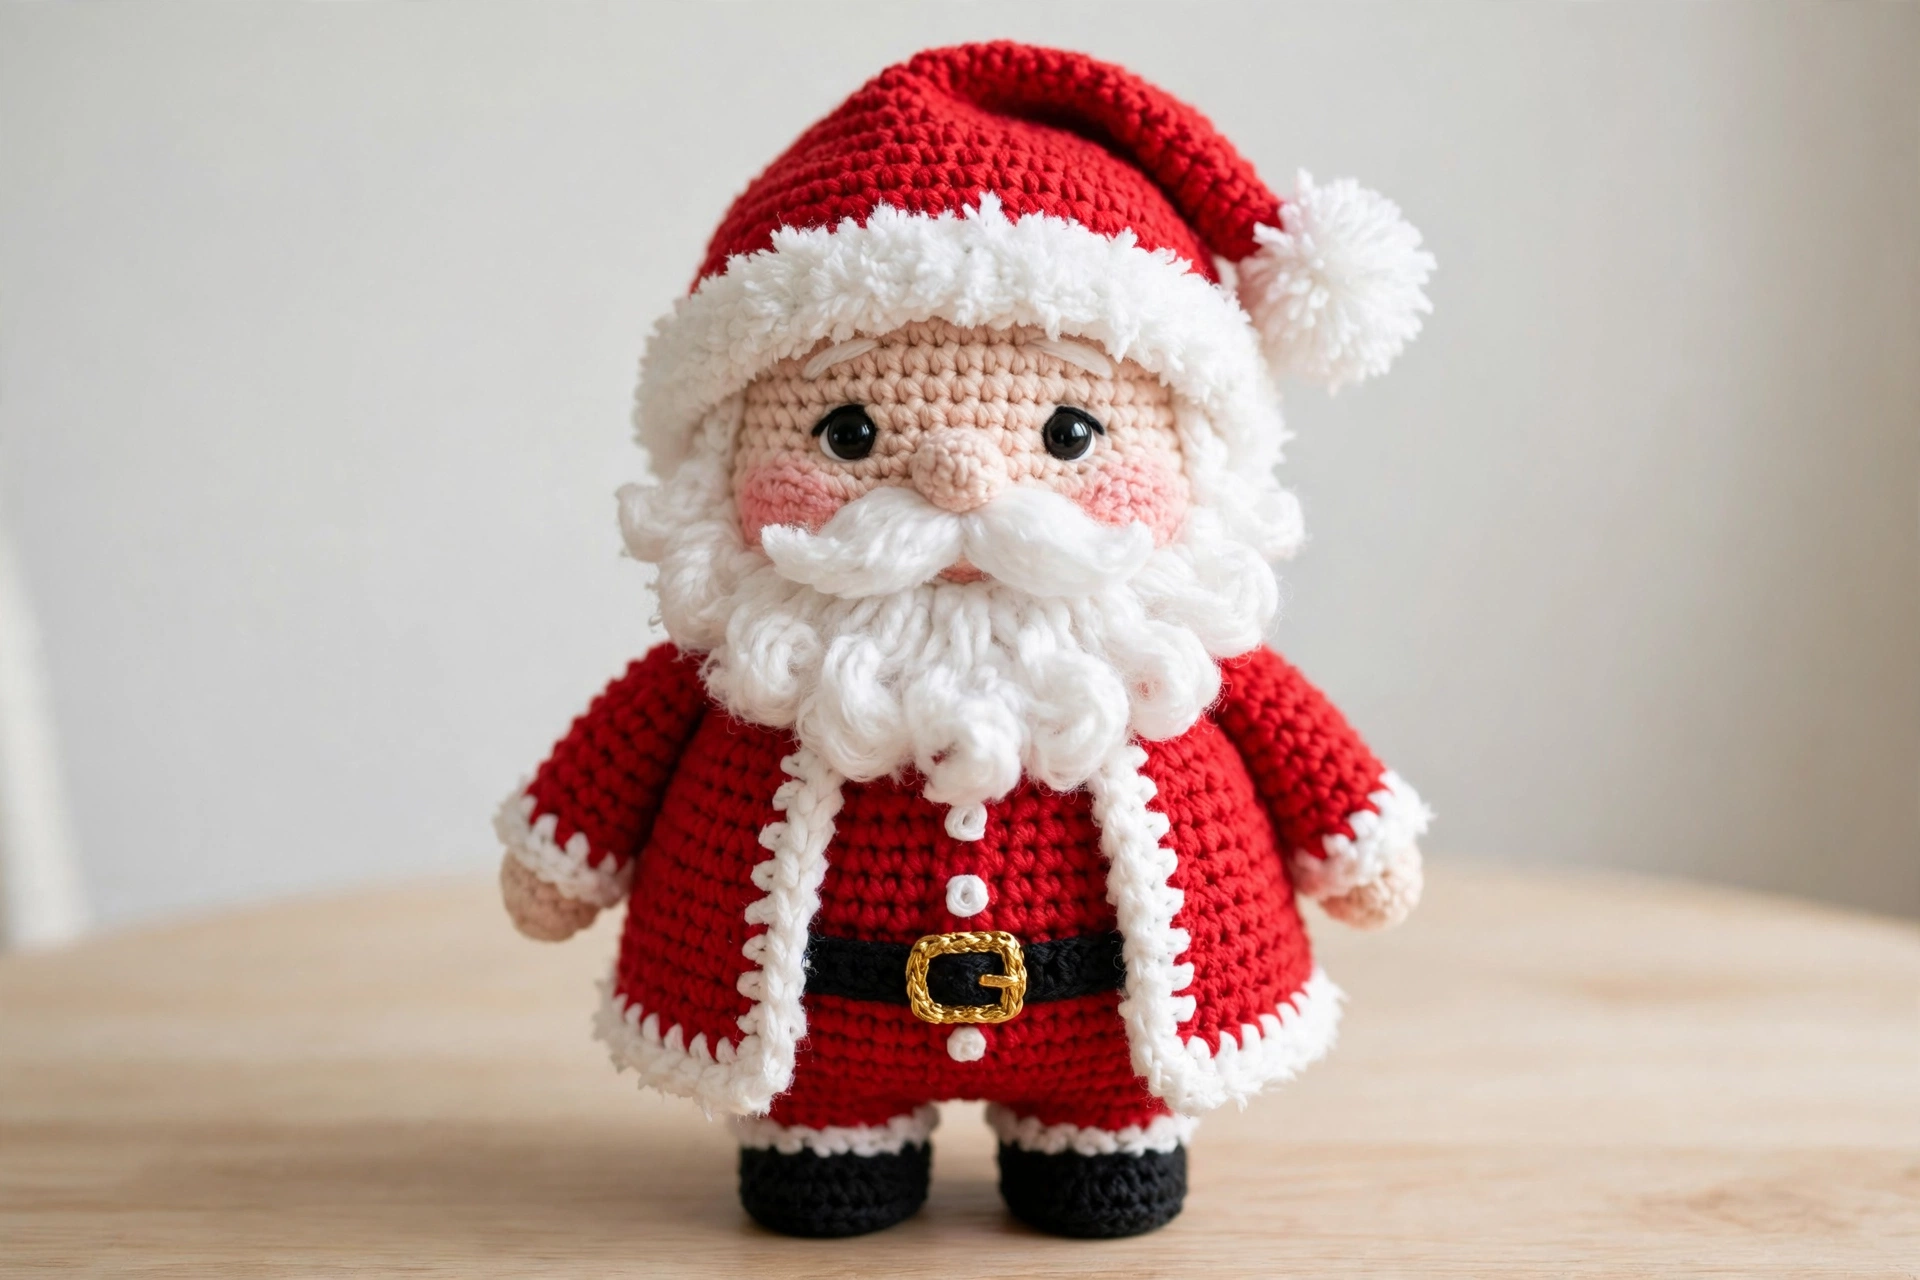
Nothing says Christmas quite like a jolly Santa Claus, and this free crochet santa claus pattern lets you make one in a weekend. Worked in classic red, white and beige yarn, this chubby amigurumi Santa builds up in six satisfying stages — a round beige head, a plump red body, a fluffy white beard and moustache, the famous red Santa hat, little arms, legs and a belt, and a final assembly — then stands proudly on the mantel, under the tree or on the gift table. It is a quick beginner project and a lovely Christmas gift.
Each of the six steps below includes a clear photo so you always know what your work should look like. The full printable round-by-round pattern is also available as a free PDF (see the download button at the top of this article).
Materials
- Red worsted weight yarn (about 110 g)
- White worsted weight yarn (about 60 g, for the beard, trims and hat brim)
- Beige or skin-tone worsted weight yarn (about 40 g, for the head and hands)
- Black worsted weight yarn (about 20 g, for the boots and belt)
- Gold yarn or a small gold buckle (for the belt)
- 4.0 mm crochet hook
- Two 10 mm black safety eyes
- Polyester fibre fill stuffing
- Tapestry needle
- Stitch markers
- Scissors
For a soft, sturdy result, a smooth worsted yarn works best — it holds the round amigurumi shapes neatly and shows the stitch definition clearly. You can browse yarn weights and colours at LoveCrafts. If you enjoy quick Christmas makes, you may also like our crochet santa hat pattern for a matching festive set.
Step 1: Crochet the Head
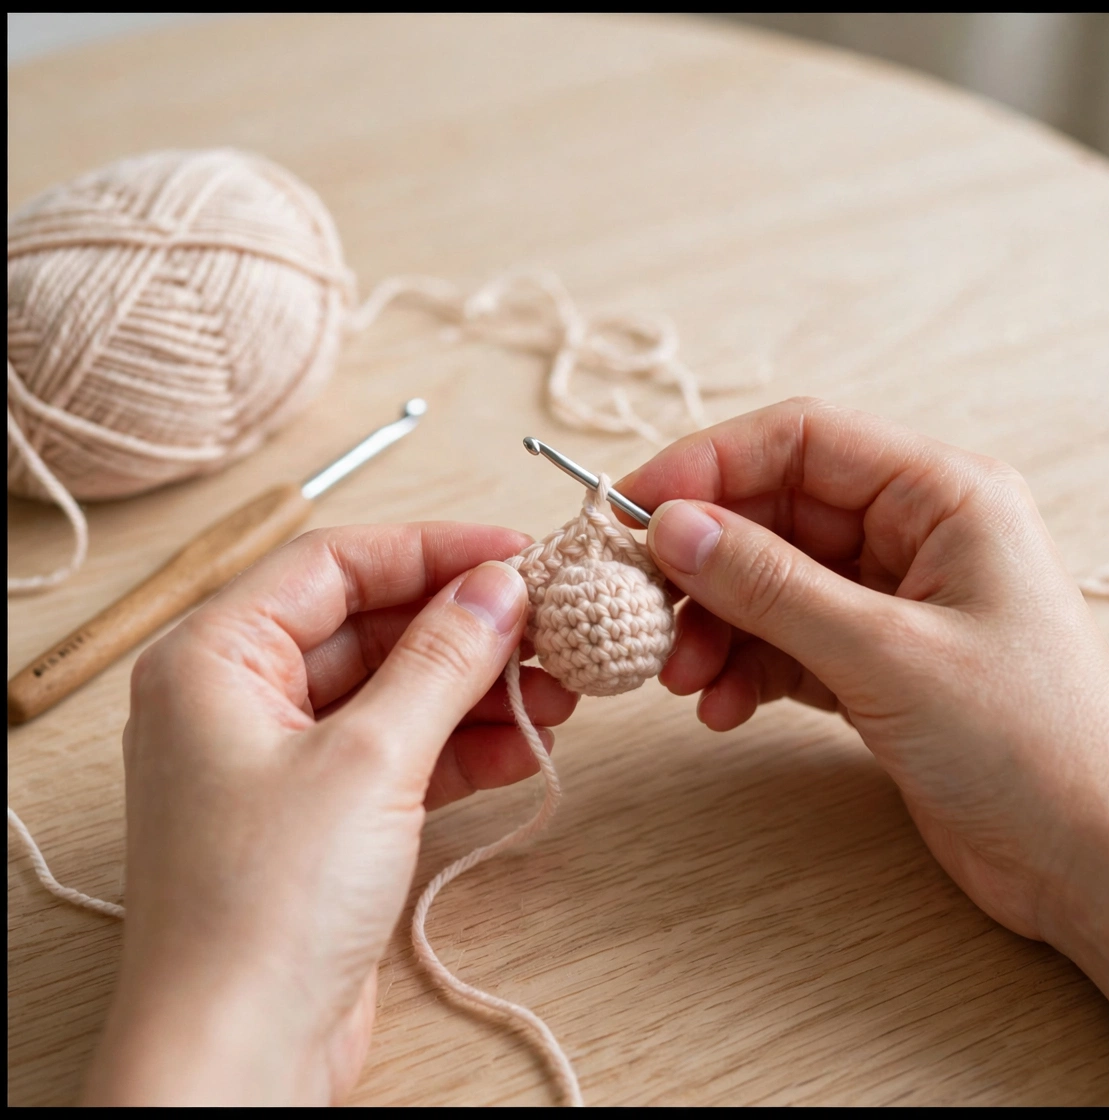
Start your crochet Santa Claus with the head. Make a magic ring of 6 single crochet stitches in beige yarn, then increase steadily — 12, 18, 24, 30 and finally 36 stitches — until the circle is wide enough for a jolly round face. Work six plain rounds at 36 stitches, then decrease back down to 6 stitches and close, adding stuffing before the opening gets too small. Keep your tension firm and even: tight stitches stop the stuffing showing through and give the face a smooth surface for the eyes and beard.
Step 2: Crochet the Red Body
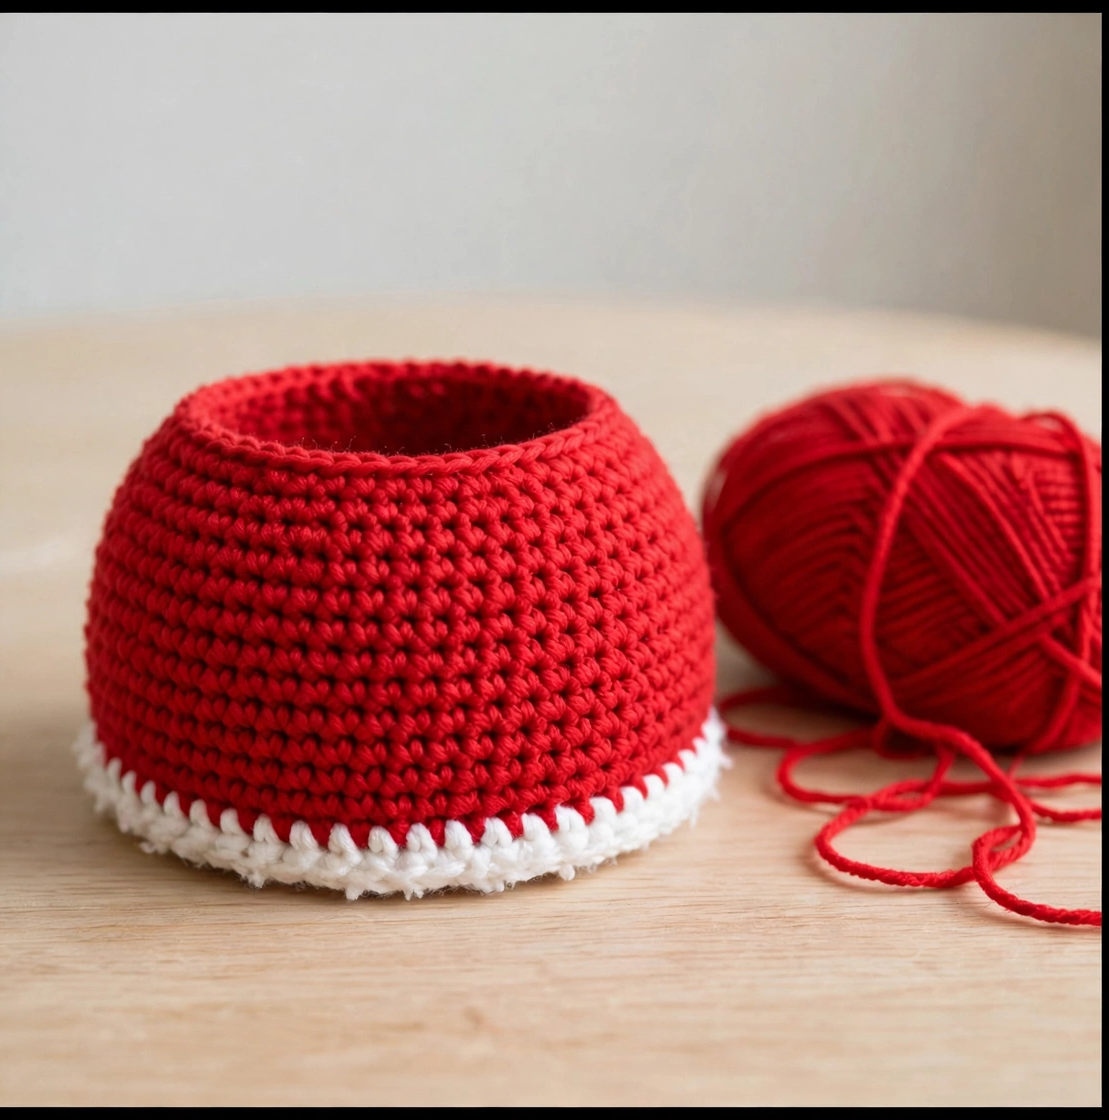
Now give your Santa a body to match. Start with another magic ring of 6 stitches in red yarn and increase to 42 stitches, then work six plain rounds at 42 stitches for a plump, pear-shaped body. Decrease gradually back down to 6 stitches, stuffing firmly as you go so the body holds its shape and sits upright. Add a round of white trim at the base for the classic coat edge. A well-stuffed body is the secret to a Santa that stands on his own, so do not be shy with the fibre fill.
Step 3: Make the White Beard and Moustache
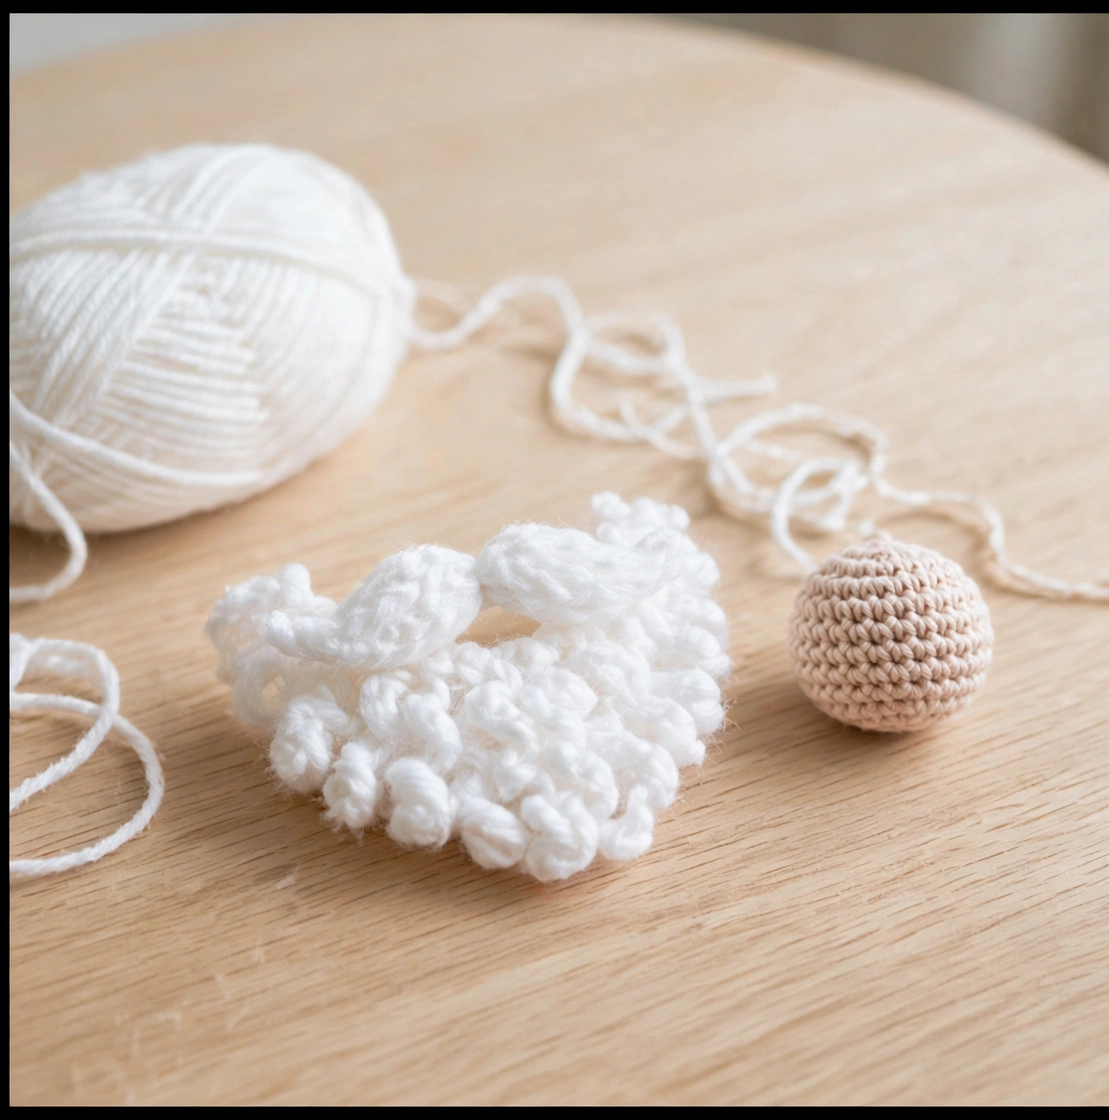
The beard is what turns a red doll into Santa Claus, so take your time here. In white yarn, crochet a wide beard piece using loop stitches for a fluffy, curly texture, tapering it slightly towards the chin, then make two small moustache ovals. Pin the beard to the lower half of the face first and check it frames the smile area neatly, then sew it on firmly. The moustache sits just above the beard, with a small gap in the middle for the mouth.
Step 4: Crochet the Santa Hat
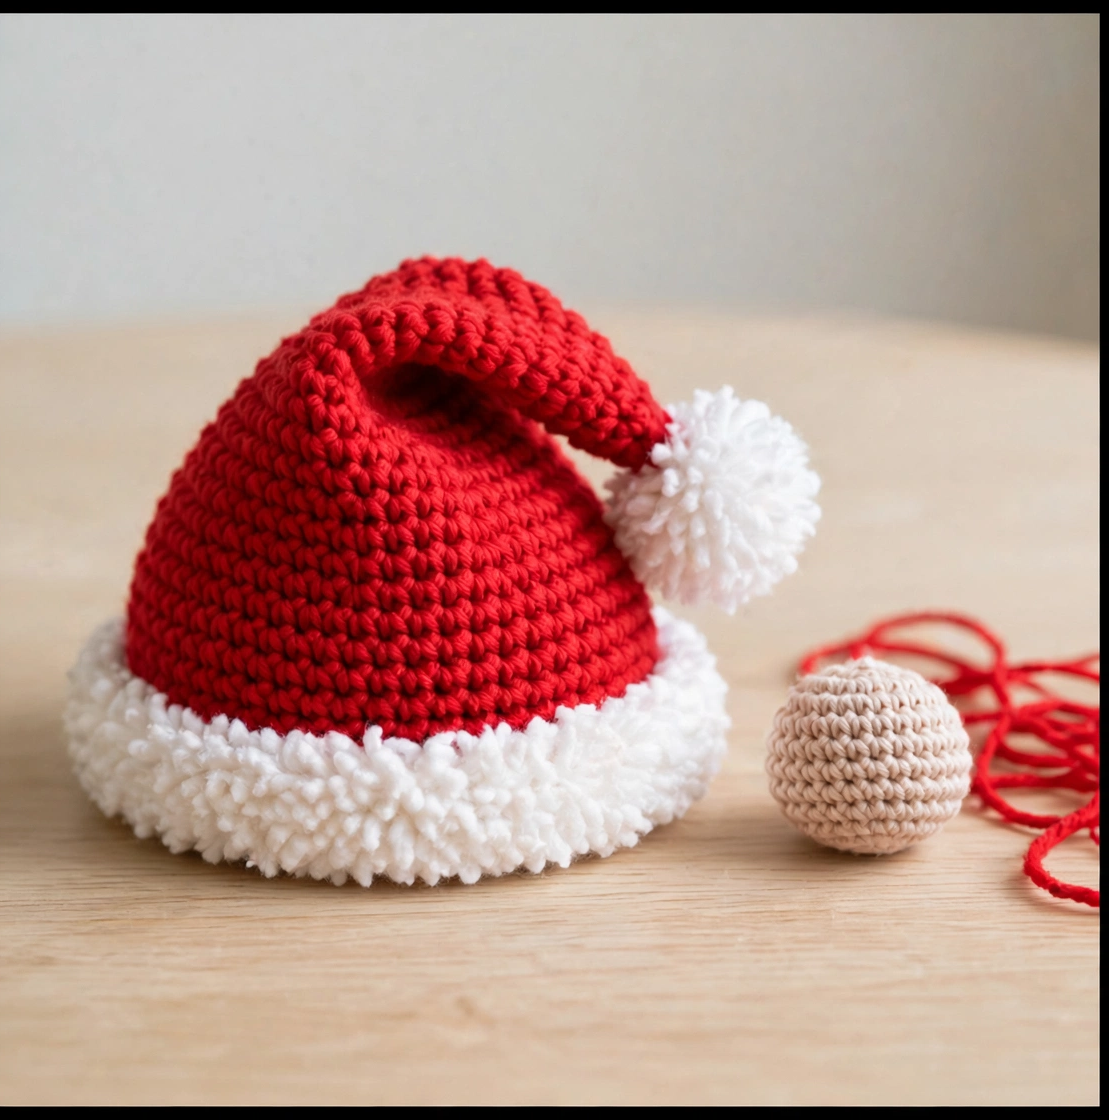
No Santa is complete without his hat. Worked from the tip down in red yarn, the hat grows slowly — 6, 8, 10, 12 stitches, then wider increases every other round — until it reaches 36 stitches at the brim. Finish with three rounds of white for the fluffy brim, then make a white pom pom and sew it to the tip. Fold the tip gently to one side when you attach the hat, just like the classic Santa silhouette.
Step 5: Add Arms, Legs, Boots and Belt
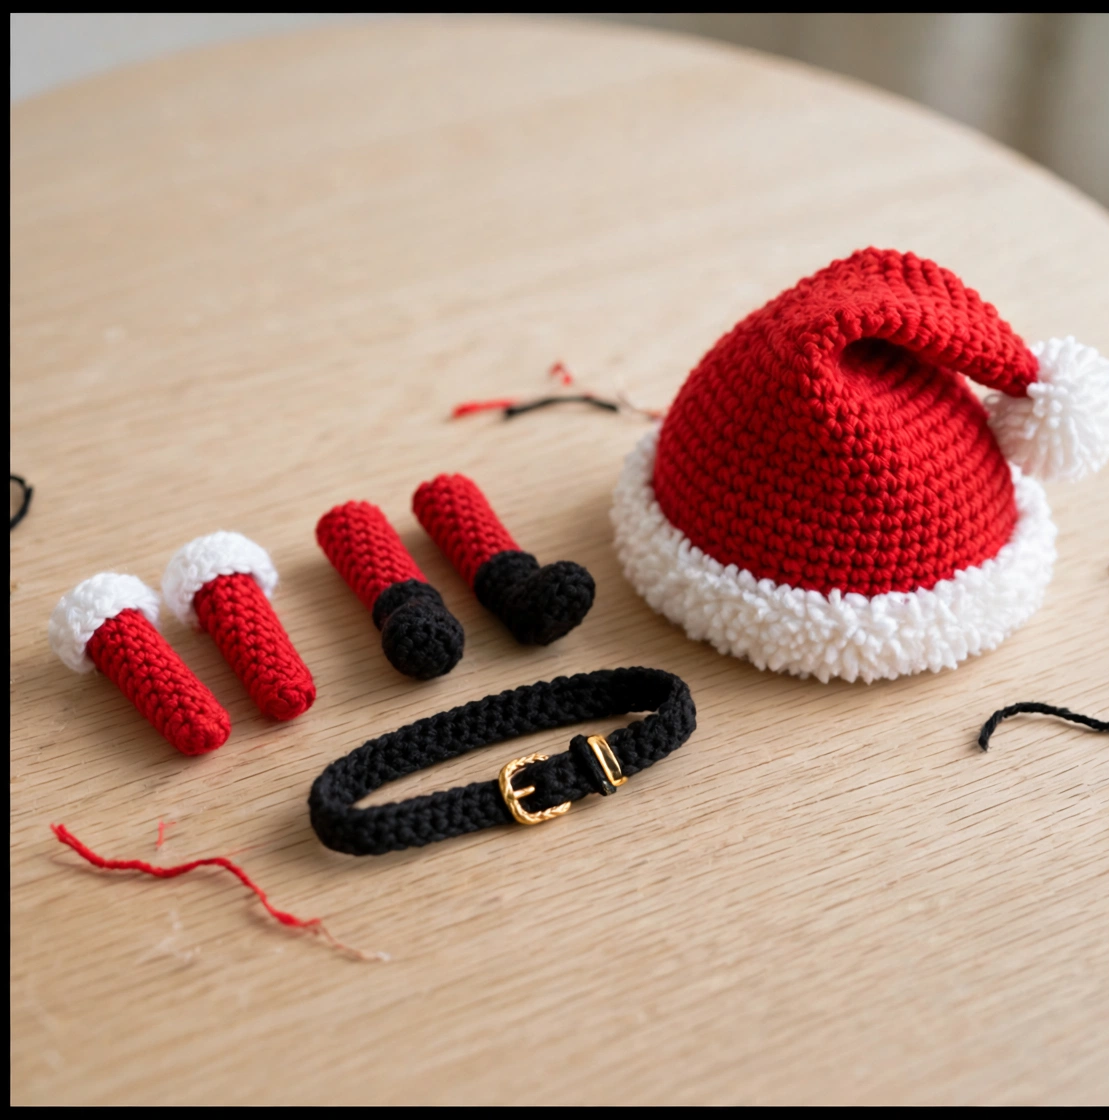
Now make the smaller pieces. Each arm starts in beige for the hand, then switches to red for the sleeve with a white cuff at the end; each leg starts in black for the boot, then switches to red for the trouser. Make two of each, stuffing the arms lightly and the legs firmly so Santa stands steady. For the belt, crochet a long black strip in rows, wrap it around the waist, and sew a small gold buckle at the front — gold yarn couched into a rectangle works beautifully if you do not have a buckle charm.
Step 6: Assemble Santa and Add the Face
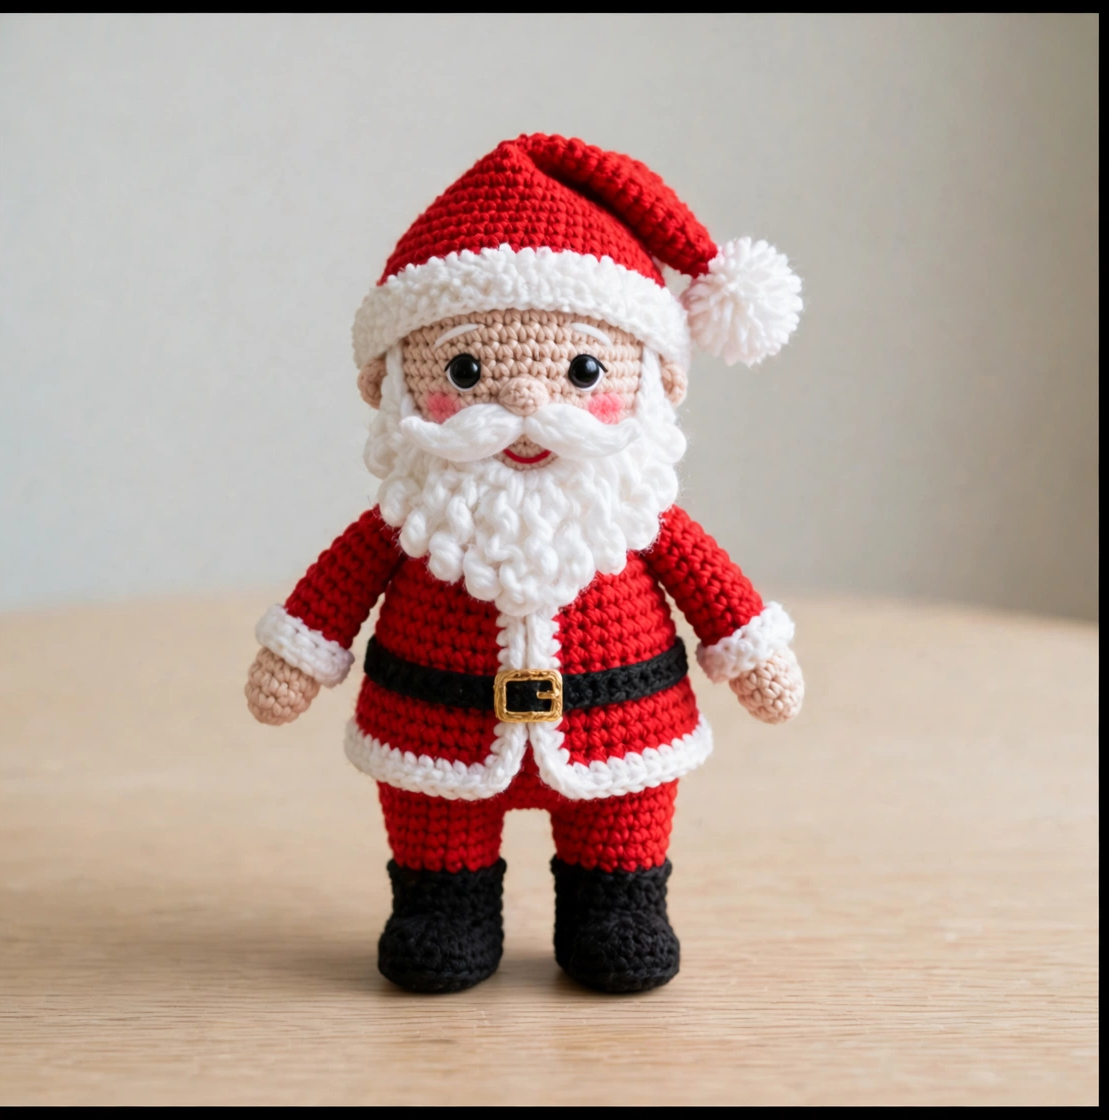
Finally, bring everything together. Sew the head to the body, then attach the arms to the sides and the legs to the base, checking Santa sits upright before you finish the last stitches. Sew the hat to the top of the head with the tip folded to one side, then add the face: insert the two black safety eyes above the beard, embroider a small beige nose in the centre, and add two rosy cheeks with pink yarn or blush. Give the beard a gentle fluff, and your jolly Santa is ready for the mantel or the gift box.
Tips for Your Crochet Santa Claus Pattern
- Use a stitch marker at the start of every round — amigurumi is worked in a spiral, so it is easy to lose your place.
- Stuff a little at a time and shape as you go, rather than forcing in one big lump at the end.
- Sew the head, hat, arms and legs on firmly with several passes so Santa survives cuddles, mantel displays and craft fair handling.
FAQ: Crochet Santa Claus Pattern
Is this crochet santa claus pattern suitable for beginners?
Yes. It uses only single crochet, increases and decreases, worked in rounds, plus simple sewing, a little loop stitch for the beard and a touch of embroidery. If you can work a magic ring, you can make this Santa.
How big is the finished Santa Claus?
Worked in worsted weight yarn with a 4.0 mm hook, the finished Santa stands about 24 cm (9.5 inches) tall, hat included — a perfect mantel or shelf size.
What yarn works best for a crochet Santa Claus?
A smooth worsted weight yarn in a true Christmas red, a bright white and a soft beige gives the cleanest classic look. Avoid very fluffy yarns for the body, as they hide the stitch definition; save the fluffy texture for the beard and hat brim, where it belongs.
Can I make this Santa Claus pattern in other colours?
Absolutely. A burgundy or forest green suit looks lovely for a woodland Christmas, and a pastel pink Santa makes a sweet nursery version. Just keep the beard and trims white so he stays unmistakably Santa.
Conclusion
This crochet Santa Claus pattern is a joyful, beginner-friendly Christmas make that works up quickly and delights everyone who sees it. Grab your red yarn, follow the six photo steps above, and download the free printable PDF pattern to keep beside your hook. Happy crocheting — and a very merry Christmas!