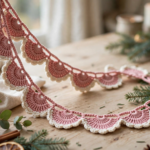
This free crochet garland pattern turns two balls of soft cotton yarn into a pretty handmade swag. Hang it on your mantel, doorway or wall. Fifteen dusty-rose scallop fans hang from a simple chain. A delicate cream edging finishes them, with hanging loops at each end. It looks boutique-bought. You can work it up in one relaxing evening. Finally, it suits almost any room: a Christmas mantel, nursery wall or cosy reading nook.
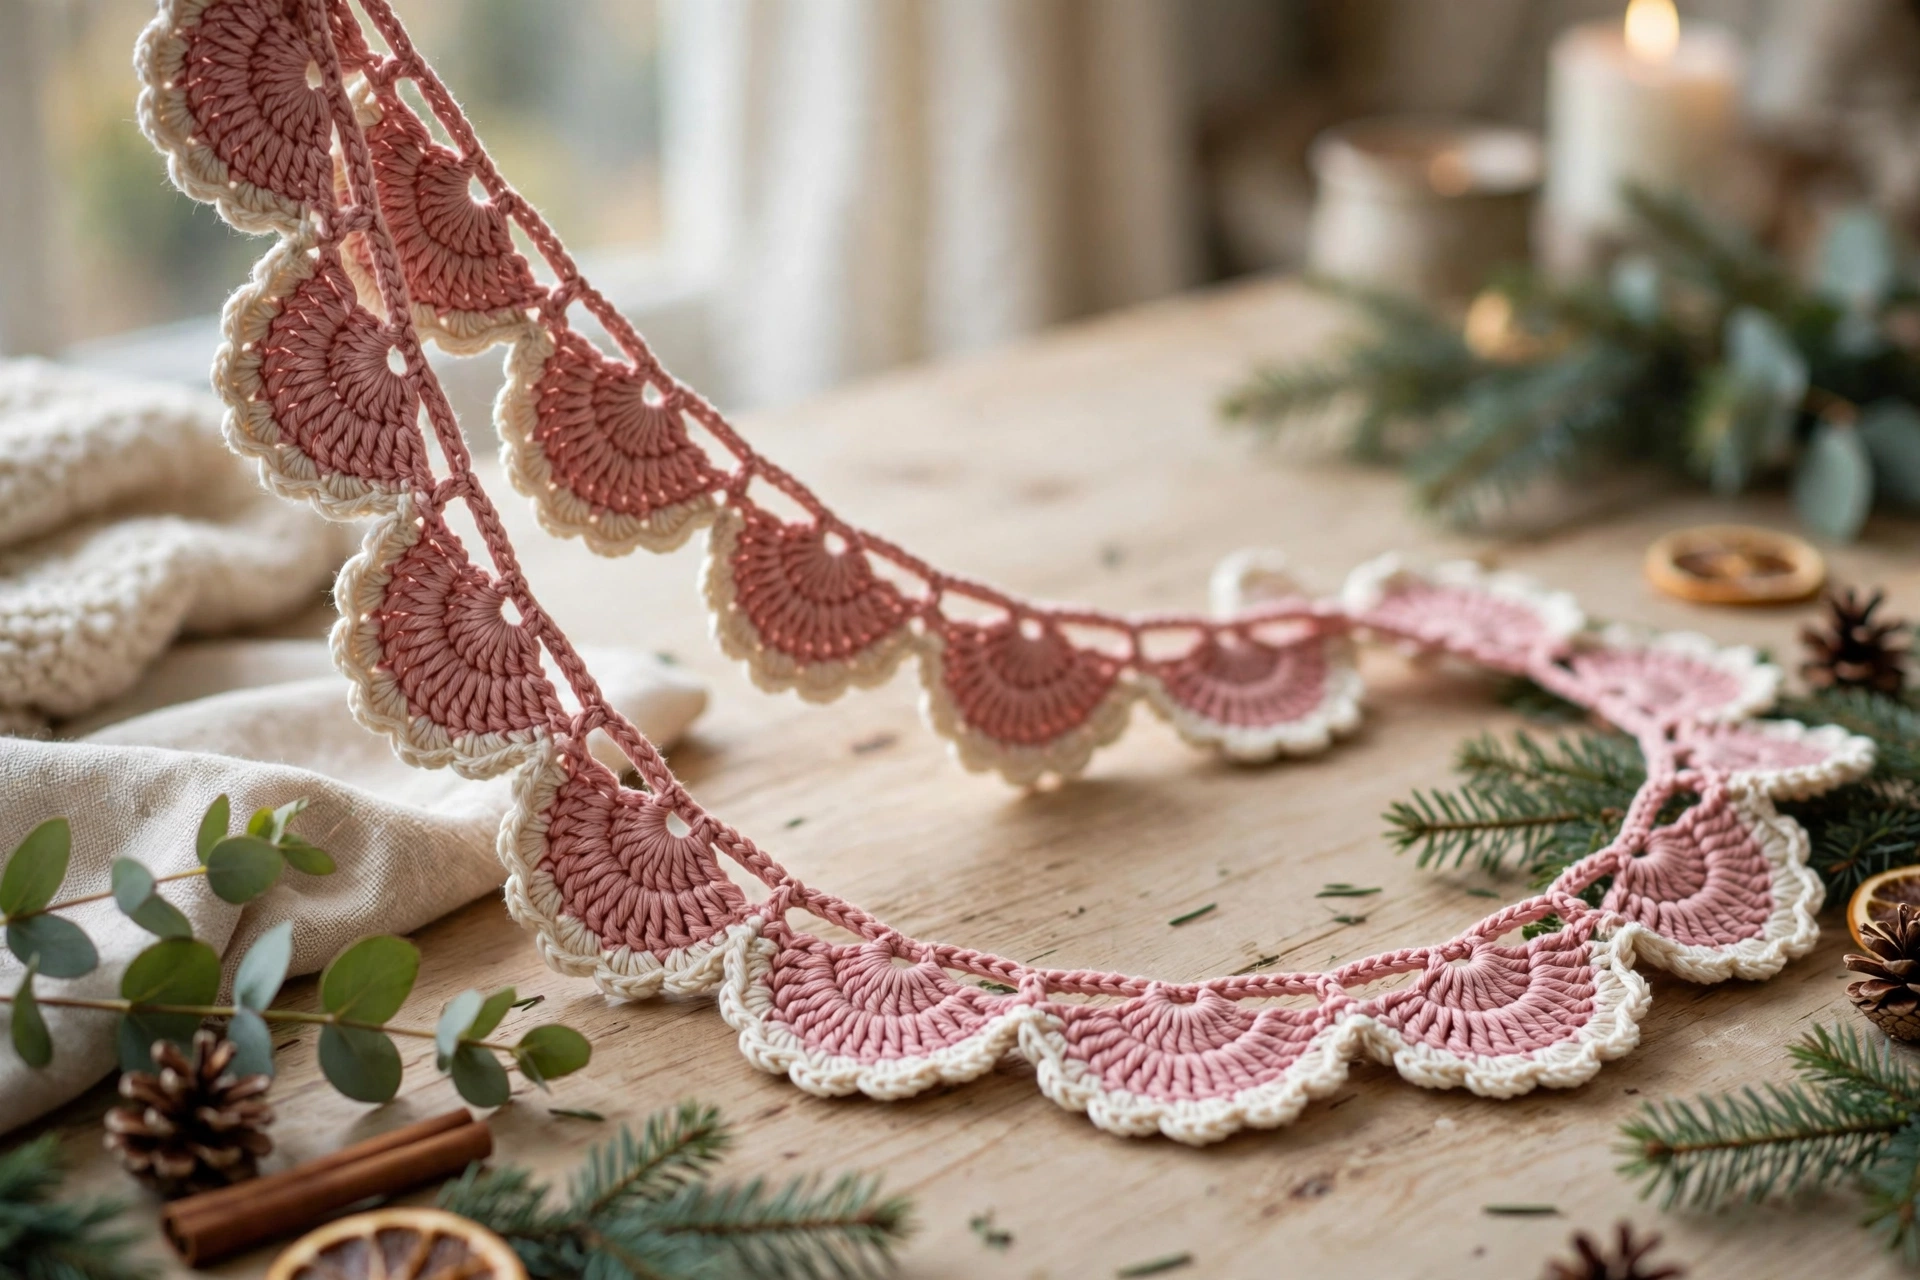
The garland is worked in just three rows, so it suits a confident beginner. First, you chain a long foundation. Then work one row of single crochet and one row of scallop fans. To finish, add a cream edging that makes the dusty-rose fans pop. If you can chain, single crochet and double crochet, you can make it.
The finished garland measures about 150 cm (59 inches) long, including the hanging loops. It fits a standard mantel beautifully. If you enjoyed our crochet Christmas garland pattern, you will love this scallop version. It is its softer, everyday sister, in blush pink and cream for year-round styling. It also pairs beautifully with our crochet popcorn garland.
Materials
- Dusty-rose DK (light worsted, #3) cotton yarn, approx. 80 g — for the scallops
- Cream DK cotton yarn, approx. 30 g — for the edging and hanging loops
- 4 mm (US G-6) crochet hook
- Yarn needle and scissors
- Stitch markers (optional, for marking the foundation chain)
- Two small clear hooks or nails — for hanging
For example, a smooth DK cotton yarn (Lion Brand) in dusty rose gives the scallops a crisp, defined look. It shows off the fan stitches beautifully. US terms follow the Craft Yarn Council’s standard abbreviations. Avoid fluffy or novelty yarns: the scallops need clean stitches to hold their fan shape.
Step 1: Chain the Foundation Cord for Your Crochet Garland
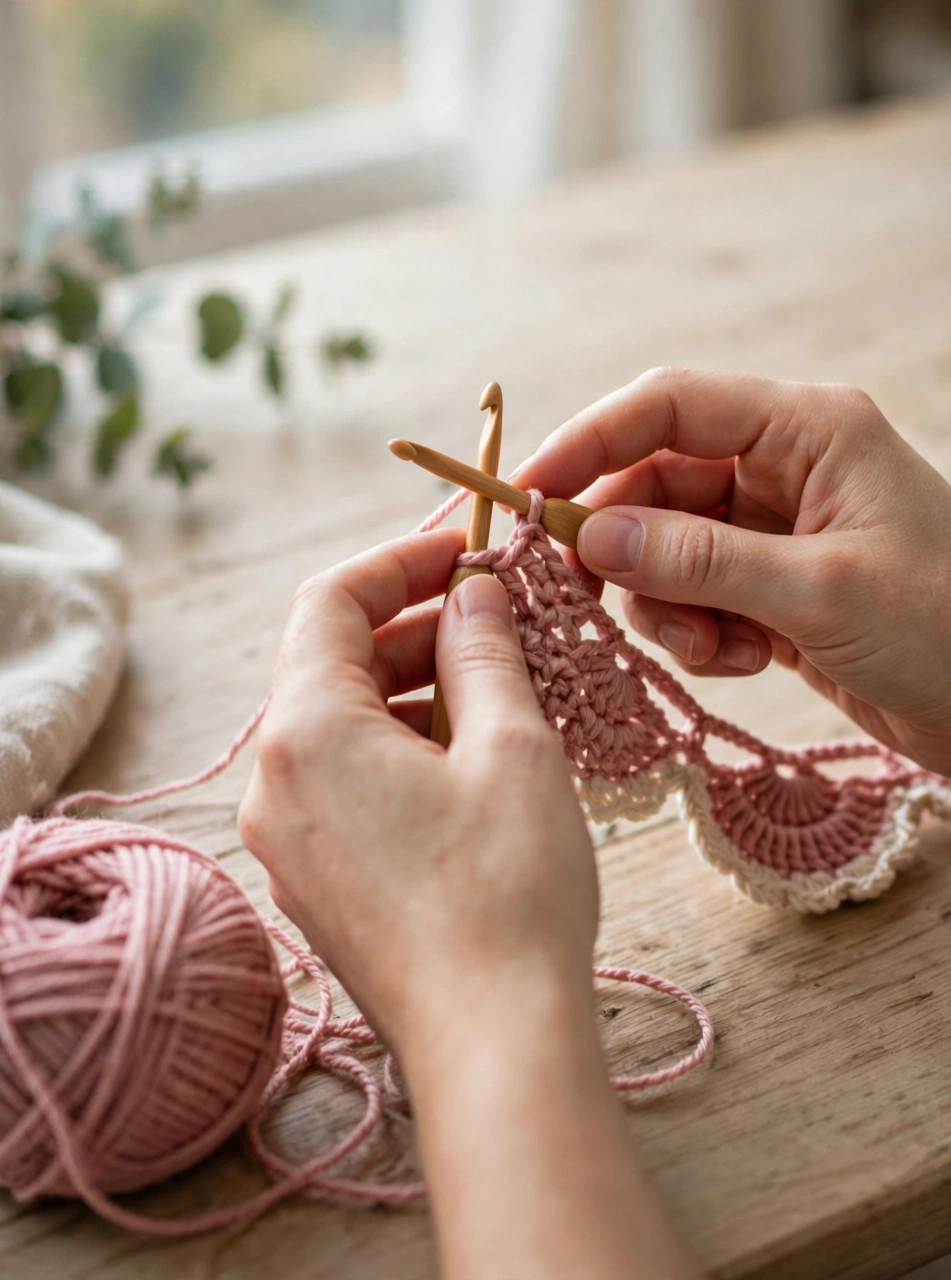
Start with the dusty-rose yarn and chain 122. This long foundation chain is the backbone of the crochet garland. Keep your tension relaxed and even. A tight chain will curl and pull the garland out of shape. A loose one makes the scallops sag.
Count the chain before you move on. 122 chains is what makes the scallop row work out exactly, with 15 fans and no leftover stitches. Place a stitch marker every 20 chains as you go, so counting is quick and you can spot a mistake early.
Step 2: Work the Single Crochet Base Row
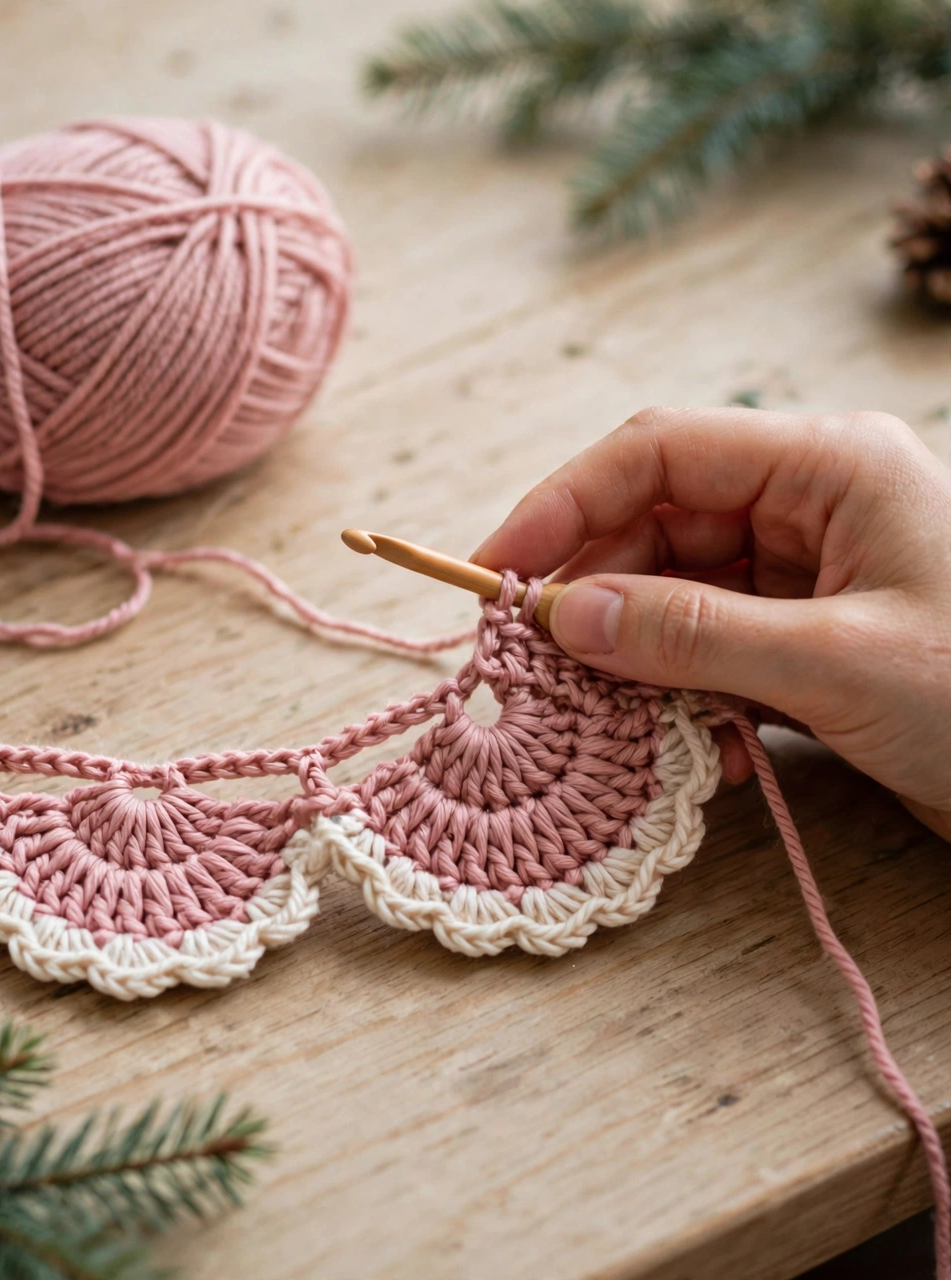
Turn the chain. Work one single crochet in the second chain from the hook. Then work one single crochet in each chain across: 121 stitches in total. Work into the back bump of each chain if you can. It gives the top edge a neat, cord-like finish that looks lovely from the front.
Keep the row flat as you work and check the stitch count at the end. If you have 121 stitches, the scallop row will fit perfectly. If you are one or two short, fix the base row now. It is far easier than fudging the fans later.
Step 3: Crochet the First Scallop Fan
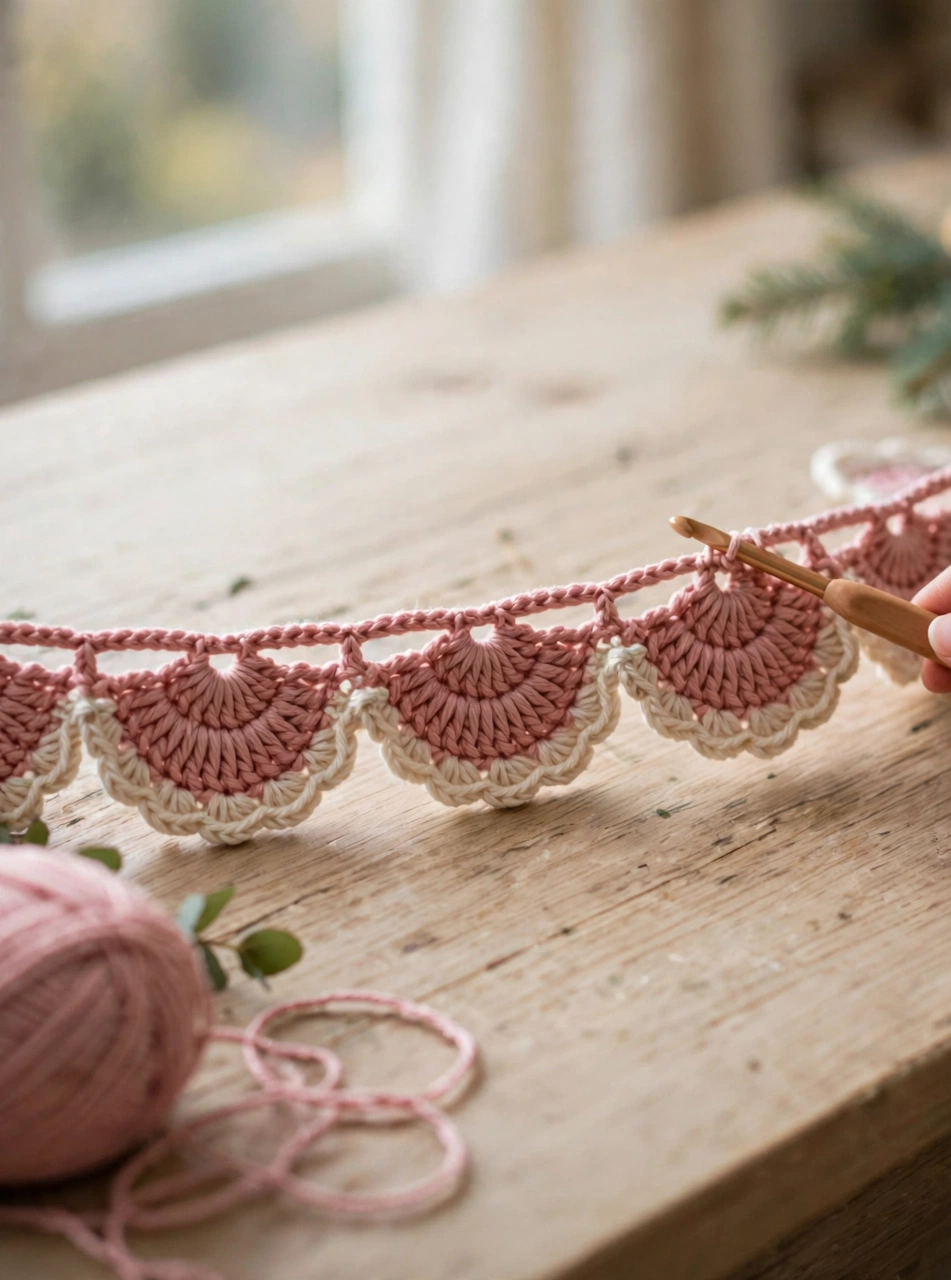
Now for the pretty part — the scallops. Chain 1 and single crochet in the first stitch. Then skip 3 stitches, work 9 double crochet in the next stitch, skip 3 stitches, and single crochet in the next stitch. That fan of 9 double crochet is your first scallop. The single crochet stitches on either side anchor it into little valleys.
Step 4: Repeat the Scallop Row Across the Garland
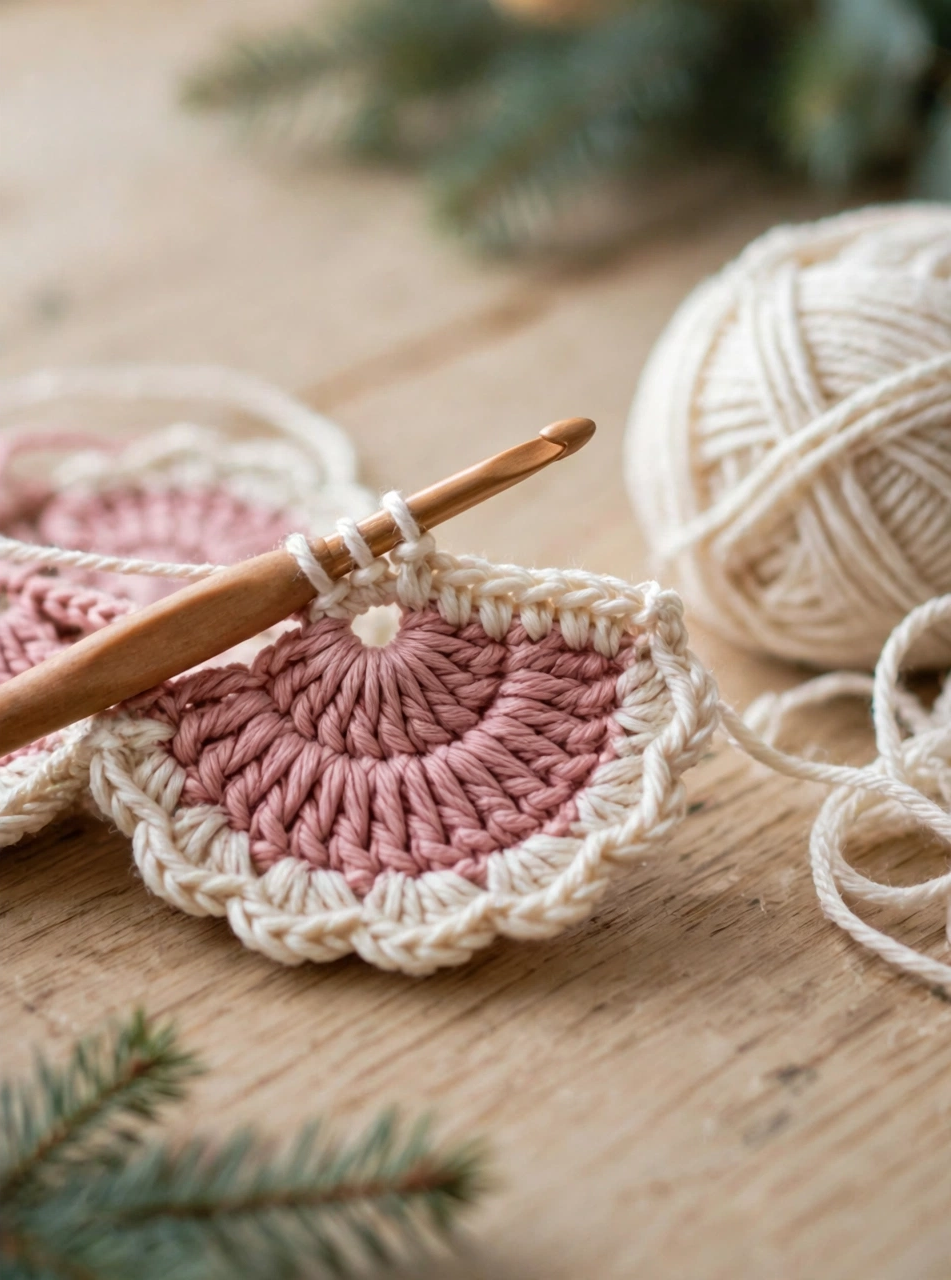
Keep going with the same repeat all the way across the row. Skip 3 stitches. Work 9 double crochet in the next stitch. Skip 3 stitches, then single crochet in the next stitch. The foundation was 122 chains, so the repeat fits exactly 15 times. You finish with a single crochet in the very last stitch.
Step back and look at the row: 15 even scallops, each the same size, with neat little valleys between them. Also, count each fan as you go: nine double crochet, no more, no less.
Step 5: Add the Cream Scalloped Edging
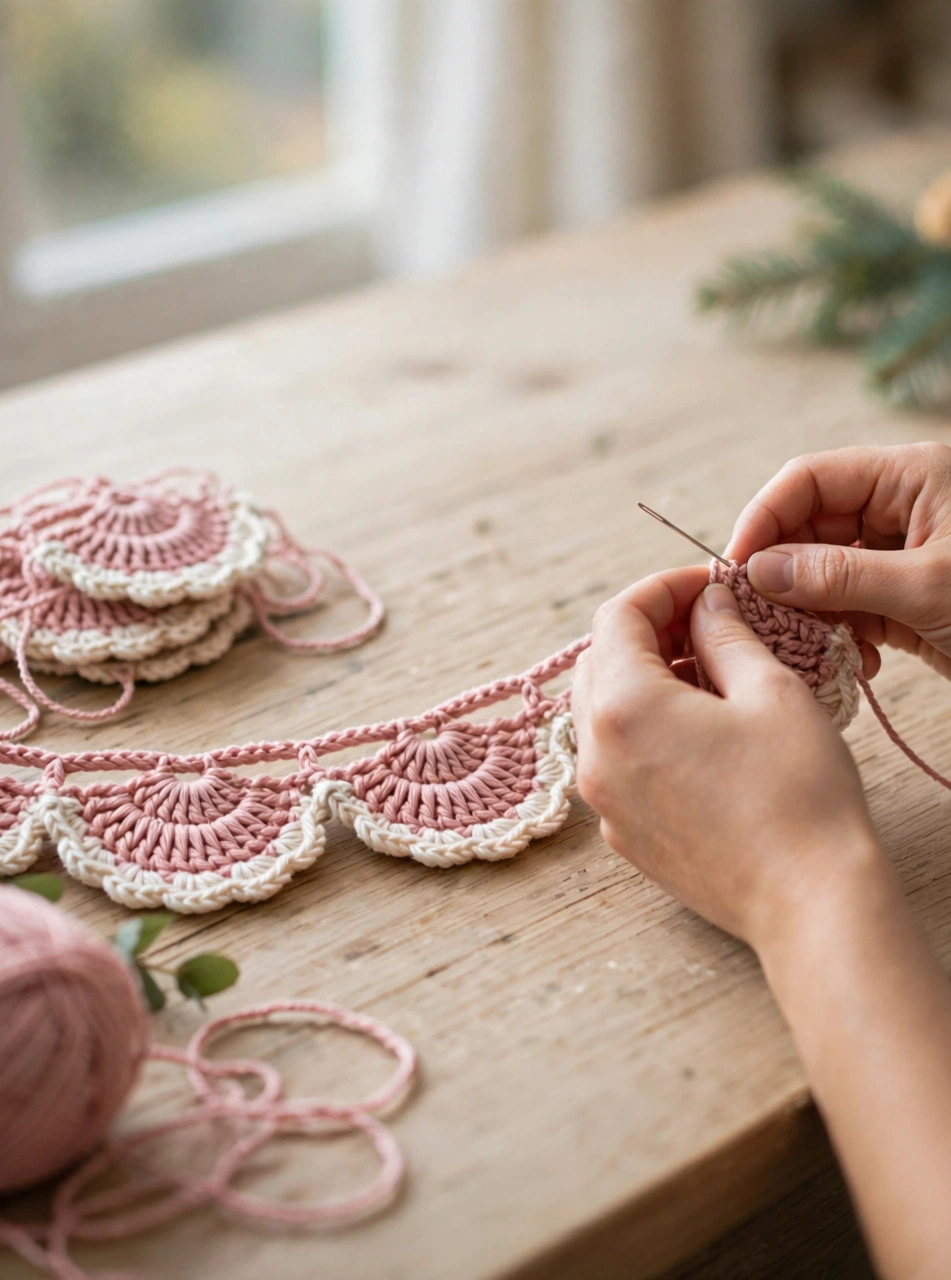
The cream edging is what turns this crochet garland from simple into special. Join the cream yarn with a slip stitch in the first stitch of the scallop row. Chain 1, then single crochet in the same stitch. Then repeat this all the way across: chain 1, skip 1 stitch, single crochet in the next stitch. End with a single crochet in the last stitch.
In fact, the cream stitches trace the top edge of every fan, outlining the dusty-rose scallops like icing on a cake. Work loosely here. A tight edging will pucker the fans. A relaxed one lets them lie flat and drape beautifully.
Step 6: Add Hanging Loops and Hang Your Crochet Garland
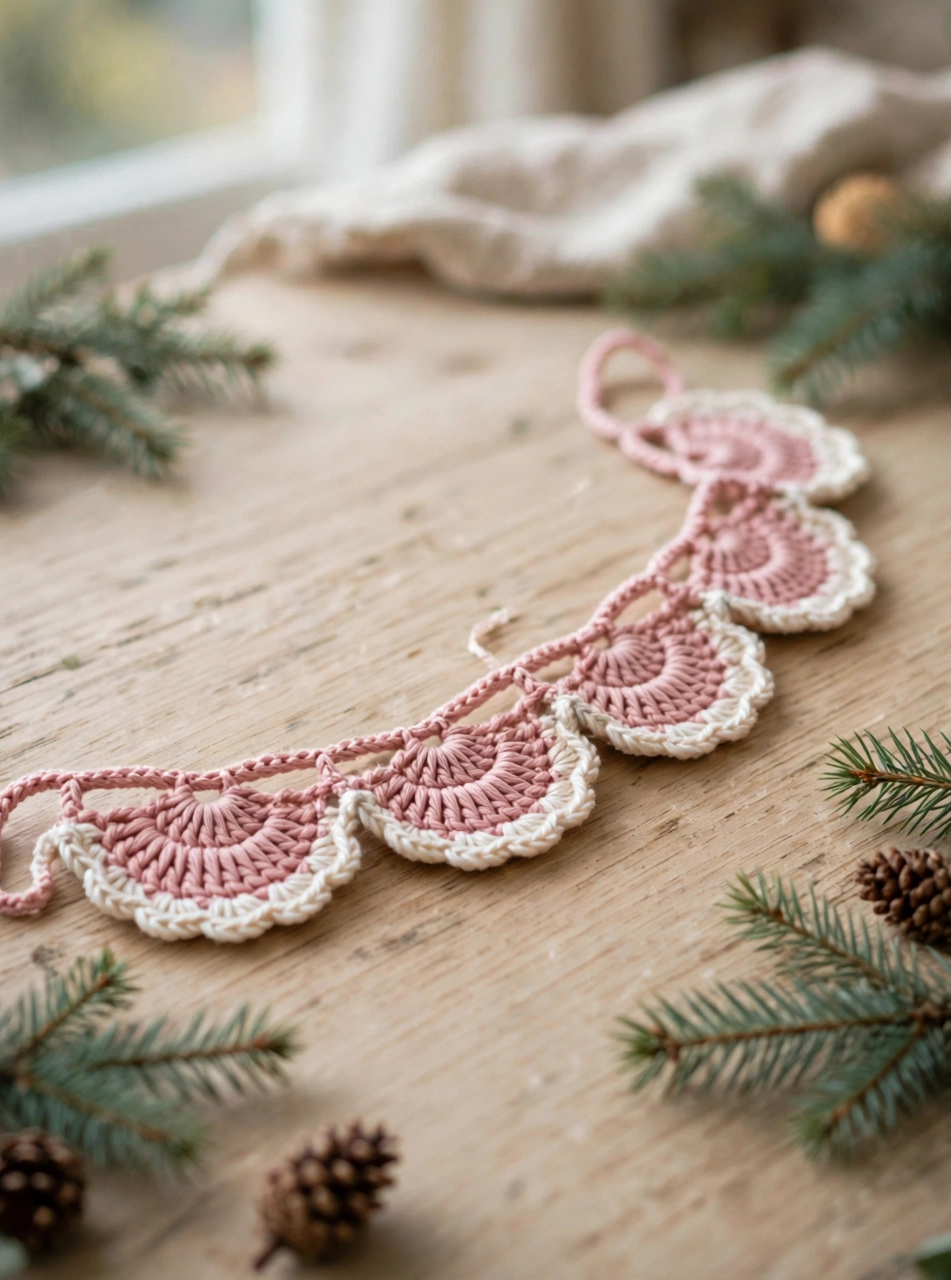
Almost there — your crochet garland is nearly finished. At each end, chain 12. Slip stitch back into the first chain of the loop to form a hanging loop. Then fasten off and weave in all the ends with the yarn needle. Small clear hooks, a nail, or a length of ribbon tied through the loop will hold it.
Drape the garland across your mantel in a gentle swag. Let the centre dip a little lower than the ends. Or hang it straight across a doorway or nursery wall. Next, tuck a few fresh pine sprigs behind it, as in the photo, and adjust the fans so they all face forward. Give the garland a gentle shake so the scallops hang straight. Then step back and enjoy it. Your handmade garland is ready.
Tips for a Perfect Crochet Garland
- Count the foundation chain before you start the scallops. The 15-fan row only works if the chain is exactly 122. Count it twice.
- Work the base row into the back bump of the chain. It gives the top edge a clean cord finish and stops the garland from curling.
- Keep the cream edging loose. A tight edging puckers the fans; relaxed stitches let the garland drape in a soft swag.
Frequently Asked Questions
Is this crochet garland pattern suitable for beginners?
Yes. It uses only chains, single crochet and double crochet, worked in three straight rows with no shaping, sewing or stuffing. If you can make a granny square, you can make this garland in one evening.
How long does the garland take to crochet?
Most crocheters finish in one evening — about two to three hours.
Can I make the garland longer or shorter?
Absolutely. Add or remove chains in multiples of 8 before the single-crochet row. Each extra 8 stitches adds one scallop. Just re-count so the scallops still fit exactly, and keep the cream edging pattern the same.
What colours work best for a crochet garland?
Dusty rose and cream suit almost any room, from a Christmas mantel to a nursery wall. For a festive look, try deep green with gold edging. For a nursery, swap the rose for soft sage or butter yellow.
Conclusion
Overall, this crochet garland pattern is a joyful, relaxing make that brings a handmade touch to your home. Fifteen dusty-rose scallop fans with a delicate cream edging come together in just three rows. The garland looks just as lovely over a mantel as across a doorway or a nursery wall. Download the free printable PDF pattern below, gather your yarn, and happy crocheting!