How to Crochet a Pencil Case
Want to learn how to crochet a pencil case that is practical, durable, and handmade? This easy crochet pencil pouch is a great project for beginners and experienced crocheters alike.
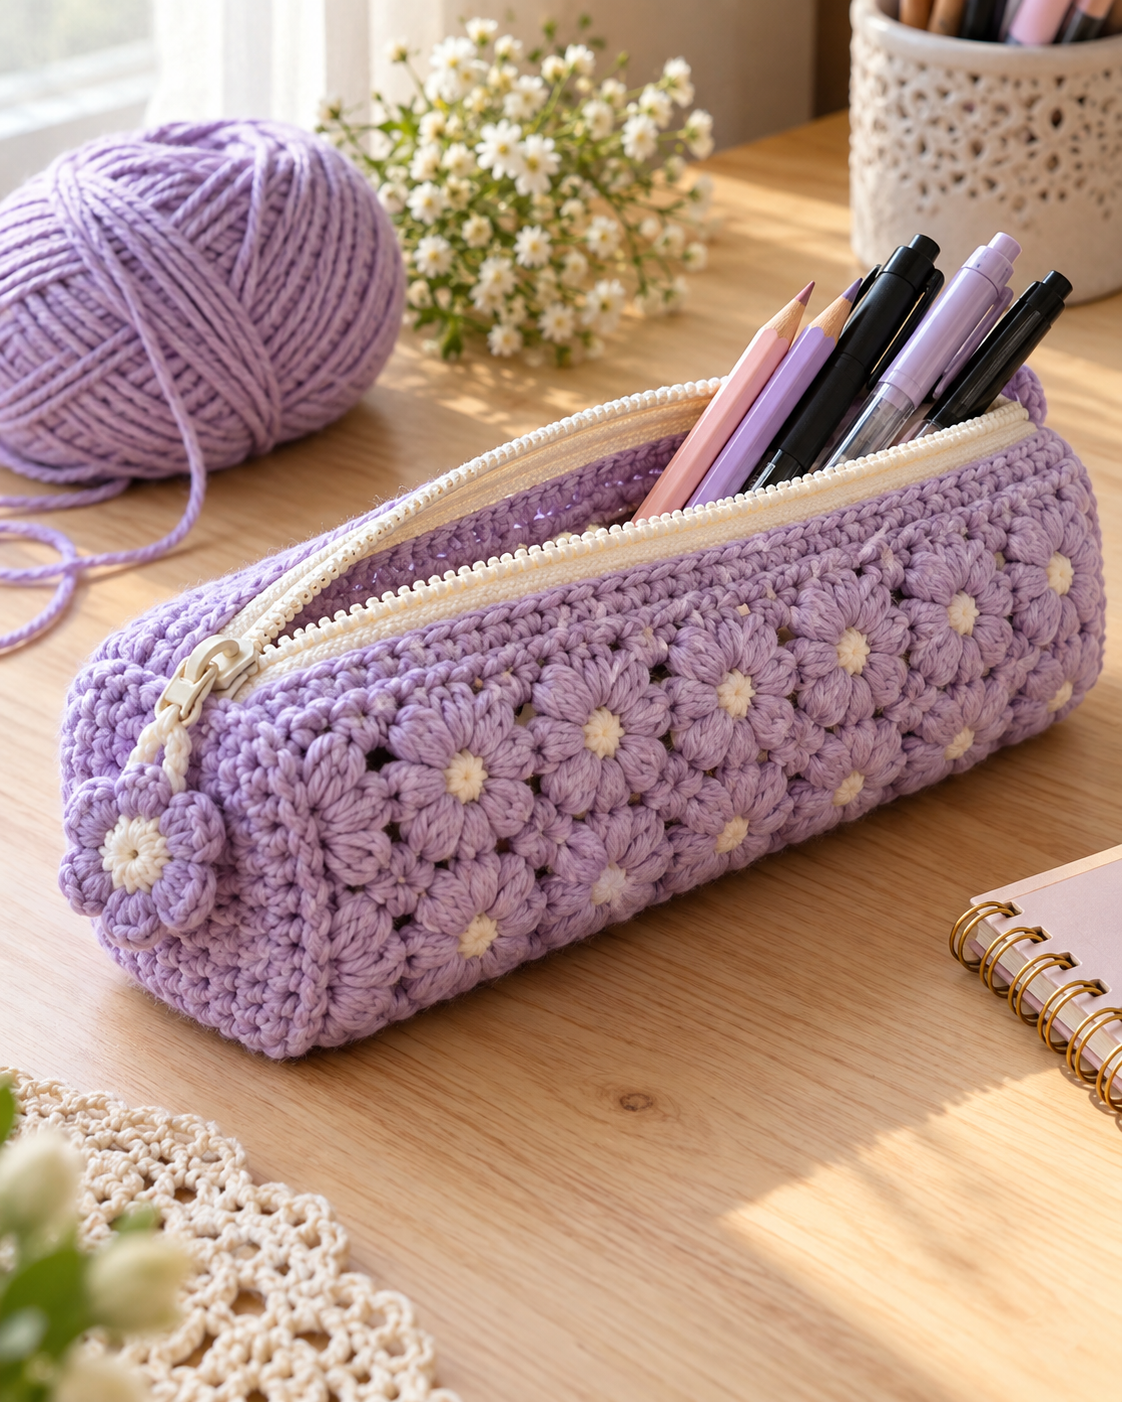
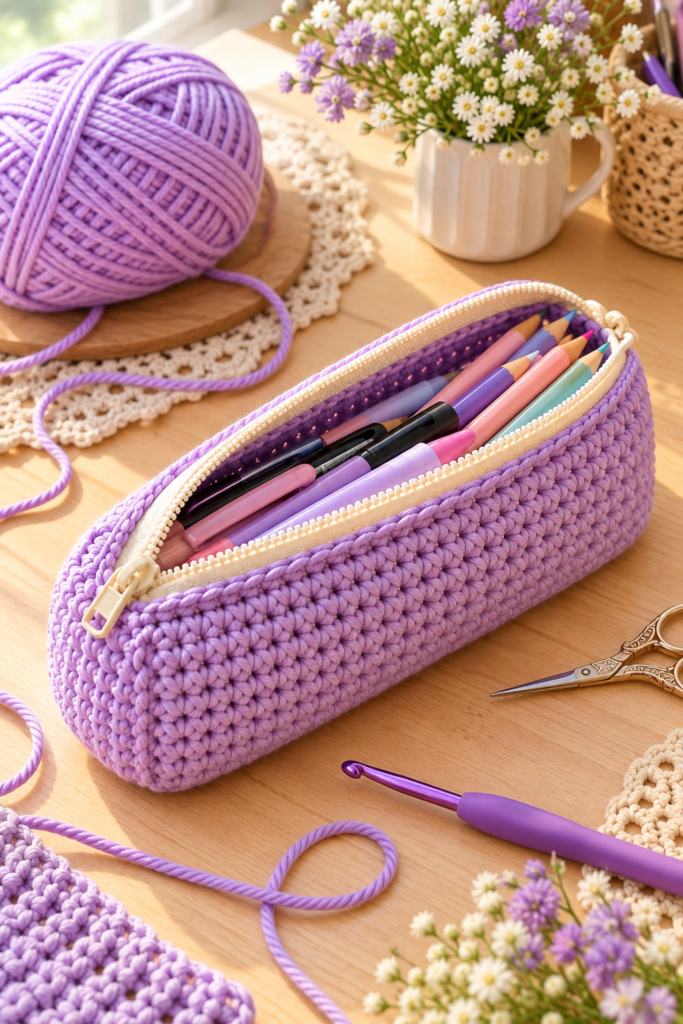
The finished pencil case has a simple rectangular shape with rounded ends, a secure zipper, and a sturdy crochet texture. You can use it to store pencils, pens, markers, crochet hooks, makeup brushes, or other small accessories.
This tutorial explains the complete process, from making the foundation chain to creating the oval base, building the sides, and attaching the zipper.
Why Make a Crochet Pencil Case?
A handmade crochet pencil case is more than useful storage. It is also a fun way to personalize your stationery and use your favorite yarn colors.
- It is practical and reusable.
- It is suitable for beginners.
- It uses basic crochet stitches.
- You can customize the size.
- You can choose any yarn color.
- It makes a thoughtful handmade gift.
- It can become a makeup pouch or small organizer.
Materials You’ll Need
Before learning how to crochet a pencil case, gather all your materials.
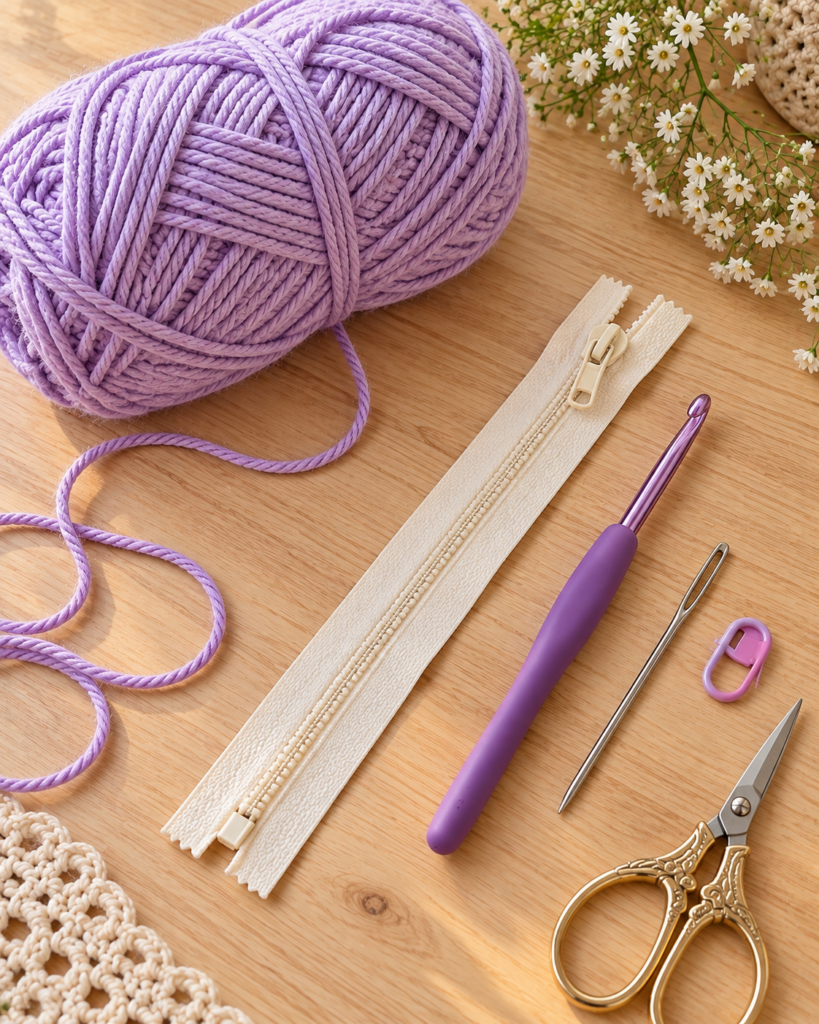
Yarn
Use worsted-weight yarn, preferably cotton or a cotton blend. Cotton yarn is a particularly good choice because it creates a firm fabric and helps the finished pouch keep its shape.
Crochet Hook
For the example shown here, use a 4.0 mm crochet hook. Your ideal hook size may vary depending on your yarn and crochet tension.
Zipper
Use a zipper of approximately 20 cm (8 inches) for a medium-sized pencil case. Choose a zipper that matches the finished width of your pouch.
Other Supplies
- Yarn needle
- Scissors
- Stitch marker, optional
- Measuring tape, optional
- Sewing needle and thread if you prefer to sew the zipper
Crochet Abbreviations
| Abbreviation | Meaning |
| ch | Chain |
| sc | Single crochet |
| sl st | Slip stitch |
| st | Stitch |
| rnd | Round |
Step-by-Step: How to Crochet a Pencil Case
Step 1: Make the Foundation Chain
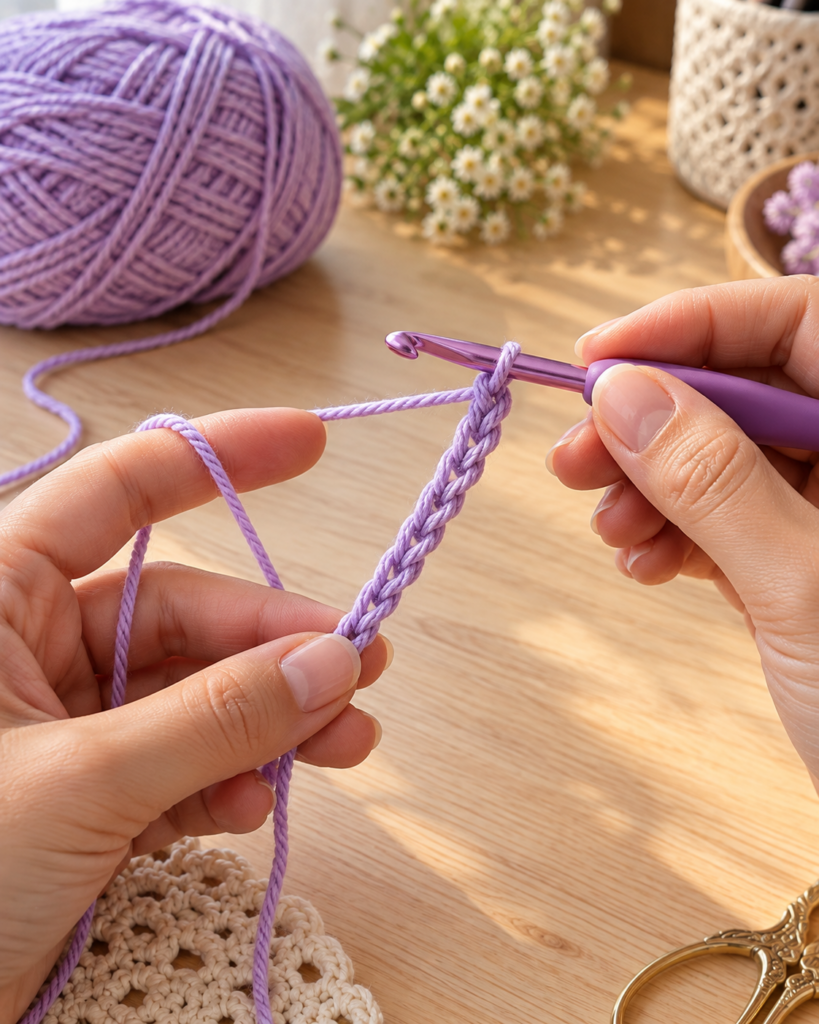
Start with a slip knot and place it on your crochet hook. Next, make an even number of chain stitches. For the pencil case shown in the example, start with approximately 30 chains. Keep your chain stitches relatively loose and even. The foundation chain determines the length of the pencil case. If you want a longer pouch, make more chains. For a smaller pouch, use fewer chains.
Step 2: Crochet the Oval Base
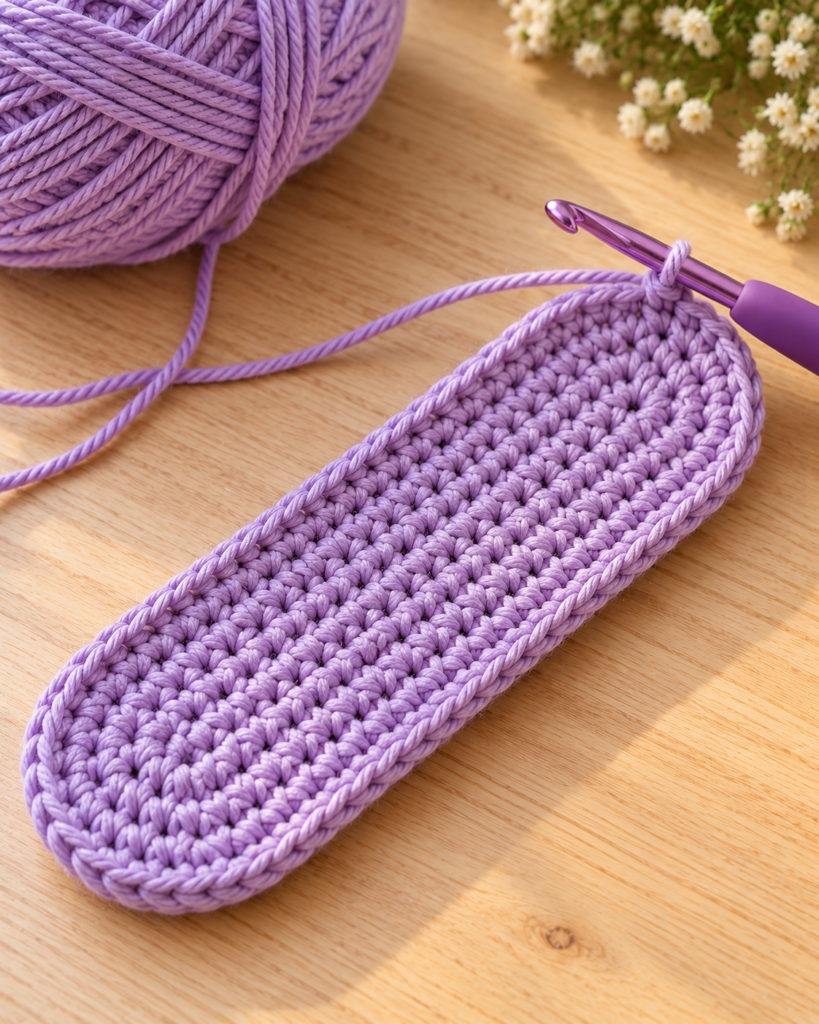
Work single crochet stitches around the foundation chain, continuing along one side and then around the opposite side. This creates the elongated oval shape that forms the bottom of the pencil case. Continue working rounds around the oval. Add increases around the curved ends when necessary so the base stays flat. Place the piece on a flat surface to check its shape.
Step 3: Build the Sides
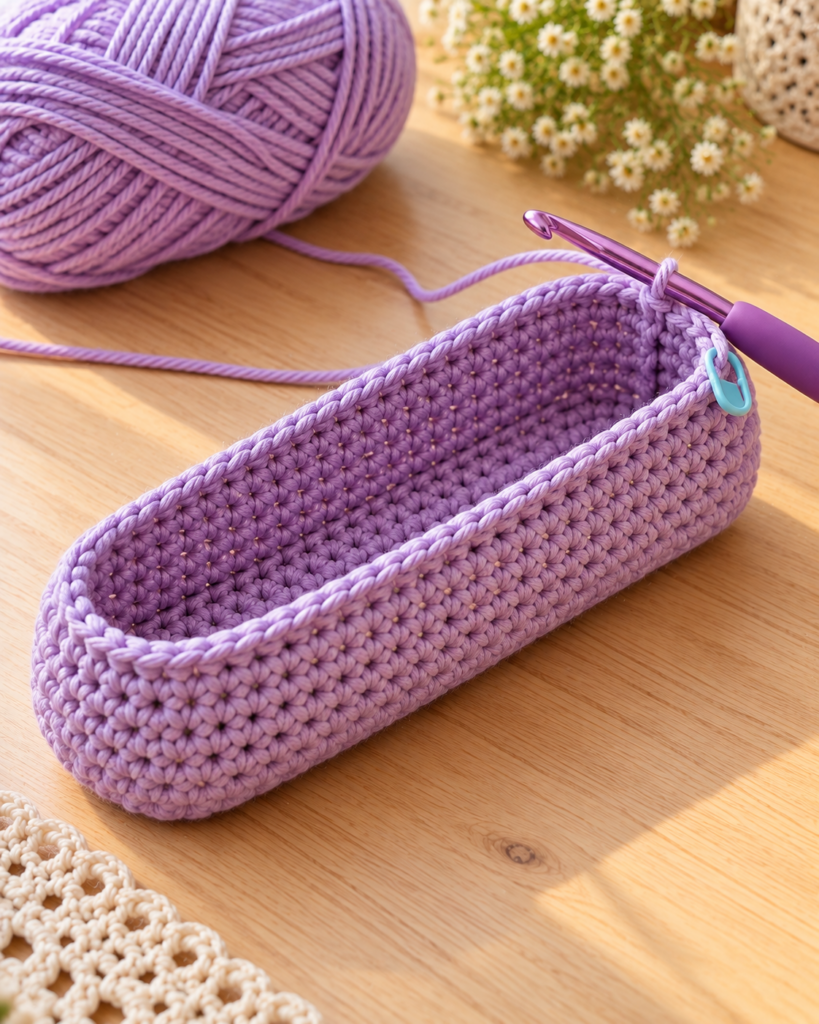
Once the oval base reaches the desired size, begin crocheting upward. Work single crochet stitches around the entire base. Continue working rounds without adding increases. The crochet fabric will begin to rise and form the walls of the pencil case. Continue until the sides are about 6–8 cm (2.5–3 inches) high, or until they reach the height you prefer.
Step 4: Finish the Crocheted Pouch
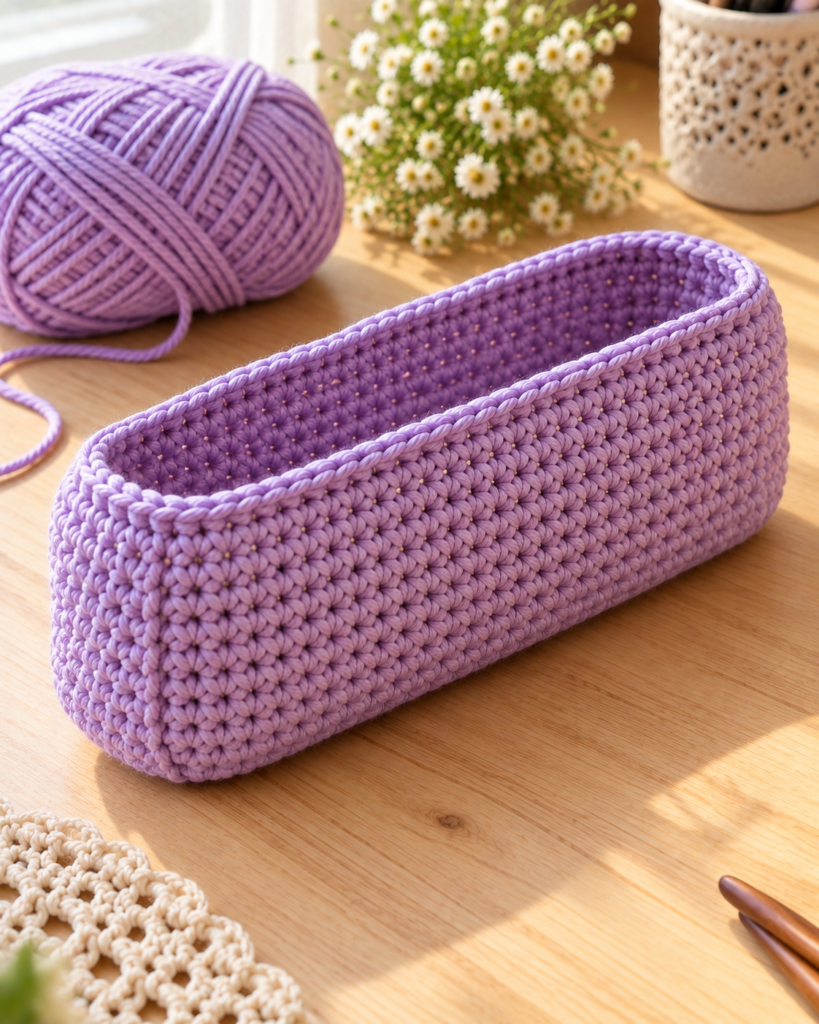
When the sides reach your desired height, finish the final round. Fasten off the yarn and weave the loose end securely into the crochet fabric with a yarn needle. Check the shape and gently reshape the pouch if needed before attaching the zipper.
Step 5: Attach the Zipper
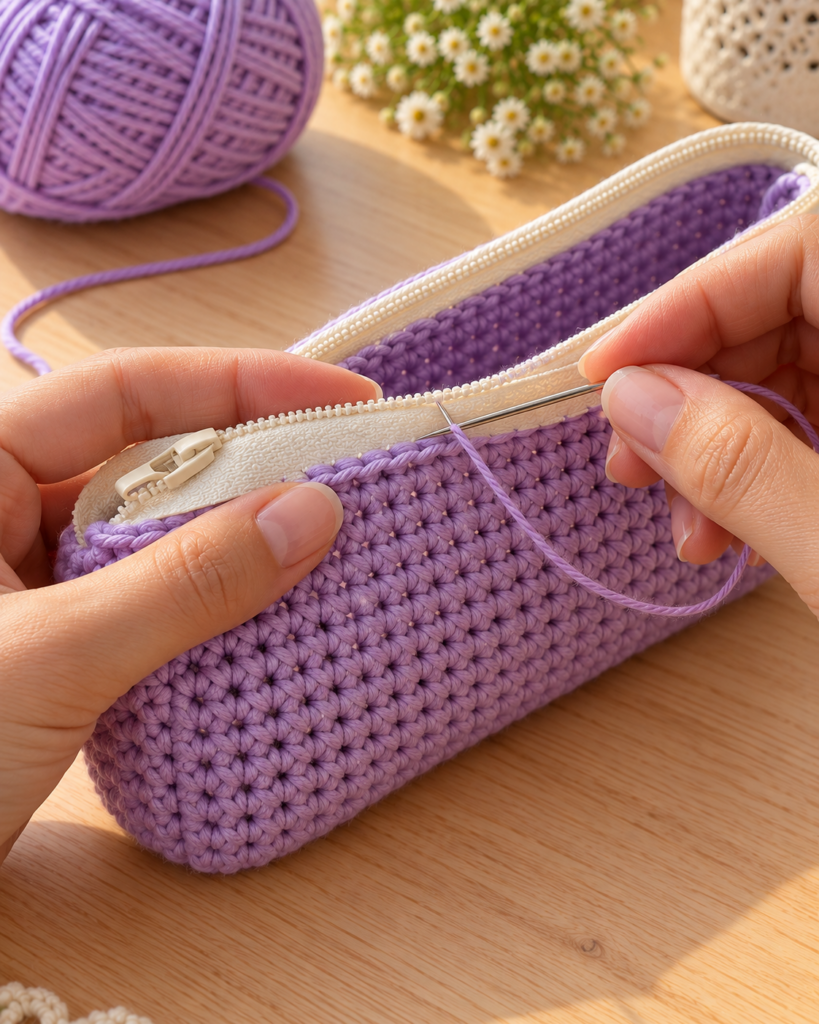
Place the zipper along the top opening of the crochet pencil case. Make sure both sides are aligned evenly. Open the zipper and position one side along the inside edge. Use small, even stitches to secure the zipper tape. Attach the second side in the same way. Finally, open and close the zipper several times to check that it moves smoothly.
Step 6: Finish and Weave in the Ends
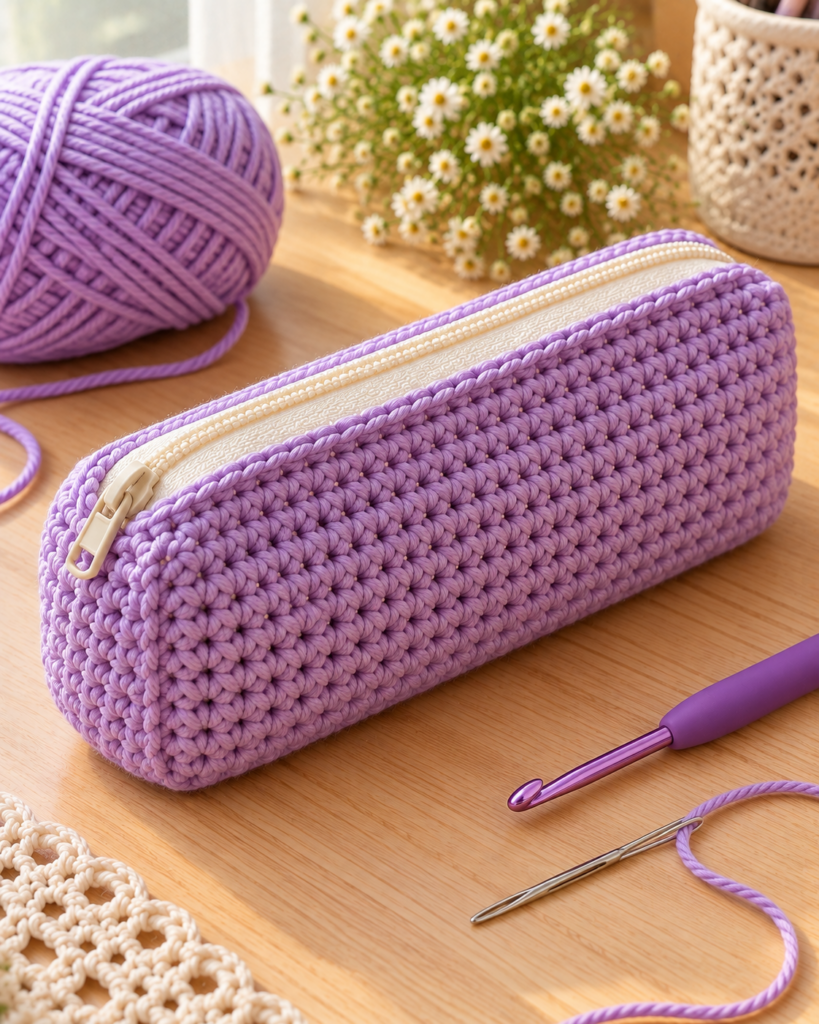
Inspect the entire pencil case. Check that the zipper opens smoothly, the zipper tape is secure, and there are no loose yarn ends. Weave any remaining yarn ends into the crochet fabric and trim the excess only after the ends are secure.
Your Crochet Pencil Case Is Finished!
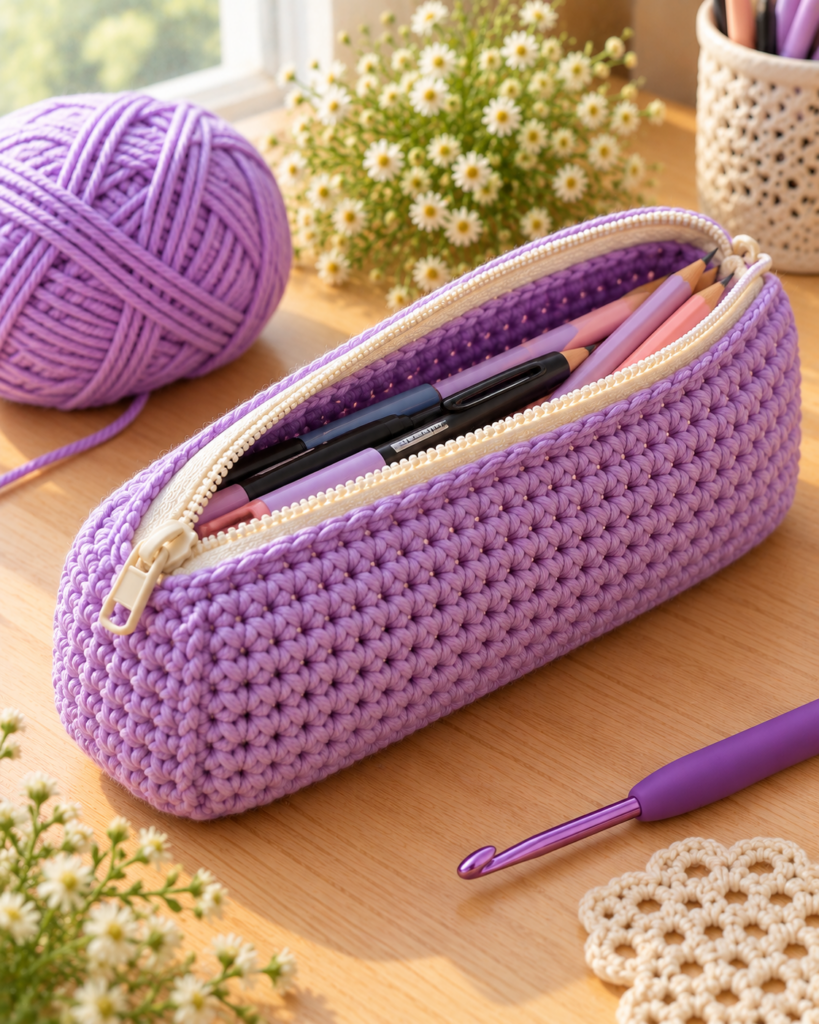
Congratulations! You now have a handmade crochet pencil case ready to use. Fill it with pencils, pens, markers, crochet hooks, or other small supplies. The simple shape also makes this project easy to customize.
Helpful Tips for Making a Crochet Pencil Case
Use Cotton Yarn
Cotton yarn is a great choice because it creates a sturdy fabric and gives single crochet stitches a clean appearance.
Keep Your Tension Consistent
Try to maintain the same tension throughout the project. Uneven tension can make the oval base curve or make one side taller than the other.
Use a Stitch Marker
A stitch marker can help you identify the beginning of each round. This is especially useful when working continuous rounds.
Check the Size as You Crochet
Place pencils inside the pouch while you work. This lets you adjust the length and height before finishing.
Block the Finished Pouch
Light blocking can improve the shape of your crochet pencil case and help the pouch sit more evenly.
Add a Fabric Lining
Want to make your crochet pencil case more durable? Add a simple fabric lining. A lining can strengthen the pouch, prevent small objects from catching in the crochet stitches, give the inside a cleaner appearance, and protect the crochet fabric from pens and pencils.
Choose a lightweight cotton fabric that complements your yarn color.
How to Customize Your Crochet Pencil Case
Make a Larger Pencil Case
Start with a longer foundation chain. Then continue working the oval base until it reaches the desired width. A larger pouch can also be used as a makeup bag, crochet hook case, small toiletry pouch, travel organizer, or cable organizer.
Make a Smaller Pouch
Use fewer foundation chains to create a compact pouch. A small version is useful for coins, earbuds, USB drives, small accessories, or sewing supplies.
Crochet Pencil Case Color Ideas
Your pencil case does not have to be lavender. Try different combinations to match your personal style.
- Soft pastels: lavender, baby pink, cream, peach, and mint green.
- Classic neutrals: beige, white, gray, brown, and black.
- Bright colors: coral, turquoise, yellow, pink, and purple.
- Stripes: change yarn color every few rounds for a simple striped design.
Common Problems and Solutions
Why Is My Oval Base Curling?
If the base curls upward, you may need additional increases around the curved ends. Check your stitch count and distribute the increases evenly.
Why Is My Base Wavy?
A wavy edge can indicate too many increases. Try reducing the number of increases in the next round.
Why Is My Pencil Case Too Soft?
Your stitches may be too loose. Try a smaller crochet hook or a firmer cotton yarn.
Why Does My Zipper Not Fit?
Measure the finished opening before buying the zipper. It should be long enough to cover the opening without creating excessive tension.
Why Does My Pouch Look Uneven?
Check your crochet tension and make sure you are working the same number of stitches consistently around the sides. Light blocking can also improve the final shape.
Frequently Asked Questions
Is this crochet pencil case suitable for beginners?
Yes. The main body uses basic techniques such as chain stitches and single crochet. The zipper attachment is the most detailed finishing step.
What yarn is best for a crochet pencil case?
Worsted-weight cotton or cotton-blend yarn is an excellent choice because it creates a sturdy and structured fabric.
What size crochet hook should I use?
A 4.0 mm crochet hook is a good starting point for worsted-weight yarn. However, your ideal hook size depends on your yarn and tension.
How much yarn do I need?
The amount depends on the size of your pencil case, yarn weight, hook size, and tension. For a medium pouch, one skein is a practical starting point.
Can I make the pencil case without a zipper?
Yes. You can replace the zipper with a button, snap, drawstring, flap, or another closure.
Can I sell finished crochet pencil cases?
You can make and sell finished handmade pencil cases. If you publish your own tutorial or pattern, create your own written instructions and photographs rather than copying another designer’s content.
Final Thoughts
Learning how to crochet a pencil case is a fun way to create something practical with your own hands. The project starts with a simple foundation chain, then develops into an oval base. From there, single crochet rounds build the sides before you finish the pouch with a zipper.
The best part is that you can customize the size, color, yarn, and finishing details. Use cotton yarn for a sturdy result, add a fabric lining for extra durability, and experiment with different colors to create a pencil case that matches your style.
Once you make your first one, you may find yourself making several more as handmade gifts or useful organizers. Save this tutorial and give this easy crochet pencil case a try on your next crochet day!