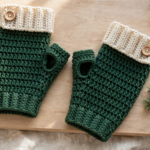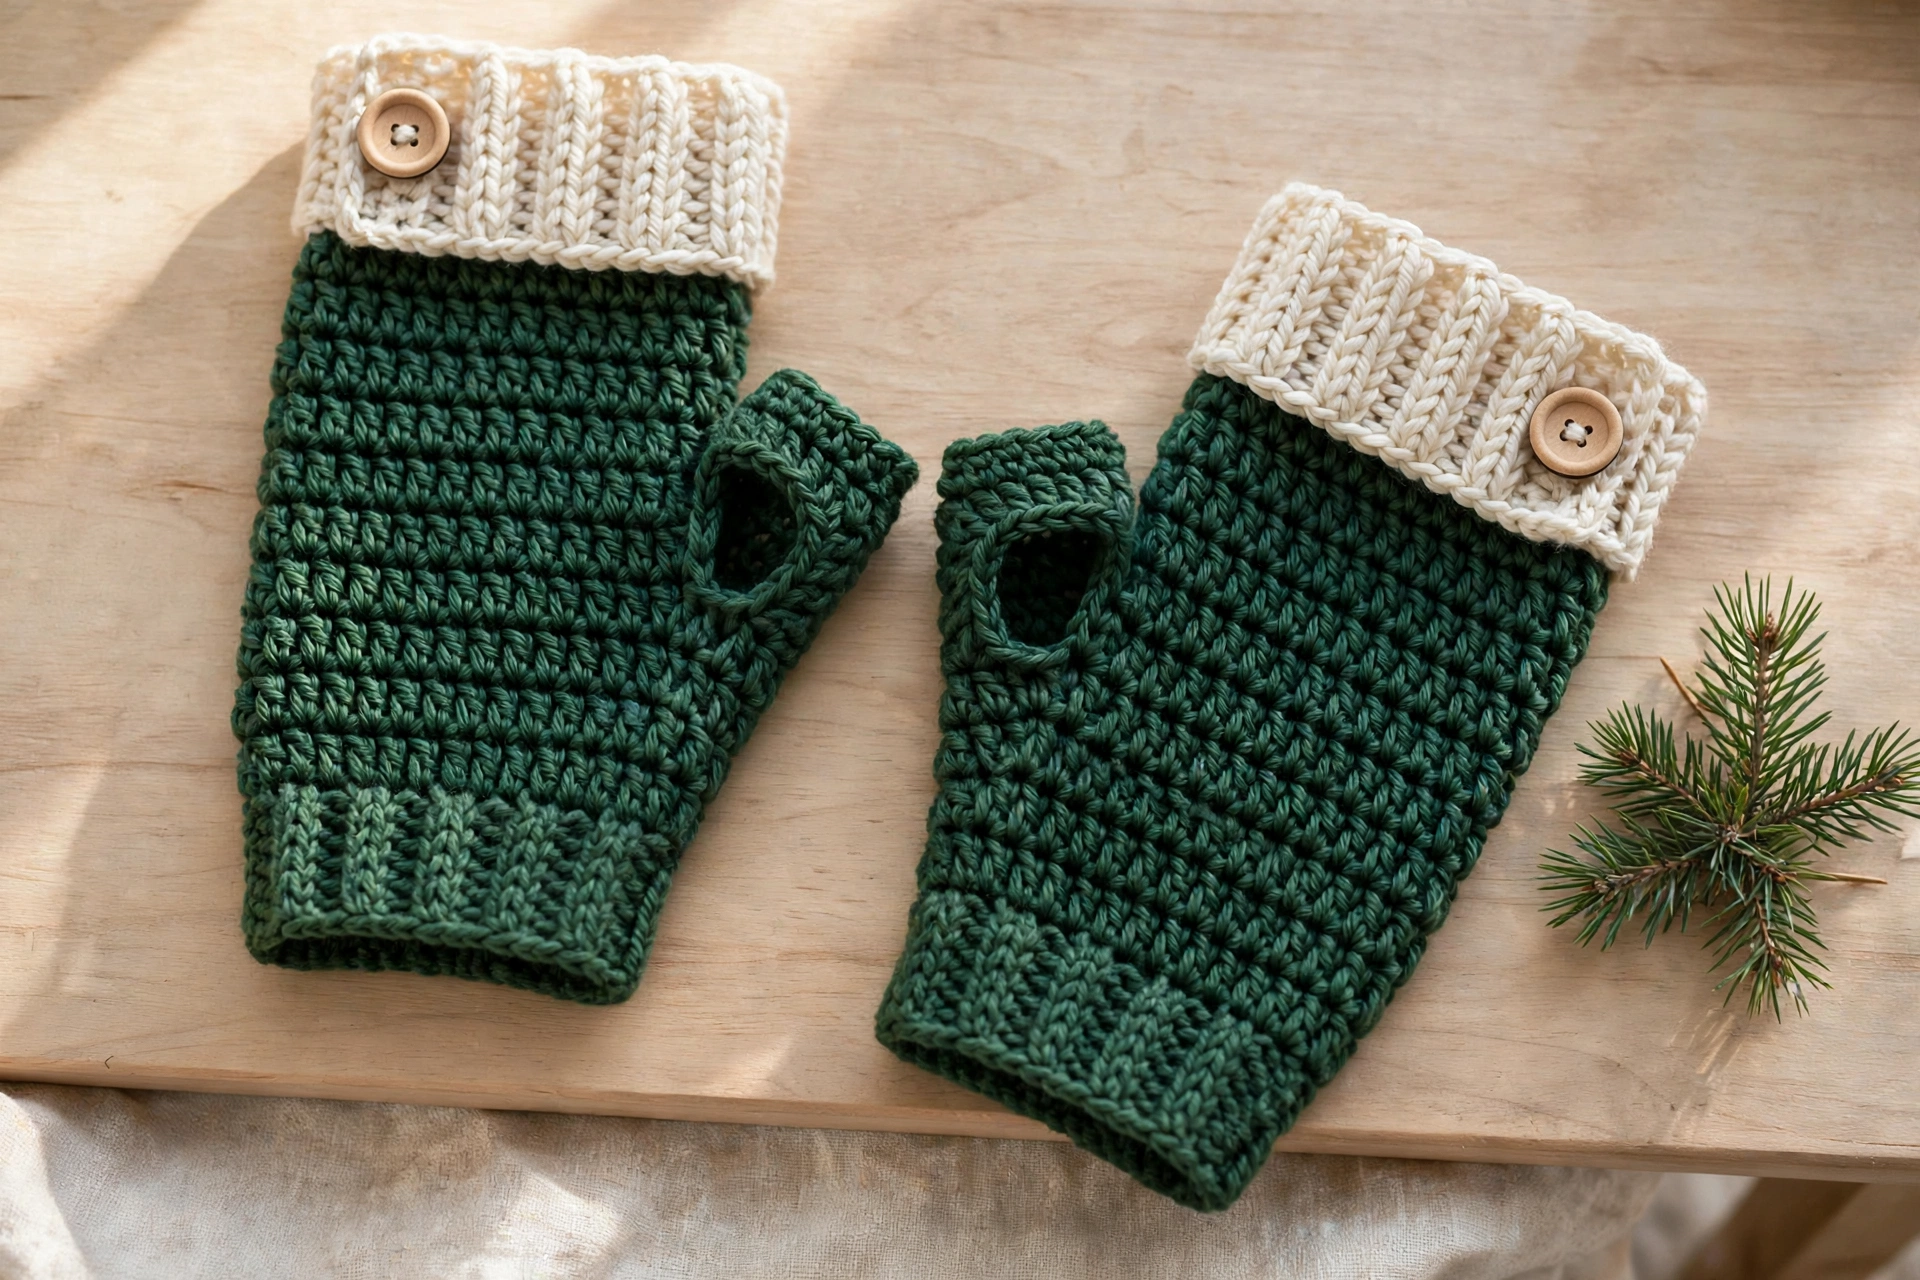
If your hands get cold but you still need your fingers free — for typing, scrolling, or holding a warm mug — this crochet fingerless gloves pattern is the project for you. These cozy fingerless mitts are worked in deep forest green with cream ribbed cuffs and a sweet wooden button, and the whole pair comes together in one relaxing evening. The pattern uses only single crochet and half double crochet, so it is a perfect first garment-style project for a confident beginner.
Each glove is worked flat in rows, then folded and seamed with a gap left open for the thumb — no shaping, no increasing, no fiddly thumb gusset. The finished gloves measure about 13 cm (5 inches) long and fit an 18–19 cm (7–7.5 inch) hand, with easy instructions below to size them up or down.
Materials for This Crochet Fingerless Gloves Pattern
You will need:
- Worsted (#4) yarn in forest green — approx. 90 yds (for a pair)
- Worsted (#4) yarn in cream — approx. 30 yds
- 5.0 mm (US H-8) crochet hook
- Yarn needle
- Scissors
- 2 stitch markers
- 2 wooden buttons, 15 mm
Yarn choice: a soft wool blend or premium acrylic works best, because the stitches need a little stretch to hug your hand. Pure cotton has almost no give, so save it for summer projects. If you are unsure about yarn weights, the Craft Yarn Council’s yarn weight guide explains the numbering system.
Gauge: 14 hdc and 10 rows = 10 cm (4 inches). Gauge is not critical — check the glove against your own hand as you go, and go up or down a hook size if it feels too tight or too loose.
Step 1: Crochet the Ribbed Cuff
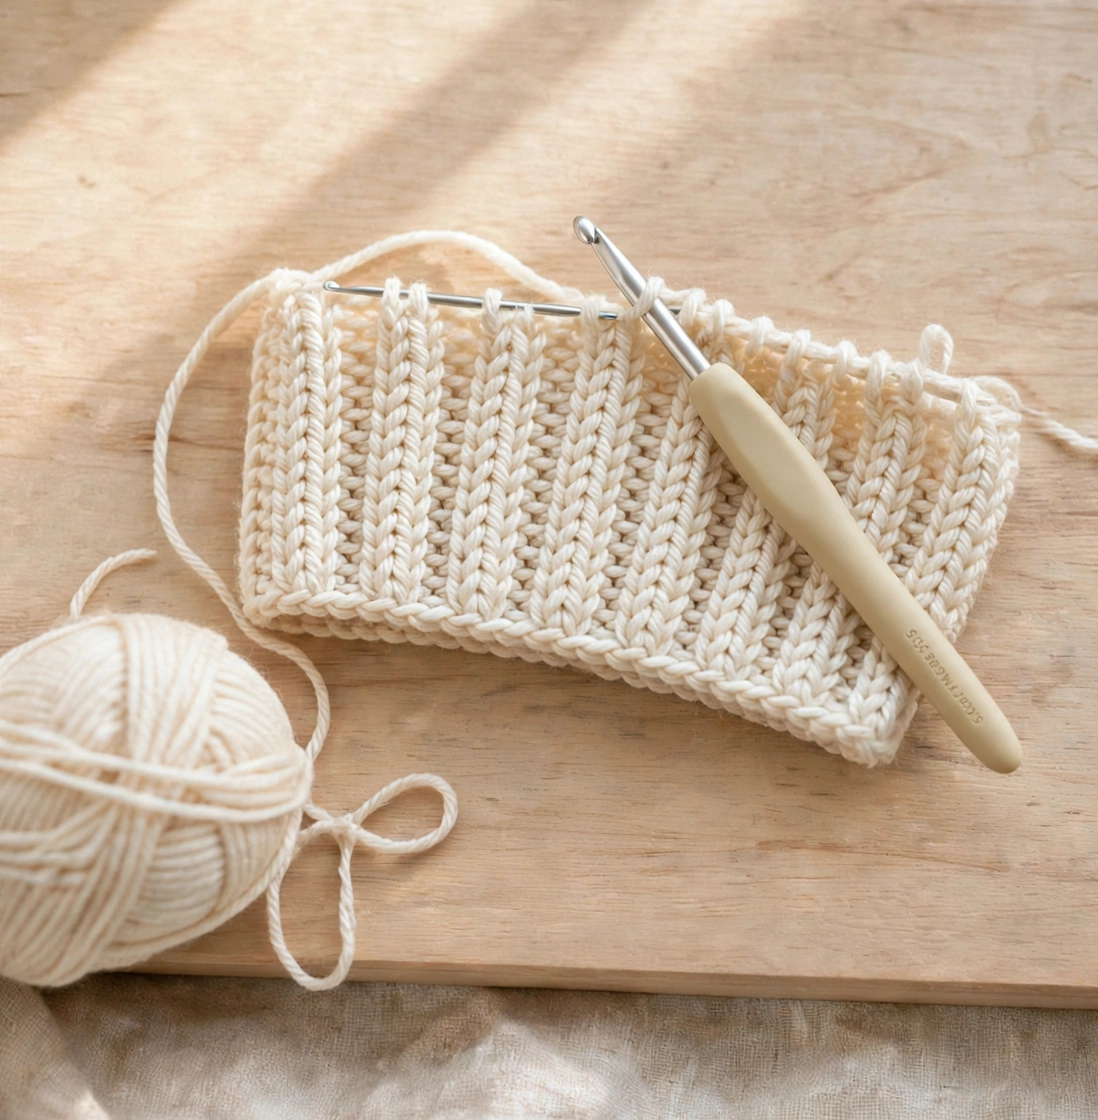
Every glove in this crochet fingerless gloves pattern starts the same way: a stretchy ribbed cuff in cream yarn, worked in back-loop-only single crochet.
With cream, ch 13. Row 1: sc in the 2nd ch from the hook and in each ch across. (12 sc) Rows 2–24: ch 1, turn, sc in the back loop only of each st across. (12 sts) Work 24 rows to make a ribbed rectangle 12 stitches wide and 24 rows long — the ribs run across the short side, and the rows will wrap around your wrist.
Step 2: Work the Hand in Half Double Crochet
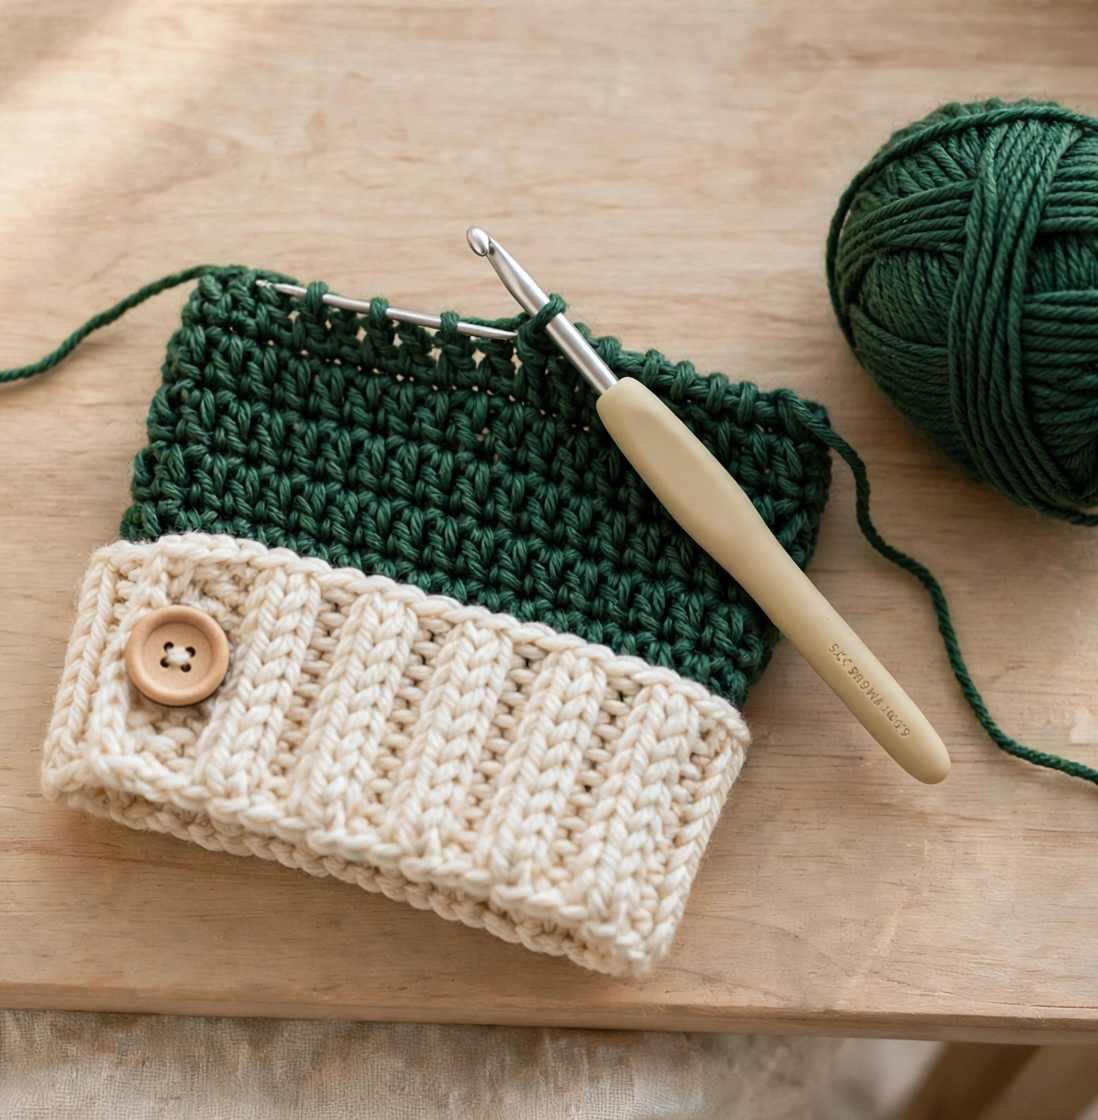
Now switch to forest green and work the hand straight off the long edge of the cuff — one half double crochet for every cuff row-end, so the counts line up perfectly.
Join green yarn with a slip stitch at the top corner of the cuff’s long edge. Row 1: ch 2 (does not count as a stitch), hdc 24 evenly along the long edge — one hdc in the end of each cuff row. (24 hdc) Rows 2–8: ch 2, turn, hdc in each st across. (24 sts) After eight rows the hand measures about 7 cm (2.75 inches) tall — just right for covering the palm while leaving the fingers free.
Step 3: Finish the Top Edge
One tidy row of single crochet gives the top of the glove a clean, firm edge that will not curl or stretch out of shape with wear.
Row 9: ch 1, turn, sc in each st across. (24 sc) Fasten off, leaving a 30 cm (12 inch) tail for seaming. Keep your tension even and do not pull this row tight — it frames the opening where your fingers will poke out.
Step 4: Make the Second Fingerless Glove
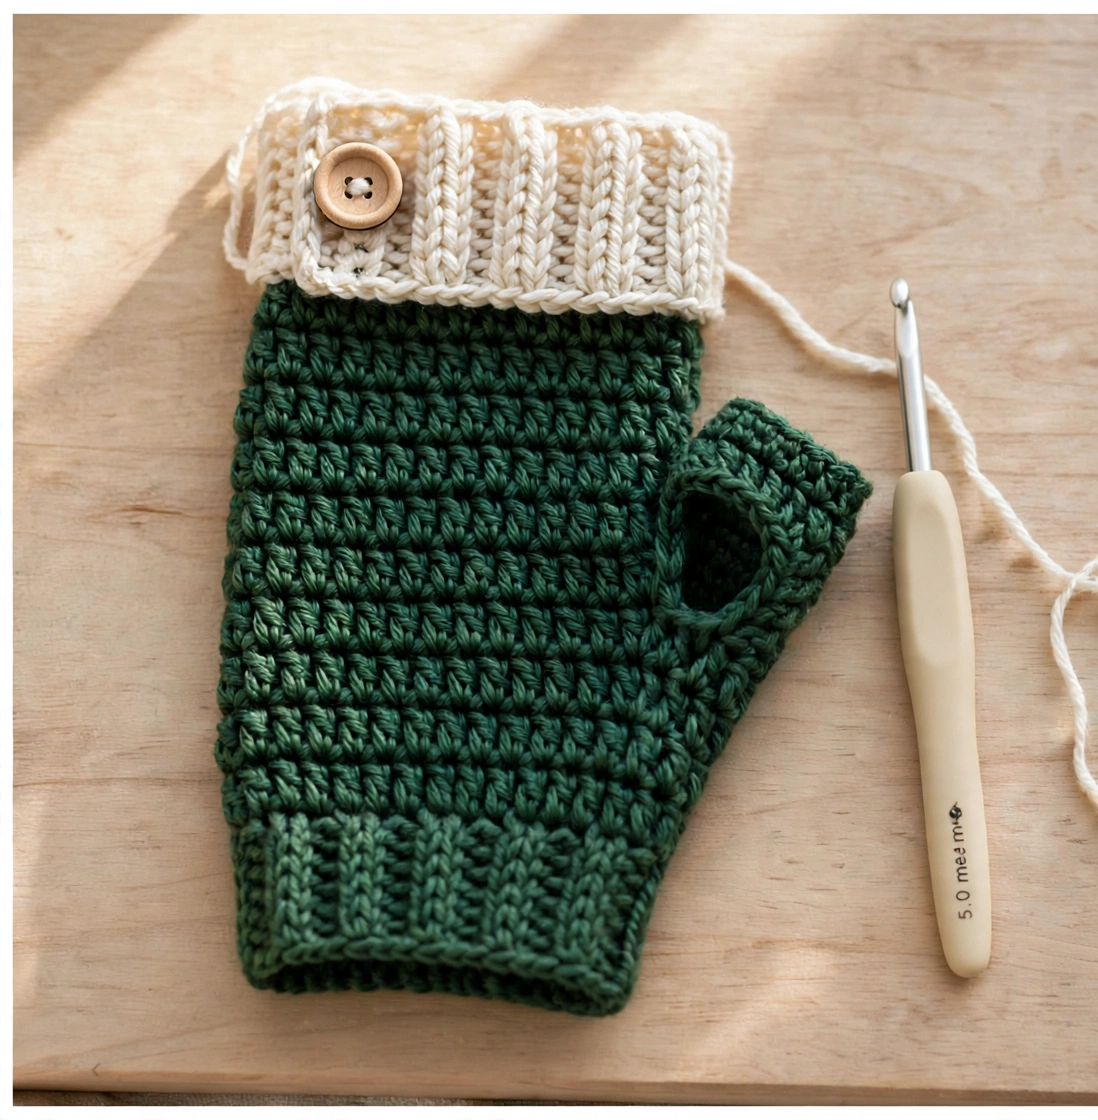
A pair needs two, and the second glove is simply Steps 1–3 repeated exactly — same yarn, same hook, same stitch counts, so the two gloves match perfectly.
Repeat Steps 1–3 once more: a cream ribbed cuff of 24 rows, a forest green hand of 8 hdc rows plus the sc top edge, and fasten off with another long tail. Do not worry about making a separate “left” and “right” glove — the two pieces are identical, and you decide which hand each one belongs to when you place the thumb gap in the next step.
Step 5: Seam the Sides and Leave a Thumb Gap
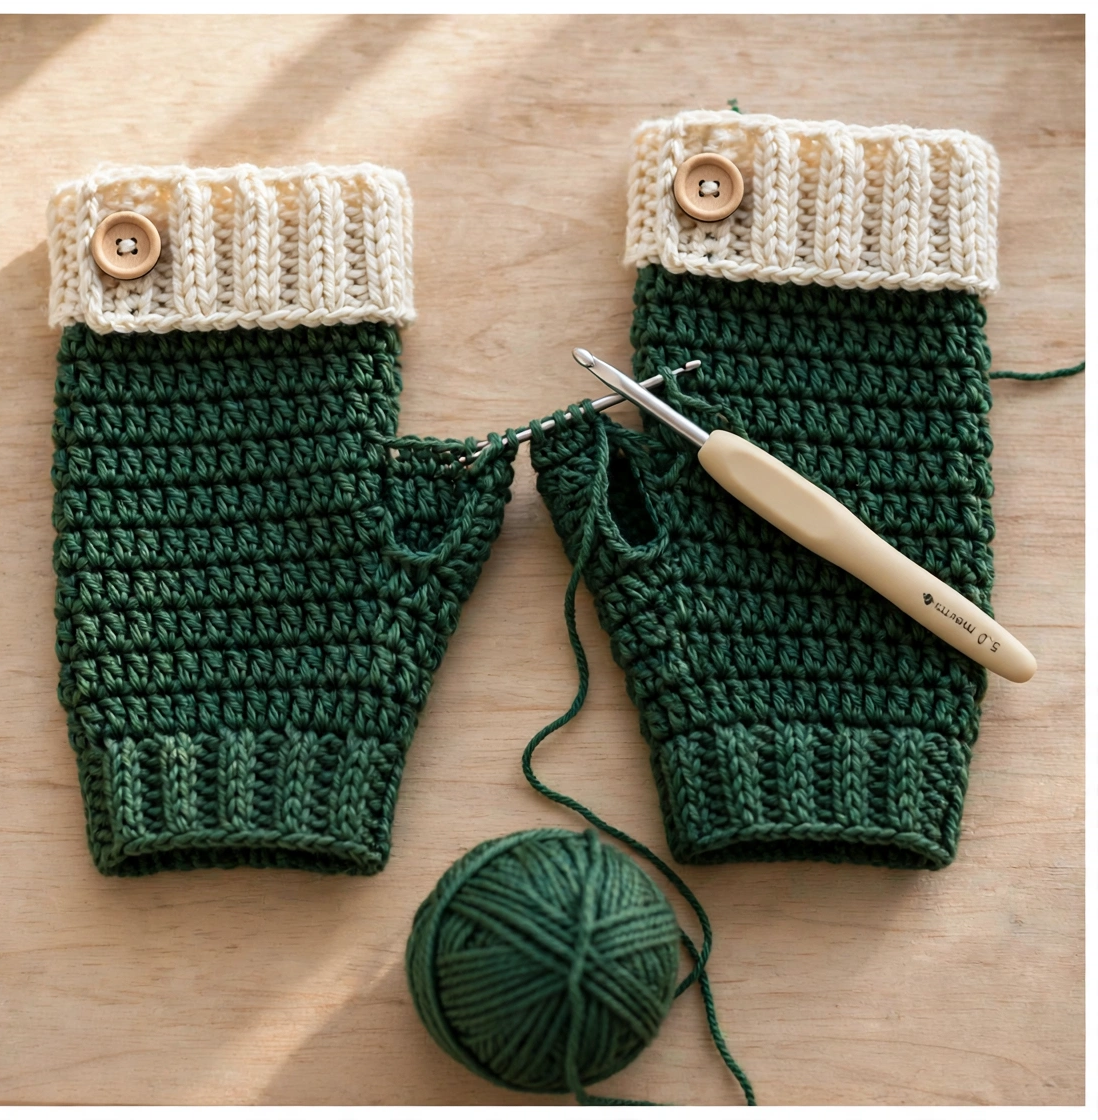
This is the clever part: the thumb opening is not crocheted at all — it is simply a gap left in the side seam, marked first with stitch markers so it lands in exactly the right place.
Fold one glove in half with the right side facing in, lining up the long edges. Thread the tail onto your yarn needle. Whip-stitch the cuff edges together all the way down, then continue up the hand edge for about 2.5 cm (1 inch). Stop, place a stitch marker, and leave the next 4 cm (1.5 inches) unsewn — that is the thumb gap. Place a second marker, then whip-stitch the remaining top section closed. For the second glove, put the thumb gap on the opposite side, and you have a matched left and right pair.

Step 6: Add the Buttons and Style Your Gloves
Turn both gloves right-side out and try them on — your thumb should slip through the gap comfortably, with the cuff sitting snugly at your wrist.
Sew one wooden button onto the front of each cream cuff, using a doubled length of cream yarn and passing through the buttonholes several times for a secure finish. Weave in all the yarn ends on the inside of the gloves, working the tails through the backs of several stitches so they cannot wriggle free, then trim them close. Your fingerless gloves are done — style them with a chunky sweater and a mug of cocoa.

Tips for This Crochet Fingerless Gloves Pattern
- Measure your hand before you start. Wrap a tape measure around your knuckles: 24 hdc fits about 18–19 cm (7–7.5 inches). For a larger hand, add 2 hdc stitches and 2 cuff rows; for a smaller hand, take 2 away — the pattern stays exactly the same otherwise.
- Try the glove on before you seam it. Hold the folded rectangle against your hand and mark where your thumb naturally falls — the gap should sit at the base of your thumb, not halfway up the palm.
- Keep the seam on the same side of both gloves. Fold both pieces the same way before you sew, or the ribs will face opposite ways.
Frequently Asked Questions
How long do crochet fingerless gloves take to make?
With this crochet fingerless gloves pattern, about 2–3 hours for the pair. The cuff is the slowest part because of the back-loop rows, but the hand works up fast in half double crochet — most makers finish one glove in about an hour.
What yarn is best for fingerless gloves?
A worsted-weight wool blend or soft premium acrylic. Both have enough stretch to hug your hand and enough warmth for winter. Avoid pure cotton, which has no give and can feel stiff around the wrist.
Can a beginner crochet fingerless gloves?
Yes — this is one of the best beginner garment projects. You only need two stitches (single and half double crochet), there is no shaping, and the thumb opening is just a gap in the seam. If you can crochet a rectangle, you can make these gloves.
How do I make the gloves bigger or smaller?
Change the stitch count in twos: add or remove 2 hdc stitches across the hand, and add or remove 2 rows from the cuff so the two pieces still line up. The top edge and seaming stay the same at any size.
Conclusion
This crochet fingerless gloves pattern proves that a useful winter accessory does not need complicated shaping — a ribbed cuff, a simple rectangle, and a clever little gap in the seam are all it takes. Make a pair for yourself in forest green and cream, then make another in your favourite colours: they are quick enough for gifts and pretty enough for a craft fair table.
If you want full coverage for colder days, our crochet mittens pattern uses the same yarn and hook, so you can make a matching set. And if you would like the whole pattern in one printable file, grab the free PDF below the first paragraph — happy crocheting!