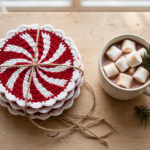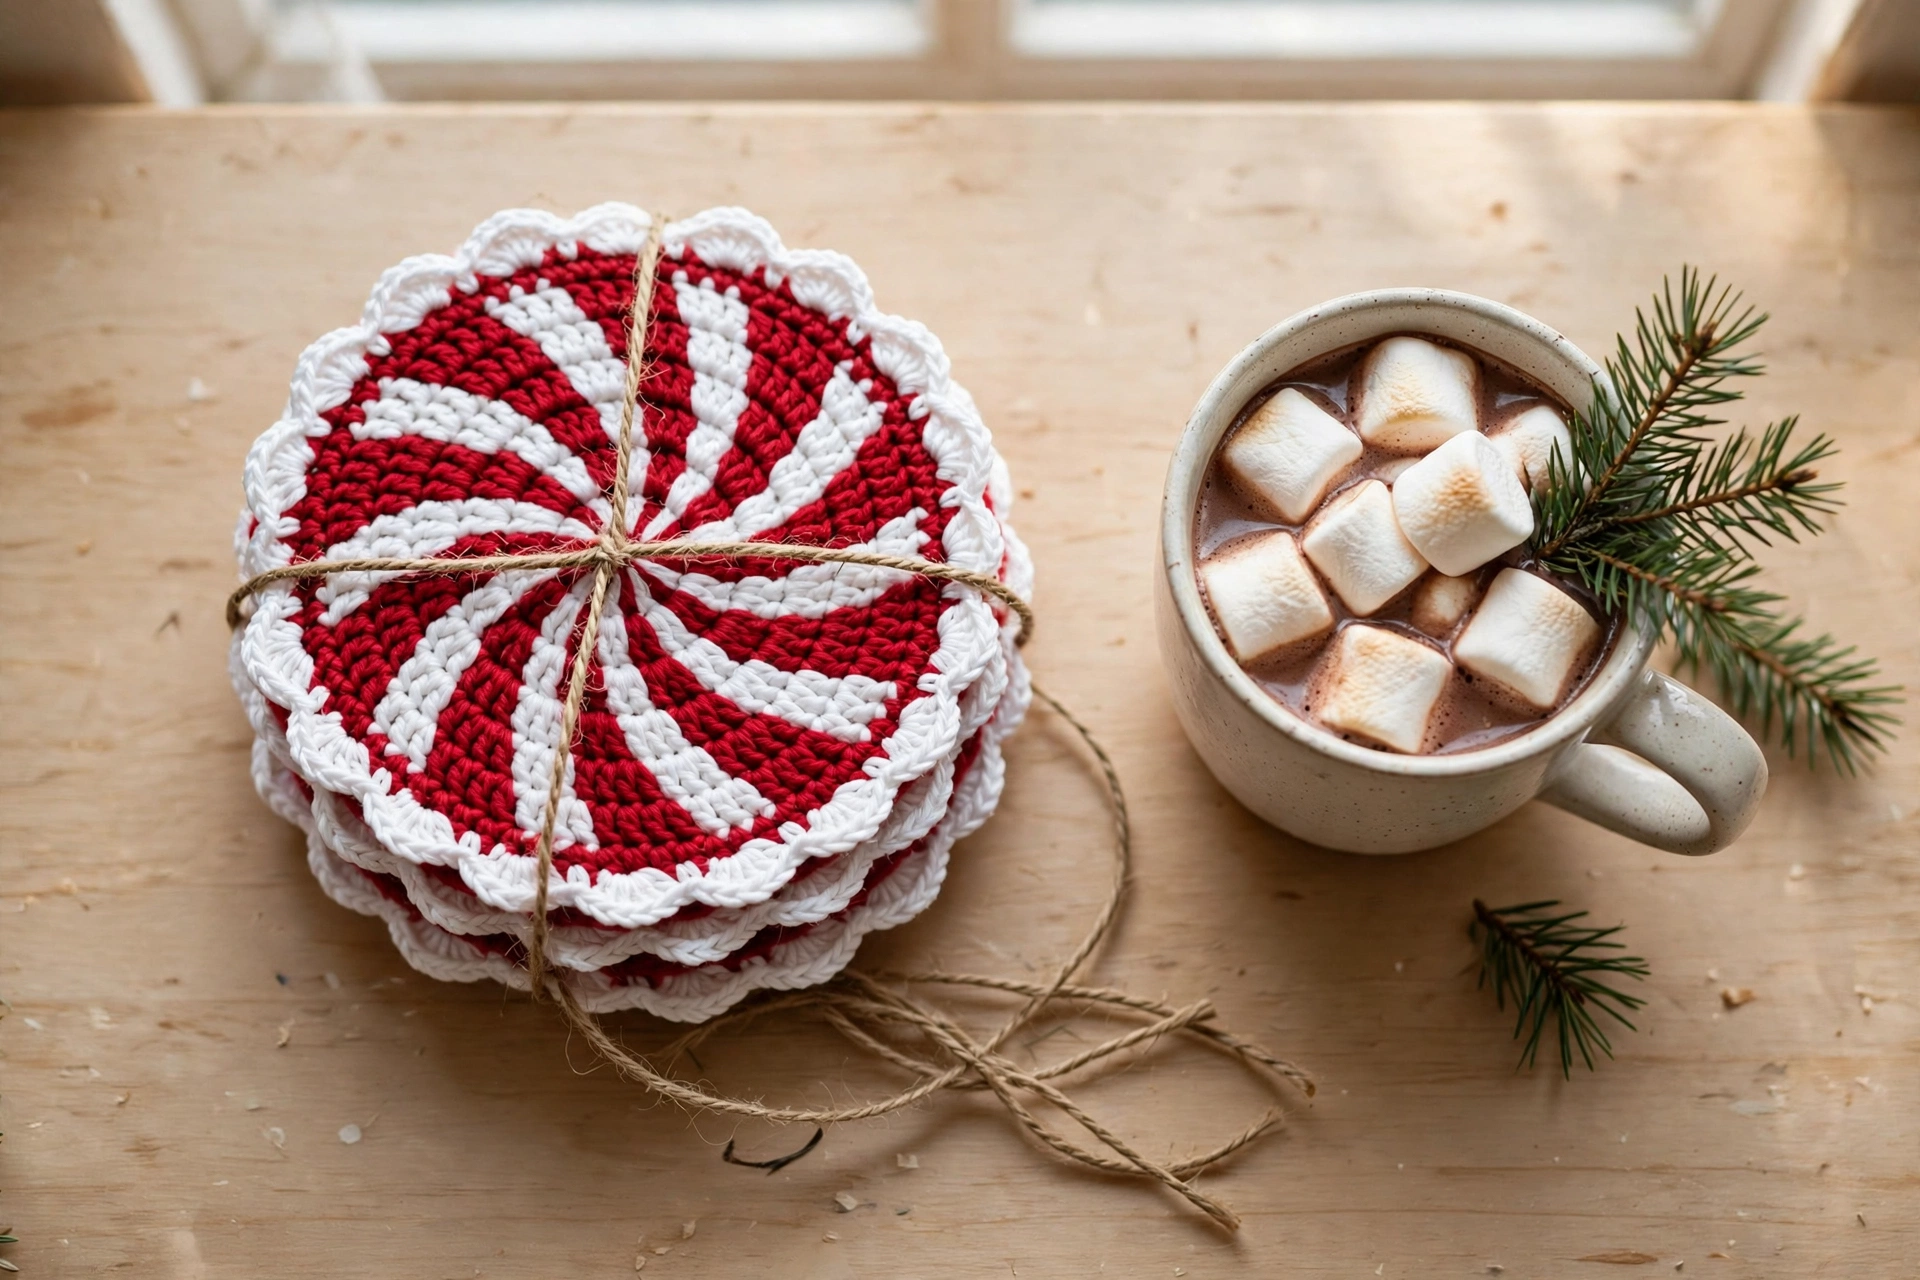
If your Christmas table needs a quick handmade touch, these crochet Christmas coasters are the perfect one-evening project. Worked in cheerful red and white cotton yarn, each coaster fans out from the center like a peppermint candy with a pretty scalloped edge. Make a set of four in one sitting — they stack beautifully tied with twine.
This free peppermint coaster pattern is beginner-friendly. You only need double crochet stitches, a magic ring and one simple shell edging, and the whole set uses just two balls of cotton yarn. Each finished coaster measures about 11.5 cm (4.5 inches) across — the ideal size for a mug of cocoa.
Materials for Crochet Christmas Coasters
You will need:
- Worsted (#4) cotton yarn in red — approx. 40 yds (for 4 coasters)
- Worsted (#4) cotton yarn in white — approx. 40 yds (for 4 coasters)
- 4.0 mm (G) crochet hook
- Yarn needle
- Scissors
- Stitch marker
- A towel and a few pins, for blocking
Why cotton? Cotton yarn is the best choice for crochet Christmas coasters because it absorbs condensation, holds its shape under a hot mug and survives the washing machine. Acrylic can soften under very hot cups, so cotton is worth the small extra cost. If you need help choosing a yarn weight, the Craft Yarn Council’s yarn weight guide is a handy reference.
Gauge: not critical — just work tightly enough that no gaps show through. Ruffling edges mean go down a hook size; a coaster cupping like a bowl means go up one.
Step 1: Start with the Magic Ring
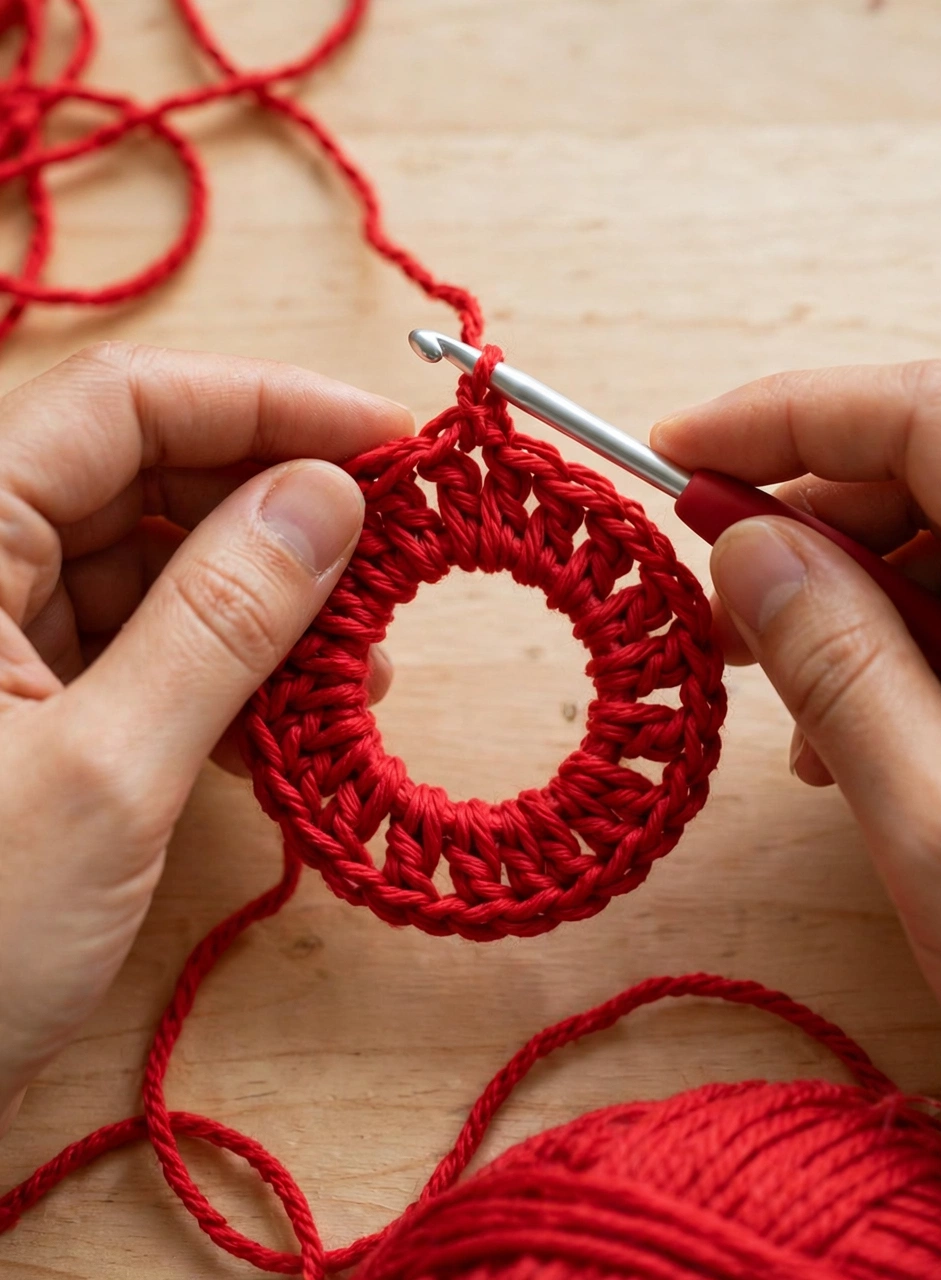
Every peppermint coaster in this crochet Christmas coasters pattern begins the same way: a magic ring in red yarn.
With red, make a magic ring. R1: ch 3 (counts as the first dc), work 11 dc into the ring, pull the ring tight and join with a slip stitch to the top of the ch-3. (12 dc) R2: ch 3, dc in the same stitch, then work 2 dc in every stitch around. Join with a slip stitch. (24 dc) Check the circle lies flat — if it ripples, your tension is loose; switch to a 3.5 mm hook.
Step 2: Build the Peppermint Swirl
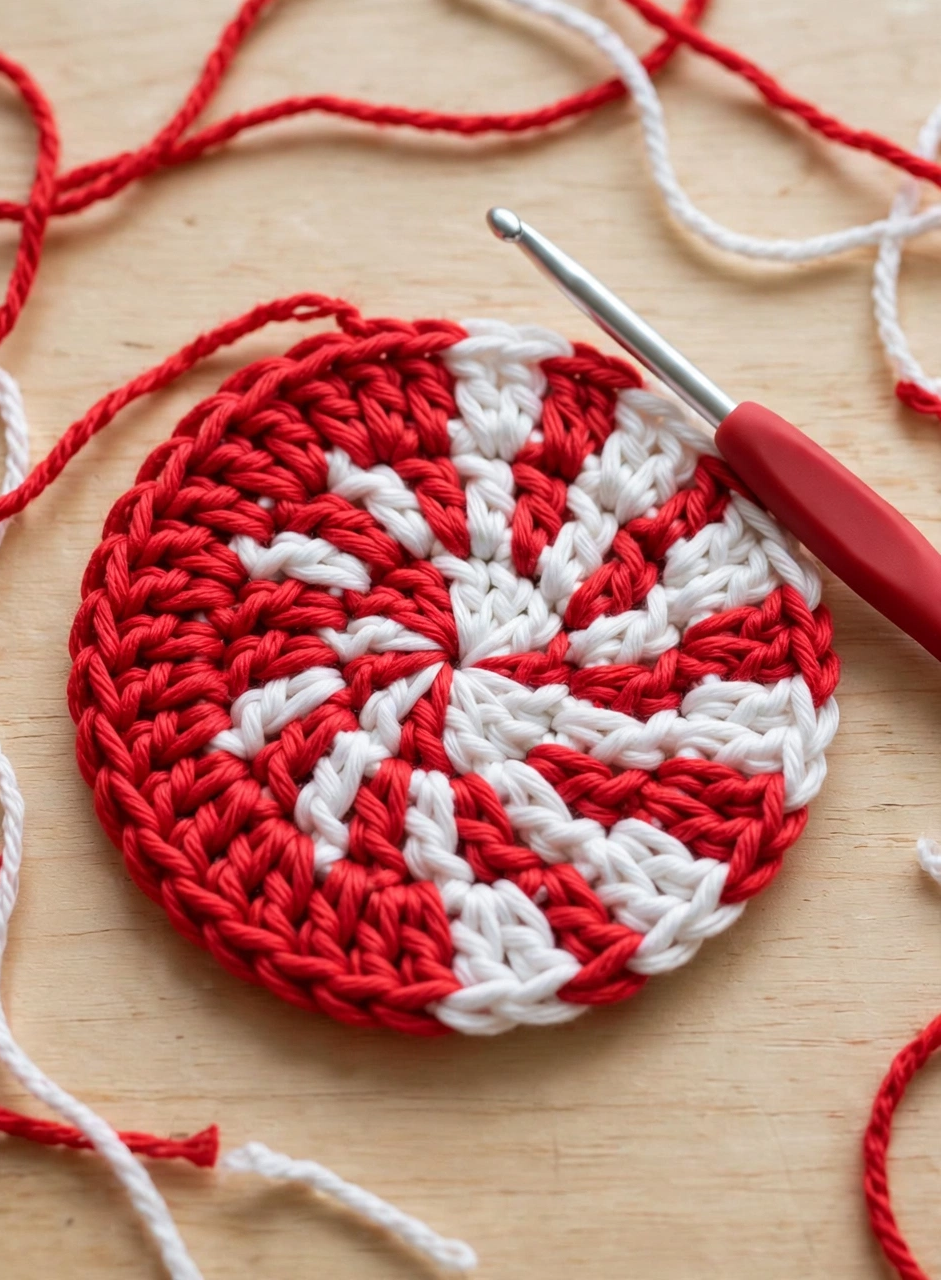
Now the peppermint swirl: alternate red and white rounds, increasing evenly each round so the circle stays flat and the two colours fan out from the center like a candy.
R3 (white): ch 3, (dc in the next st, 2 dc in the next st) repeat around. Join. (36 dc) R4 (red): ch 3, (dc in the next 2 sts, 2 dc in the next st) repeat around. Join. (48 dc) R5 (white): ch 3, (dc in the next 3 sts, 2 dc in the next st) repeat around. Join. (60 dc)
Notice how the alternating red and white rounds create the peppermint wedge effect — each colour change lands a little further along the round, so the stripes angle gently outwards.
Step 3: Add the Scalloped Edge
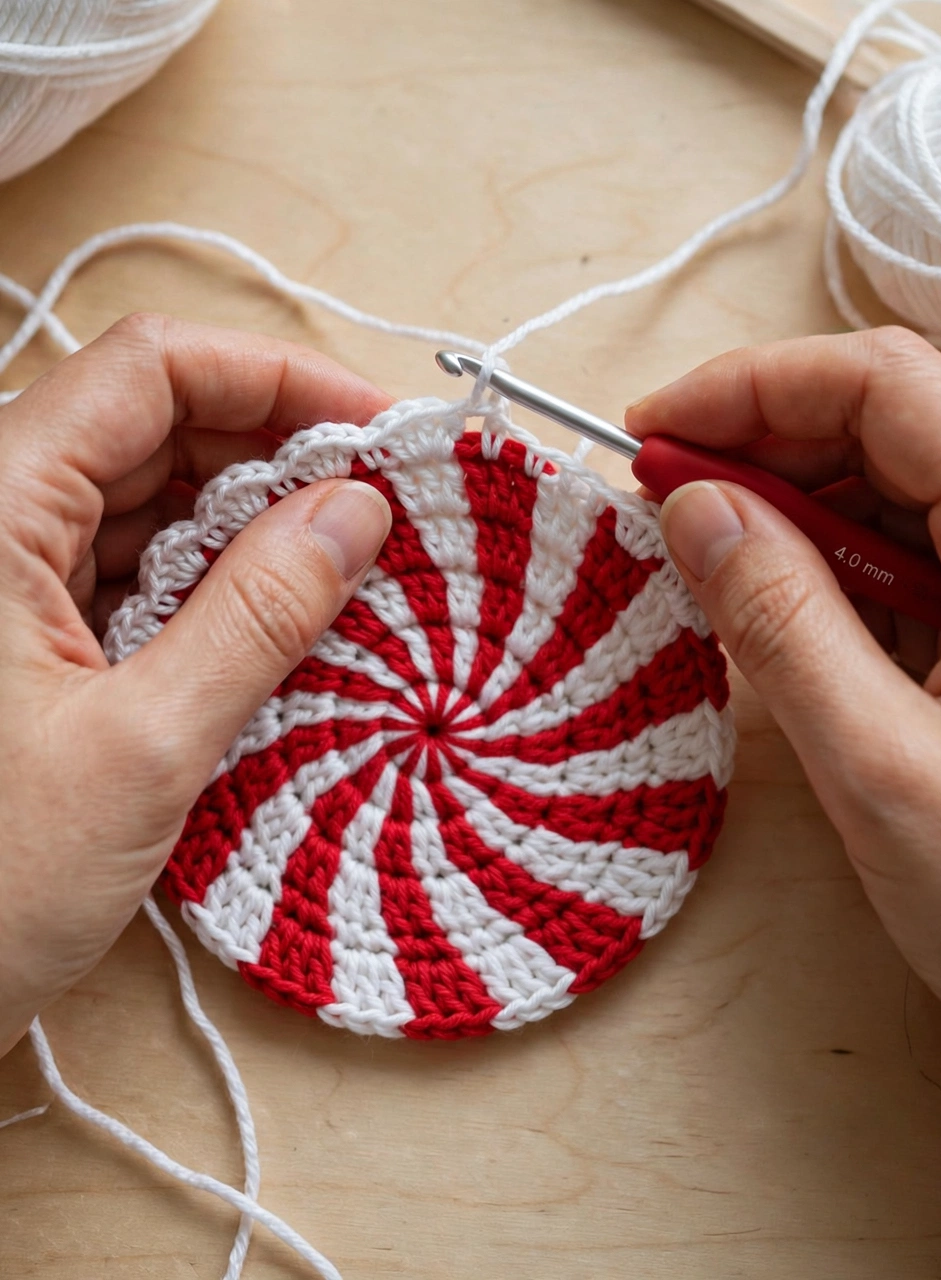
The white scalloped edge turns a striped circle into a finished-looking coaster — just one round of simple shells.
R6 (white): join white yarn with a slip stitch in any stitch. Skip 1 st, work 5 dc in the next st, skip 1 st, slip stitch in the next st — repeat all the way around. (15 shells) Fasten off and weave in the white tail.
Sixty stitches divide neatly into 15 shells, so count as you go — 14 or 16 means a skipped stitch somewhere.
Step 4: Repeat for a Set of Four
One coaster is cute; a set of four is a gift. Repeat Steps 1–3 three more times with the same colours and hook, so all four crochet Christmas coasters match.
To keep the set identical, count round 5 of each coaster before adding the edge — every coaster needs exactly 60 stitches, or it will look noticeably smaller than its siblings.
Step 5: Weave In Ends & Block
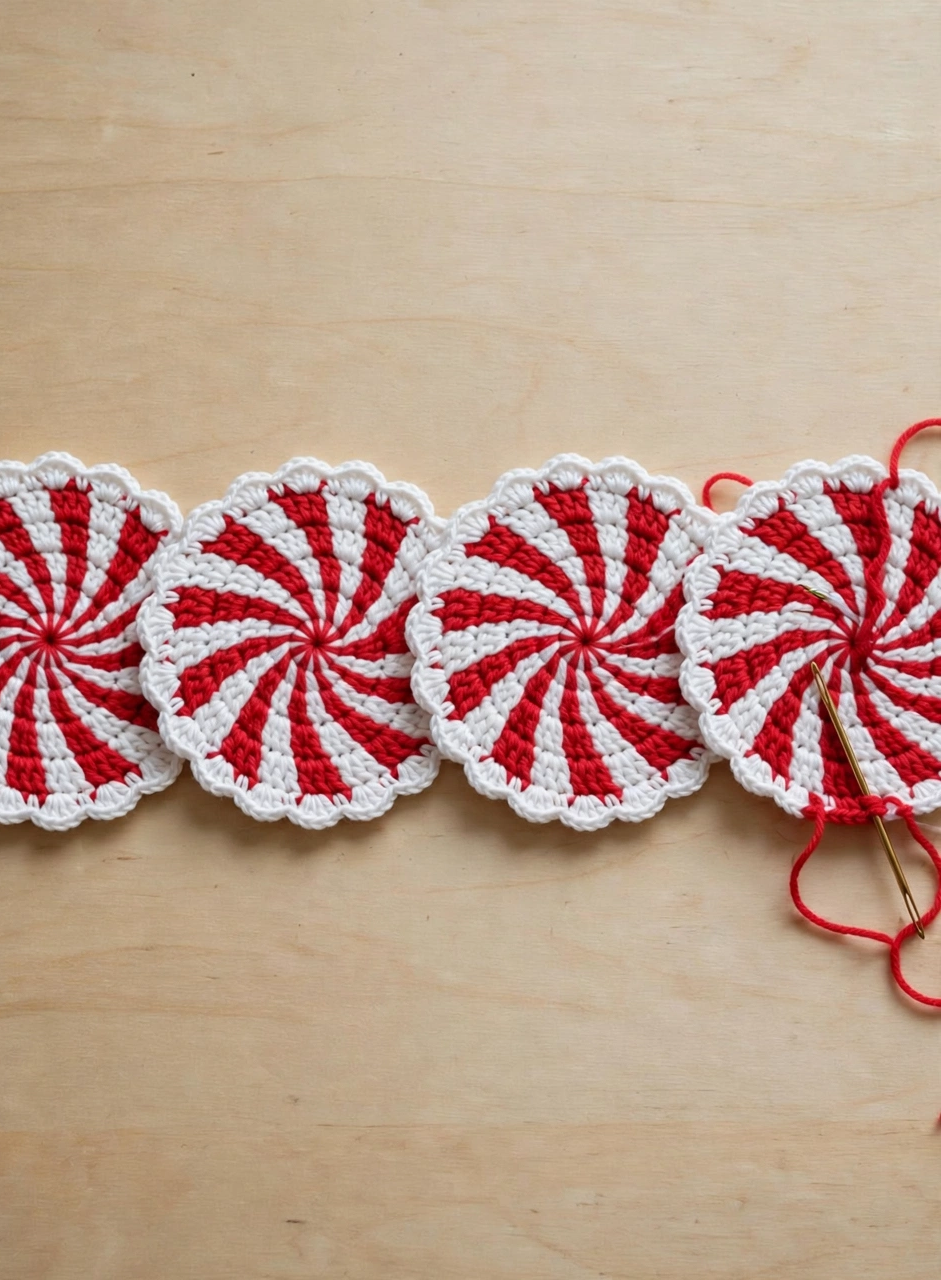
Weave in all the yarn ends on the back of each coaster with your yarn needle, working the tails through the backs of several stitches so they cannot wriggle free in the wash, then trim the tails close.
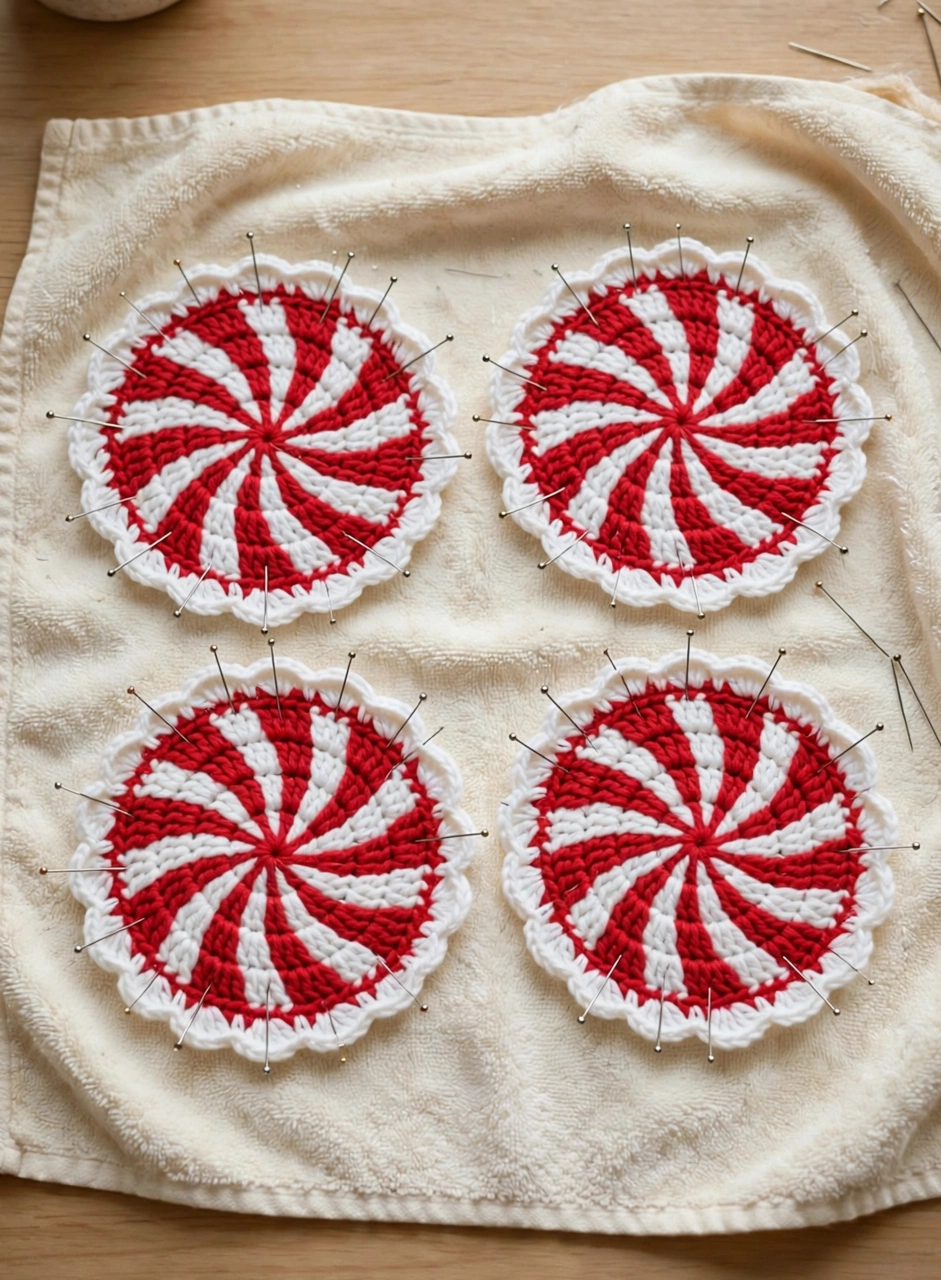
Then block the coasters: lay them flat on a towel, pin each one into a perfect circle and mist lightly with water. Leave them to dry completely — blocking turns slightly wavy handmade circles into neat, shop-bought-looking coasters.
Step 6: Stack, Tie & Style
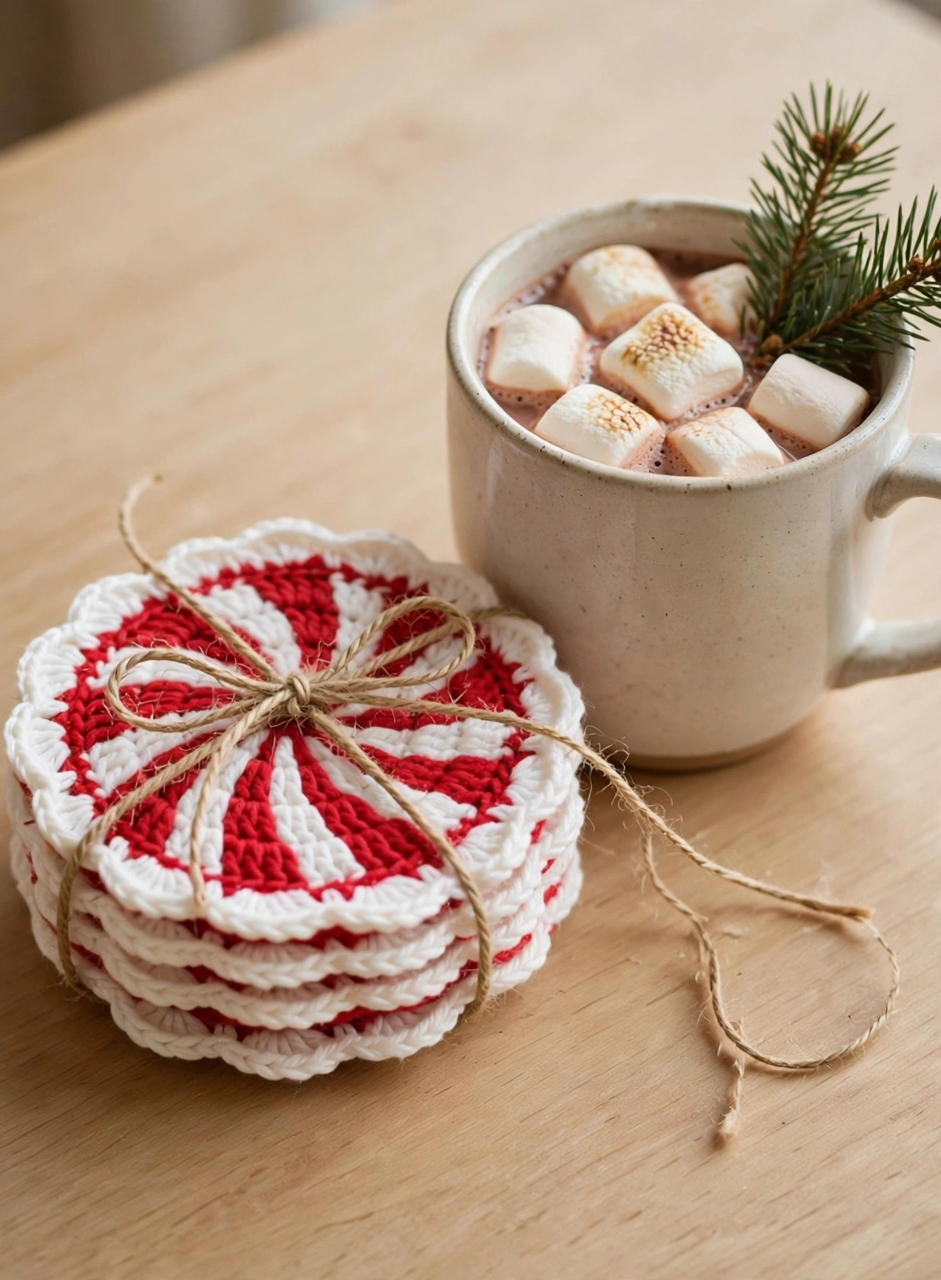
Stack the four coasters, wrap natural twine around the stack twice and tie it in a bow — that is the whole finishing touch, and exactly how you would present them as a gift.
Style your crochet Christmas coasters on the coffee table next to a mug of hot cocoa, or tuck a set into a gift basket with marshmallows and a cinnamon stick.
Tips for Crochet Christmas Coasters
- Use cotton yarn for coasters, always. It absorbs drips, survives hot mugs and goes straight in the washing machine.
- Keep your tension even from coaster to coaster. A set only looks like a set if all four are the same size, so count round 5 (60 stitches) every time.
- Carry the yarn up the back instead of cutting it. You will have half as many ends to weave in.
FAQ
How big are the finished crochet Christmas coasters?
About 11.5 cm (4.5 inches) across, including the scalloped edge — the right size for a standard mug. Use a 5 mm hook and chunky yarn for larger coasters, or a 3.5 mm hook and DK yarn for smaller ones.
How long does one coaster take to make?
Around 20 minutes once you know the pattern, so a full set of four takes about an hour and a half — an ideal last-minute Christmas gift.
Can I wash crochet Christmas coasters?
Yes — that is the beauty of cotton. Machine wash on a gentle cycle, lay flat to dry, and re-block lightly if they need reshaping.
Can I make these coasters in other colours?
Absolutely. Green and white reads as a Christmas tree, gold and cream looks elegant on a dinner table, and red and green makes a classic holly version. The pattern works in any two contrasting colours.
Conclusion
These crochet Christmas coasters prove that the quickest Christmas makes are often the most loved — simple stitches, two balls of cotton yarn and one cosy evening, and you have a peppermint-bright set ready for your table or your gift list. If you enjoyed this pattern, try our crochet snowflake ornament pattern next — another quick festive make that pairs beautifully with these coasters. Happy hooking, and merry Christmas!