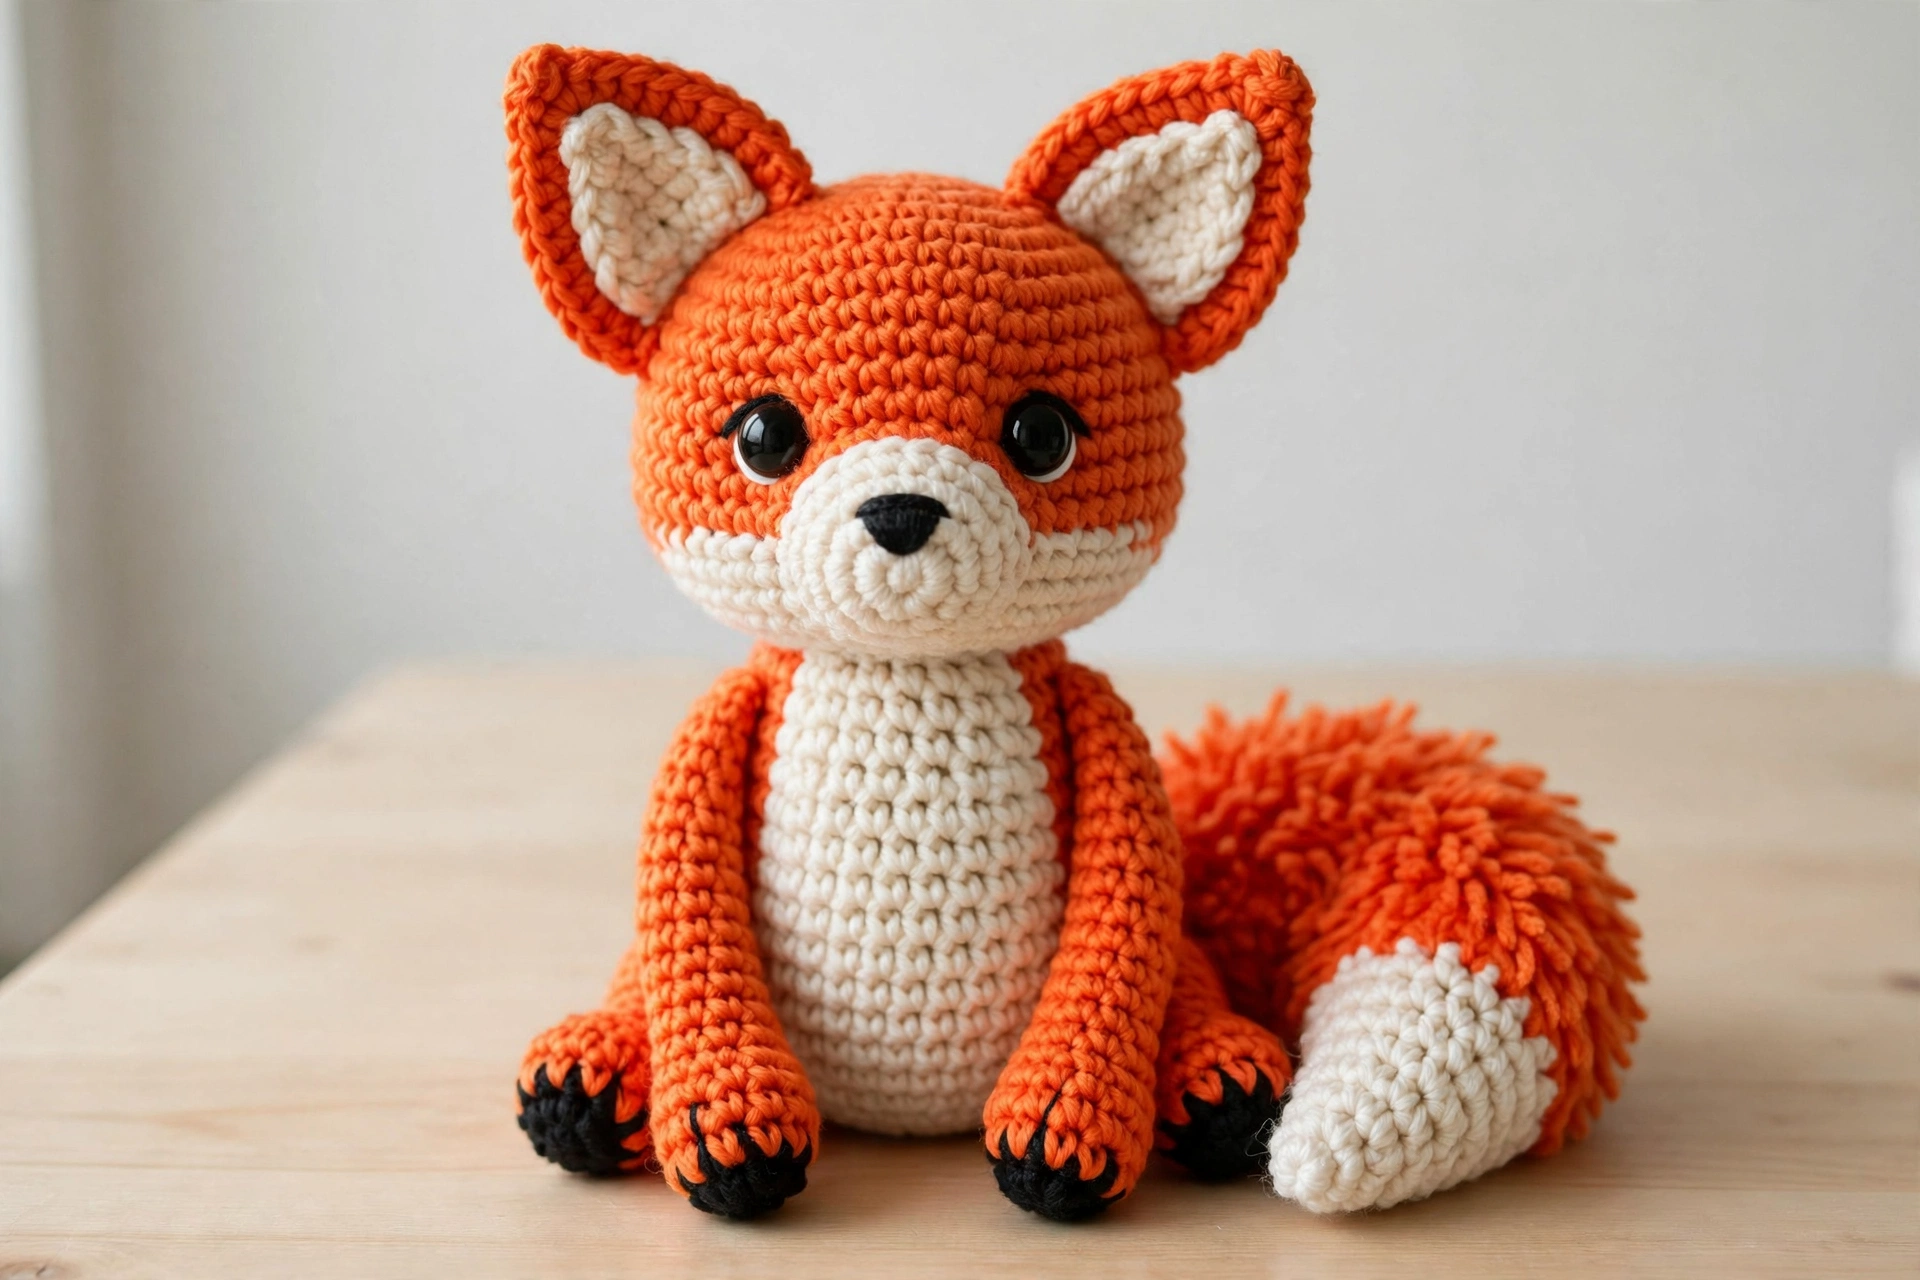
This free crochet fox pattern makes the sweetest little woodland friend. This bright orange amigurumi fox has pointy ears, a cream belly and black-tipped paws. A big bushy tail with a white tip completes the look. Worked in simple single crochet in the round, it is a genuinely beginner-friendly project: if you can make a magic ring and count to thirty-six, you can make this fox. The finished fox stands about 22 cm tall, sits up on its own, and makes a lovely nursery gift or baby-shower present.
Best of all, the whole fox comes together in one relaxed evening. Each part is crocheted separately — head, body, ears, tail and four little legs — then sewn together, so there is no fiddly colour work mid-round. Follow the six photo steps below, grab the free printable PDF, and you will have a fox to be proud of by bedtime.
Materials for This Crochet Fox Pattern
- Worsted-weight yarn in orange (about 90 g), cream or white (about 40 g) and black (about 15 g)
- 4.0 mm crochet hook
- 10 mm black safety eyes (2)
- Polyester fiberfill stuffing
- Yarn needle, stitch marker, scissors
- A pet slicker brush or old toothbrush (optional, for fluffing the tail)
All instructions use US crochet terms, worked in continuous rounds unless stated. If you enjoyed our crochet bunny pattern, you will find this fox uses the same beginner-friendly construction, just with pointier ears and a much bushier tail.
Step 1: Crochet the Fox Head
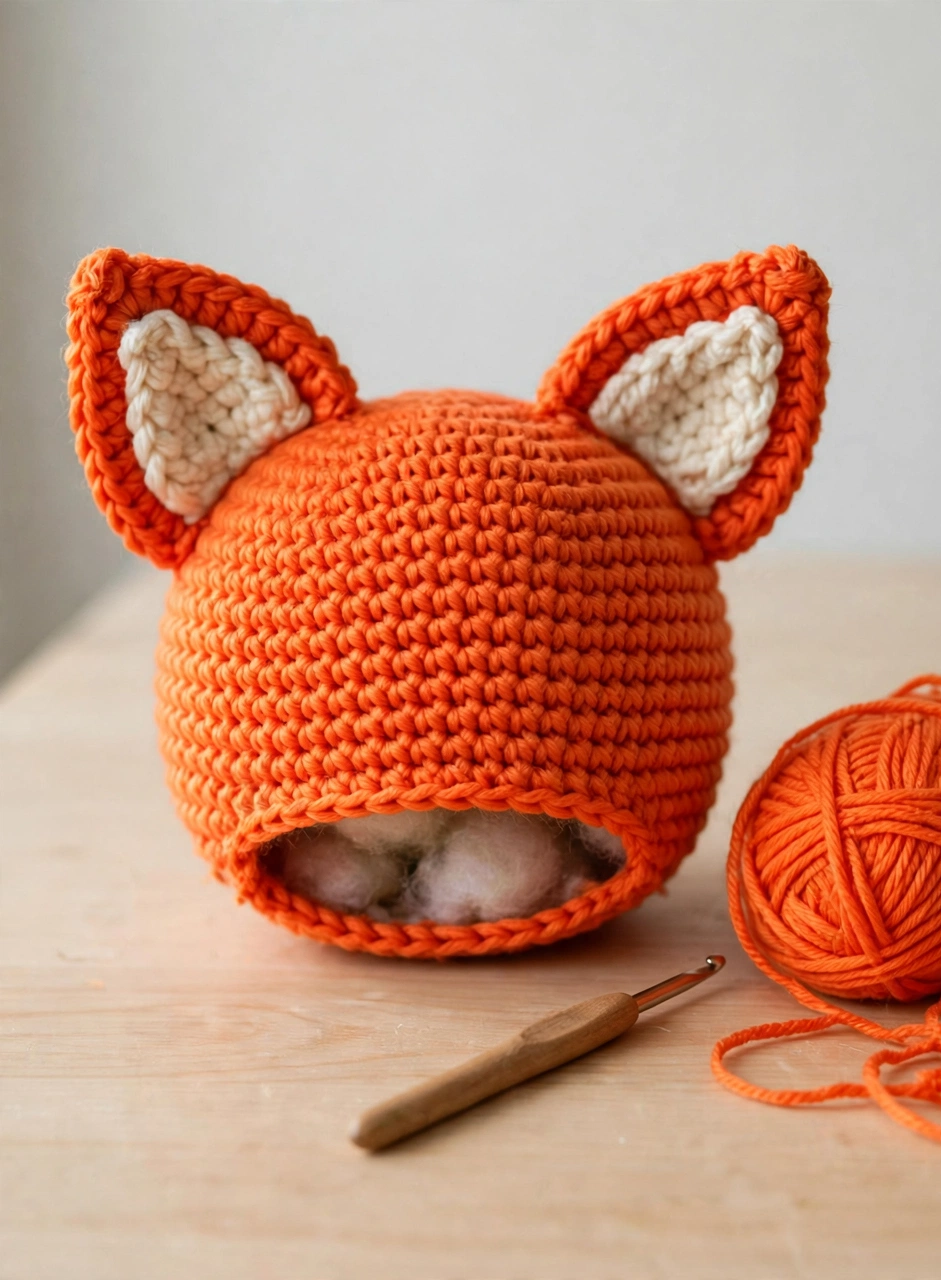
Start the crochet fox pattern with the head, worked in orange from a magic ring. Increase evenly: (sc, inc) x 6, (2 sc, inc) x 6 and so on. Once the round holds 36 stitches, work five even rounds for the round fox cheeks. Then decrease back to 6, stuffing firmly before you close. Insert the 10 mm safety eyes between rounds 9 and 10, about 7 stitches apart, while the head is still open. A firmly stuffed head keeps its shape instead of slumping.
Step 2: Crochet the Body and Cream Belly
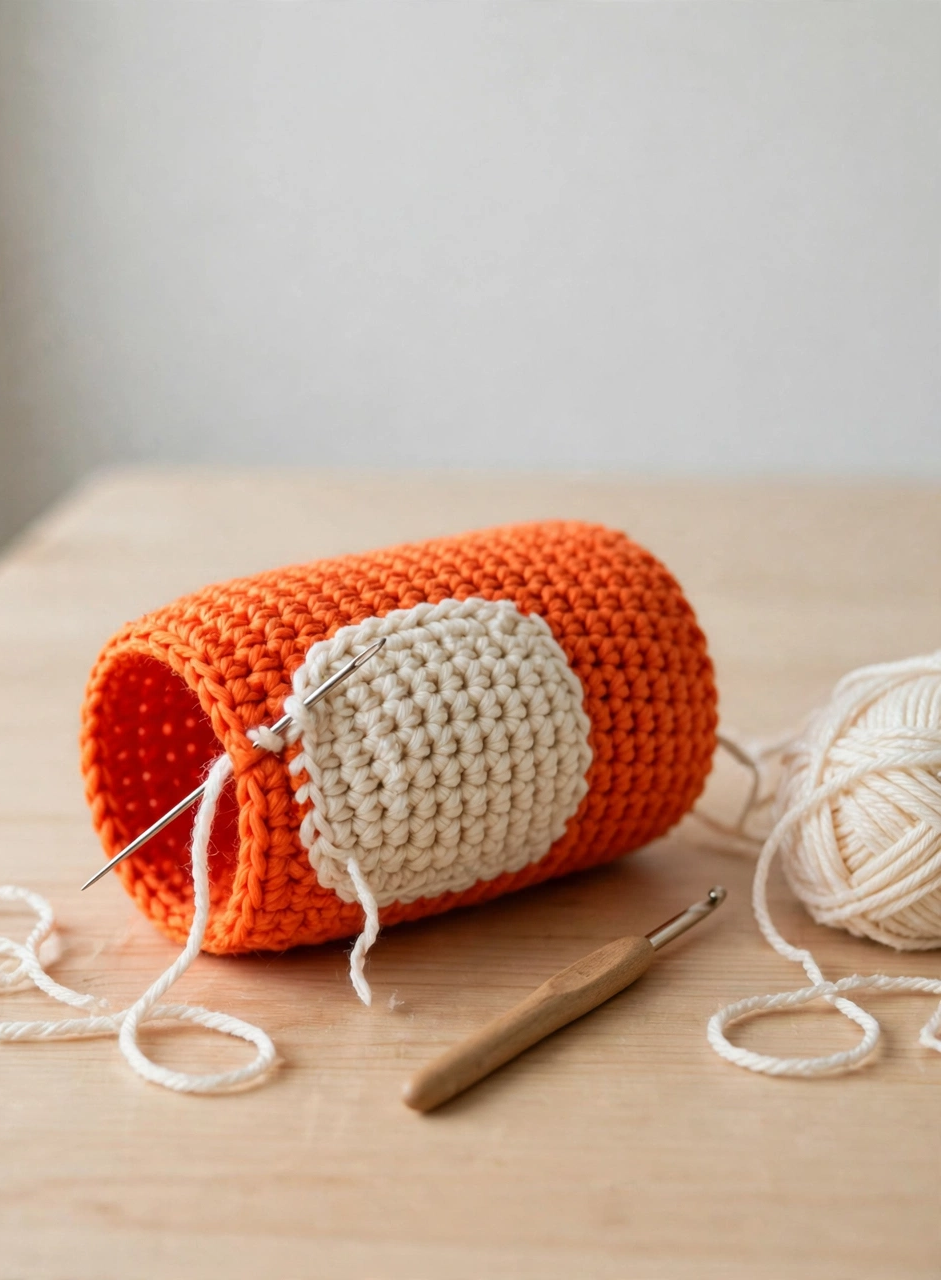
The body is a simple orange egg shape. Increase from a magic ring to 30 stitches. Work five even rounds, then decrease to 6 and fasten off, leaving a long tail for sewing. The cream belly is a separate flat oval — increase to 24 stitches, work two even rounds, then fasten off — sewn onto the front of the body with a whip stitch. Sewing the belly on as its own piece is much easier than changing colours mid-round. Stuff the body lightly so it stays plump but still sits flat.
Step 3: Make the Pointy Ears
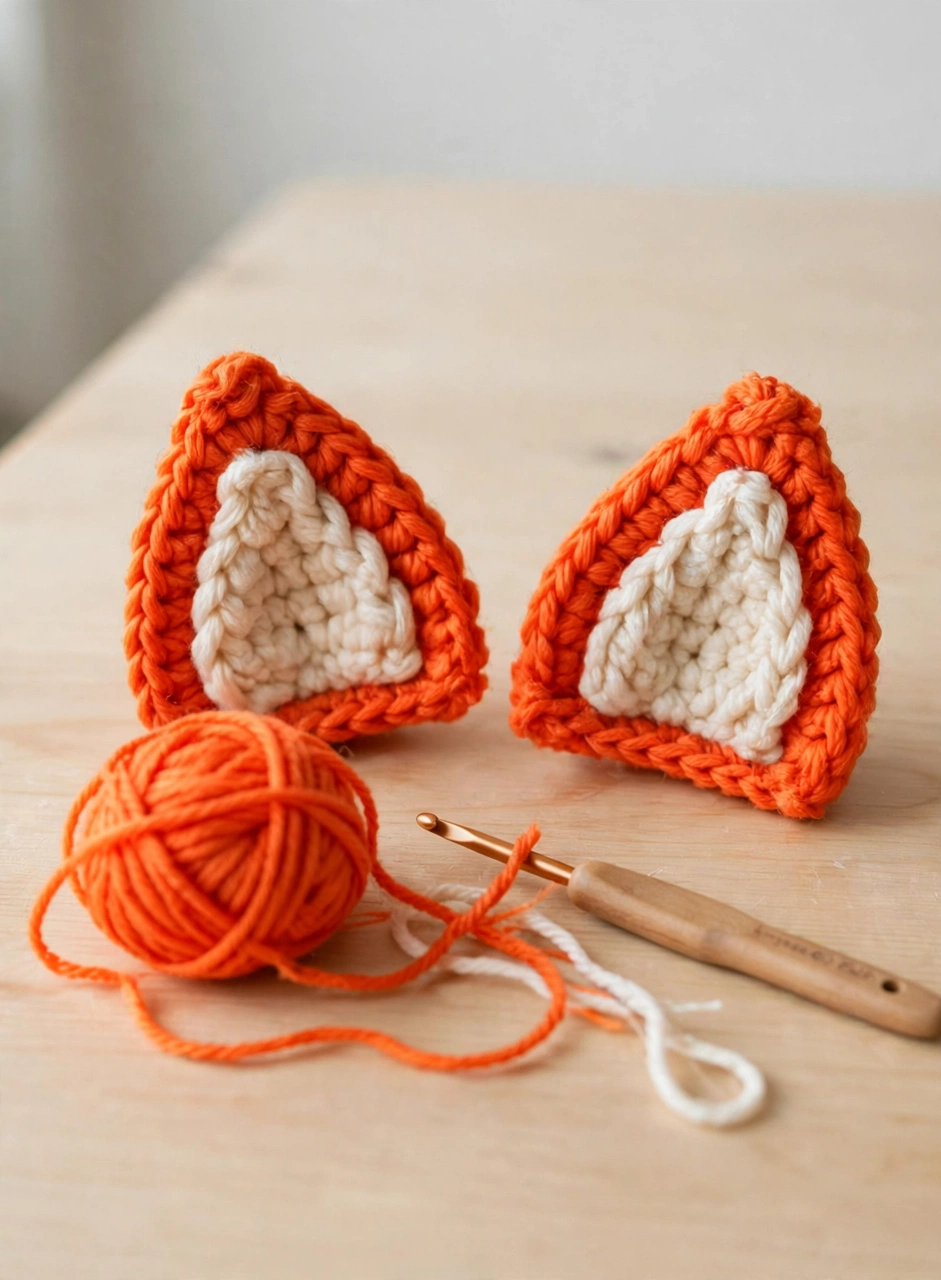
A fox is all about the ears, and these are quick triangles. For each outer ear, work in orange from a magic ring of 4, increasing by two stitches each round until you reach 12 — that steady increase is what makes the sharp point. The inner ear is a smaller cream triangle, increased to 8 stitches. Sew the cream inner ear onto the orange outer ear, then pinch the base of each ear slightly as you sew it to the head so it stands up at a jaunty angle.
Step 4: Make the Bushy Tail
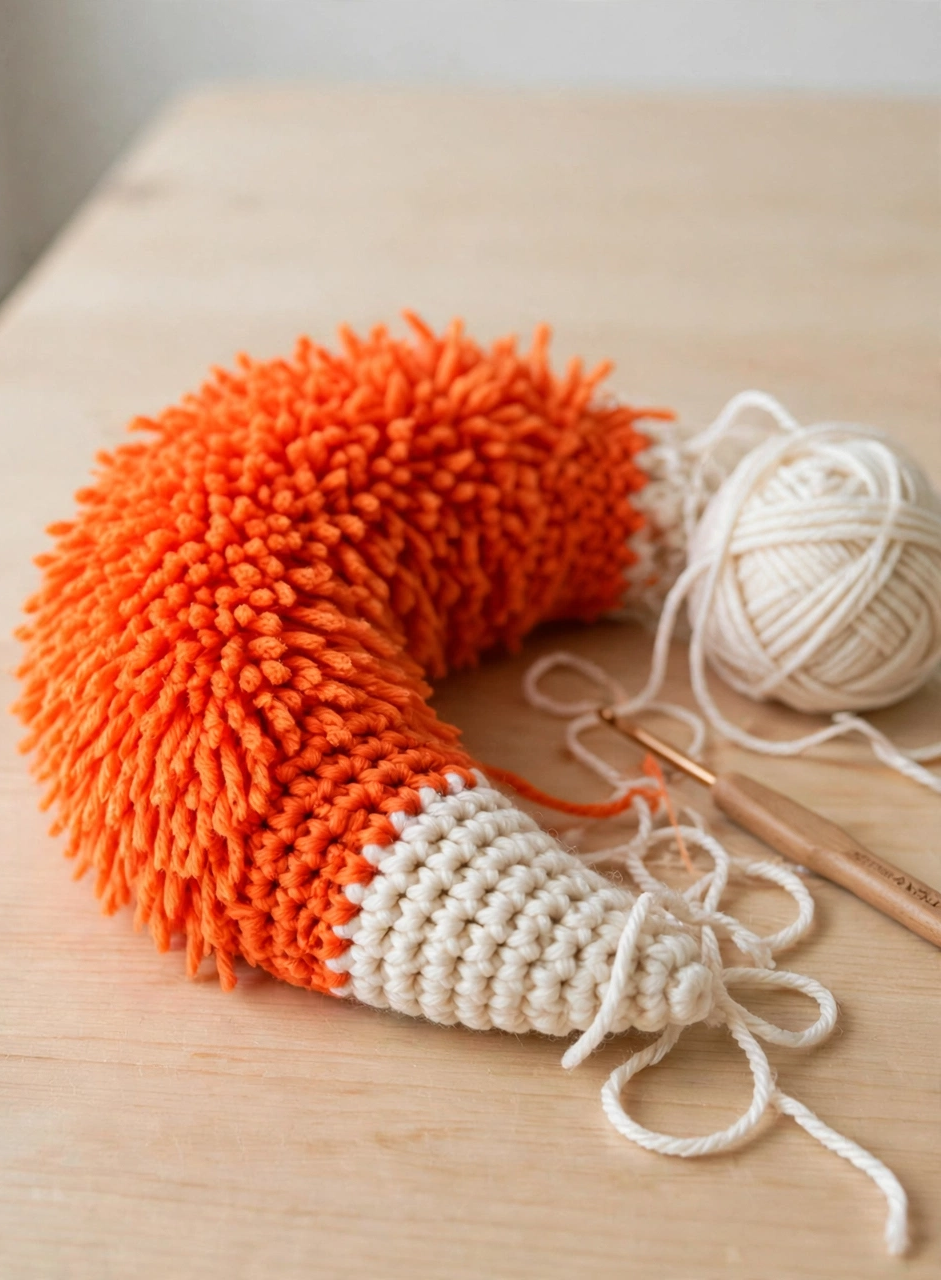
The tail is the showpiece of this amigurumi fox. Start in cream for the white tip. Increase to 18 stitches and work two even rounds. Then switch to orange and work three more even rounds before decreasing to 6. Stuff the tail only lightly so it stays soft and squashy, then brush the orange section gently with a slicker brush or an old toothbrush to pull the fibres up into a fluffy halo. Sew it low on the back of the body, curving it around to the side.
Step 5: Make the Legs and Paws
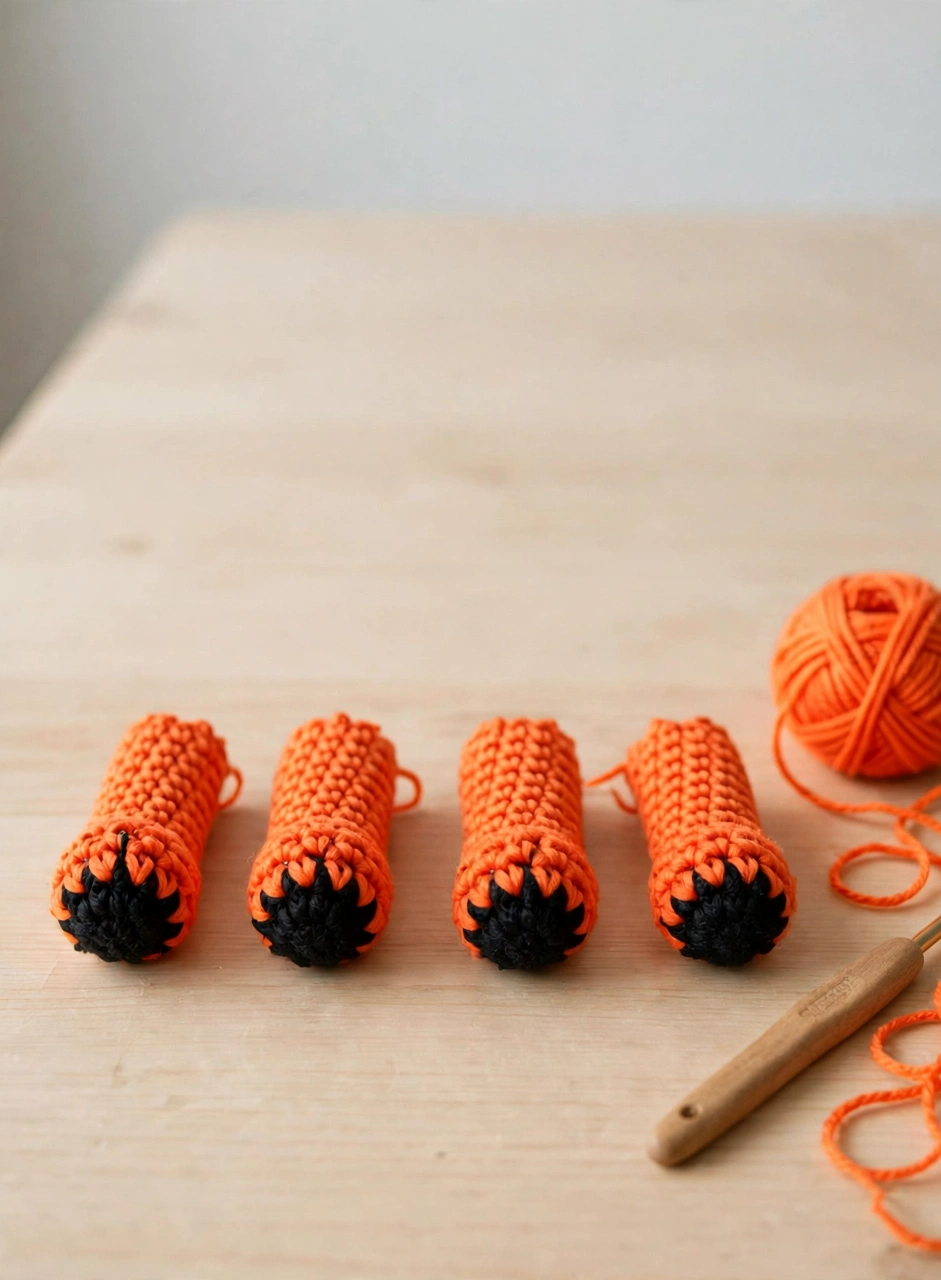
Make four identical legs: start in black for the paw tips, increase to 12 stitches, work two even rounds, then switch to orange and work four more rounds. The black tips are the detail that makes people smile. Stuff each leg very lightly (overstuffed legs splay outward) and sew two at the front and two at the back of the body, checking from the front that the fox sits level.
Step 6: Assemble and Embroider the Face
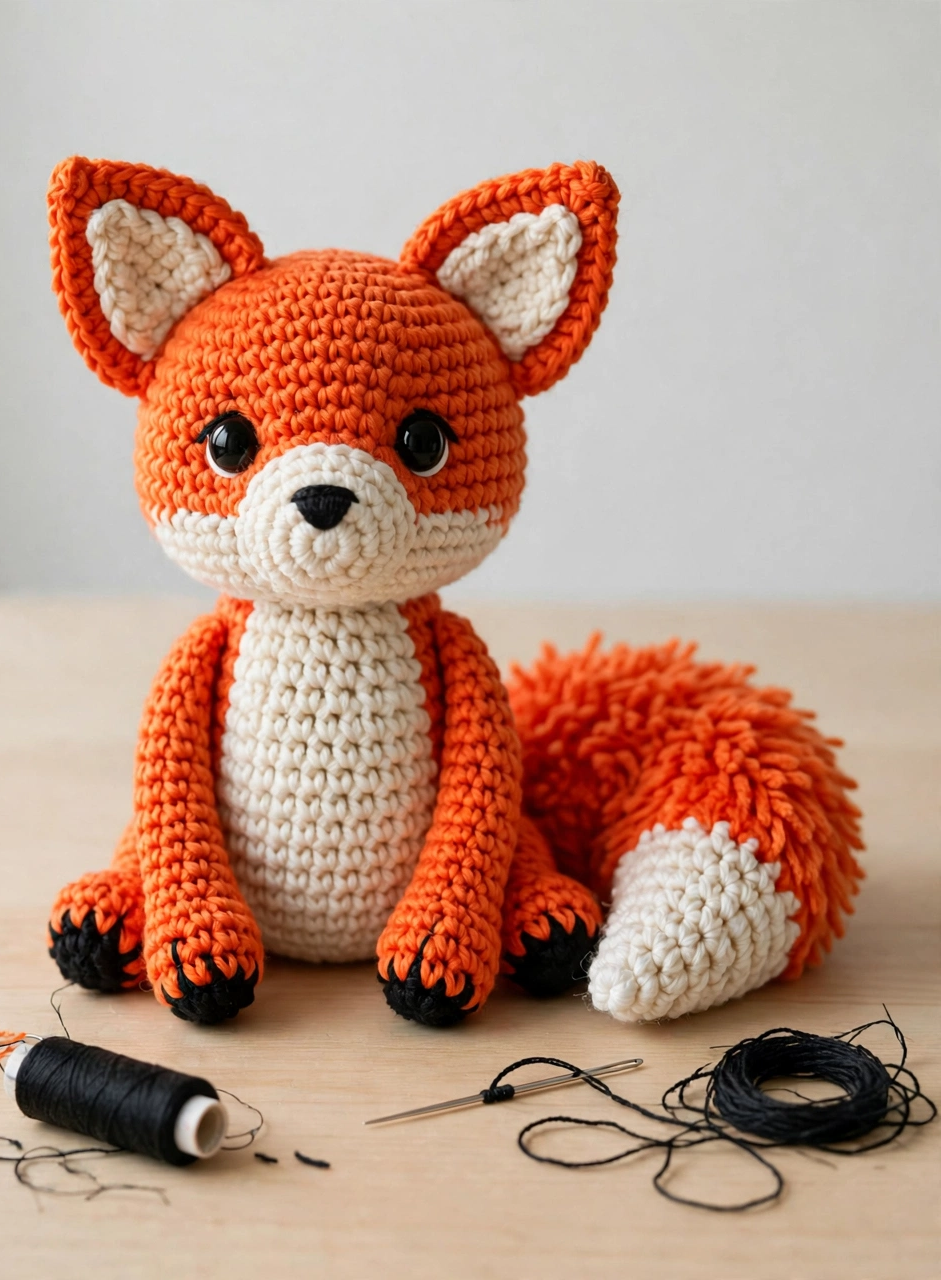
Now comes the satisfying part: assembly. Sew the head firmly to the top of the body. Then attach the ears, tail and legs. Pin every piece first and check the fox from the front and the side before you commit a single stitch. Sew the cream muzzle onto the lower half of the head, then embroider a small black triangle nose on top of it with black yarn, adding one short vertical stitch down to a tiny smile. Fluff the tail outward, weave in all the ends, and set your fox upright.
Tips for a Perfect Crochet Fox Pattern
- Mark every round. Amigurumi is worked in a spiral, so move your stitch marker up at the start of each round — losing count in the head is the most common beginner mistake.
- Stuff in small pinches. Add a little fiberfill at a time and shape as you go; gentle layers give a smooth, plump fox with no lumps showing through the stitches.
- Pin before you sew. Check the ears, tail and legs from every angle while they are pinned. Once a piece is sewn on, moving it means unpicking.
Crochet Fox Pattern FAQs
Is this crochet fox pattern good for beginners?
Yes — it is one of the best first amigurumi projects. The whole fox uses only single crochet, increases and decreases, worked in the round. There is no colour work inside a round: the belly, muzzle and inner ears are separate pieces sewn on.
What yarn works best for a crochet fox?
A smooth worsted-weight acrylic or cotton-blend yarn in orange, cream and black is ideal — it shows the stitches clearly and holds the fox’s shape. For a softer fox, try DK-weight yarn with a 3.5 mm hook; for a chunky fox, use bulky yarn with a 5.5 mm hook. Find good colour matches at Yarnspirations.
How big is the finished fox?
About 22 cm (8.5 inches) tall with worsted-weight yarn and a 4.0 mm hook, and about 15 cm wide including the tail. Make it in DK yarn for a smaller 17 cm fox. Or use chunky yarn for a big 30 cm statement fox. Keep the same stitch counts and adjust the hook to match your yarn.
Can I make the fox without safety eyes?
Absolutely. For a baby-safe fox, skip the safety eyes and embroider the eyes instead: two small French knots or satin-stitch ovals in black yarn, placed where the eyes would go. Embroidered eyes are the safest choice for toys meant for children under three.
Conclusion: Your Finished Crochet Fox Pattern
This free crochet fox pattern proves that a characterful amigurumi does not need complicated stitches. A bright orange body, pointy ears, a cream belly and the bushiest tail you can manage are all it takes. Download the free printable PDF below for the full round-by-round pattern, then make another in a different shade of orange and see which one your friends steal first. Happy crocheting!