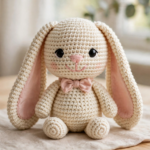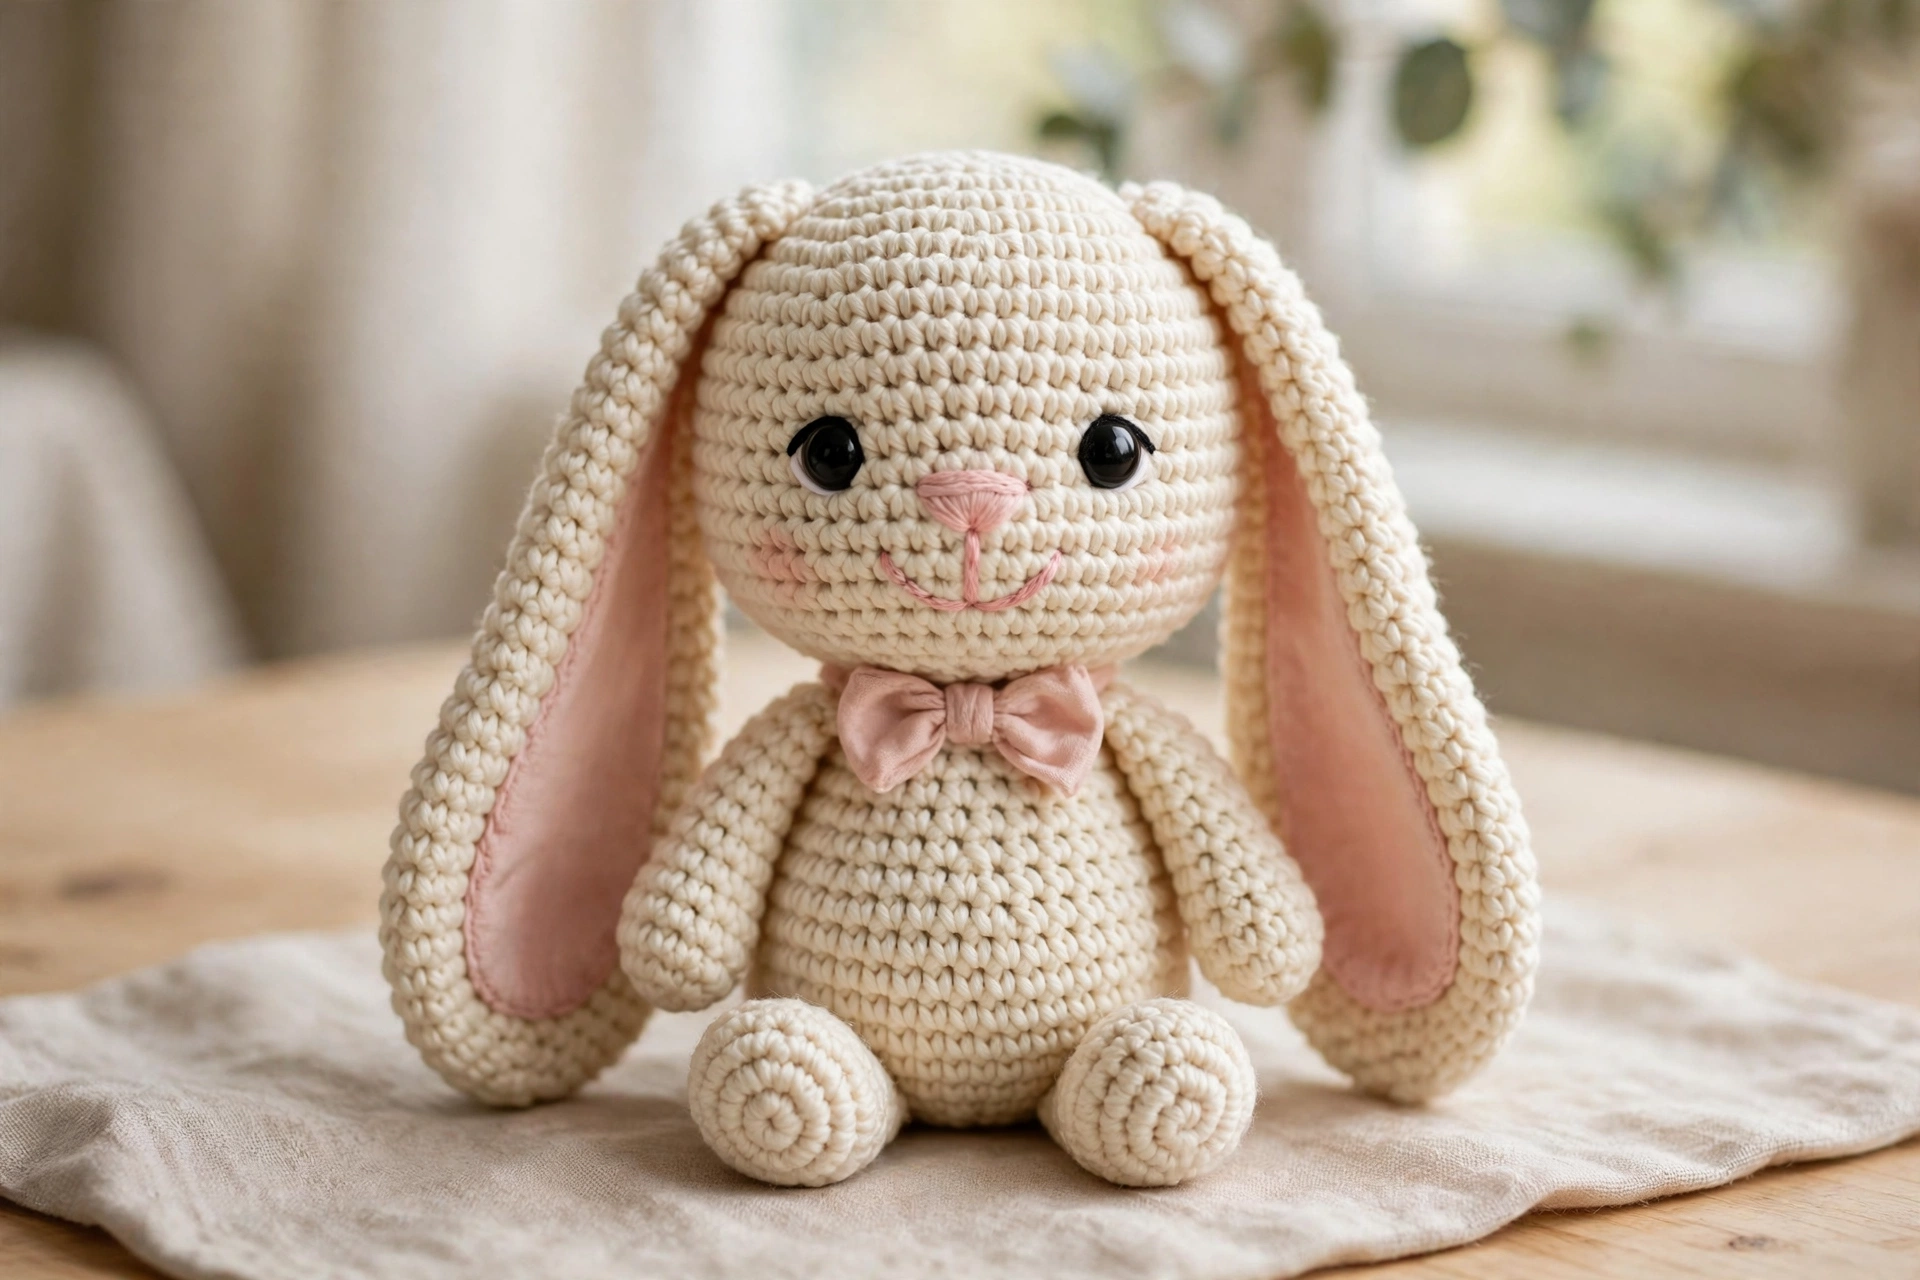
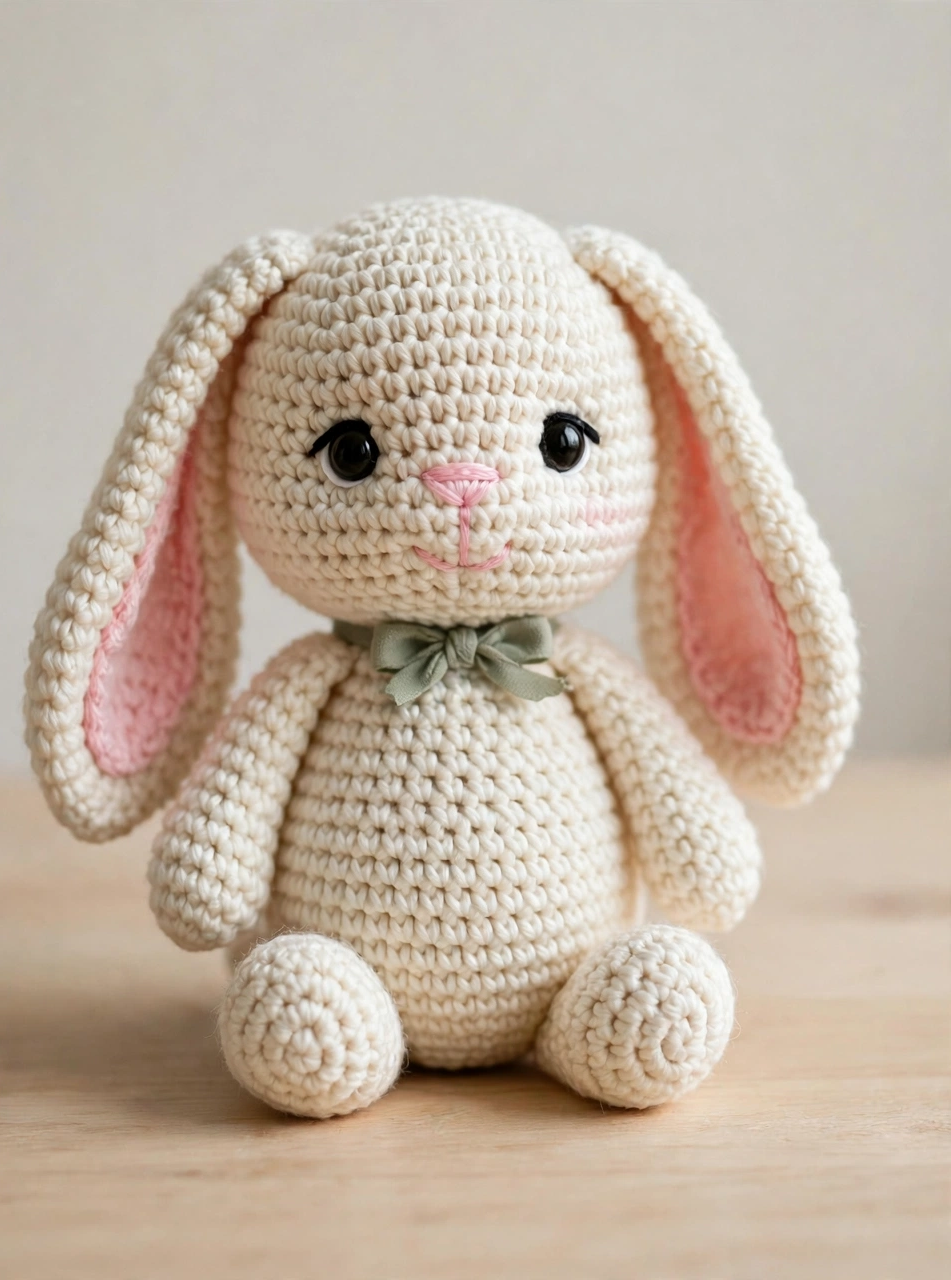
This free crochet bunny pattern makes the sweetest little friend: a soft cream bunny with long floppy ears, pink inner ears, and a tiny sage green bow. It is a beginner-friendly amigurumi project that works up in an evening or two, and the finished bunny is about 25 cm tall from its feet to the top of its head (ears aside). Whether you are making a nursery gift, a baby shower present, or a cheerful addition to your own plush collection, this bunny amigurumi is a lovely, satisfying make.
Best of all, you do not need any fancy techniques. If you can work a magic ring, single crochet, increases, and decreases, you can crochet this bunny. Follow the six photo steps below, take your time with the face, and you will end up with a plush that looks shop-bought — only softer, and made by you.
Materials
- Worsted-weight (aran) yarn in cream — about 120 g for the body, head, ears, arms, and legs
- Small amount of soft pink yarn or pink felt for the inner ears
- 3.5 mm crochet hook (use a hook slightly smaller than the yarn label suggests, so the stuffing does not show through)
- 10 mm black safety eyes (or black yarn to embroider the eyes for a baby-safe toy)
- Pink embroidery thread for the nose and smile
- Small sage green ribbon or a crocheted bow for the neck
- Toy stuffing (polyester fibre fill)
- Yarn needle, stitch markers, and sharp scissors
A smooth cotton-acrylic blend works beautifully for this crochet bunny pattern, because it holds its shape and shows the stitches clearly. For more on choosing yarn weights, see the yarn guides at Lion Brand. If you love small animal makes, you may also enjoy our crochet frog pattern — another easy amigurumi friend with a very different personality.
Step 1: Crochet the Bunny Head
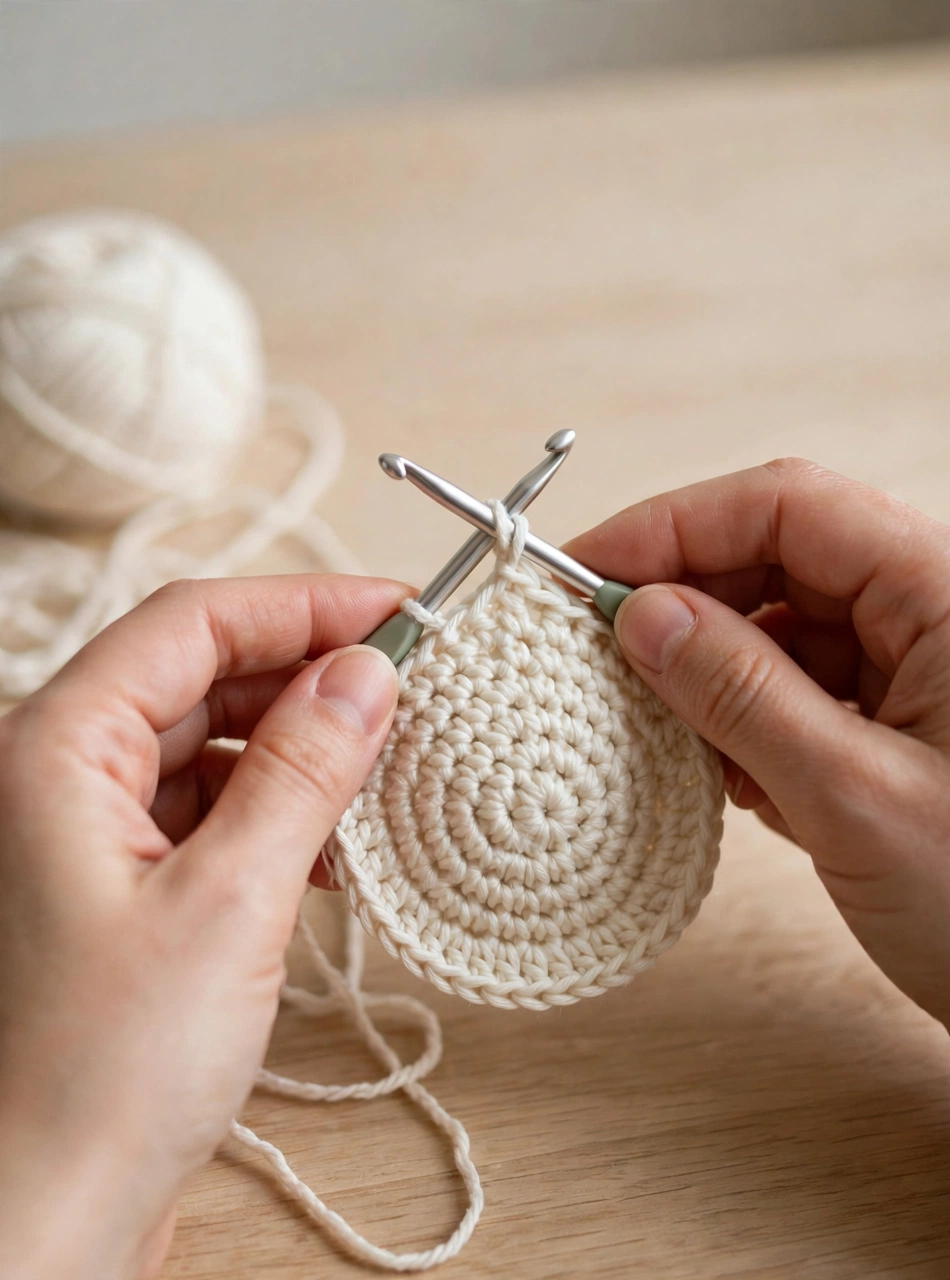
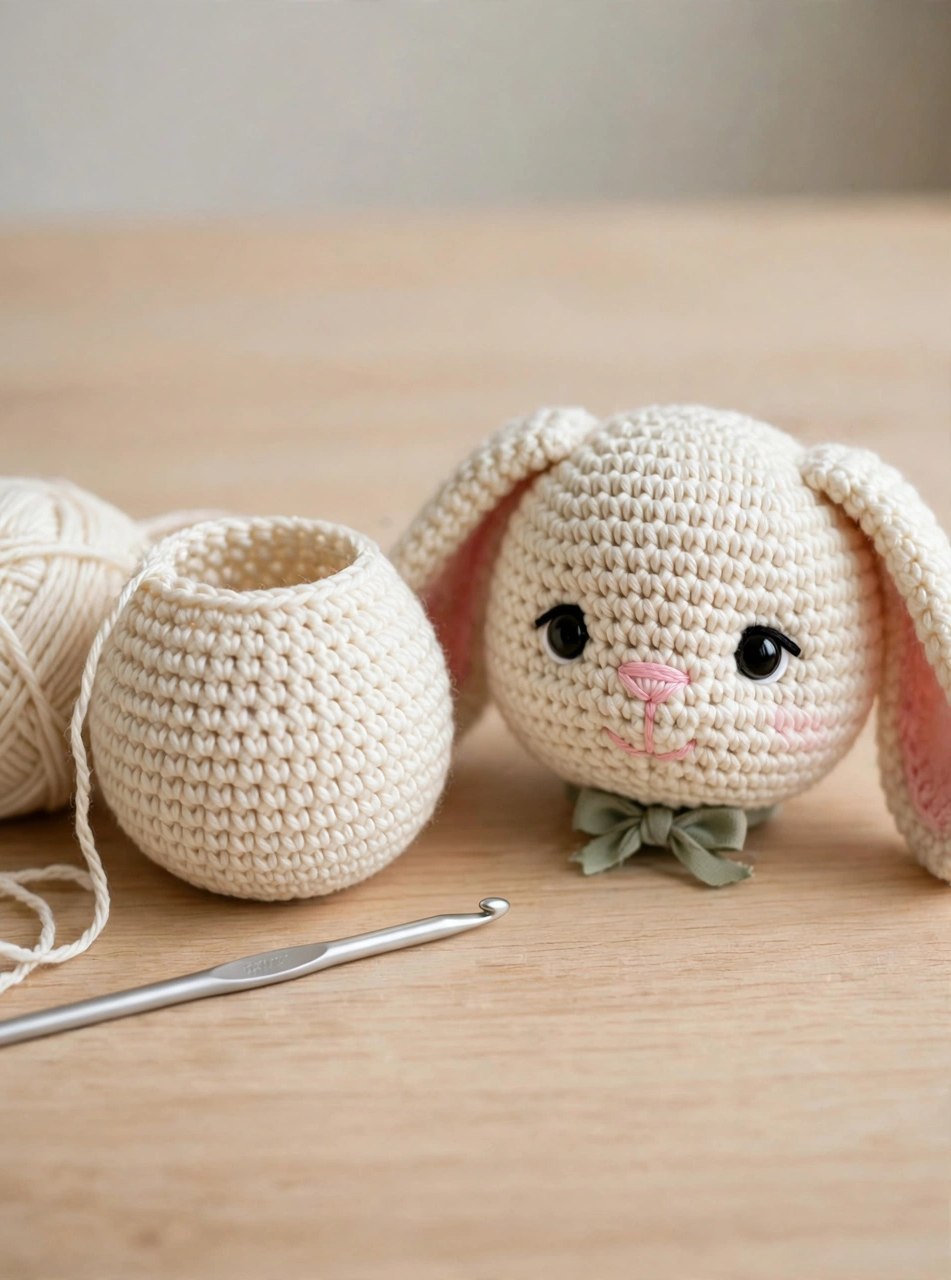
Start with a magic ring and work the head in continuous rounds of single crochet, increasing evenly until you reach 36 stitches. Then work straight for several rounds so the head becomes a soft, round ball, and decrease gently back down to close it. Stuff the head firmly but not so tightly that the stitches stretch open. A well-stuffed head is the secret to a bunny that sits up proudly instead of flopping forward, so check the shape as you go and add a little more filling before the final decreases.
Step 2: Crochet the Bunny Body
The body is a simple oval worked from the bottom up. Increase from a magic ring to 30 stitches, work straight for five rounds, then decrease gradually to close the top. Stuff the body firmly and evenly, shaping it into a gentle pear shape — slightly wider at the bottom so the bunny sits steadily. Leave a long tail of yarn for sewing, then sew the head to the body with neat, even stitches, checking from the front that the head sits centred and upright.
Step 3: Make the Long Floppy Ears
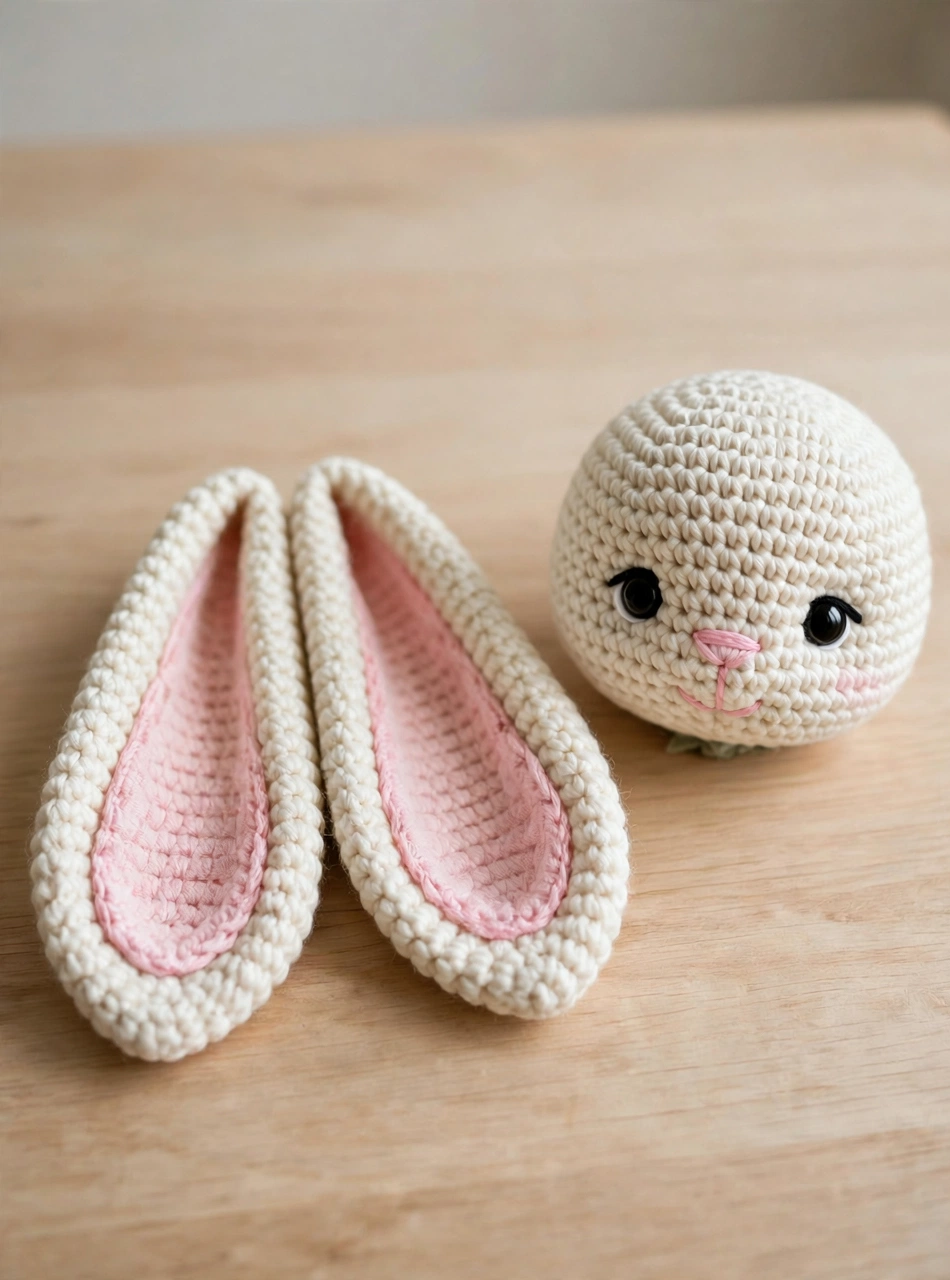
The long floppy ears are what give this bunny amigurumi its charm. Crochet two identical ear pieces in cream, increasing to 12 stitches and then working straight for seven rounds so each ear grows long and soft. Next, add the pink inner ear: crochet a small flat oval in pink yarn (or cut one from felt) and sew it neatly to the front of each ear. Fold the base of each ear slightly as you sew it to the top of the head, so the ears fall naturally to the sides instead of sticking straight up.
Step 4: Make the Arms and Legs
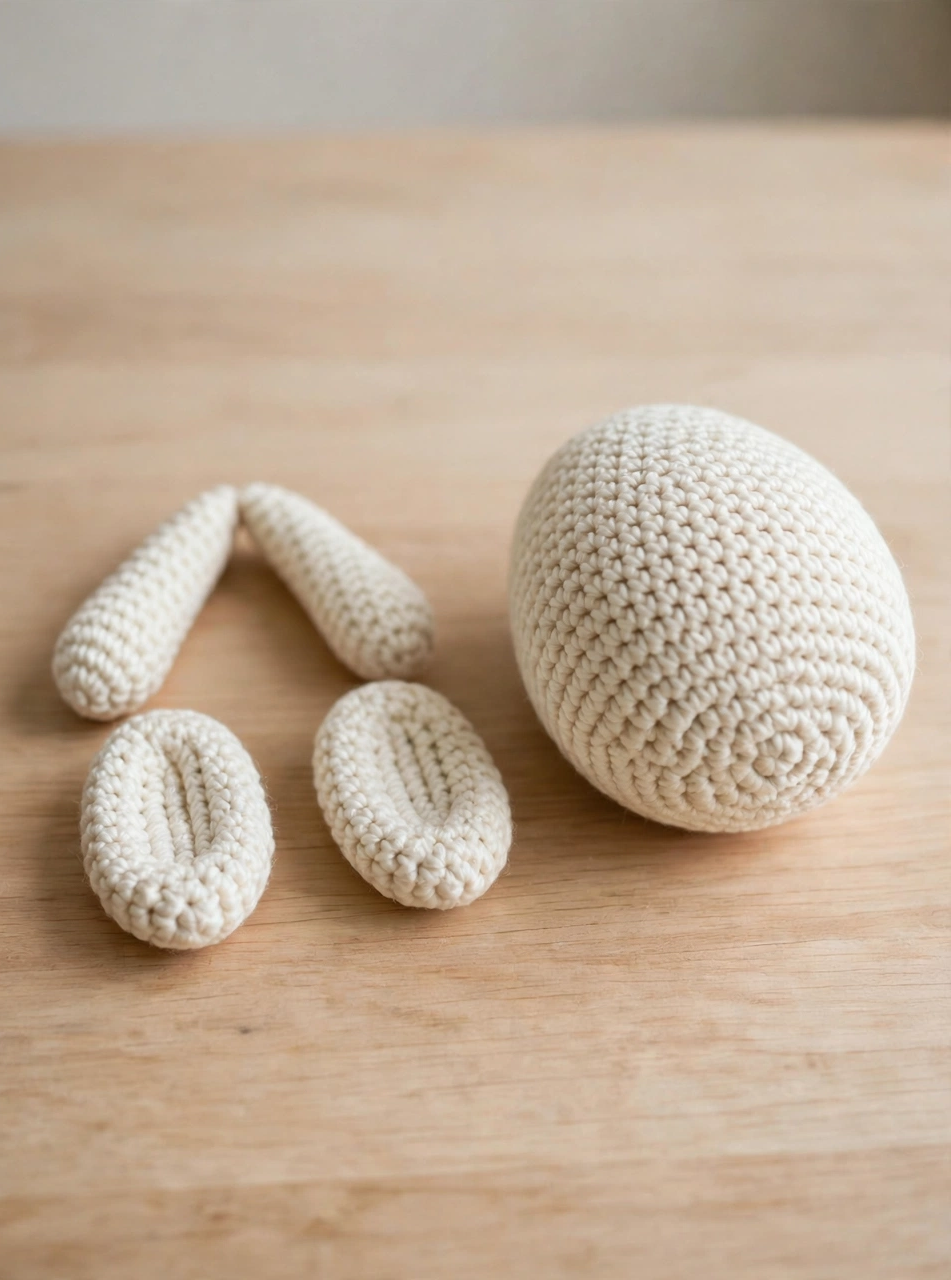
Now crochet the small pieces that finish the bunny’s shape. Make two short arms and two slightly chunkier legs, stuffing each one lightly so they stay soft and bendable. Sew the arms to the sides of the body, just below the head, and the legs to the front of the lower body so the bunny can sit upright on its own. Pin every piece in place before sewing, and step back to check the balance.
Step 5: Stuff and Sew the Bunny Together
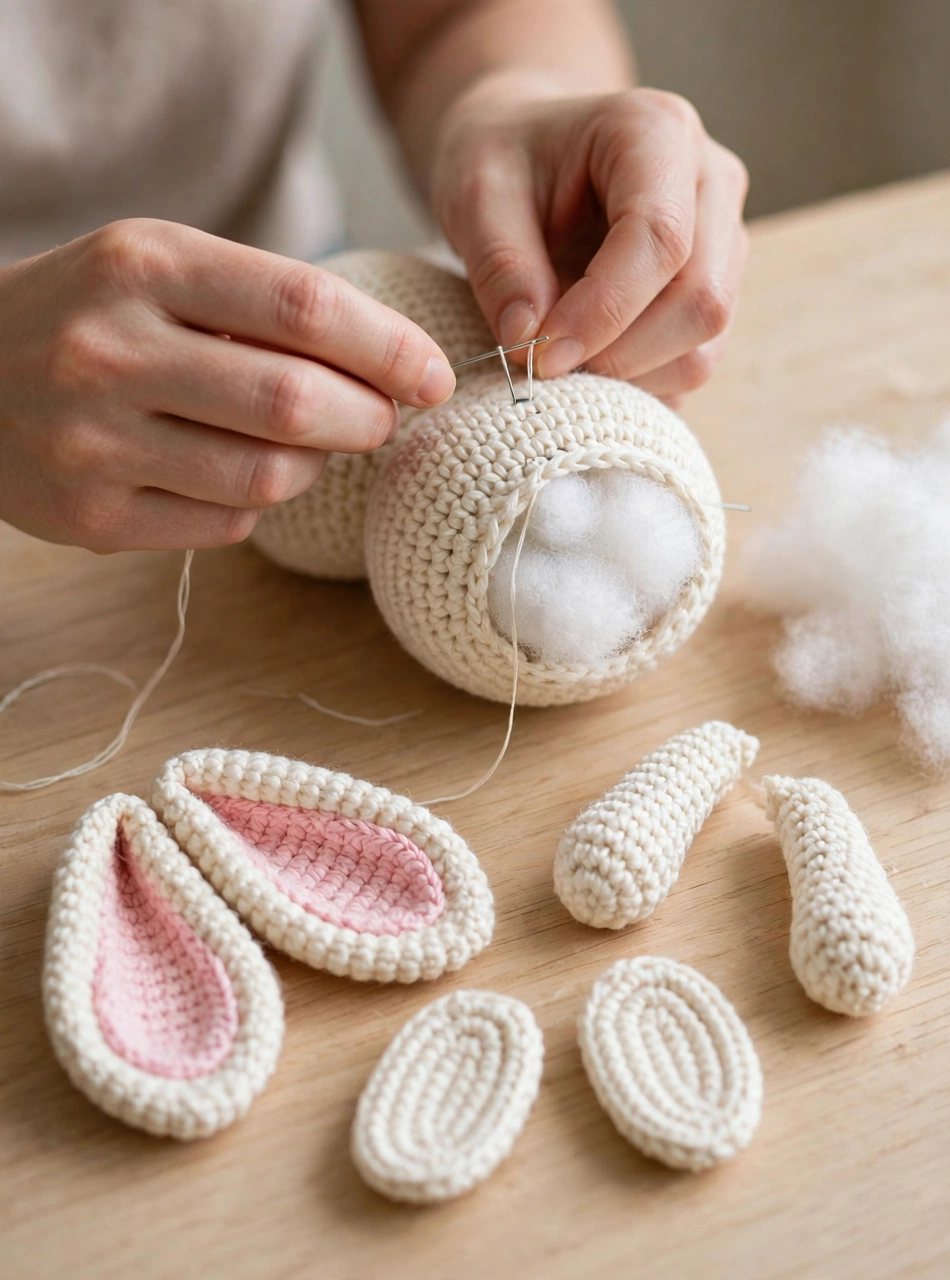
Now join everything together. Stuff the head and body firmly and shape them with your hands before you sew anything, so the bunny keeps its round, plump look. Sew the ears to the top of the head, the head to the body, and the limbs in place, weaving in all loose ends securely. Check from the front that the head sits centred and upright, and that the bunny sits steadily on its own before you finish the last stitches.
Step 6: Embroider the Face and Add the Bow
The face is where your bunny gets its personality, so take your time here. Place the safety eyes evenly spaced on the head, roughly halfway down, and secure them firmly from the inside. Then embroider a small pink triangle nose, and stitch a gentle smile curving down and out on each side. Add a touch of pink blush on each cheek with a few light stitches of pink yarn. Keep the features symmetrical, and remember: a small, neat face looks far sweeter than a large, busy one. Finally, tie a small sage green bow around the bunny’s neck, give the bunny a gentle squeeze to even out the stuffing, fluff the ears, and straighten the bow. Your cream crochet bunny is ready for cuddles, gifting, or pride of place on the shelf.
Tips for a Perfect Crochet Bunny
- Keep your tension tight. Amigurumi stitches should be snug enough that no stuffing peeks through. If you can see filling, drop down half a hook size.
- Use stitch markers. Mark the first stitch of every round — it is easy to lose your place in continuous rounds, and a marker saves a lot of counting back.
- Stuff as you go. Add filling a little at a time and shape each piece before closing it. It is much harder to fix a lumpy head once it is sewn on.
Frequently Asked Questions
Is this crochet bunny pattern good for beginners?
Yes. This bunny pattern uses only single crochet, increases, and decreases, all worked in the round. If you have made one simple amigurumi before — or even just practised a magic ring — you can make this bunny.
How big is the finished bunny?
Worked in worsted-weight yarn with a 3.5 mm hook, the finished bunny measures about 25 cm tall (excluding the ears) and about 15 cm wide. Using chunky yarn and a larger hook will give you a bigger, squishier bunny; DK yarn and a smaller hook will give you a smaller one.
Can I make this bunny baby-safe?
Absolutely. Simply embroider the eyes with black yarn instead of using safety eyes, sew the bow on very securely (or leave it off), and make sure every piece is stitched firmly with no loose ends. That makes the bunny safe for even the littlest cuddles.
What yarn is best for a bunny amigurumi?
A smooth, medium-weight cotton or cotton-acrylic blend is ideal: it holds its shape, shows the stitches beautifully, and survives gentle washing. Avoid very fluffy yarns for your first bunny, as they make counting stitches much harder.
Conclusion
This crochet bunny pattern is a gentle, joyful project — a soft cream bunny with long floppy ears, a sage bow, and a face that makes everyone smile. Gather your cream and pink yarn, and start crocheting your new favourite friend today. Happy crocheting!