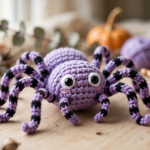
Looking for a cute crochet spider pattern that works up fast and looks adorable on your Halloween shelf? This free crochet spider pattern is a beginner-friendly amigurumi project you can finish in one cozy afternoon. With its plump lavender body, eight striped legs, and big googly safety eyes, this little spider is spooky-cute rather than scary — perfect for Halloween decor, party favors, or a handmade gift for kids.
This step-by-step tutorial walks you through every part of the make, from the magic ring to the final blush cheeks, with a photo for each stage. If you can single crochet in the round, you can make this spider. Let’s grab your hook and get started!
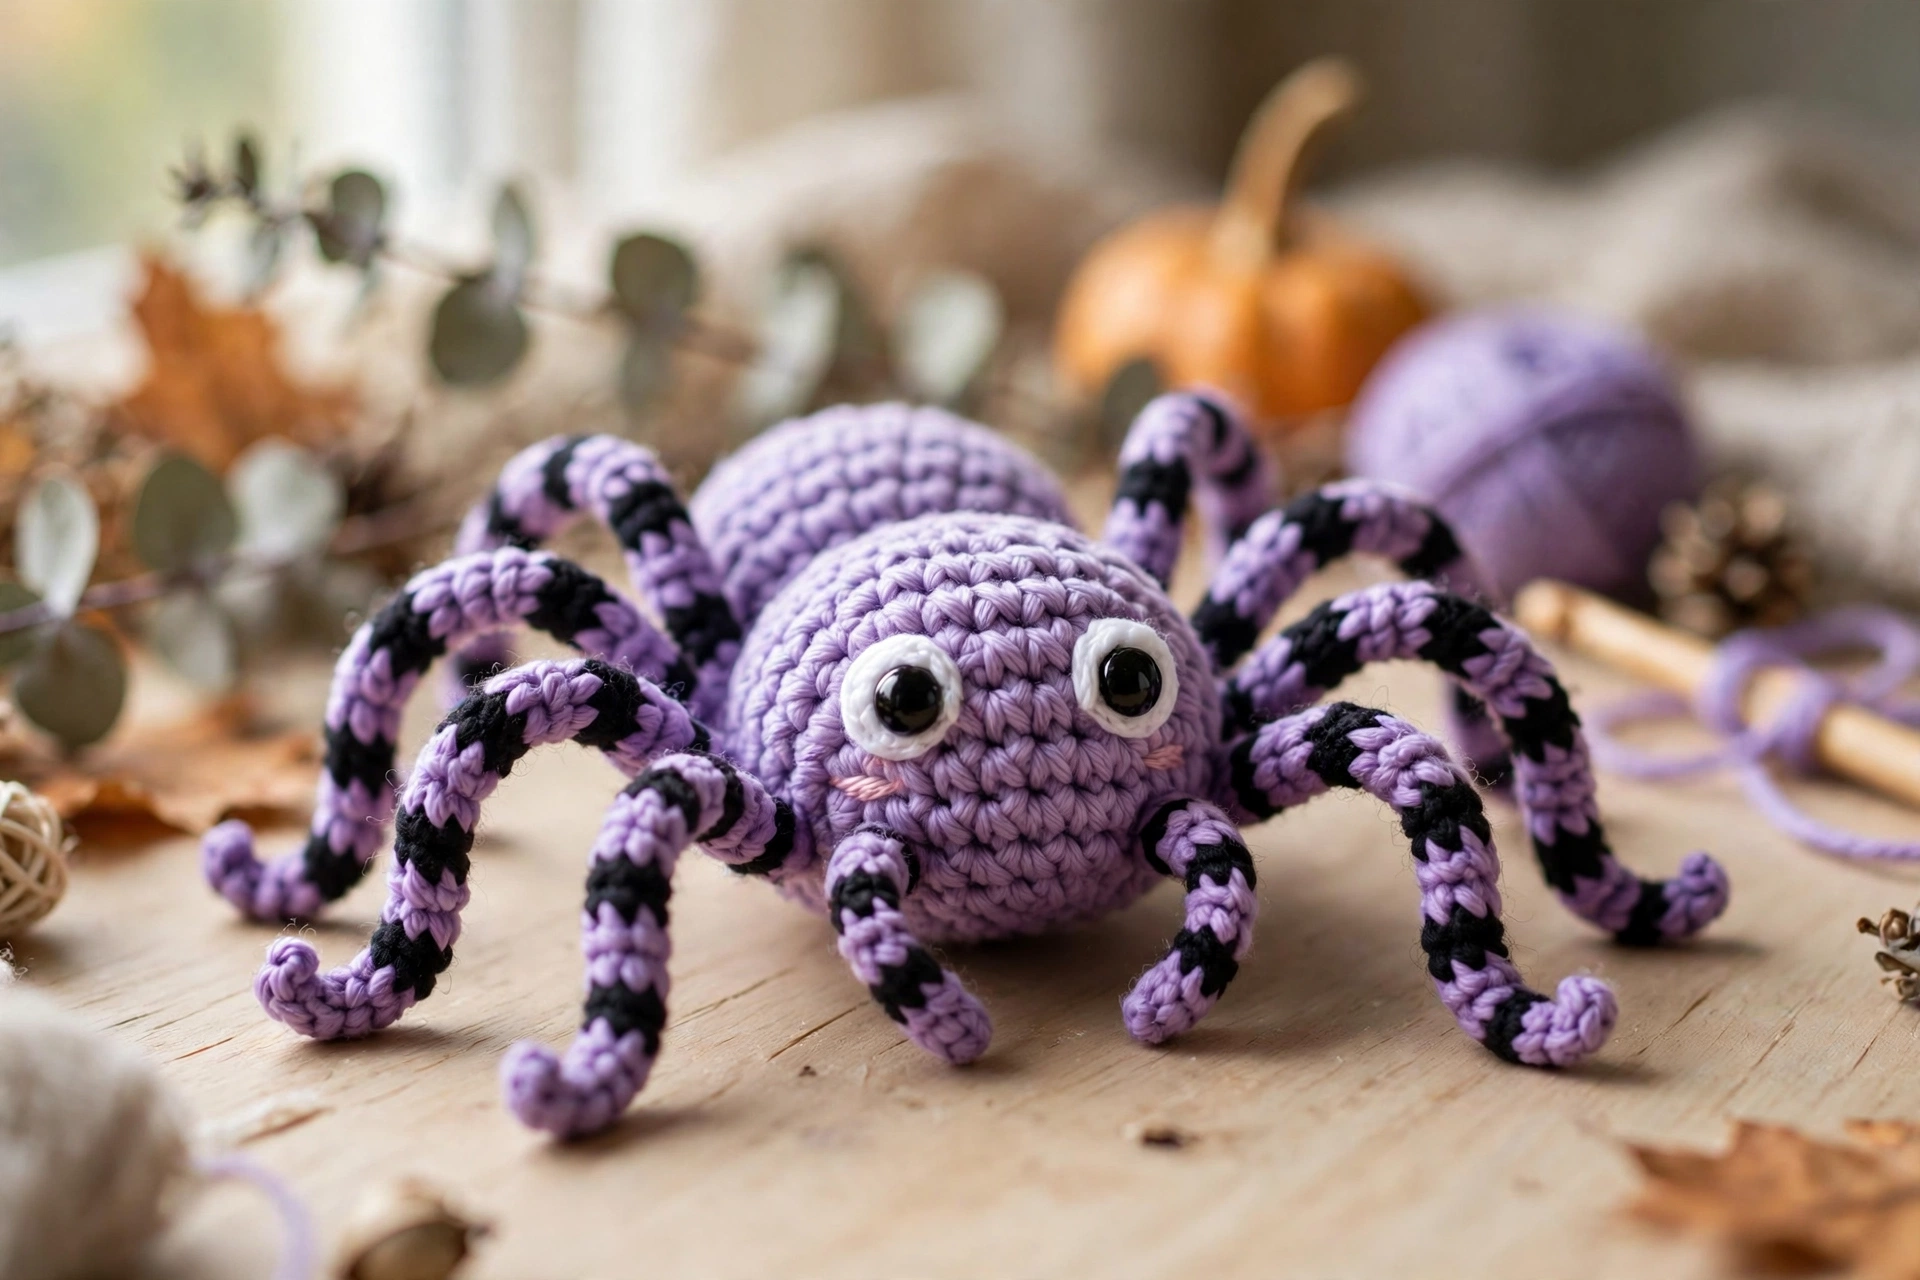
Materials You’ll Need
- Worsted-weight (#4) acrylic yarn: approx. 80 g lavender purple (main color), 30 g black (leg stripes), small amount of pink (cheeks)
- 3.5 mm crochet hook (a size smaller than the yarn label suggests, for tight amigurumi stitches)
- 12 mm safety eyes, white with black pupils (2)
- Polyester fiberfill stuffing
- Yarn needle and stitch markers
- Scissors
Finished size: about 6 inches (15 cm) wide including the legs.
Abbreviations (US terms): MR = magic ring, sc = single crochet, inc = increase (2 sc in same stitch), dec = invisible decrease, st(s) = stitch(es).
Step 1: Start the Crochet Spider Body with a Magic Ring
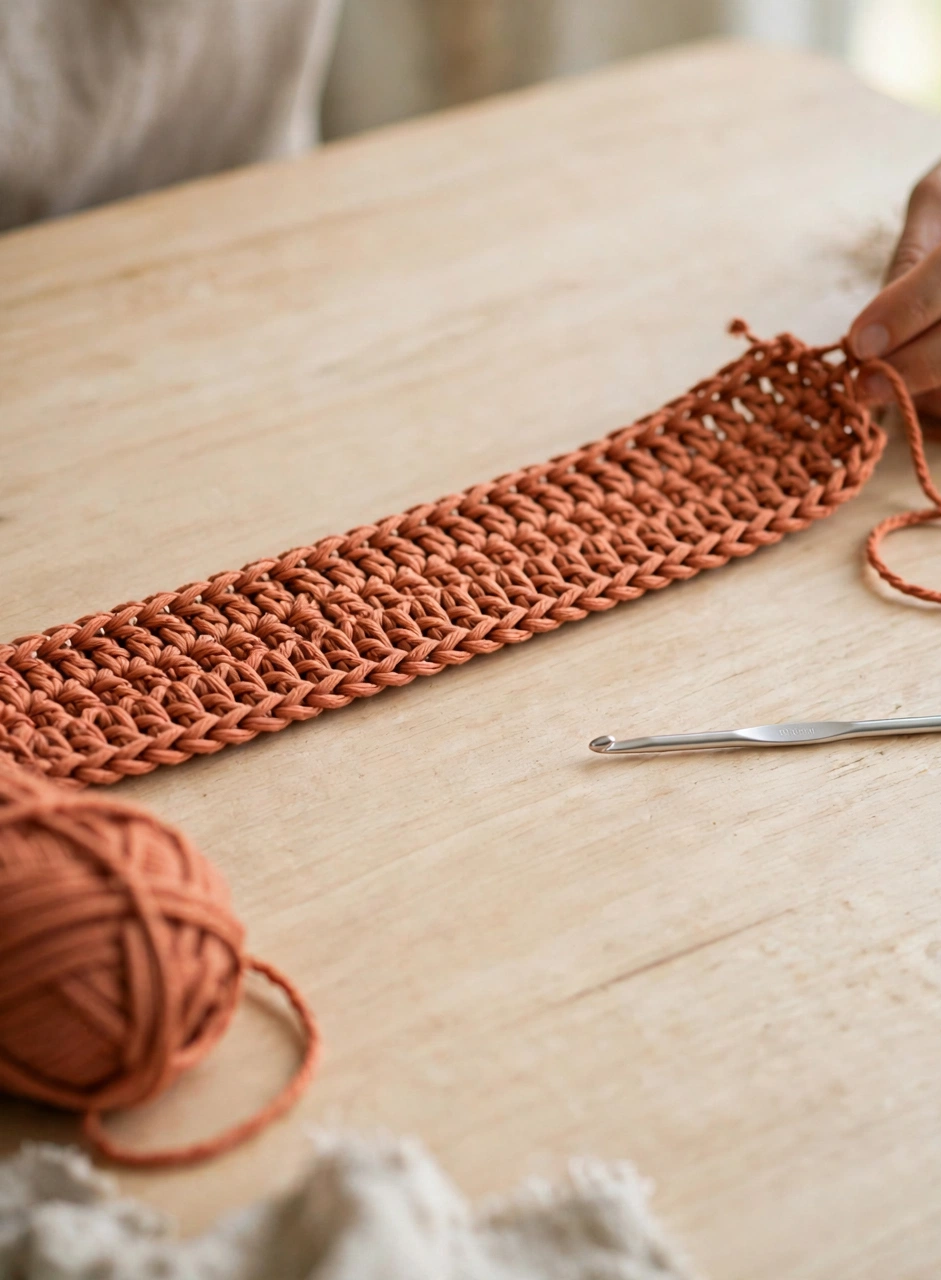
Every good crochet spider pattern begins with a perfect round body. Start with your lavender yarn and make a magic ring, then work 6 single crochets into the ring. In the following rounds, increase evenly — 12 stitches in round 2, 18 in round 3, 24 in round 4 — until the base measures about 3 inches across. Place a stitch marker in the first stitch of each round so you never lose your place; in amigurumi, rounds are worked in a continuous spiral without joining.
Keep your tension firm. Tight stitches are the secret to a professional-looking amigurumi body with no stuffing peeking through.
Step 2: Shape and Stuff the Body
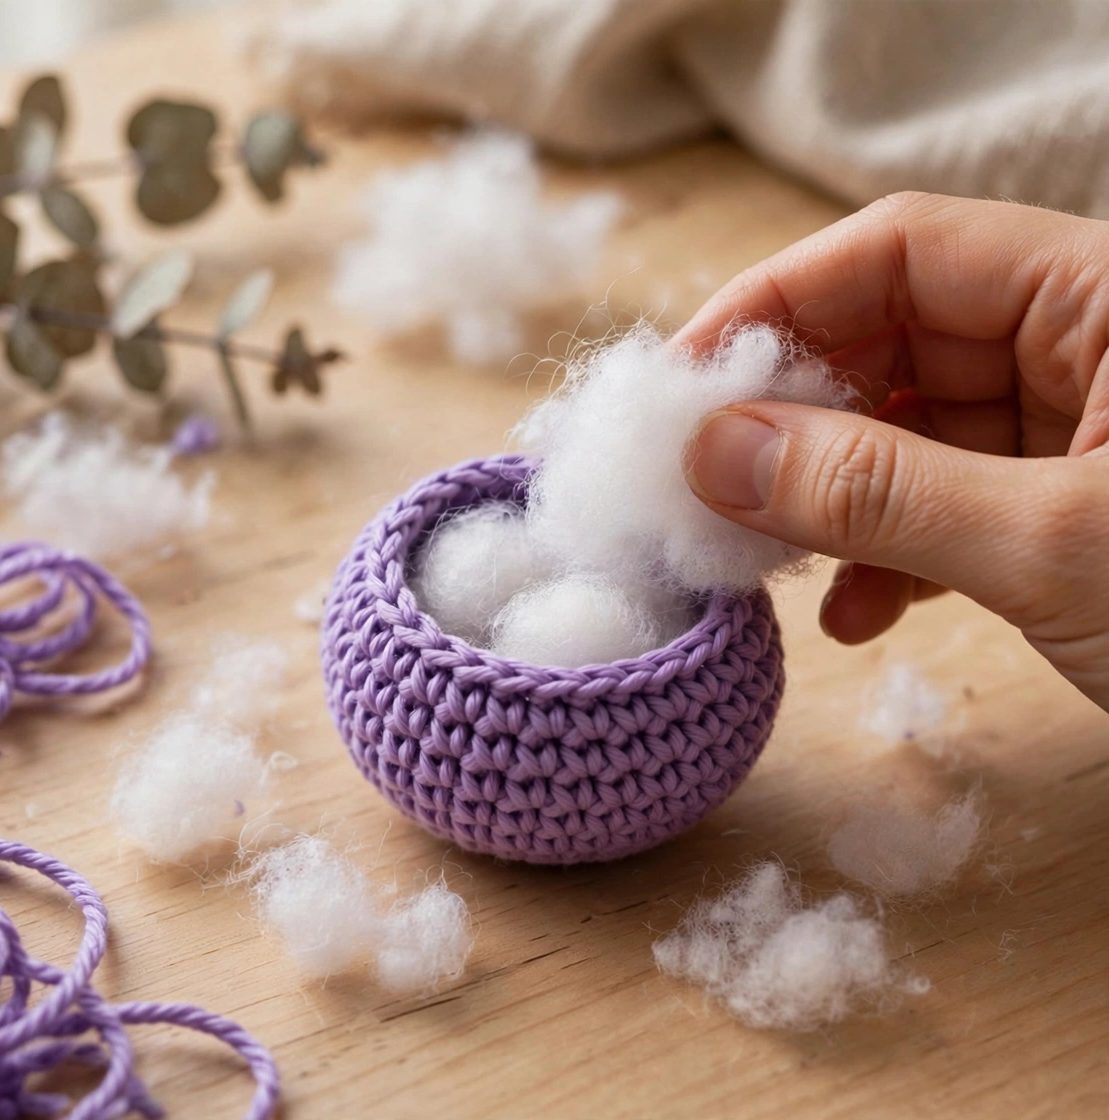
Once the base is wide enough, work several rounds even (one single crochet in each stitch) to build the sides of the sphere, then begin decreasing: work one decrease every few stitches per round until the opening is small. Before you close it completely, stuff the body firmly with polyester fiberfill. Add the stuffing gradually, pushing it into the sides so the spider stays round and plump rather than lumpy.
A well-stuffed body makes attaching the legs much easier in the next steps, so don’t rush this part. Close the opening with a yarn needle, weaving through the front loops of the final round and pulling tight.
Step 3: Crochet Eight Long Striped Legs
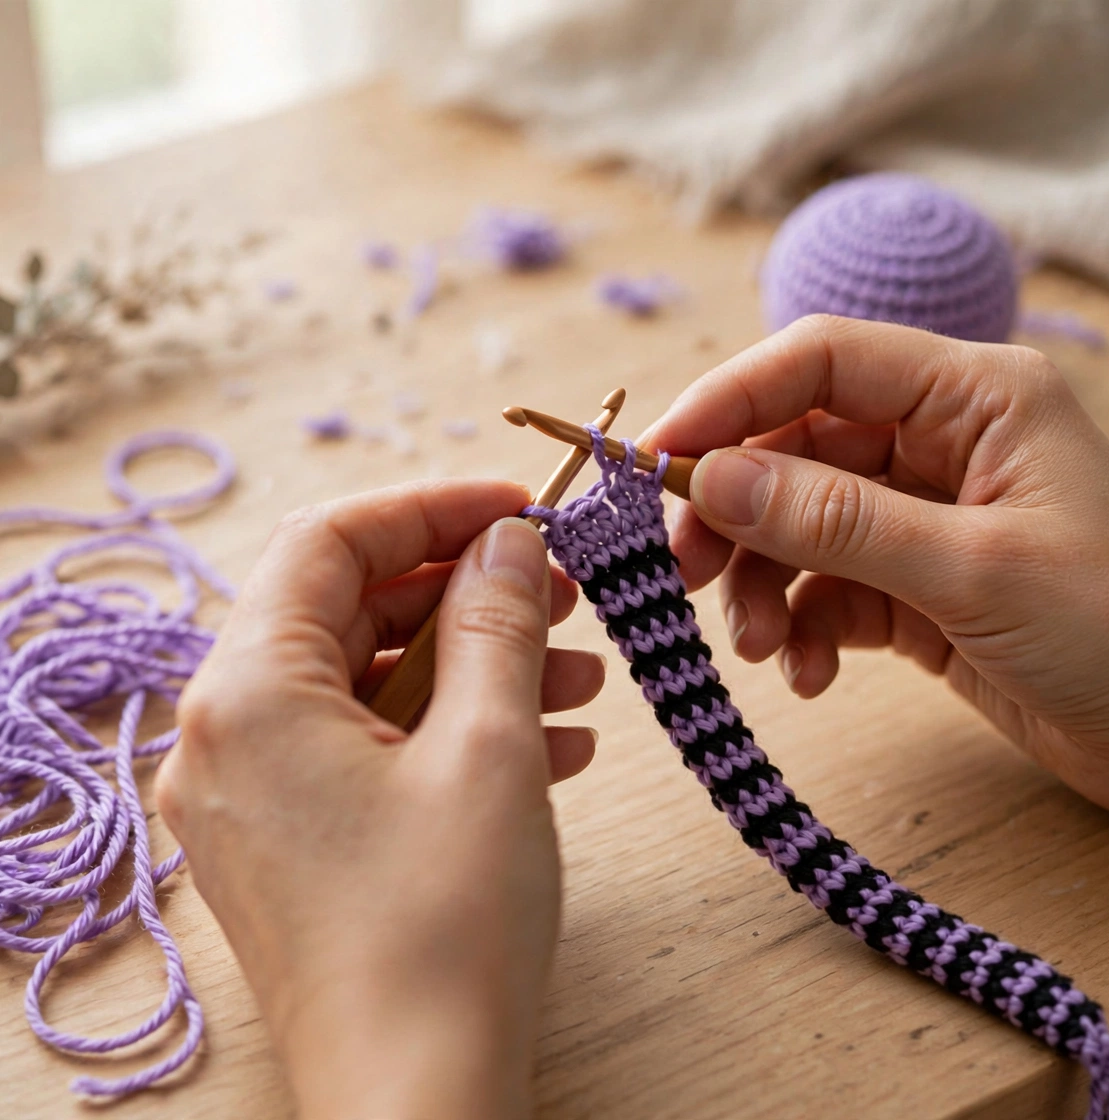
The legs are what give this Halloween spider its charm. Using alternating stripes of lavender and black, chain a long foundation, then work single crochets back along the chain to form each leg. Repeat until you have eight identical legs — four for each side. The stripes look complicated but they’re just simple color changes every few stitches, so even beginners can manage them.
Lay the legs out side by side as you finish them. Making all eight before you start sewing keeps your spider perfectly symmetrical, which is half the battle with amigurumi spiders.
Step 4: Attach the Legs to Your Crochet Spider
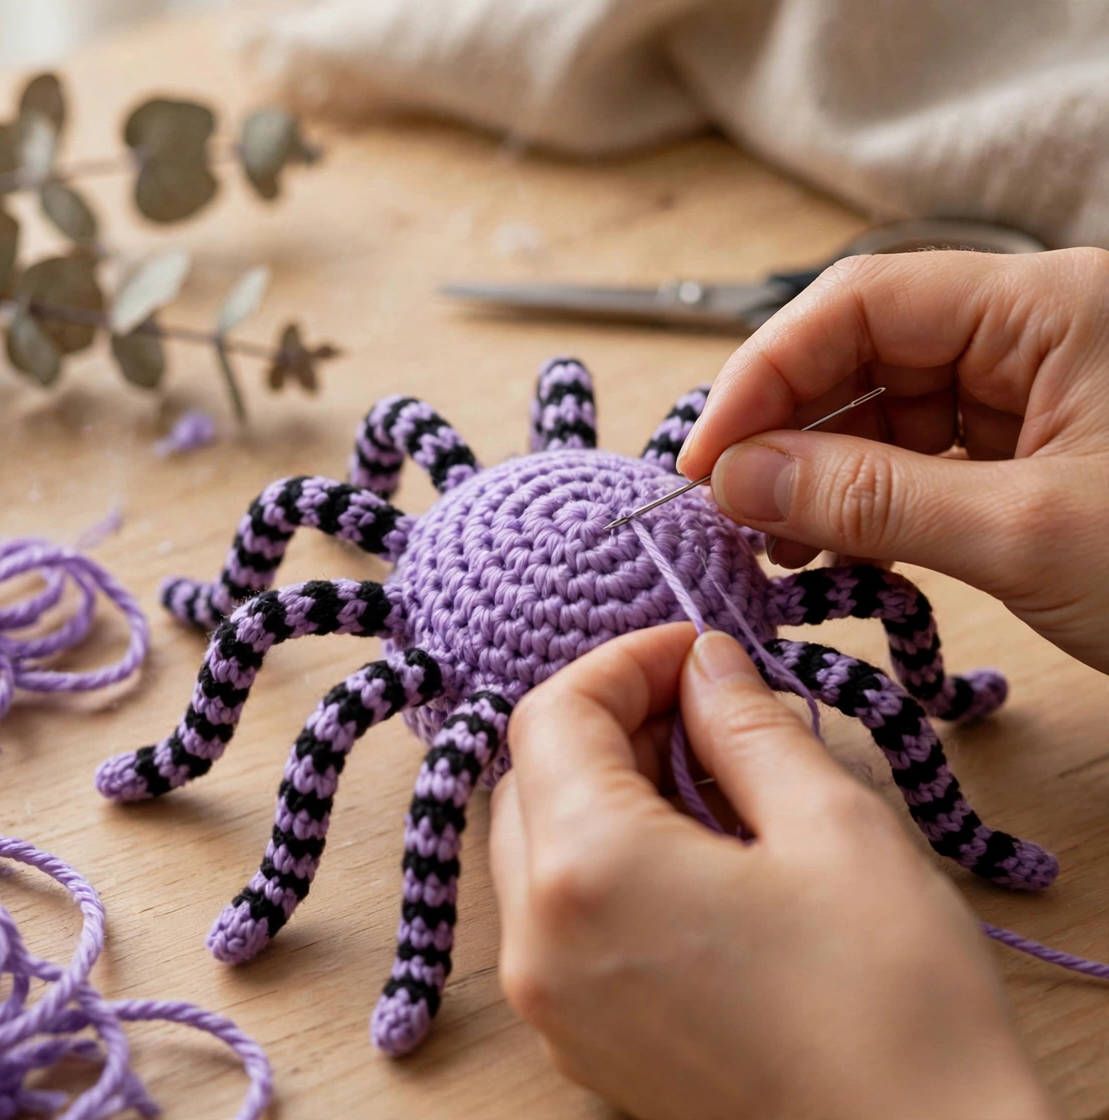
Now the spider starts to look like a spider! Thread your yarn needle with lavender yarn and sew four legs evenly spaced along each side of the body, angling them slightly outward and downward so the spider stands on its own. Go through each leg twice for a secure hold — Halloween decorations get handled a lot, especially by kids.
Step back and check the spacing before you knot off. The legs should fan out like a real spider’s, with the two front legs pointing slightly forward. This is the fiddliest part of the whole crochet spider pattern, but take it slow and you’ll love the result.
Step 5: Add Safety Eyes and the Embroidered Face
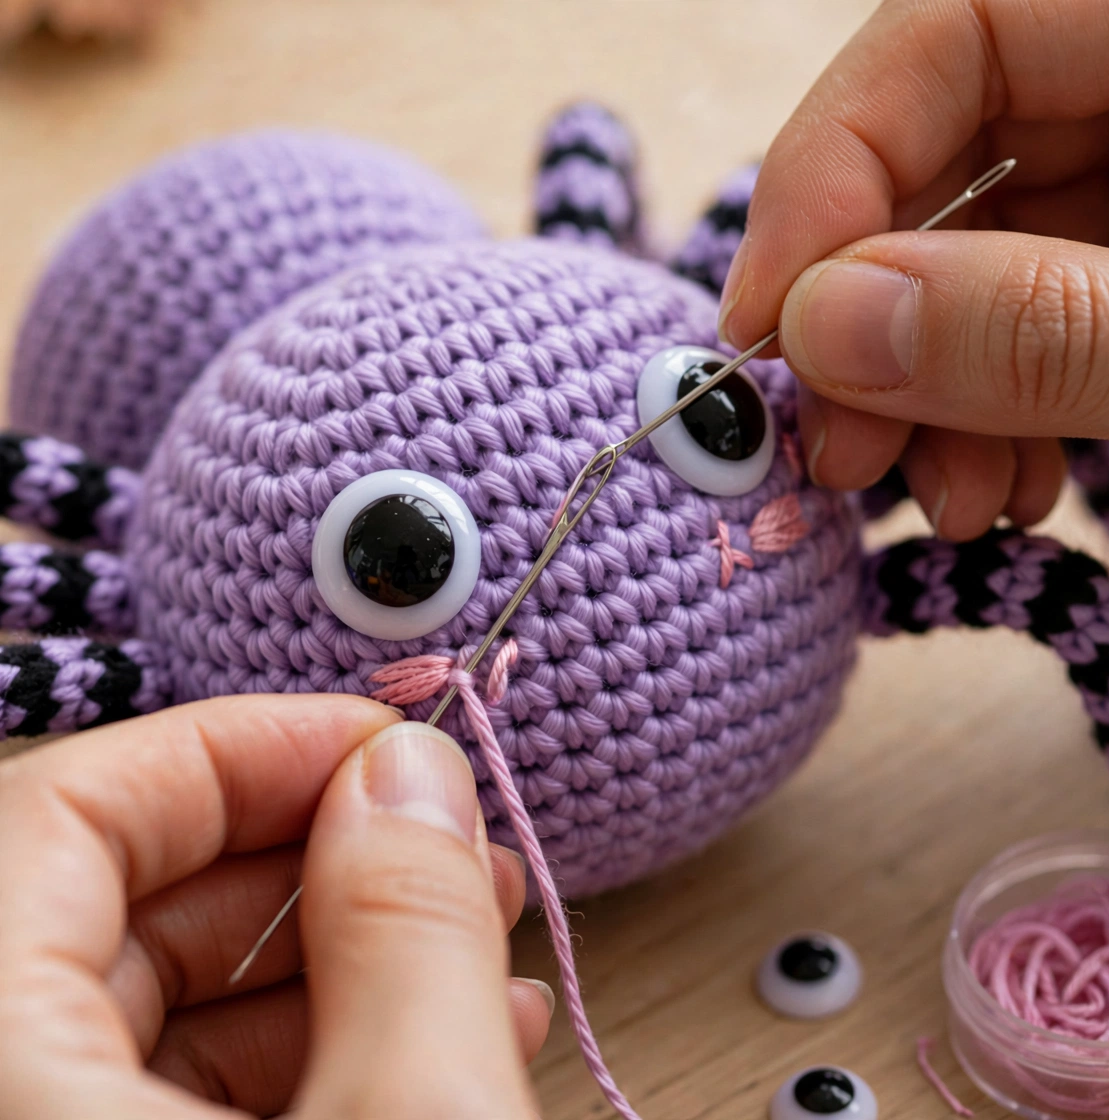
Time for the personality! Push the two safety eyes through the front of the body, about an inch apart, and snap the washers on firmly from the inside before the opening is fully closed — or sew them on securely if you prefer. Then, with pink yarn and your yarn needle, embroider two tiny blush cheeks just below and outside each eye using a few straight stitches.
The oversized eyes and pink cheeks are what turn this from a creepy crawly into a kawaii Halloween spider that kids adore. Keep the stitches small and neat, and knot everything tightly on the inside.
Step 6: Finishing Touches for Your Halloween Spider
Give your spider a final once-over: weave in any loose ends, fluff the stuffing through the stitches if needed, and gently bend each leg into a natural curl. Pose the front legs slightly raised for extra cuteness. And that’s it — your crochet spider is finished and ready for its Halloween debut!
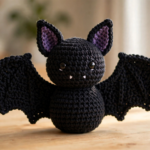
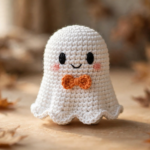
Display it on a mantel with mini pumpkins, hang it from a doorway with invisible thread, or tuck it into a trick-or-treat basket. If you loved this spooky make, you’ll also enjoy our crochet bat pattern and crochet ghost pattern — they make the cutest Halloween trio.
Tips for the Perfect Crochet Spider
- Use a smaller hook than usual. Dropping one hook size below the yarn label recommendation gives you tight, even amigurumi stitches with no gaps for stuffing to escape.
- Count as you sew. It’s easy to end up with seven or nine legs — place all eight with pins first, count twice, then sew.
- Make the legs posable (optional). Thread a short piece of floral wire or a pipe cleaner through each leg before attaching it, and you can bend your spider into any pose.
Frequently Asked Questions About This Crochet Spider Pattern
Is this crochet spider pattern beginner-friendly?
Yes! If you know how to make a magic ring, single crochet, increase, and decrease, you have every skill this pattern needs. The legs are just chains worked back with single crochet, and the face is simple embroidery. Most beginners finish their first spider in 3–4 hours.
How long does it take to crochet the spider?
An experienced crocheter can finish in about 2 hours; beginners should allow 3–4 hours including the sewing. It’s an ideal weekend or one-evening project, and a great last-minute Halloween make.
What yarn works best for a crochet spider?
Worsted-weight acrylic is the best all-rounder: it’s affordable, holds its shape, and comes in every Halloween color. Cotton yarn gives crisper stitch definition if you want a neater look — check the huge color range at LoveCrafts for inspiration. Avoid fuzzy novelty yarns for your first spider, since they hide your stitches.
Can I sell finished spiders made from this pattern?
Absolutely — finished items made from this free pattern may be sold at craft fairs or online shops. Please don’t redistribute the pattern text or photos themselves, and a credit link back to this tutorial is always appreciated.
Conclusion
This cute crochet spider pattern proves that Halloween crochet doesn’t have to be scary — just spooky-sweet. In a single afternoon you’ll have a plump purple spider with striped legs and the sweetest embroidered face, ready to charm everyone at your Halloween party. Save this tutorial for later, share it with a crochet-loving friend, and happy haunting with your hook!