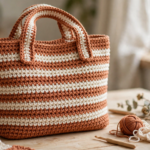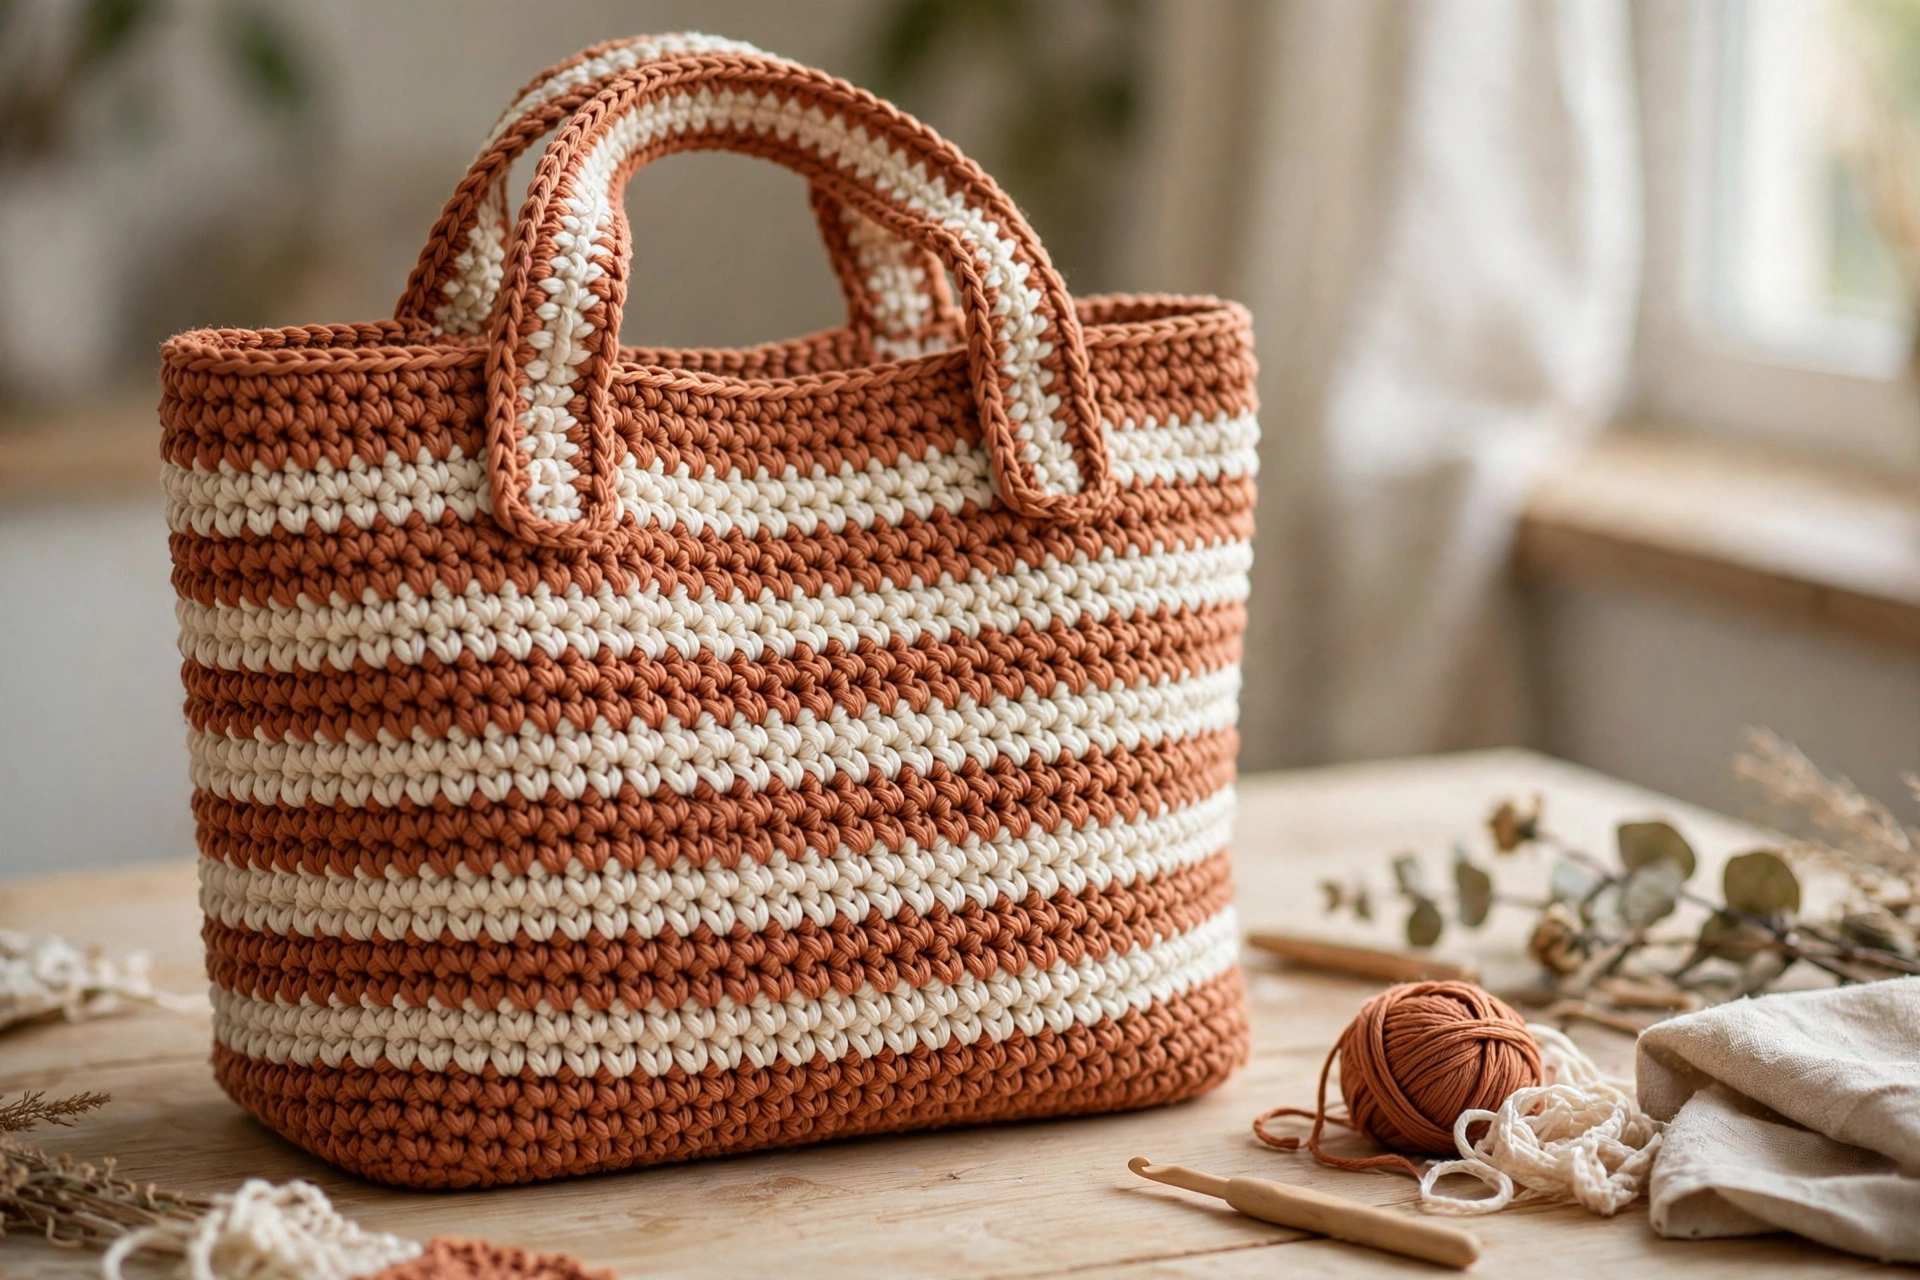
A sturdy, stylish bag you made with your own two hands — that is the magic of this crochet tote bag pattern. This beginner-friendly tutorial walks you through every stage, from the foundation chain to the handles, with clear step-by-step photos to guide you. In just one weekend, you will have a beautiful terracotta and cream striped tote that is perfect for groceries, books, or a relaxed day at the market.
Handmade tote bags are one of the most-searched crochet projects for a reason: they are practical, giftable, and endlessly customizable. Once you learn the basic construction in this pattern, you can make yours in any color combination you like.
Materials
- Worsted-weight (medium #4) 100% cotton yarn: about 300 g in terracotta and 150 g in cream
- 5.0 mm (US H-8) crochet hook
- Yarn needle (tapestry needle)
- Sharp scissors
- A few stitch markers
Why cotton? Cotton yarn barely stretches, so your finished bag keeps its shape even when it is full. According to the Craft Yarn Council’s standard yarn weight system, medium-weight cotton is the sweet spot for sturdy bags like this one.
Gauge: 14 single crochet stitches x 16 rows = 10 cm (4 inches). Matching gauge is not critical — your bag will simply turn out slightly larger or smaller.
Finished size: about 38 cm (15 in) wide x 32 cm (12.5 in) tall, not counting the handles.
Abbreviations (US terms): ch = chain, sc = single crochet, dc = double crochet, st = stitch, sl st = slip stitch.
Step 1: Chain the Base for Your Crochet Tote Bag
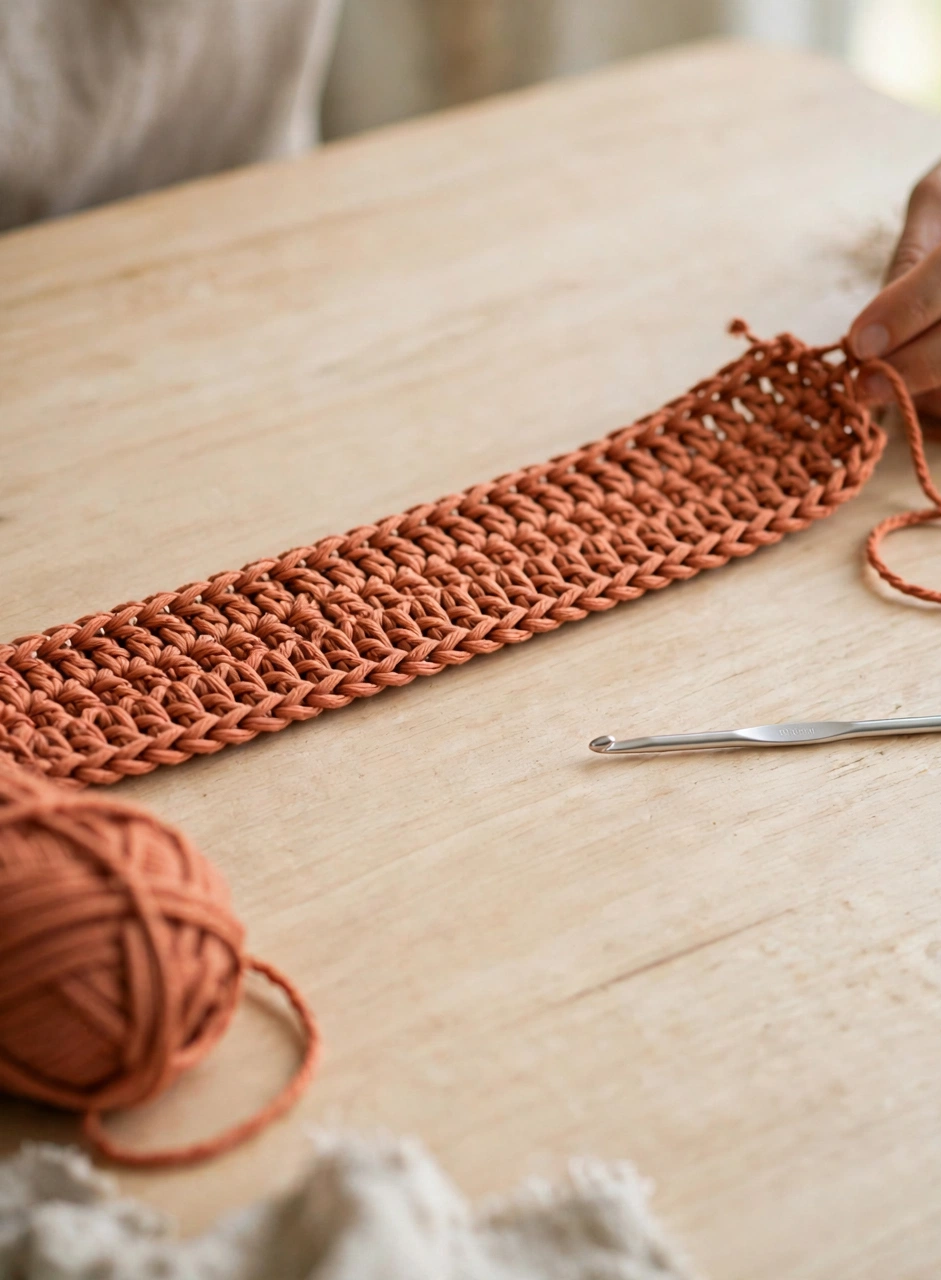
Start with your terracotta yarn and chain 41. This foundation chain sets the width of the whole bag, so lay it flat and check that it measures roughly 36 cm (14 in). If it is shorter, your chains may be too tight — try chaining a little more loosely.
Step 2: Crochet the Oval Base
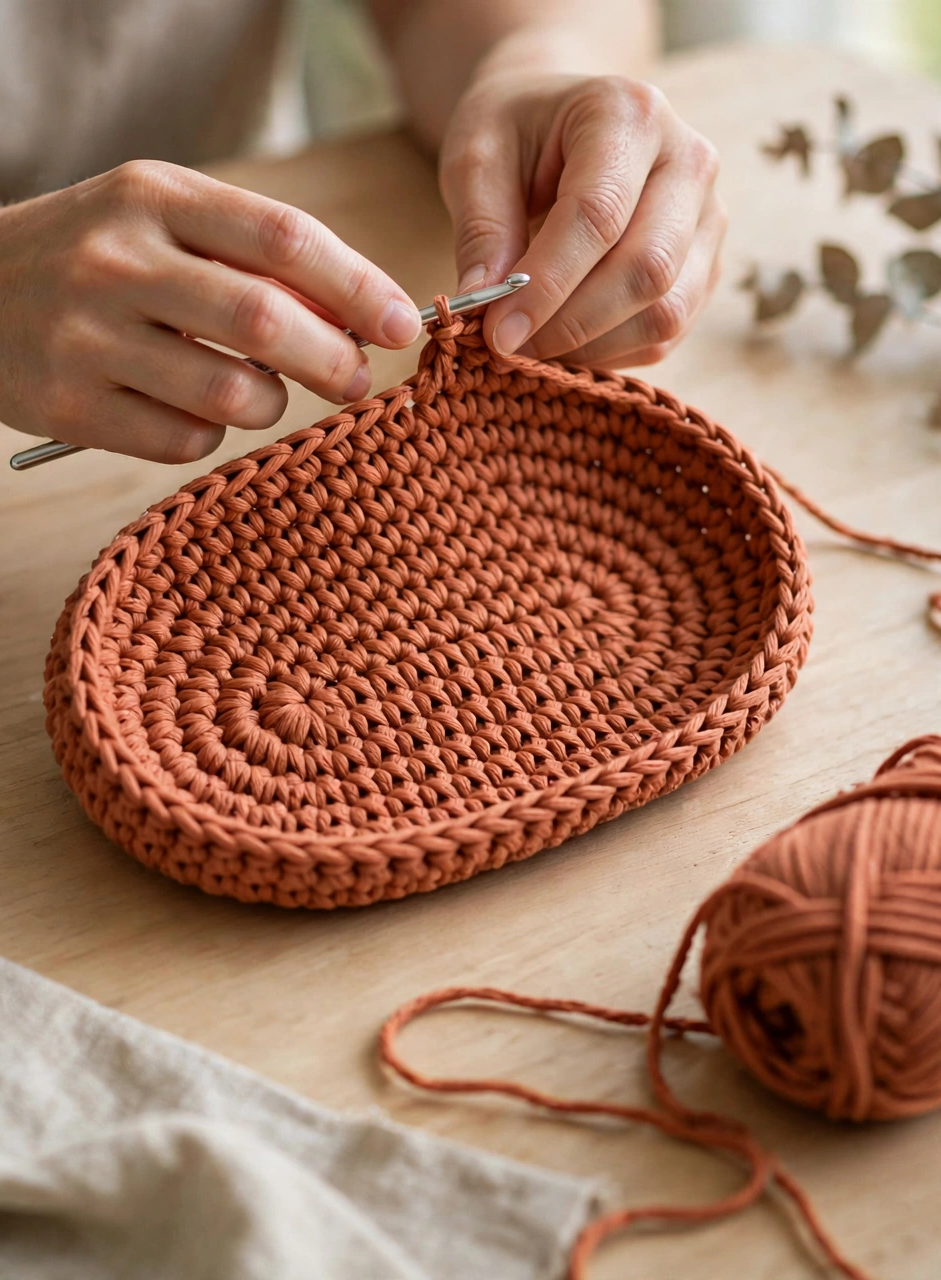
Work around both sides of the foundation chain to form an oval. In the second chain from the hook, place 3 sc, then sc across the next 38 chains, place 3 sc in the last chain, and continue sc down the other side of the chain. Join with a sl st and mark the beginning of the round.
Continue working oval rounds of single crochet, increasing 3 stitches at each end of the oval, for 4 rounds total. The base should now measure about 38 x 14 cm and lie flat without curling.
Step 3: Build the Tote Bag Body
From here on, stop increasing and work straight rounds — the walls of the bag will grow upward on their own. Switch to double crochet for speed: each round is simply one dc in every stitch around. Work 4 rounds in terracotta.
To keep the sides neat, move your stitch marker up at the start of every round and count your stitches every few rounds. A consistent stitch count is the secret to straight, even walls.
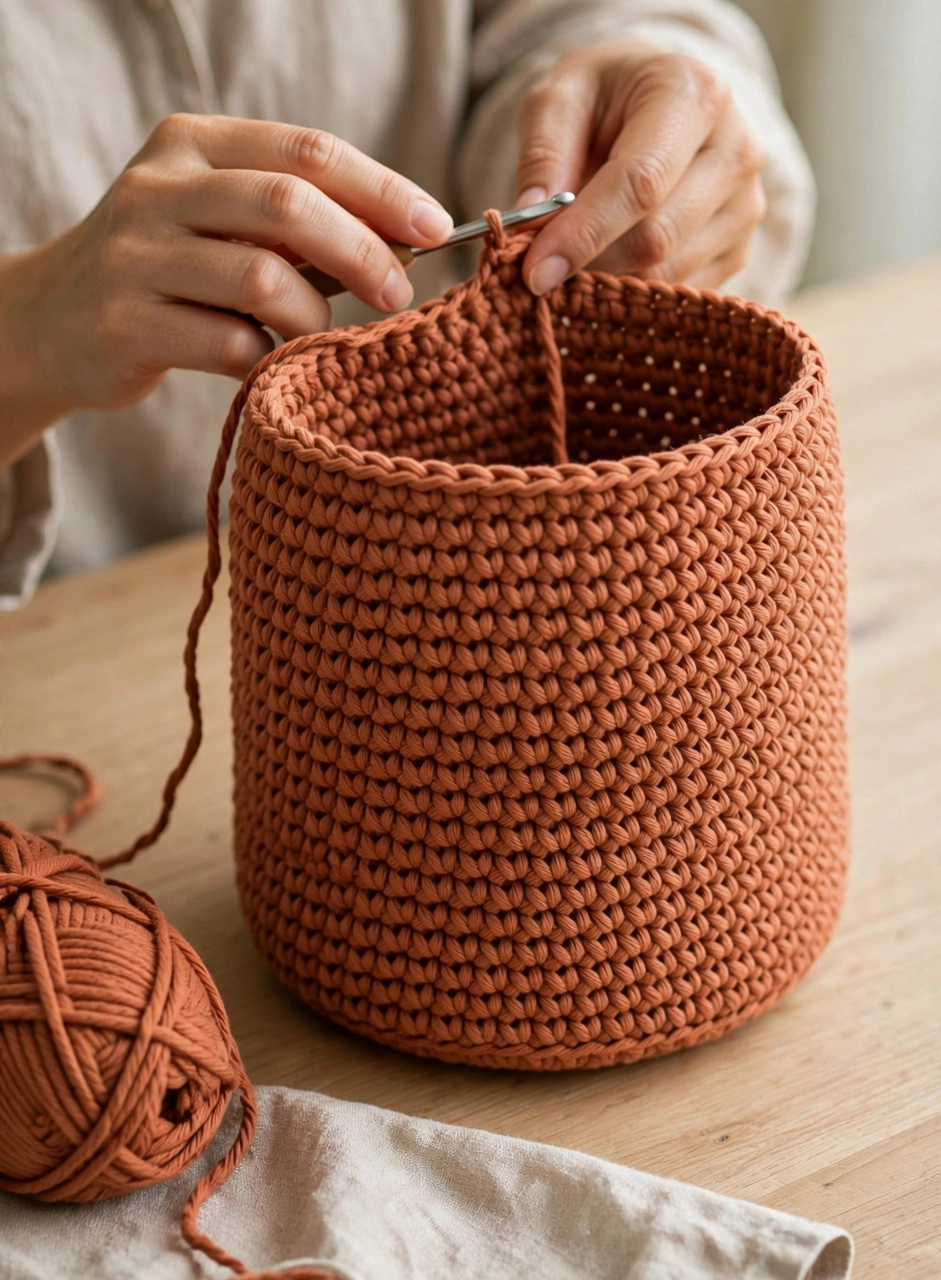
Step 4: Add Cream Stripes to Your Market Bag
Now comes the fun part — the stripes that give this market bag its signature look. Change to cream yarn and work 2 rounds of dc. Then switch back to terracotta for 2 rounds. Repeat this 2-round stripe sequence three more times for a total of 4 cream stripes.
Changing colors cleanly: complete the last yarn-over of the final stitch of the round with the new color. Carry the unused color loosely up the inside of the bag rather than cutting it each time — it saves yarn and weaving later.
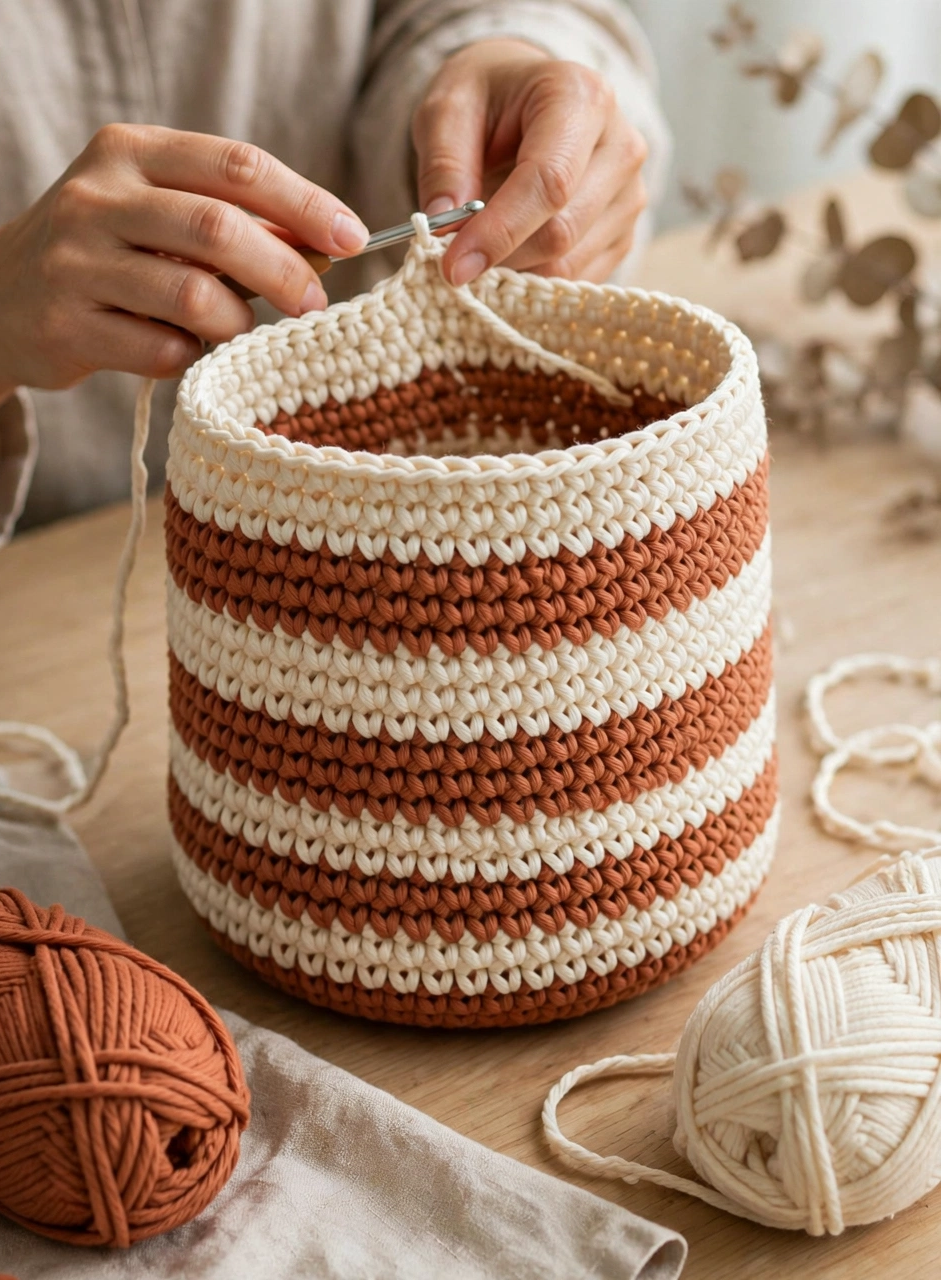
Step 5: Crochet the Handles
Sturdy handles make or break a tote bag, so we will make them thick. With terracotta yarn, chain 60. Turn and work 3 rows of sc back along the chain, then fold the strip in half lengthwise and slip stitch the long edges together. This creates a firm, cord-like strap.
Make a second handle exactly the same way. Lay them side by side to check they match — even a small difference in length will show once the bag is hanging.
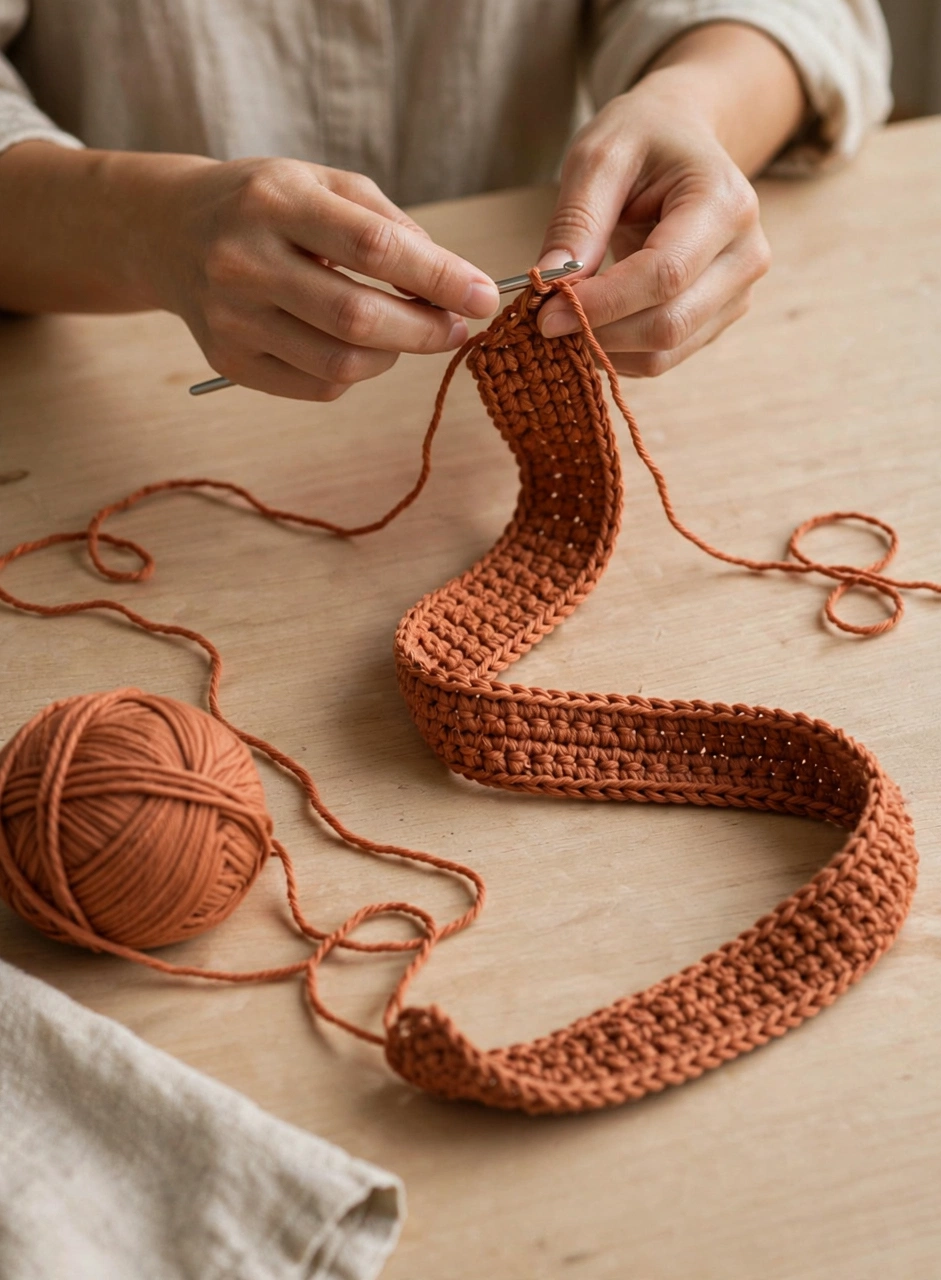
Step 6: Attach the Handles and Finish Your Crochet Tote Bag
Position the handles on the inside of the bag’s rim, about 10 cm in from each side edge. Using your yarn needle and a long tail of terracotta yarn, sew each handle end down with a neat rectangle of stitches, then add an X across the rectangle for extra strength. Repeat for all four handle ends.
Finally, weave in every loose end with the yarn needle, working the tails through several stitches in different directions so they stay put. Give the bag a gentle steam block if you like — it evens out the stitches beautifully. Your tote is done!
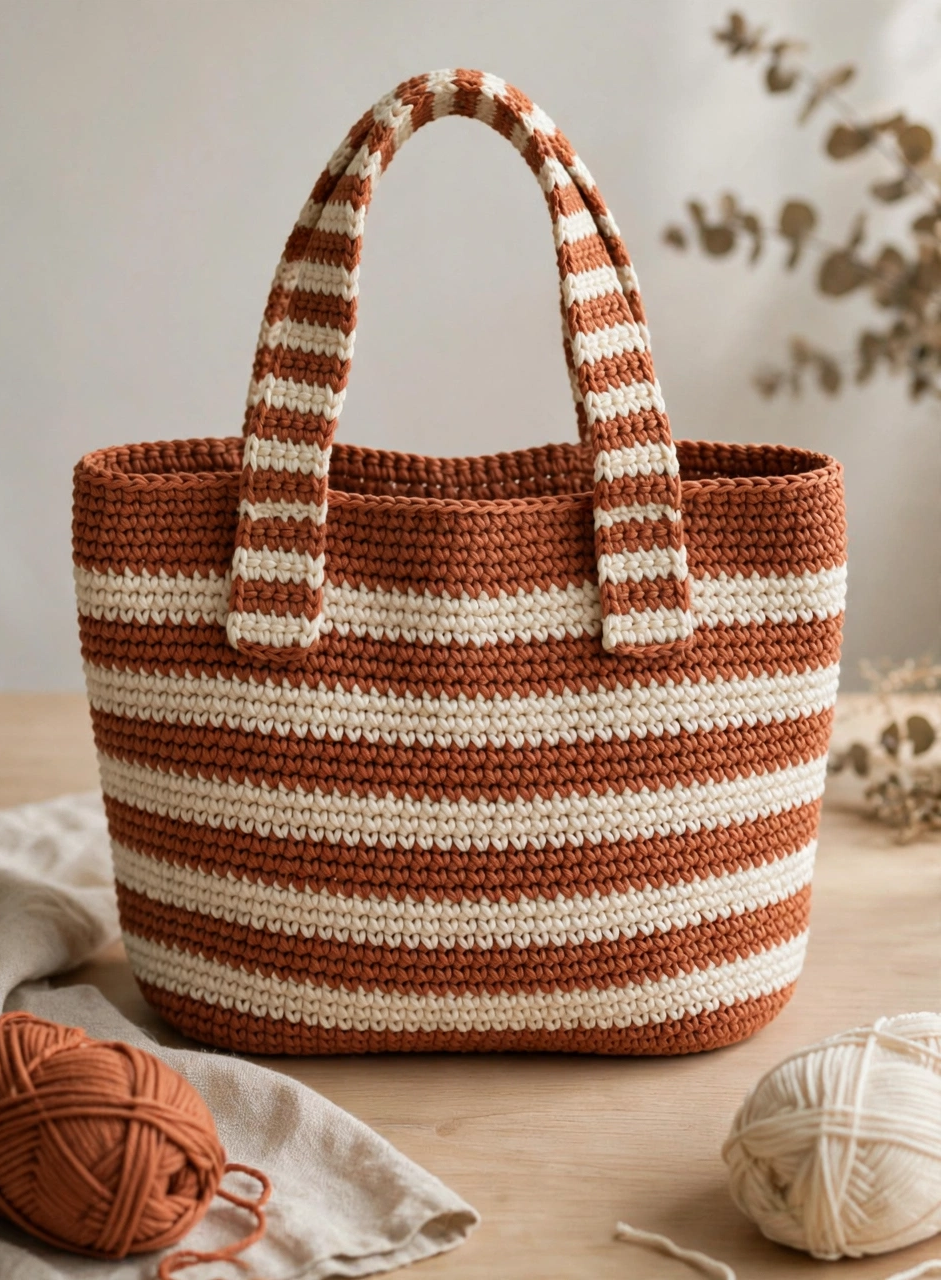
Tips for the Best Result
- Use 100% cotton yarn — it holds its shape best. Acrylic stretches under weight, while cotton stays firm and only gets softer with use.
- Sew the handles twice for extra strength. Go over each handle attachment a second time; this is the part of the bag that takes the most stress.
- Line the bag with fabric for groceries or books. A simple sewn-in lining stops small items from poking through the stitches and makes the tote feel truly professional.
Frequently Asked Questions
What yarn is best for a crochet tote bag?
Sturdy, low-stretch yarns work best — 100% cotton or a cotton-linen blend in worsted weight. They keep their shape under load and show off stitch texture beautifully. Avoid soft acrylics, which stretch and sag over time.
How long does it take to crochet a tote bag?
Most beginners finish this crochet tote bag pattern in one weekend — roughly 6 to 8 hours of relaxed crocheting. The double-crochet body works up quickly, and the handles take under an hour.
How do I keep my crochet tote bag from stretching?
Three things help: use cotton yarn, crochet the base and handles tightly, and add a fabric lining. Storing the bag flat or folded (rather than hanging) also prevents it from stretching out between uses.
Can beginners really follow this crochet tote bag pattern?
Absolutely. If you can chain, single crochet, and double crochet, you can make this bag. There is no shaping beyond the simple oval base, and every step is shown in the photos above.
Conclusion
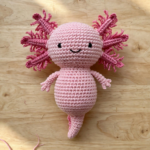
You did it — a handmade striped tote that is as useful as it is beautiful! Carry it to the market, the library, or the beach, and enjoy every compliment. If you loved this project, try our cute crochet axolotl pattern next for a fun amigurumi challenge. Happy crocheting!