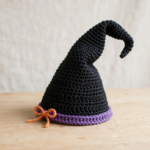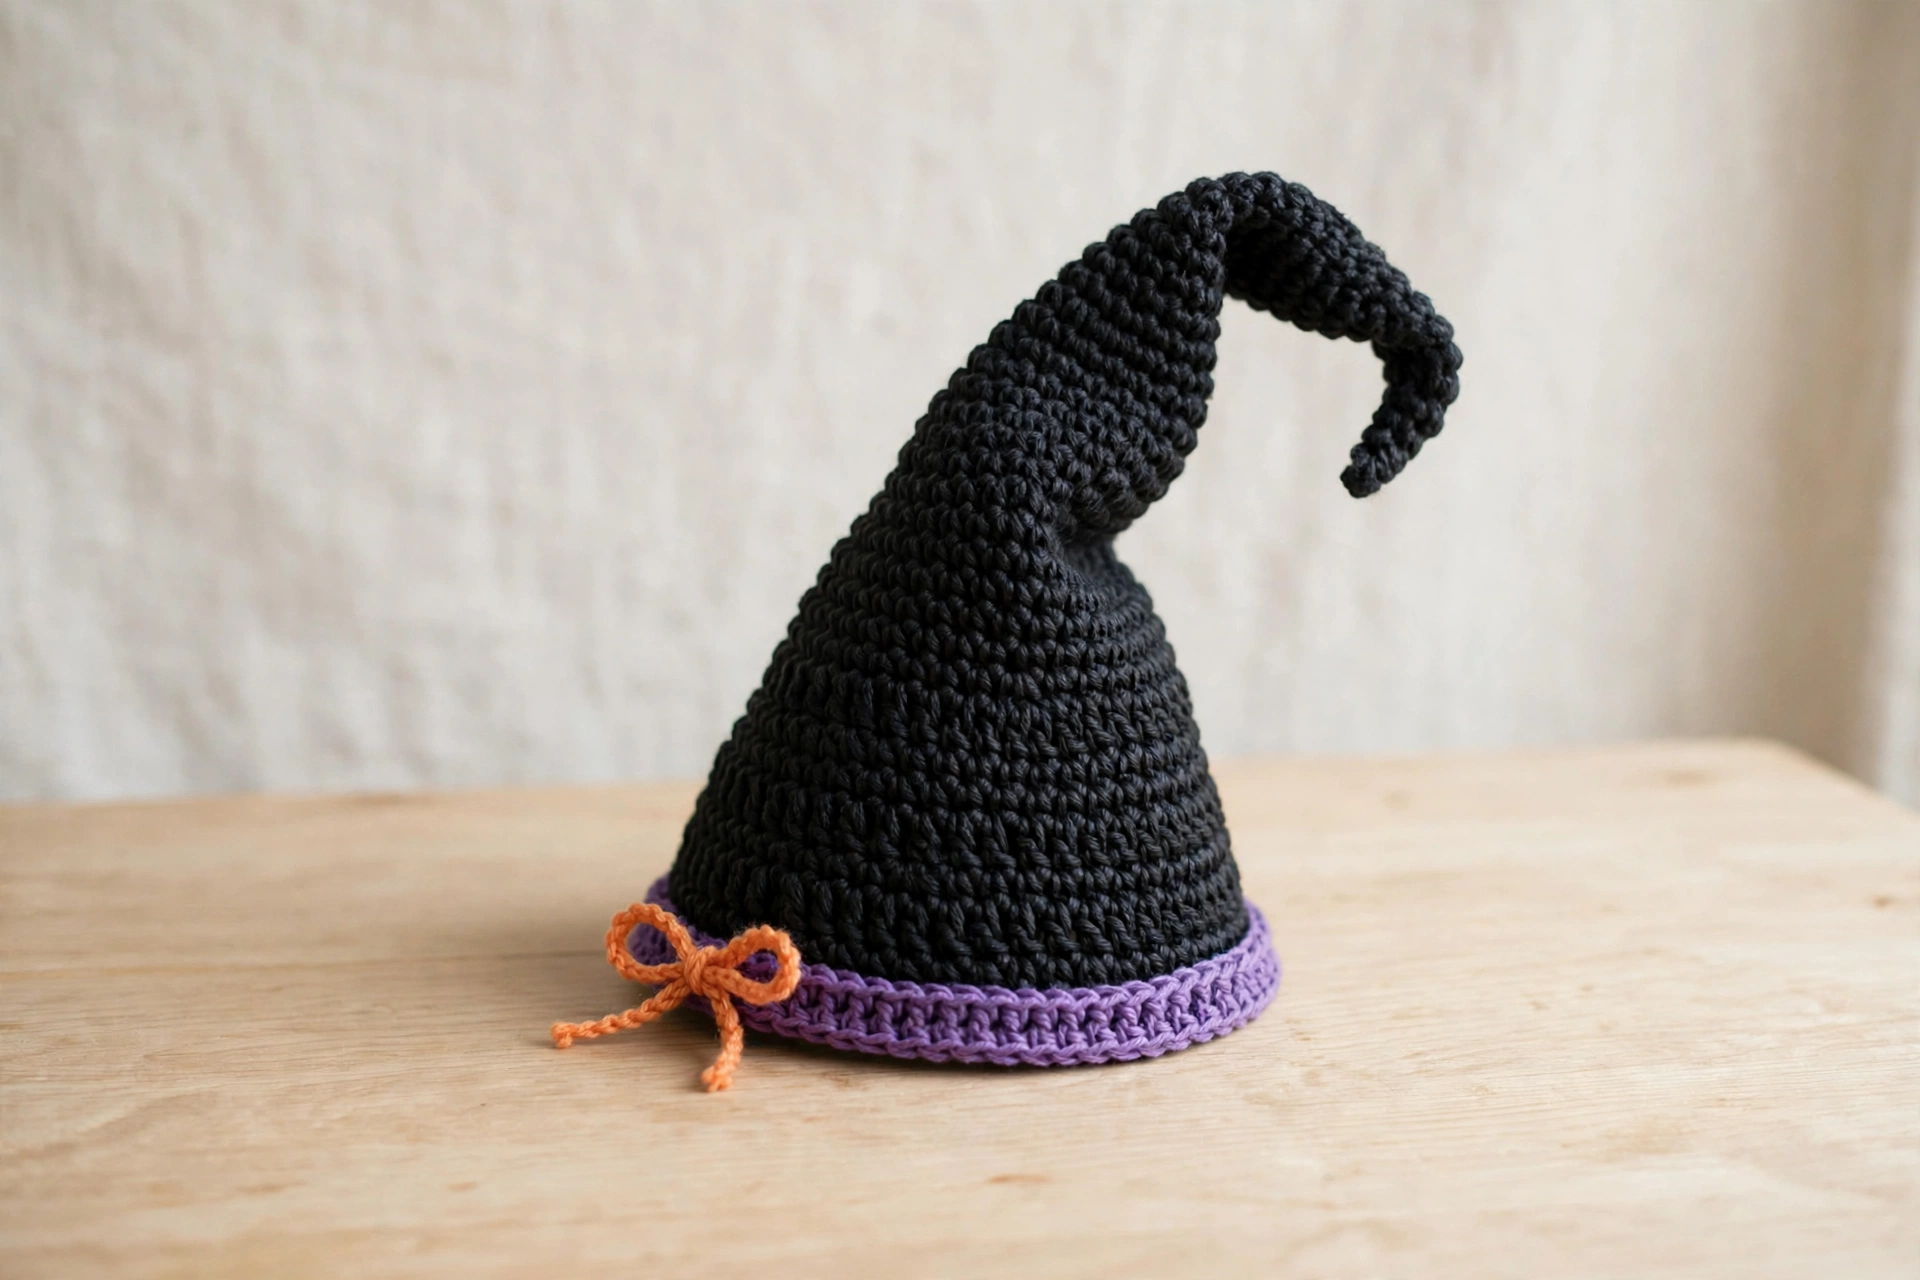
Looking for a fun, beginner-friendly Halloween project you can finish in a weekend? This free crochet witch hat pattern is exactly what you need. With its tall crooked cone, wide brim, and a purple band with an orange bow, this little hat brings instant spooky charm to any costume, party decor, or trick-or-treat basket.
The best part? You only need basic stitches — single crochet and simple increases — so confident beginners can make this hat without stress. Each of the six steps below includes a clear photo, and the whole project works up in about 4–6 hours. This crochet witch hat pattern is written for worsted-weight yarn and a 4.0 mm hook. You can start tonight with supplies from your stash. Grab your black yarn and let’s cast a crochet spell!
Materials for This Crochet Witch Hat Pattern
- Yarn: Worsted-weight (#4) acrylic yarn in black (approx. 150 g / 250 m), purple (small amount), and orange (small amount)
- Hook: 4.0 mm (US G-6) crochet hook
- Notions: Yarn needle, stitch marker, scissors
- Optional: Pipe cleaner or floral wire (to stiffen the brim), a headband (for a hands-free costume)
Tip: If you plan to wear the hat outdoors, an acrylic yarn holds its shape better than cotton.
Step 1: Start with a Magic Ring
Every good witch hat starts at the very tip. Make a magic ring (also called an adjustable ring) and work 6 single crochet stitches into it. Then pull the tail tight to close the hole. Place your stitch marker in the first stitch — from here on, you’ll work in continuous rounds without joining. If the magic ring still feels fiddly, a chain-2 start works as a substitute.
Step 2: Crochet the Tapering Cone
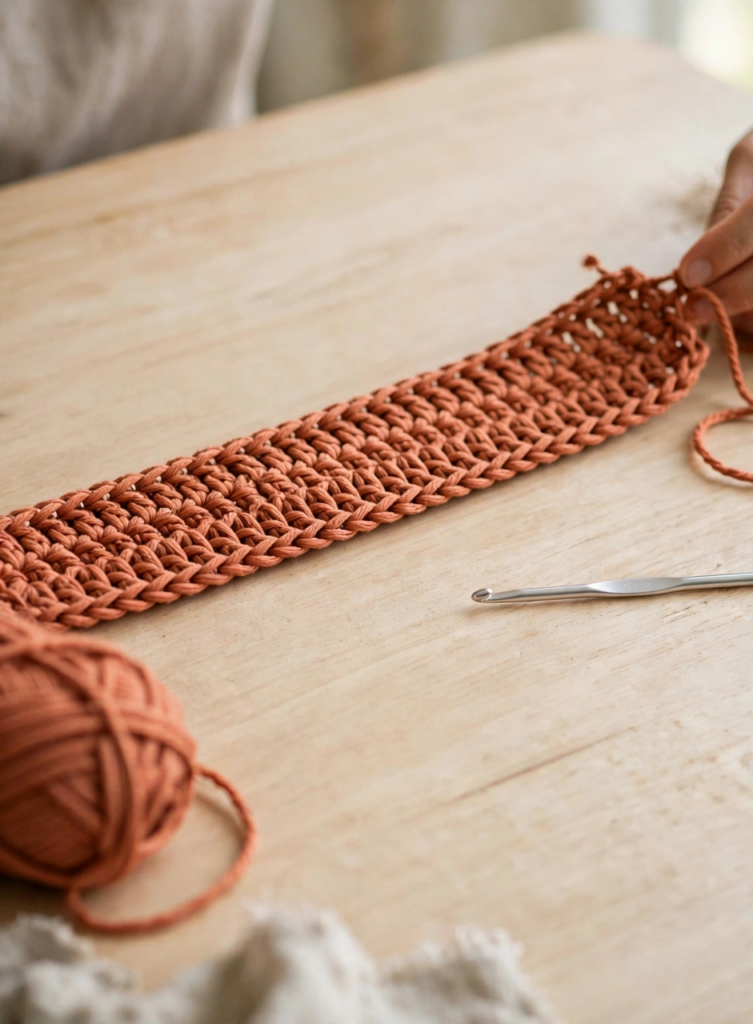
Now build the tall, pointed crown of the hat. Work single crochet in continuous rounds, increasing slowly — for example, add 2–3 stitches every round or two. Slow increases are the secret to a tall, dramatic cone rather than a squat one.
Keep measuring as you go: the cone should reach roughly 25–30 cm (10–12 in) before you stop. And here’s the trick that makes it a witch hat. While the cone is still fresh, fold the top 5–8 cm to one side. Tack it in place with a few stitches of black yarn. A straight cone looks like a party hat, but a floppy bent tip reads instantly as witch.
Step 3: Crochet the Wide Brim of the Witch Hat
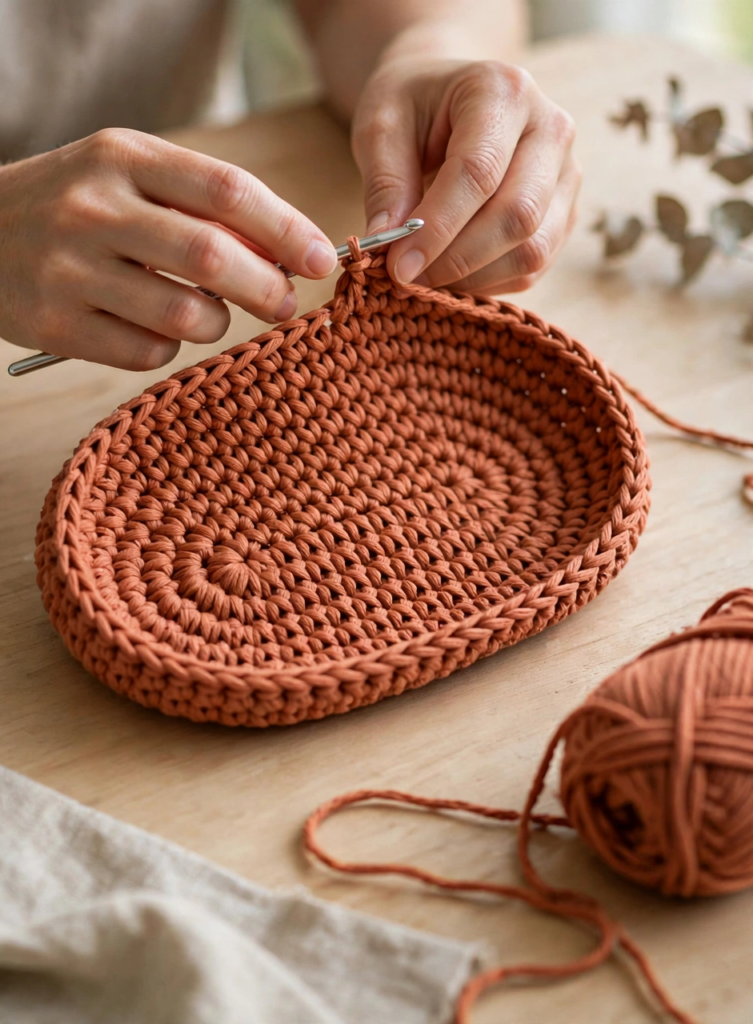
Time for the brim. Join your black yarn to the base of the cone and work fast increase rounds. Increase in nearly every stitch for the first round, then ease off gradually. This crochet witch hat pattern uses rapid increases to flare the fabric outward. The result is a flat, circular brim about 30–35 cm (12–14 in) across.
For a crisp edge that doesn’t curl, try one of these tricks. Work the last two rounds through the back loop only. You can also crochet the brim with two strands held together, or slip a circle of floral wire into the final round. Any of these keeps the brim lying beautifully flat.
Step 4: Attach the Cone to the Brim
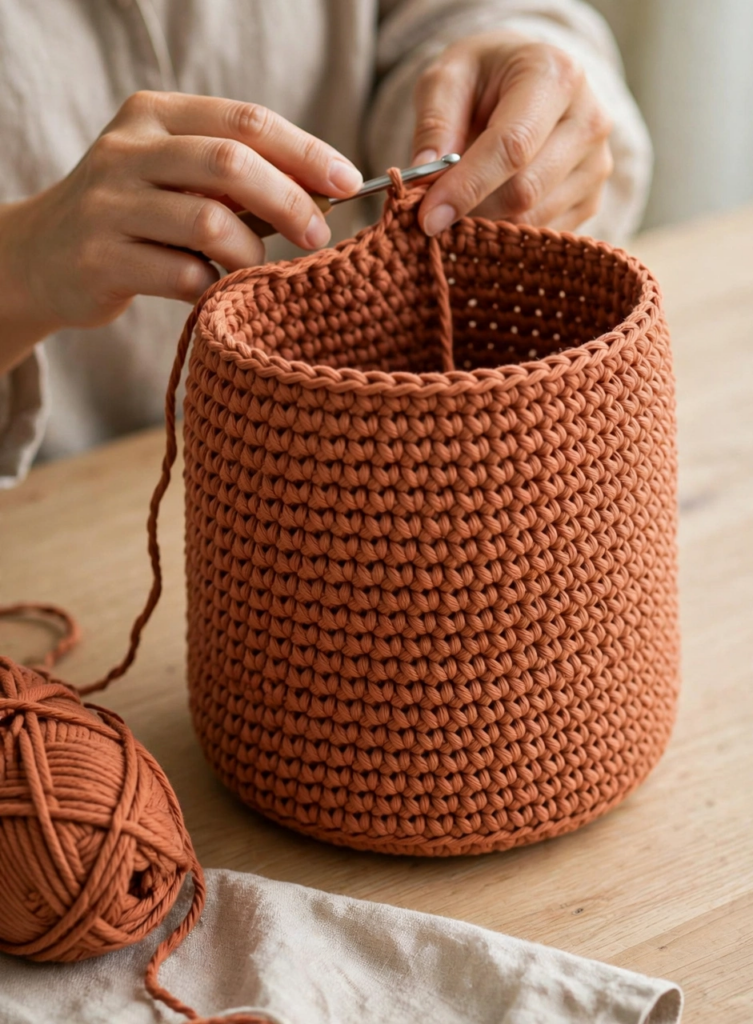
Place the cone on top of the brim and sew the two pieces together with black yarn. Use a whipstitch through the base round of the cone and the center of the brim. Work all the way around, pulling each stitch snug so there’s no gap. Once it’s secure, weave in the ends on the underside where they won’t show.
Step 5: Add the Purple Band and Orange Bow
Now for the finishing touch that makes this hat pop. Crochet a simple band. Chain enough stitches to wrap snugly around the base of the cone (about 40–45 chains). Work 3–4 rows of single crochet in purple. Then sew the band’s ends together and slip it over the cone, stitching it in place.
Next, crochet a small orange bow. Make two little rectangles pinched in the middle, wrapped with a yarn center. Sew it to the side of the band. The purple-and-orange combo is pure Halloween, but feel free to match your costume colors instead.
Step 6: Finish and Weave In the Ends
Give the hat a final once-over. Weave in every loose end on the underside of the brim and inside the cone. Trim the tails and fluff the bent tip back into its crooked pose. And you’re done — try it on and admire your spooky handmade witch hat!
Tips for a Perfect Witch Hat
- Tilt the tip while it’s fresh to lock in the crooked witch look — once the stitches relax, the bend stays put.
- Stiffen the brim with a double strand or a hidden wire circle for a crisp, professional edge that won’t flop.
- Wear it on a headband for a hands-free Halloween costume: just stitch the hat to a plain black headband and you’re party-ready.
Frequently Asked Questions
How long does this crochet witch hat take to make?
Most crocheters finish this crochet witch hat pattern in 4–6 hours. The cone is the longest part since it’s worked in many rounds of single crochet. It’s a great project for a cozy evening or two in front of a movie.
What size does this crochet witch hat pattern make?
The finished hat measures about 25–30 cm (10–12 in) tall. The brim is 30–35 cm (12–14 in) wide — a classic one-size-fits-most adult hat. To size down for a child, simply stop increasing the cone a few rounds earlier. Make the brim one or two rounds smaller.
Can beginners really crochet a witch hat?
Absolutely. This pattern uses only single crochet, chain stitches, and basic increases — the same skills as a beginner beanie. The shaping does the visual work for you. If you’ve finished a simple amigurumi or hat before, like our crochet ghost pattern, you’ll find this very doable.
How do I keep the brim from curling up?
Curling happens when the increase rate is too slow. Add more increases per round. Work the final rounds through the back loop only, or reinforce the edge with floral wire or a second strand of yarn. Blocking the finished hat with a light steam also helps it lie flat. For more on blocking and finishing techniques, the Craft Yarn Council’s tips page is a reliable reference.
Conclusion
And that’s the complete crochet witch hat pattern — your handmade witch hat is ready for Halloween! It’s proof that you don’t need complicated stitches to make something spooky and spectacular. Whether it tops off your costume, decorates your mantel, or becomes a gift for a fellow Halloween lover. We hope you had as much fun making it as you’ll have wearing it.
If you loved this project, browse our other free Halloween crochet patterns. Share your finished hat on Pinterest — we’d love to see your color combos. Happy haunting, and happy hooking!