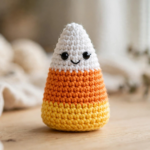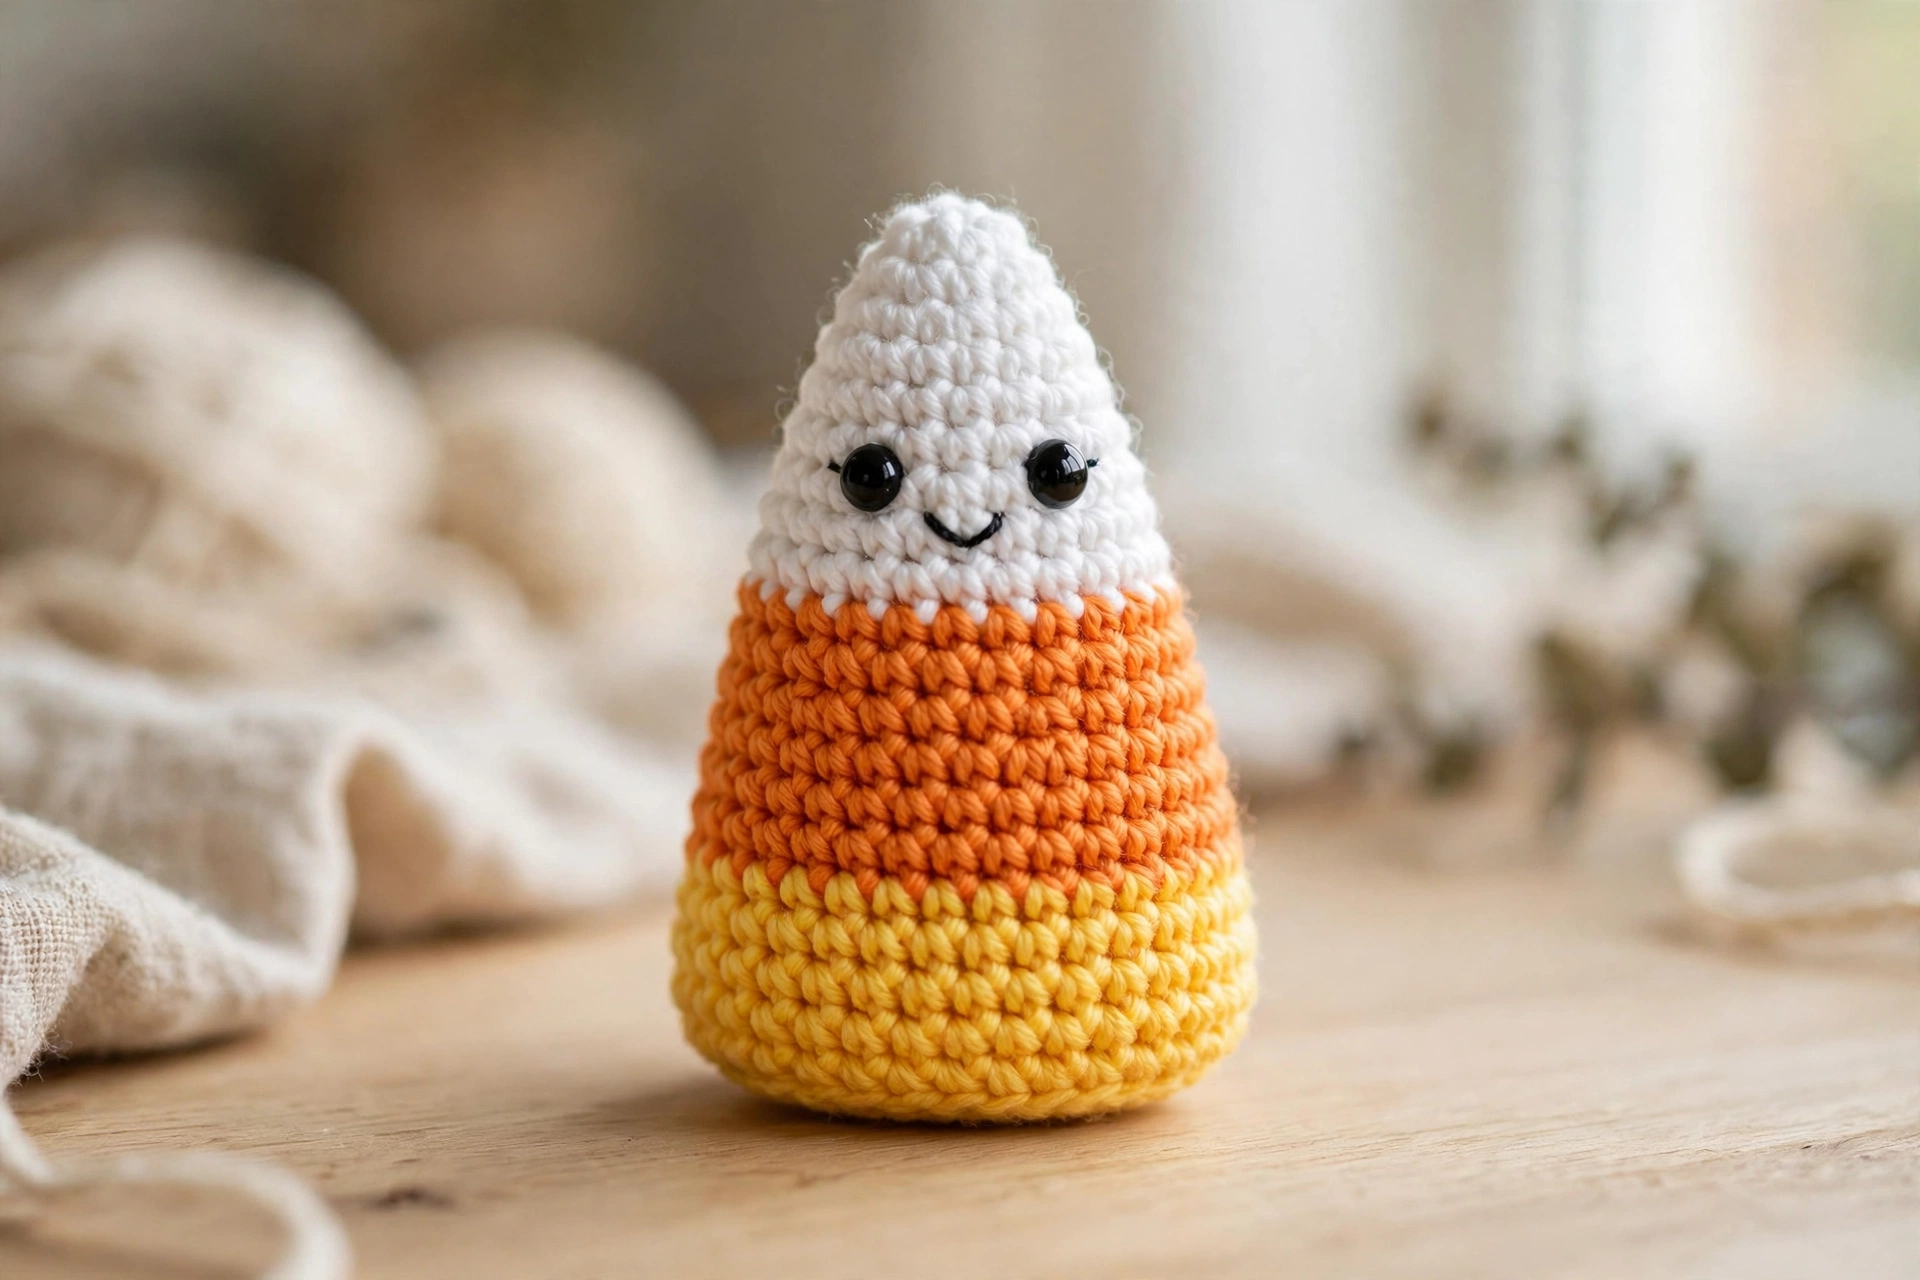
Nothing says Halloween like candy corn, and this free crochet candy corn pattern turns the classic treat into the cutest little amigurumi buddy. It has a striped white tip, an orange middle, and a yellow base — plus a tiny smiling face. As a result, this candy corn works up in one cozy evening and needs no sewing at all. Whether you want a sweet addition to your Halloween decor, a treat-bag surprise, or a handmade gift for a candy lover, this beginner-friendly tutorial walks you through every round with clear photo steps.
Materials
- Worsted-weight (#4) yarn in white, orange, and yellow (small amounts of each)
- 3.5 mm crochet hook
- Polyester fiberfill stuffing
- Two 8 mm safety eyes
- Black embroidery floss (for the smile)
- Yarn needle
- Stitch markers
- Scissors
Gauge: Not critical for this project — just keep your stitches tight enough that the stuffing doesn’t peek through. Finished size: About 4 inches (10 cm) tall.
Abbreviations (US Terms)
MR = magic ring, sc = single crochet, inc = increase (2 sc in same stitch), dec = decrease (sc 2 together), st = stitch, BLO = back loop only.
Step 1: Start With a Magic Ring
First, begin this crochet candy corn pattern with the white tip. Make a magic ring in white yarn and work 6 single crochet into the ring, then pull the tail tight to close the hole completely. This tiny ring becomes the very point of the candy corn, so close it snugly — no gaps allowed.
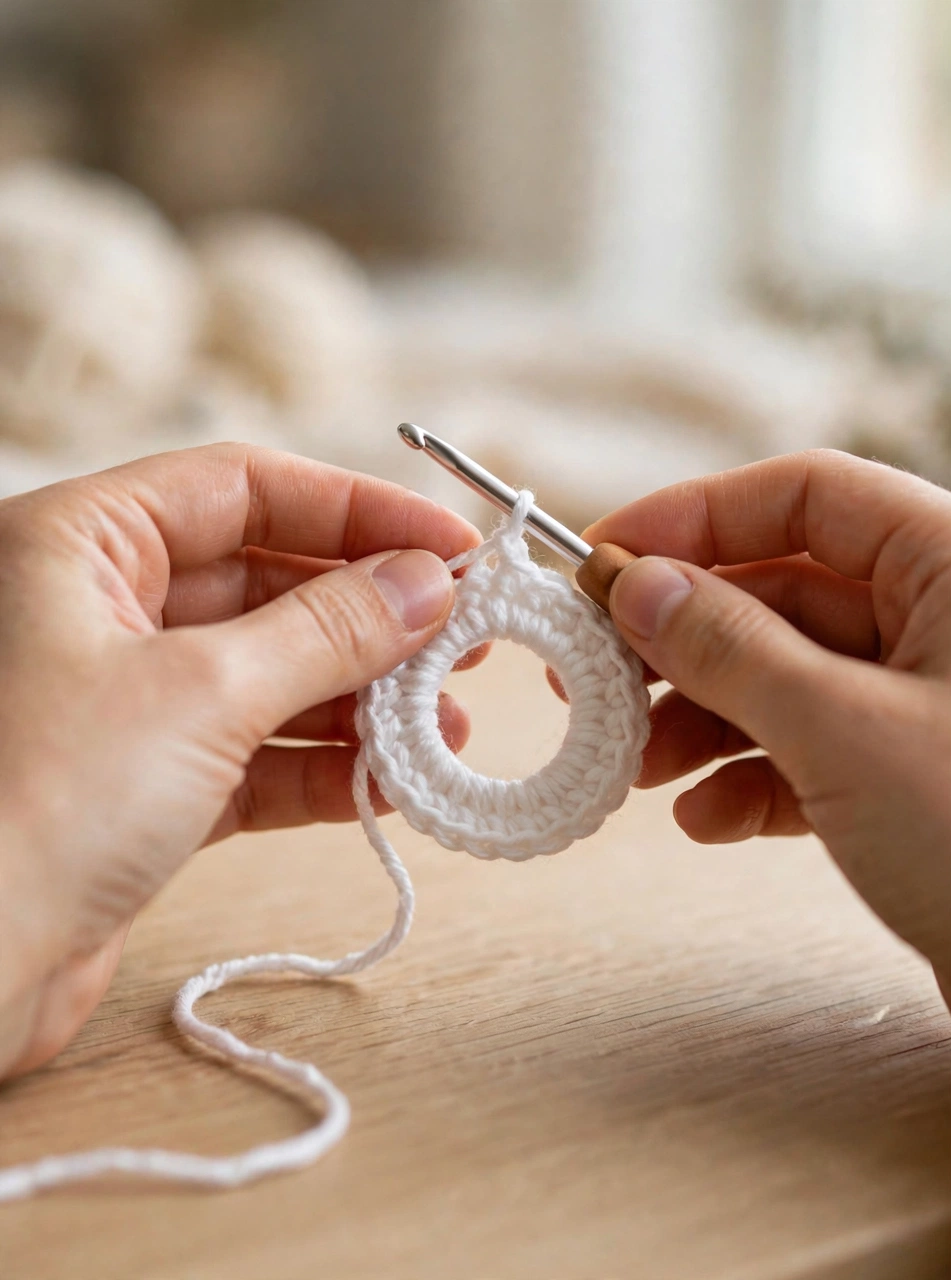
Next, place a stitch marker in the first stitch of every round from here on. The stripes of the candy corn make it tempting to count by color changes, but a marker keeps your round starts honest and your cone even.
Step 2: Crochet the White Tip
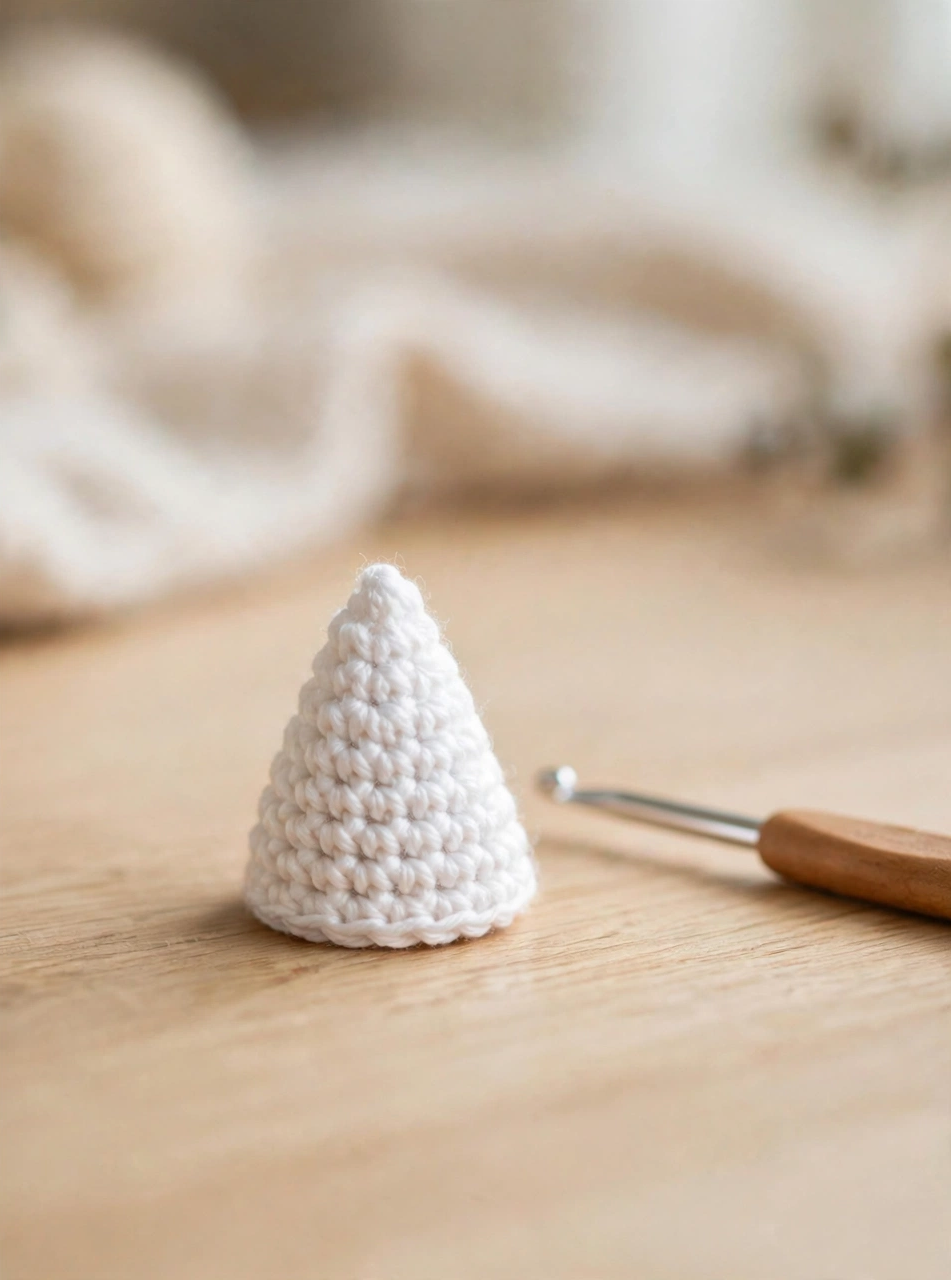
Then, work increase rounds in white to grow the tip: Round 2 — *sc, inc* around (9 sts). Round 3 — *sc 2, inc* around (12 sts). Round 4 — *sc 3, inc* around (15 sts). Work two rounds even in white to give the tip a little length. You should have a small white cone forming — the sweetest part of any crochet candy corn pattern is this plump little tip.
Step 3: Add the Orange Middle Band
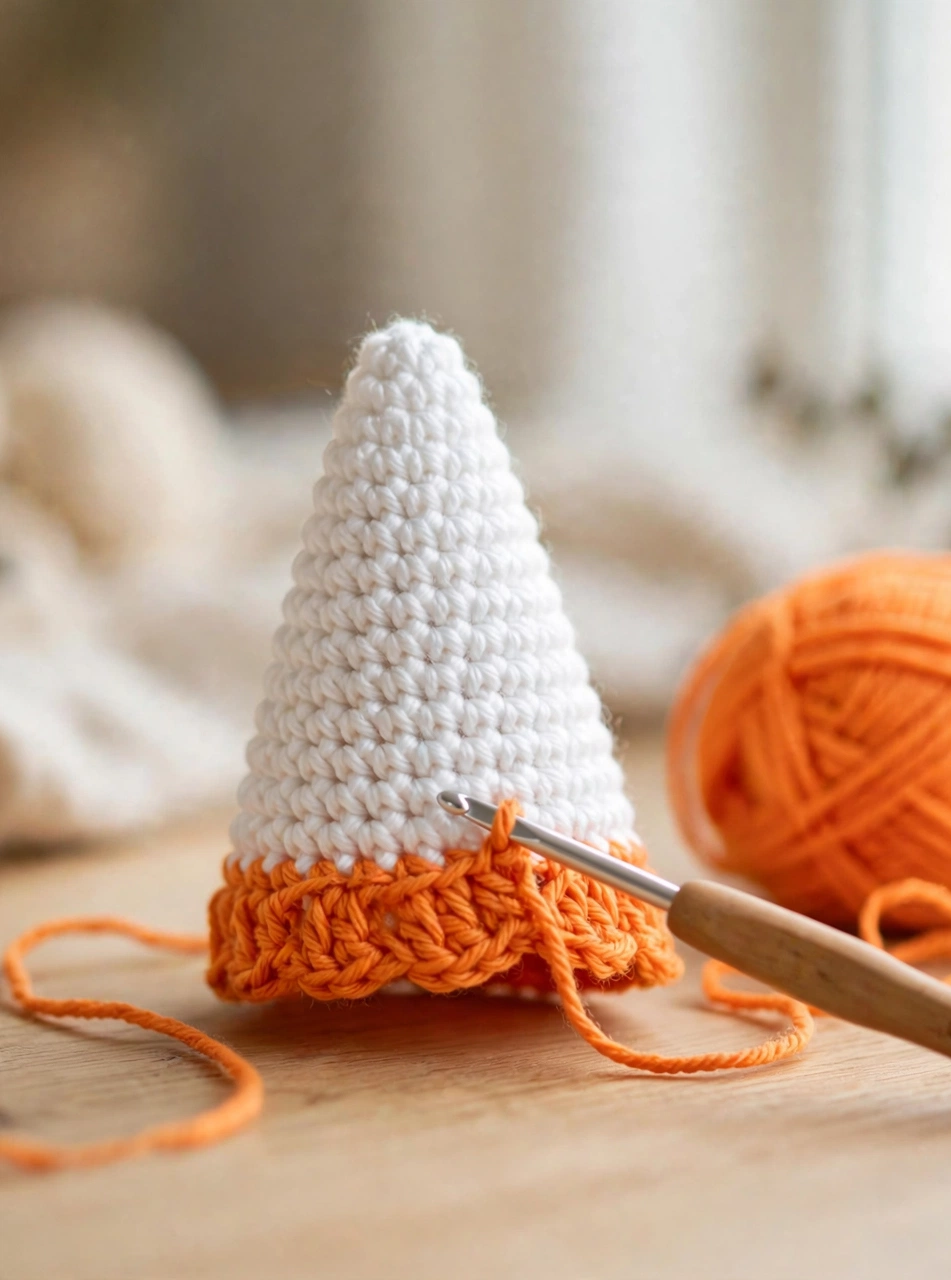
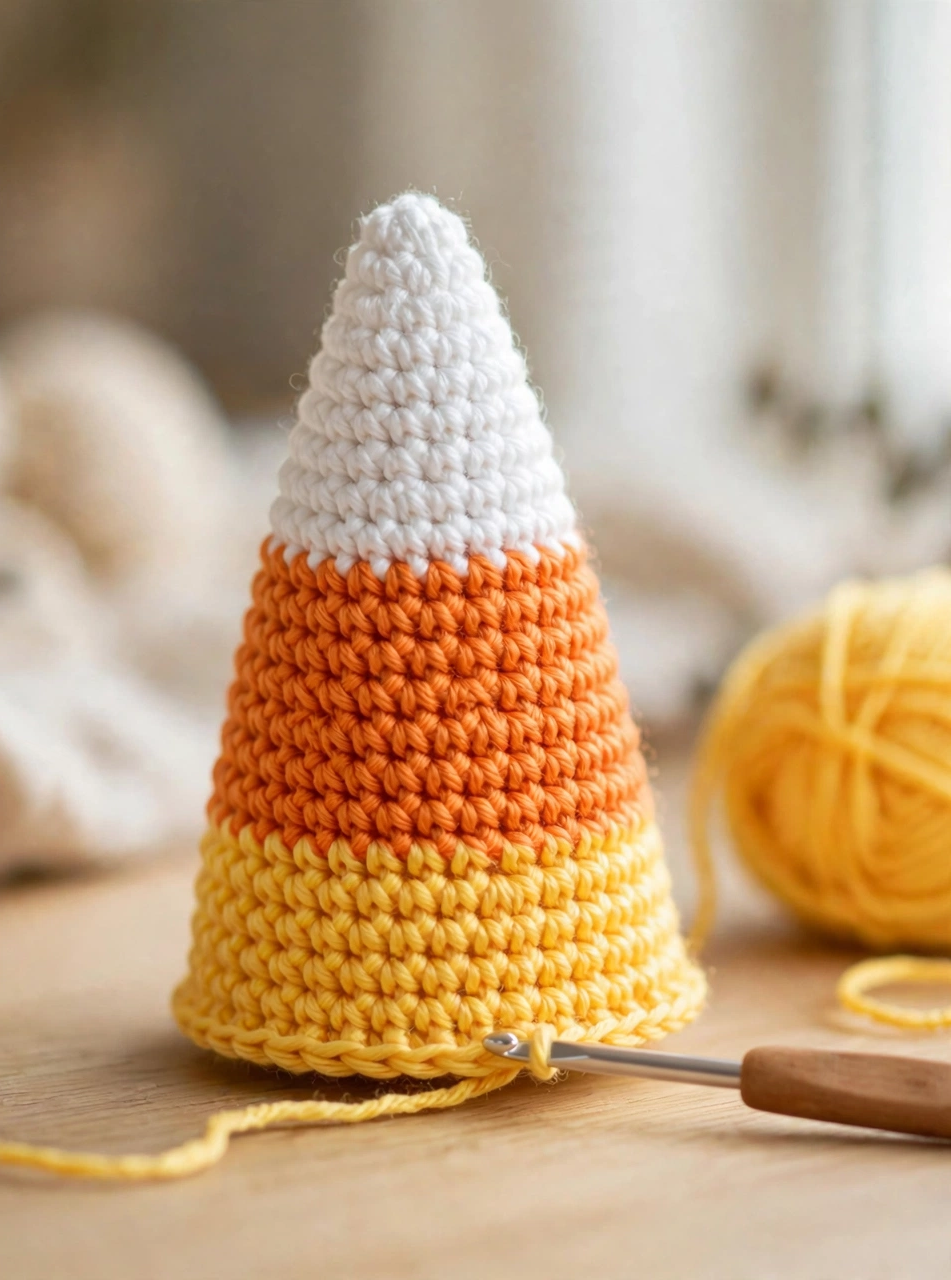
Next, time for the color change! Work the last stitch of the white section in white until the final yarn-over, then complete that yarn-over with orange — this trick gives you crisp, clean stripes with no jog. Work one round of *sc 4, inc* (18 sts), then work three rounds even in orange. The cone widens quickly now, taking on that classic candy corn shape.
Step 4: Crochet the Yellow Base
Then, change to yellow the same way — last yarn-over of the orange round completed in yellow. Work one round of *sc 5, inc* (21 sts), then work four rounds even in yellow. Begin stuffing the tip and orange sections now, while the opening is still wide: use small pinches of fiberfill and push them up into the tip so the point stays plump and defined.
Step 5: Embroider the Smiling Face
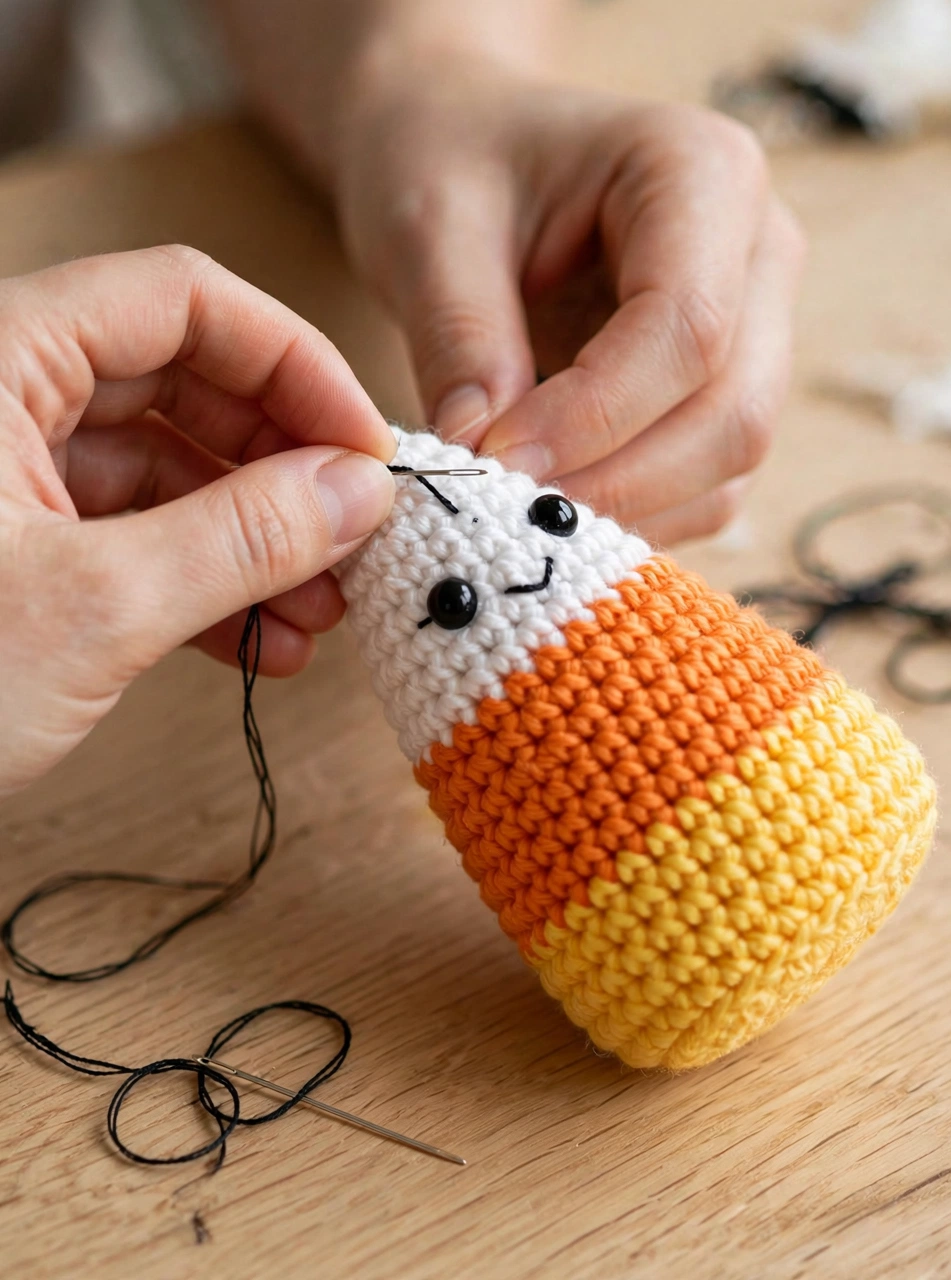
Now it is time to give your candy corn its personality, before closing the base. Insert the two safety eyes between rounds 5 and 6 of the white section, about 5 stitches apart, and snap on the washers inside. With black embroidery floss, stitch a small curved smile between and just below the eyes — two tiny stitches are all it takes. This little face is what makes this crochet candy corn pattern so giftable; every candy corn looks slightly different, and that’s the charm.
Step 6: Stuff and Finish
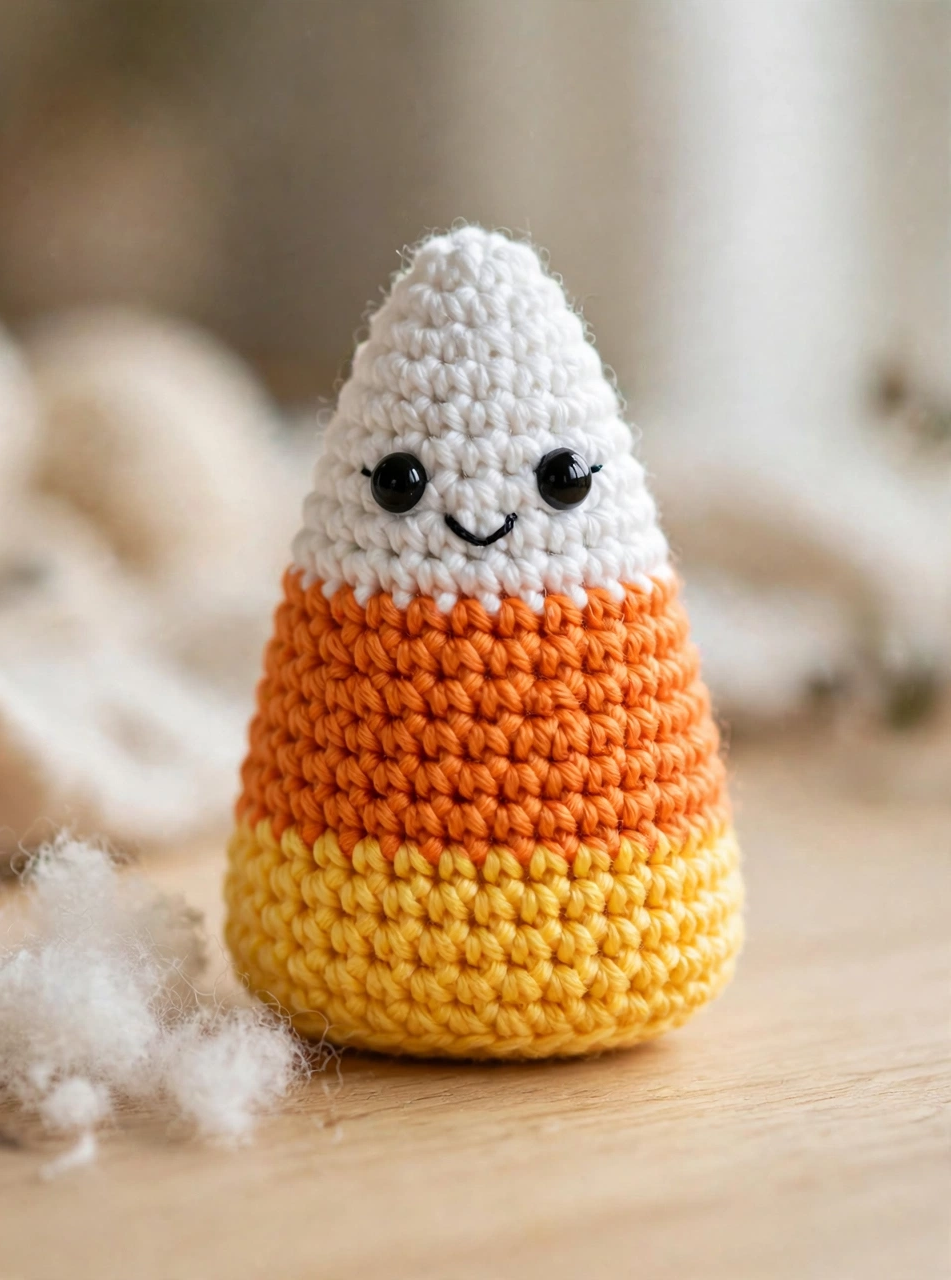
Finally, stuff the yellow section firmly — the candy corn should feel solid but not stretched, so the cone holds its shape when it stands. To decrease and close, work as follows: *sc 5, dec* around (18 sts). Then work *sc 4, dec* (15 sts), *sc 3, dec* (12 sts), *sc 2, dec* (9 sts), and finally *sc, dec* (6 sts). Fasten off, thread the tail through the front loops of the final 6 stitches, pull tight, and weave in the end. Set your finished candy corn upright — it should stand on its flat yellow base all by itself.
Tips for the Perfect Candy Corn
- Clean color changes: Always complete the last yarn-over of the old color’s final stitch with the new color. Your stripes will look store-bought sharp.
- Don’t overstuff: Firm is good; bulging is not. An overstuffed cone loses its sleek candy shape and the stripes stretch unevenly.
- Also, mark your rounds: The stripe boundaries hide the round joins, which is pretty — but it makes counting rounds by eye unreliable. Keep that stitch marker moving.
Frequently Asked Questions
How long does this crochet candy corn pattern take? About 1.5 to 2 hours for a confident beginner. The cone is small and the rounds are short, so it works up fast — most makers finish one in a single evening.
Is this candy corn pattern good for beginners? Yes! You only need single crochet, increases, and decreases. The color changes and face embroidery are the only new skills, and both are covered step by step above.
Can I make the candy corn bigger? Absolutely. For example, use a thicker yarn with a larger hook (chunky yarn + 5 mm hook makes a jumbo candy corn), or simply add extra even rounds to each color band to make it taller.
What can I do with a crochet candy corn? Use it as Halloween decor on a mantel or tiered tray, or tuck one into a treat bag. You can also string several together as a garland, or sell them at craft fairs — small Halloween amigurumi are reliable sellers all October.
Conclusion
In short, this easy crochet candy corn pattern proves that the best Halloween projects are the simplest: one cone, three colors, and a smile. Make one for your decor, then make a whole patch — they look irresistible grouped together in a bowl. If you loved this spooky-season make, try our crochet ghost pattern next for another quick no-sew Halloween amigurumi. Happy crocheting, and happy Halloween!
Looking for the right yarn? Yarnspirations carries worsted-weight acrylics in every shade of white, orange, and yellow you need for this project.