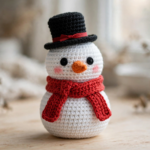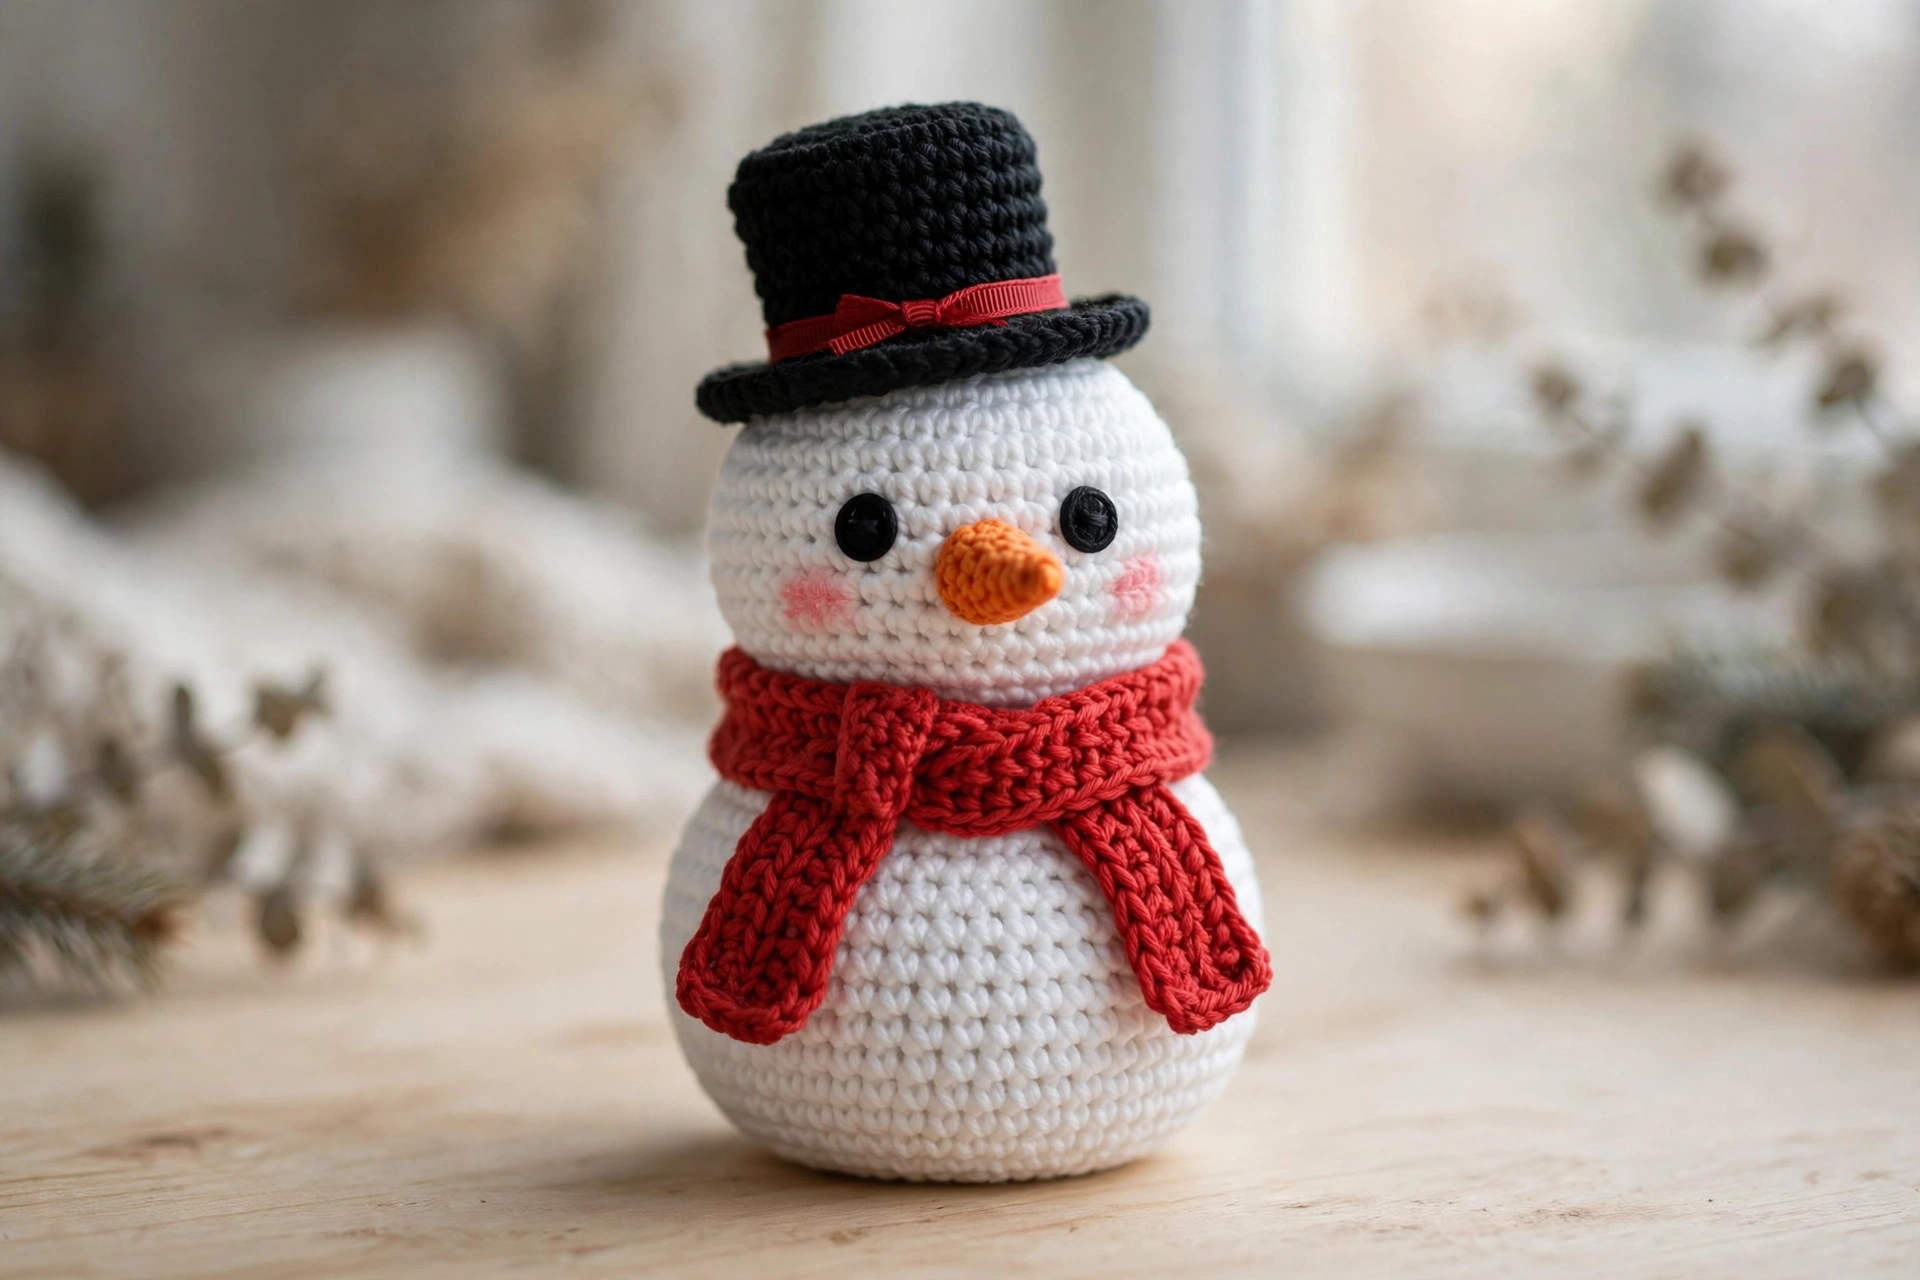
This free crochet snowman pattern is the quickest way to bring winter charm into your home. With just a few rounds of white yarn, a tiny orange carrot nose, and a cozy red scarf, you can crochet a snowman in one afternoon. This beginner-friendly amigurumi tutorial includes six photo steps, a full materials list, and practical tips so your little snowman turns out cute on the first try.
Materials for Your Crochet Snowman Pattern
Gather these supplies before you start your crochet snowman pattern:
- White worsted-weight yarn (about 60 g) for the body and head
- Orange worsted-weight yarn (small amount) for the carrot nose
- Red worsted-weight yarn (about 20 g) for the scarf
- Black worsted-weight yarn (about 15 g) for the top hat
- 3.5 mm crochet hook
- Two 10 mm black button eyes or safety eyes
- Pink embroidery thread for blush cheeks
- Fiberfill stuffing
- Yarn needle, stitch markers, and scissors
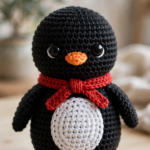
If you are restocking your yarn stash, Lion Brand offers a great beginner-friendly worsted collection — you can browse their worsted-weight yarn options to match your project. For more winter makes on this site, see our crochet penguin pattern next.
Step 1: Crochet the Snowman Body
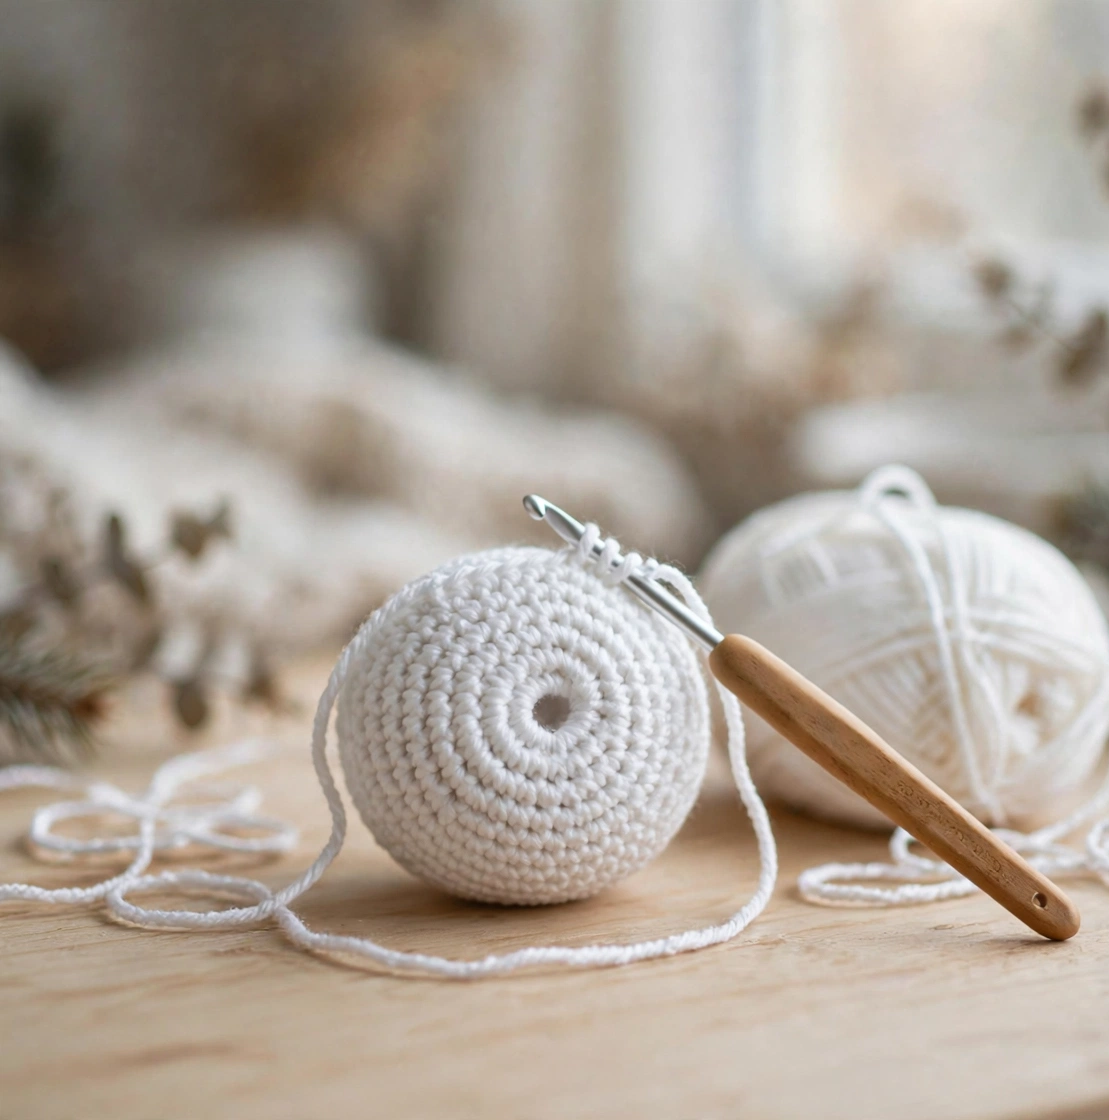
Start your snowman with a magic ring and work six single crochet stitches into it. Increase evenly over the next few rounds until the base is about 10 cm wide, then work straight rounds to build a tall round body. When the body reaches about 12 cm tall, begin decreasing and stuff firmly with fiberfill before closing the top. A well-stuffed body gives your crochet snowman pattern that satisfyingly round shape.
Step 2: Shape and Sew the Snowman Head
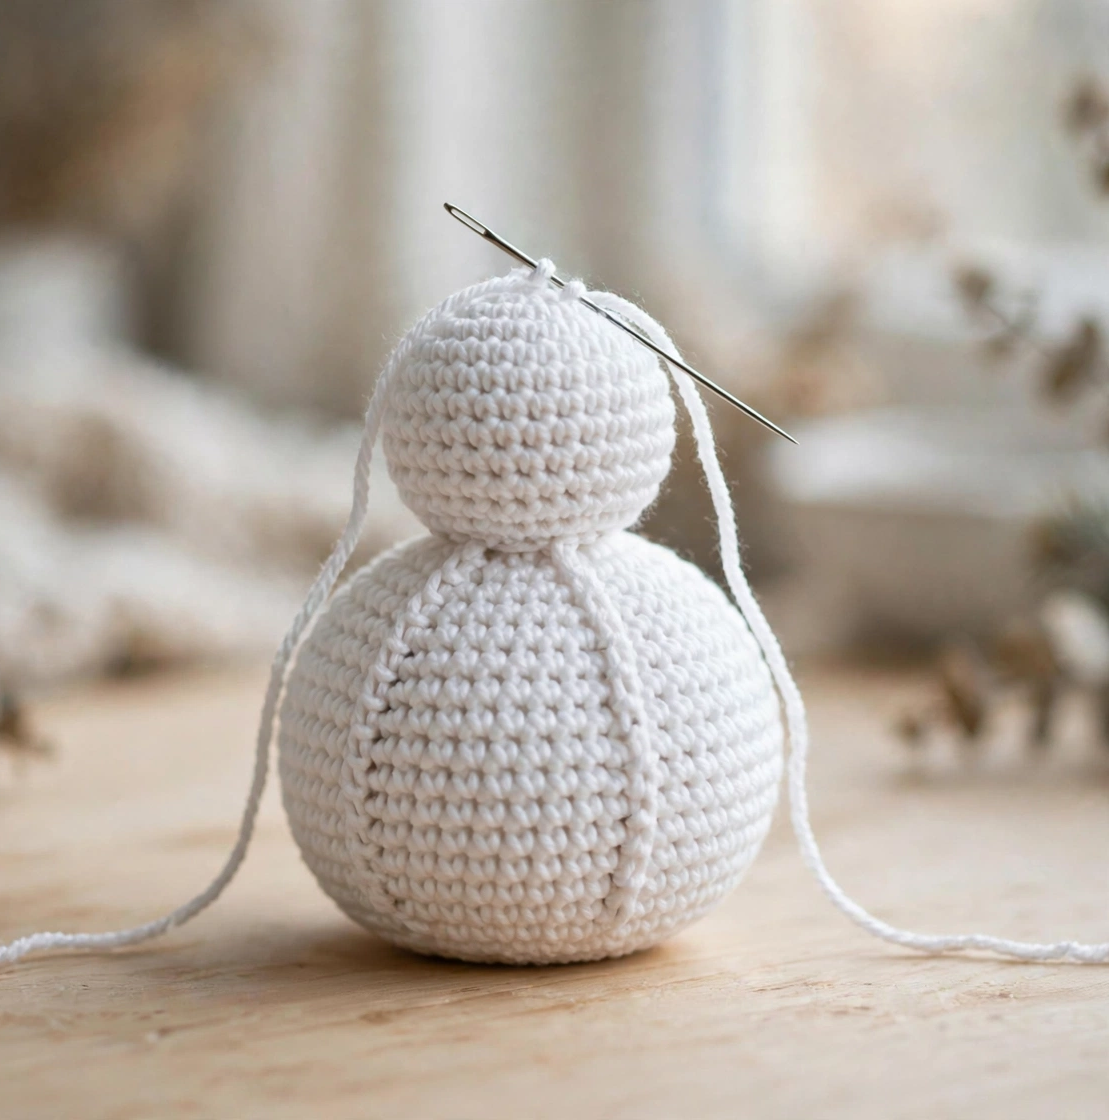
The head is a smaller sphere worked exactly like the body: magic ring, increases to about 8 cm wide, straight rounds, then decreases with firm stuffing. Place the head centered on top of the body and sew it on with a yarn needle, working a whipstitch around the join. Take a moment to check the head sits straight — a slight tilt is charming, but it should still be centered.
Step 3: Add the Face — Eyes, Blush, and Carrot Nose
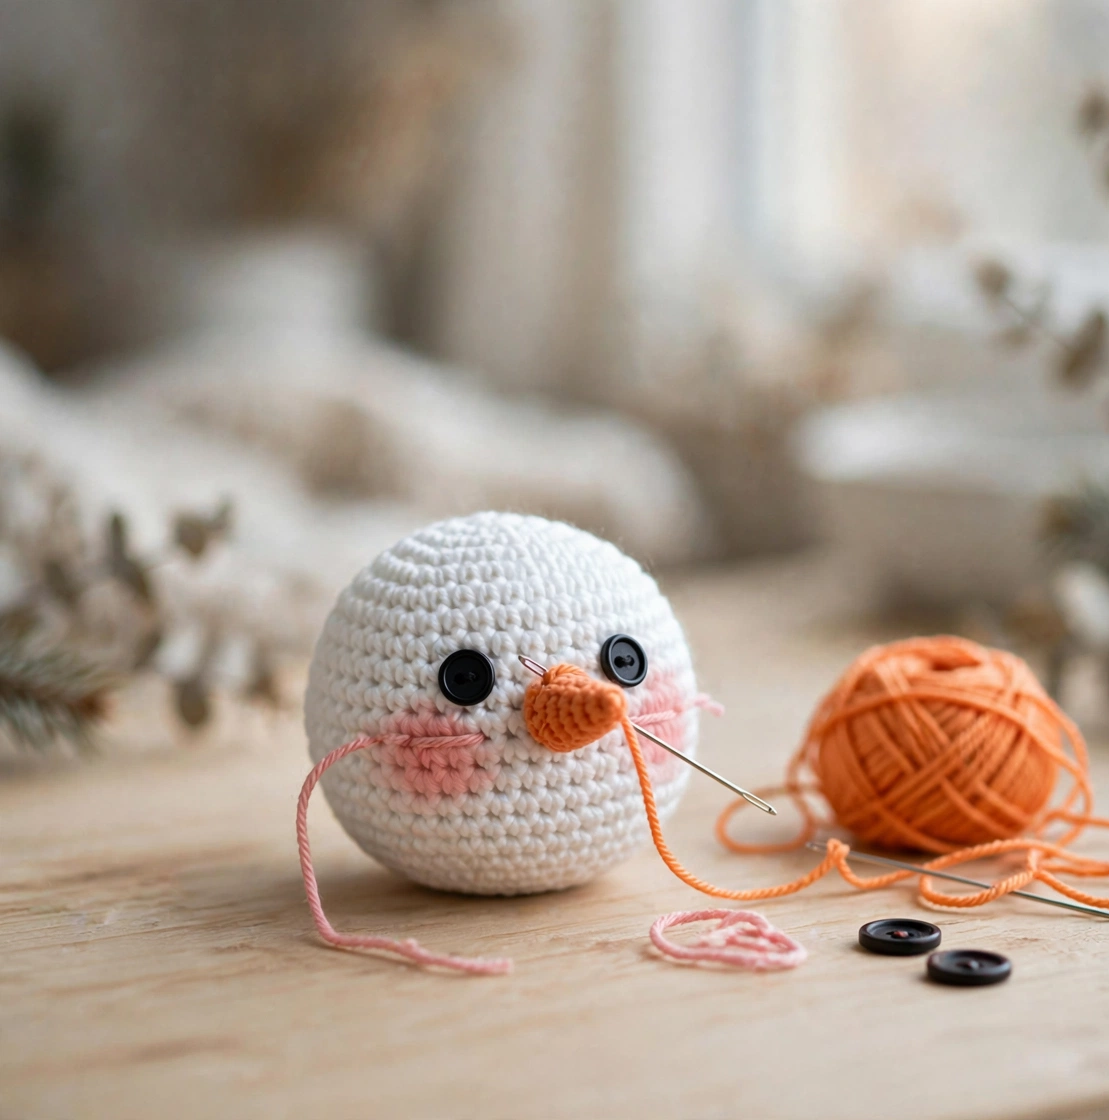
Sew the two black button eyes onto the head, spacing them evenly about 4 cm apart. Next, crochet the carrot nose: with orange yarn, start a magic ring of 4 stitches and increase slowly over six rounds to make a tiny pointed cone, then sew it centered between the eyes, angled slightly downward. Finally, stitch two small blush circles just below and outside the eyes with pink embroidery thread. These facial details give this crochet snowman pattern its sweet, kawaii personality, so position everything before stitching it down permanently.
Step 4: Wrap the Cozy Red Scarf
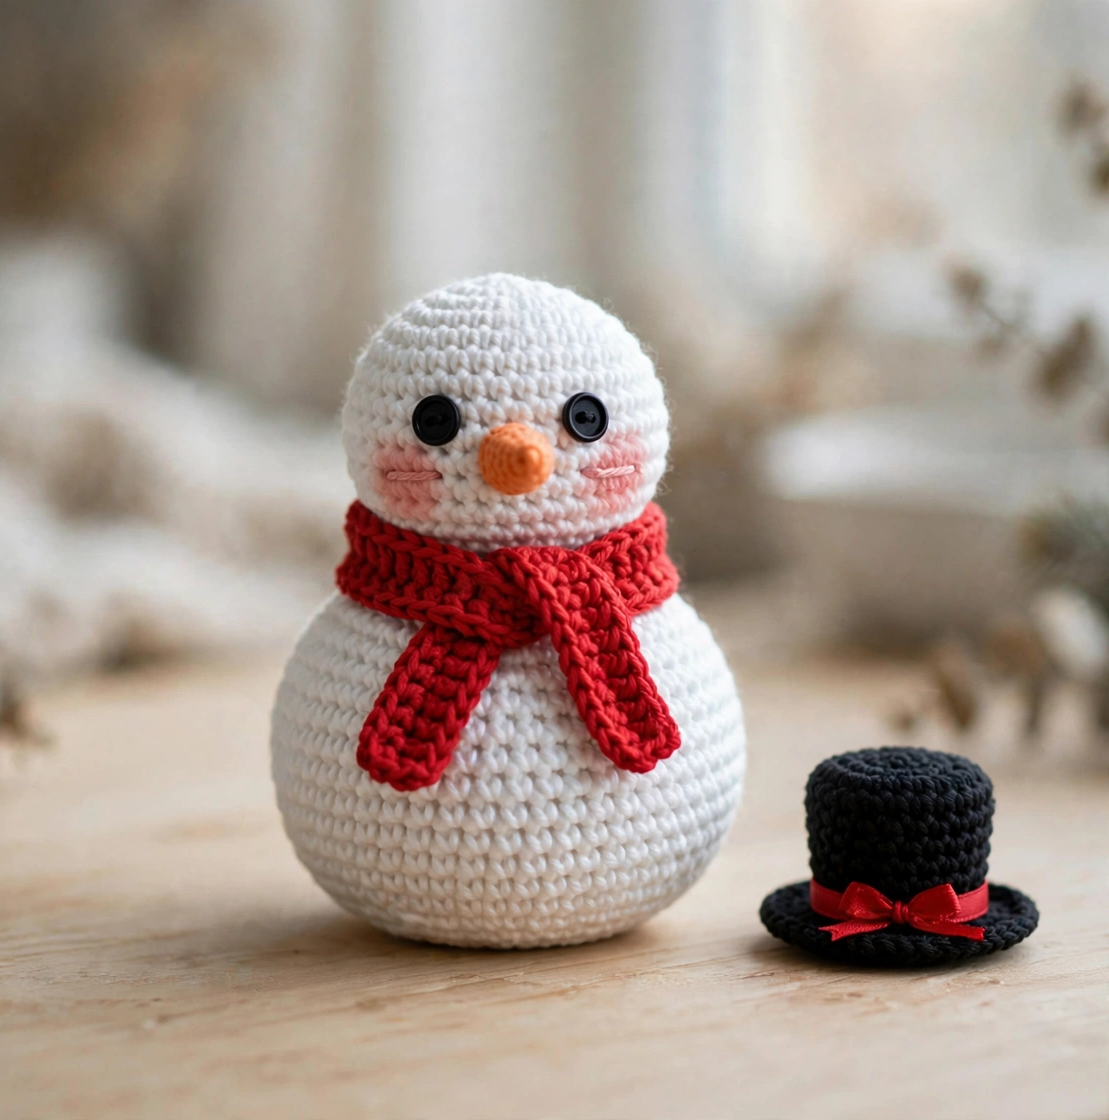
Chain 40 and work rows of single crochet until the strip measures about 3 cm wide. Wrap the scarf around the neck between the head and body, tying a simple knot at the front. The bright red scarf contrasts beautifully with the white body and hides the head-body seam — a practical finishing touch that also makes this snowman pattern look polished.
Step 5: Top With the Mini Top Hat
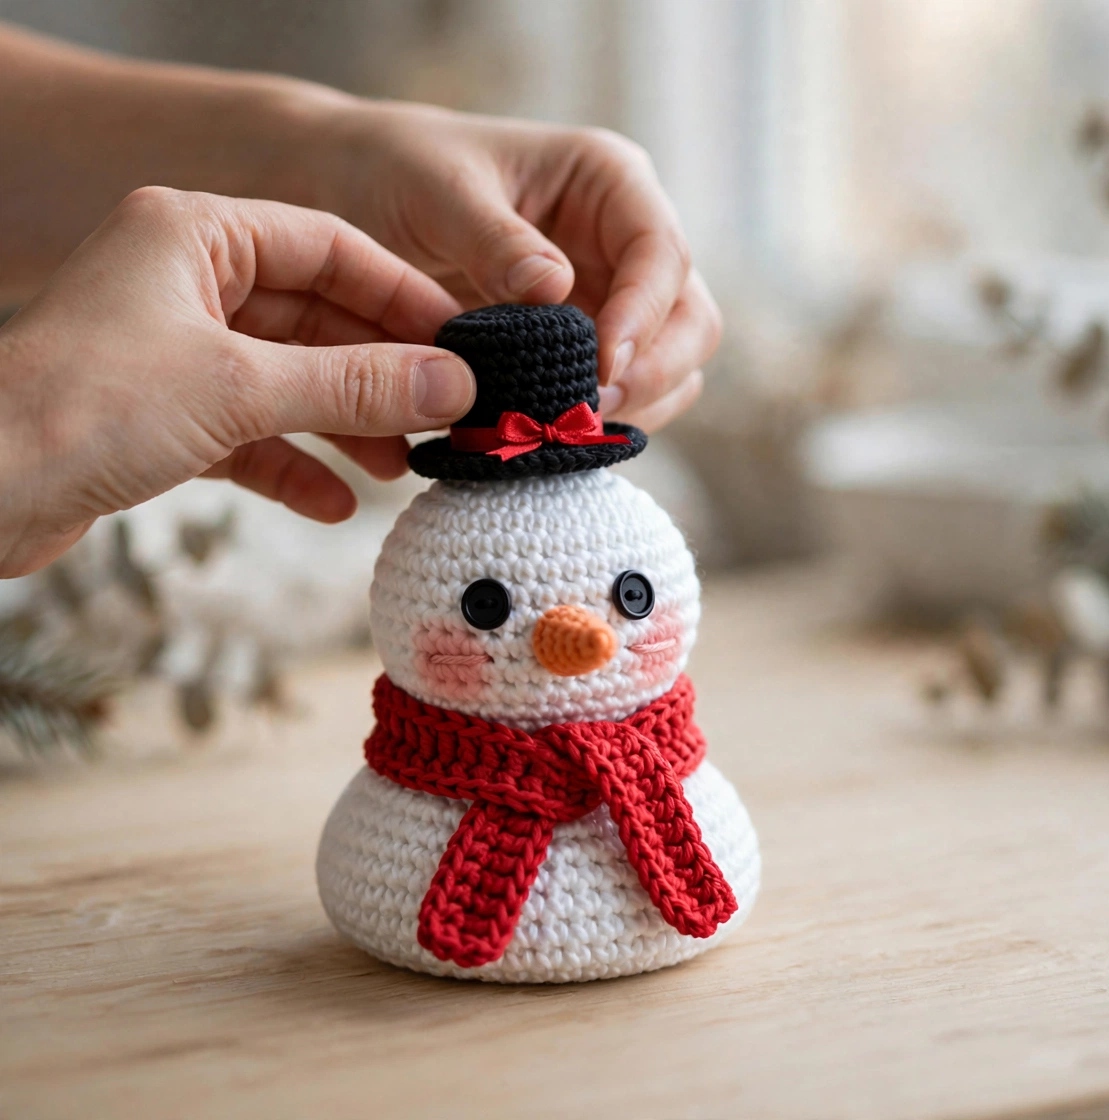
Crochet a small black cylinder for the crown, then work a flat circle for the brim and sew them together. Wrap a strip of red yarn around the crown as a ribbon band and tie a tiny bow at the back. Set the hat at a jaunty angle on the head and tack it down with a few stitches. The mini top hat is what takes this crochet snowman from cute to unforgettable.
Step 6: Style Your Finished Snowman
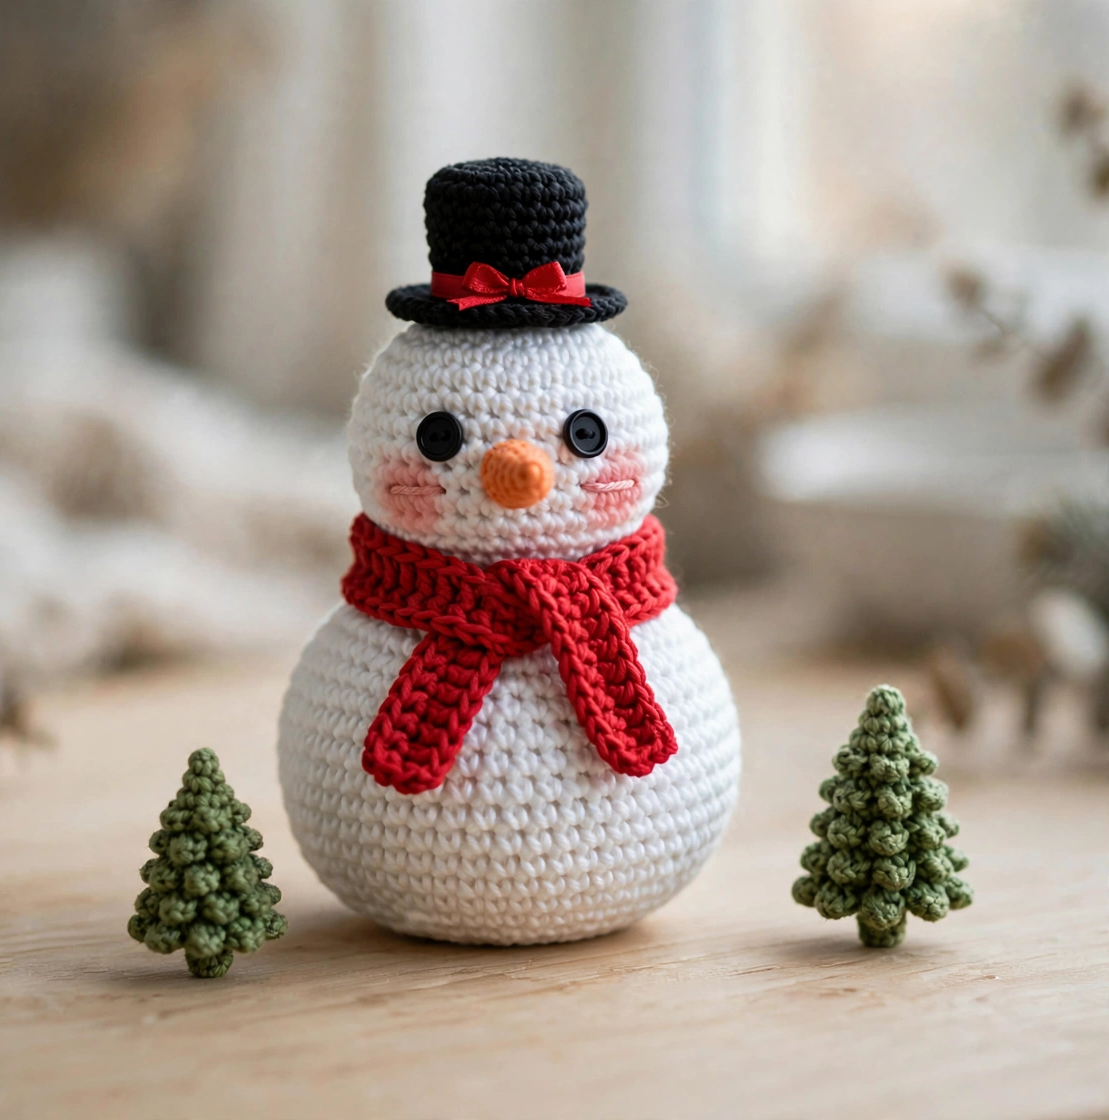
Your crochet snowman is complete — style it with a pair of tiny crocheted pine trees for a cozy winter scene. Pop him on the mantel, tuck him into a Christmas gift box, or set him under the tree. He works up in about 3 to 4 hours, making him a perfect last-minute handmade gift.
3 Tips for a Perfect Amigurumi Snowman
- Stuff as you go. Add fiberfill gradually while decreasing, not after closing. This keeps the head and body evenly firm and prevents lumps.
- Use a smaller hook than the yarn label suggests. Tight stitches hide the stuffing and give amigurumi its crisp, professional finish.
- Block the scarf flat. A quick steam or gentle press flattens the scarf strip so it drapes neatly instead of curling at the edges.
Crochet Snowman Pattern FAQ
How long does this snowman take to crochet?
About 3 to 4 hours total. The body and head take the most time; the nose, scarf, and hat are each under 30 minutes, making this an easy weekend project.
Is this crochet snowman pattern good for beginners?
Yes. It uses only basic stitches — magic ring, single crochet, increases, and decreases — and every shaping step is shown in the photos above.
What size is the finished snowman?
The finished snowman stands about 18 cm (7 inches) tall including the top hat, a perfect shelf and mantel size.
Can I sell finished snowmen made from this pattern?
Absolutely. Feel free to sell your finished makes at craft fairs or online; a credit link back to this tutorial is appreciated but not required.
Start Your Winter Crochet Today
This crochet snowman pattern proves that adorable holiday decor does not need to be complicated. Six simple steps, one afternoon, and you will have a handmade snowman ready for the mantel, the tree, or a thoughtful gift. Save this tutorial, share it with a crochet friend, and let us know how yours turned out!