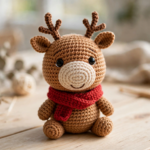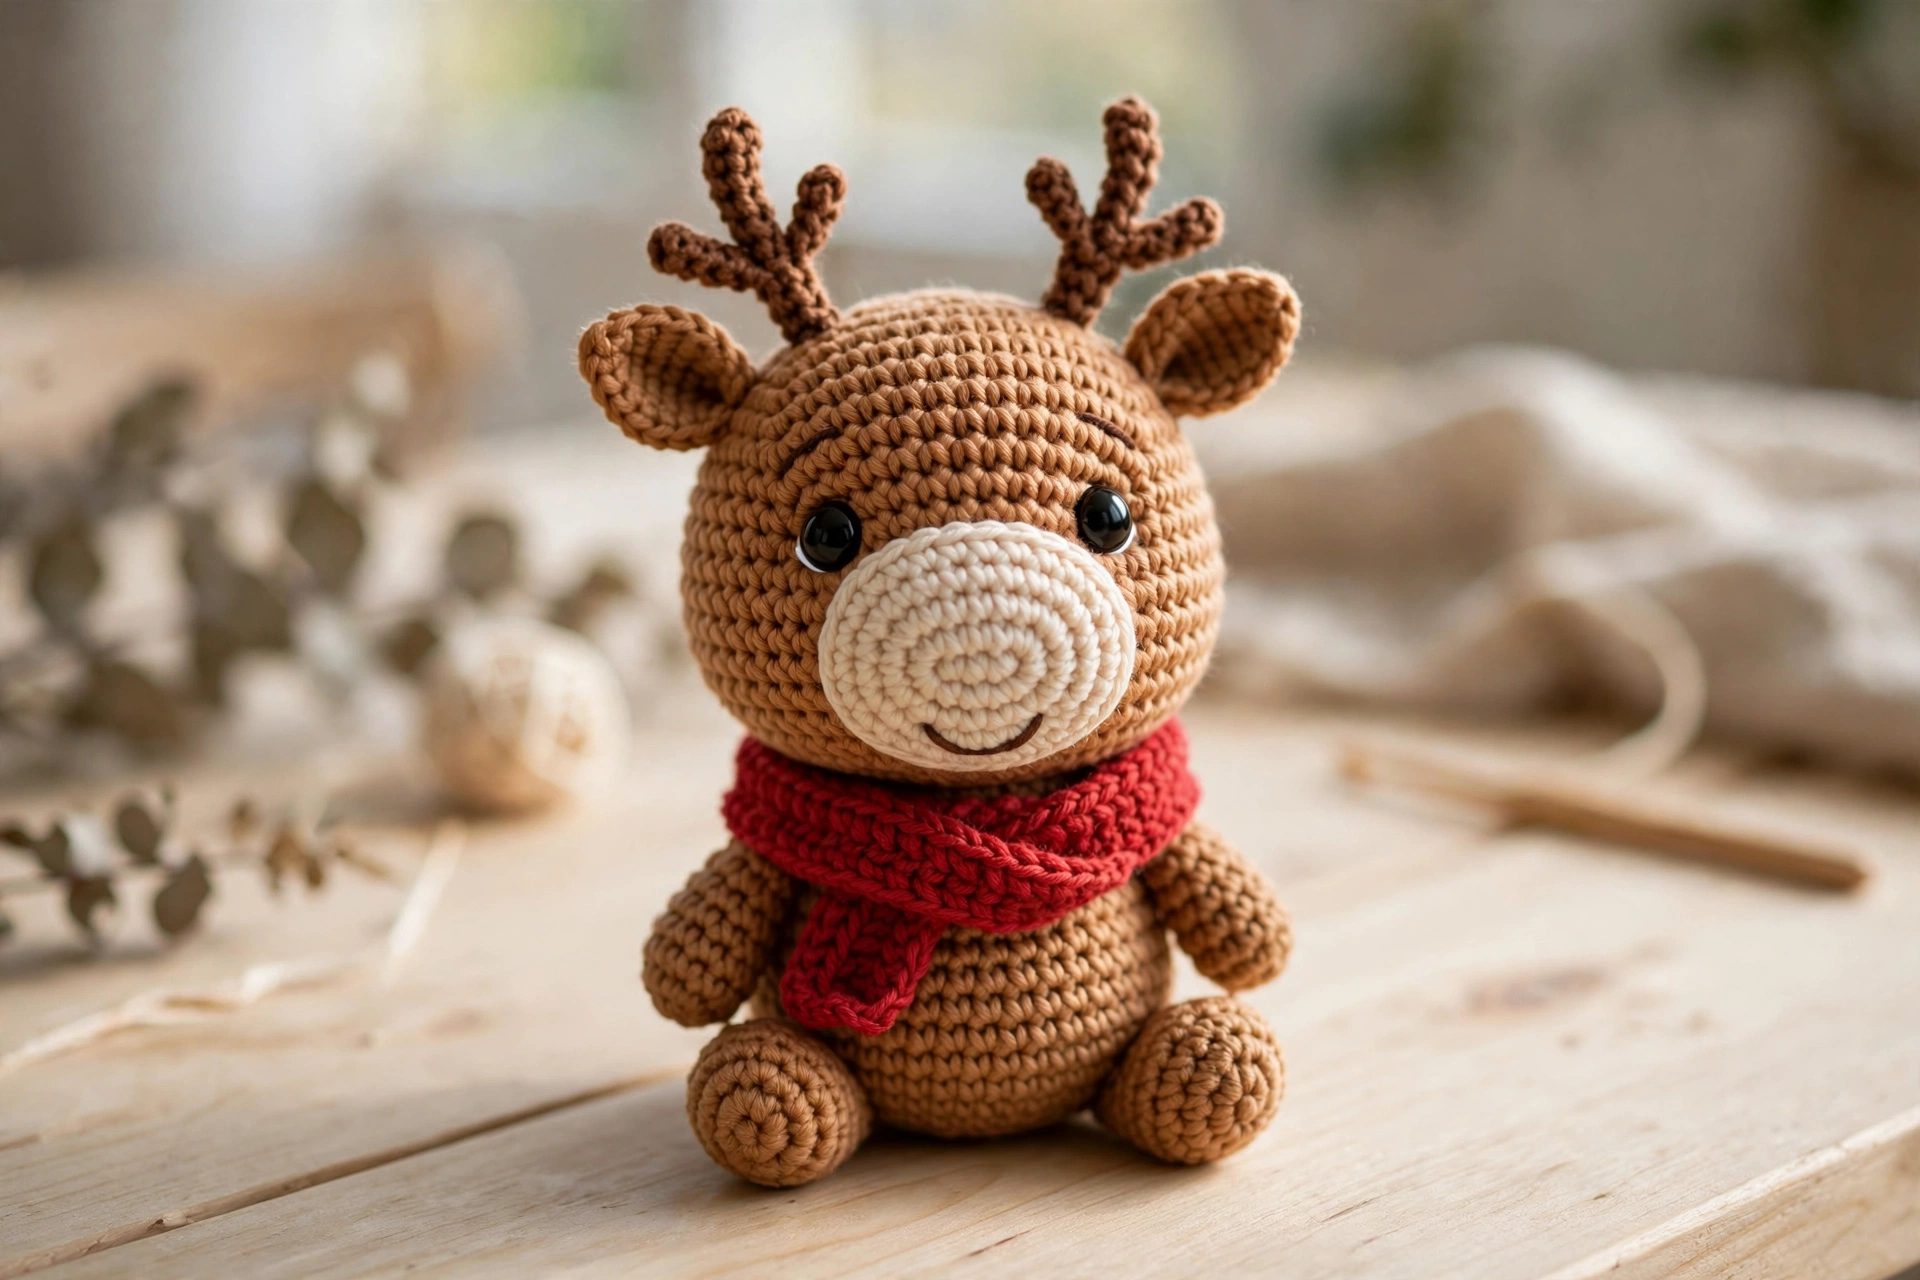
This free crochet reindeer pattern is the sweetest way to start your Christmas crafting. With a few rounds of warm brown yarn, little branchy antlers, and a cozy red scarf, you can crochet a reindeer in one cozy afternoon. This beginner-friendly amigurumi tutorial includes six photo steps, a full materials list, and practical tips, so your little reindeer turns out adorable on the first try.
Materials for Your Crochet Reindeer Pattern
Gather these supplies before you start your crochet reindeer pattern:
- Brown worsted-weight yarn (about 70 g) for the head, body, legs, ears, and antlers
- Cream worsted-weight yarn (about 15 g) for the muzzle
- Red worsted-weight yarn (about 20 g) for the scarf
- 4.0 mm crochet hook
- Two 10 mm black safety eyes
- Brown embroidery thread for the smile
- Fiberfill stuffing
- Yarn needle, stitch markers, scissors, and a few sewing pins
If you are restocking your yarn stash, Yarnspirations has a wide worsted-weight selection in perfect amigurumi shades. For more holiday makes on this site, see our crochet snowman pattern next.
Step 1: Start With the Magic Ring & Head
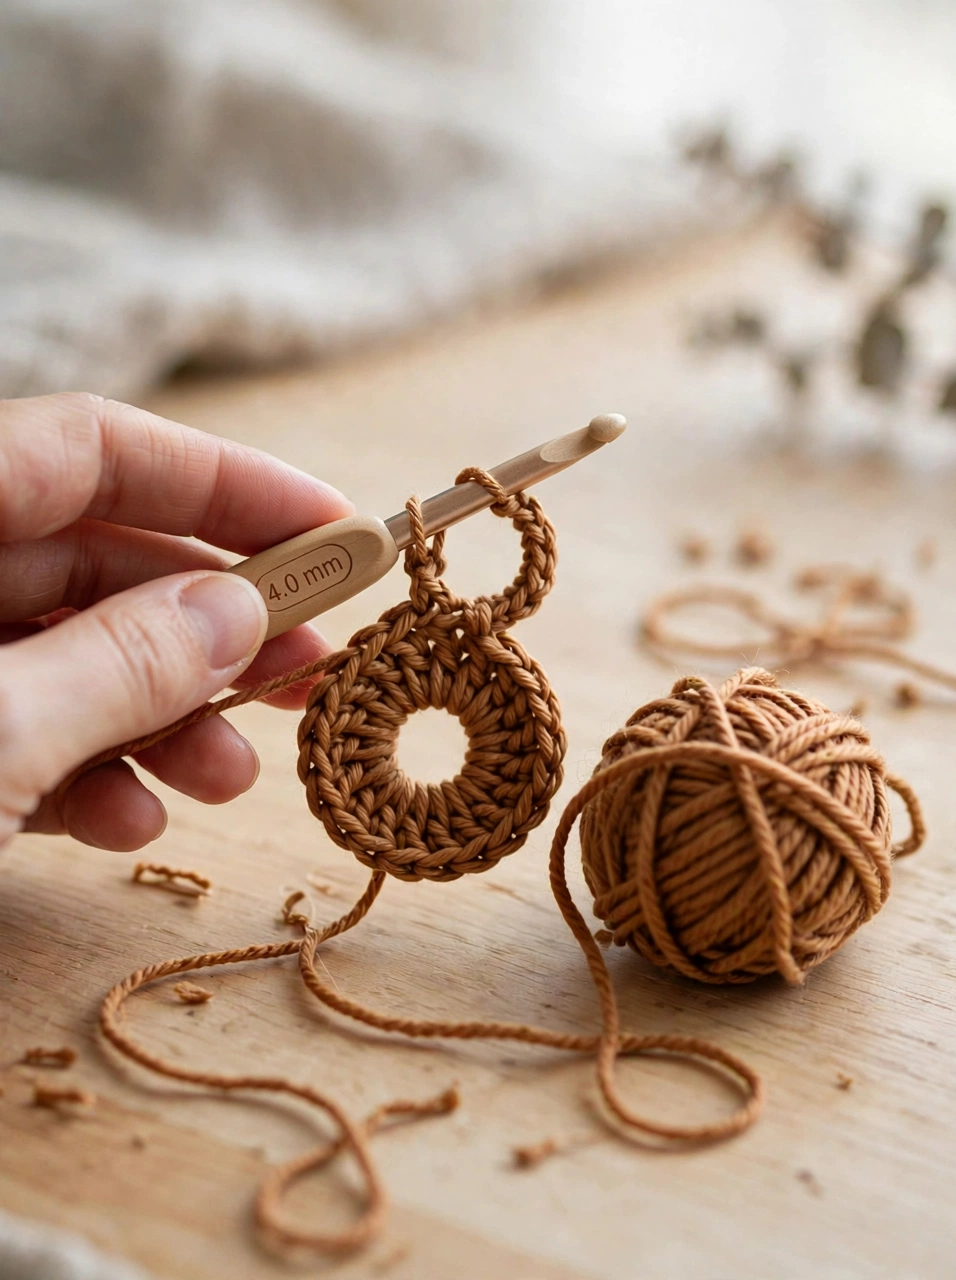
Start your reindeer with a magic ring and work six single crochet stitches into it. Increase evenly over the next few rounds until the head is about 9 cm wide, then work straight rounds to build a round, plump shape. A slightly oversized head is what gives this crochet reindeer pattern its cute, baby-animal charm, so do not rush the shaping rounds.
Step 2: Crochet the Muzzle & Body
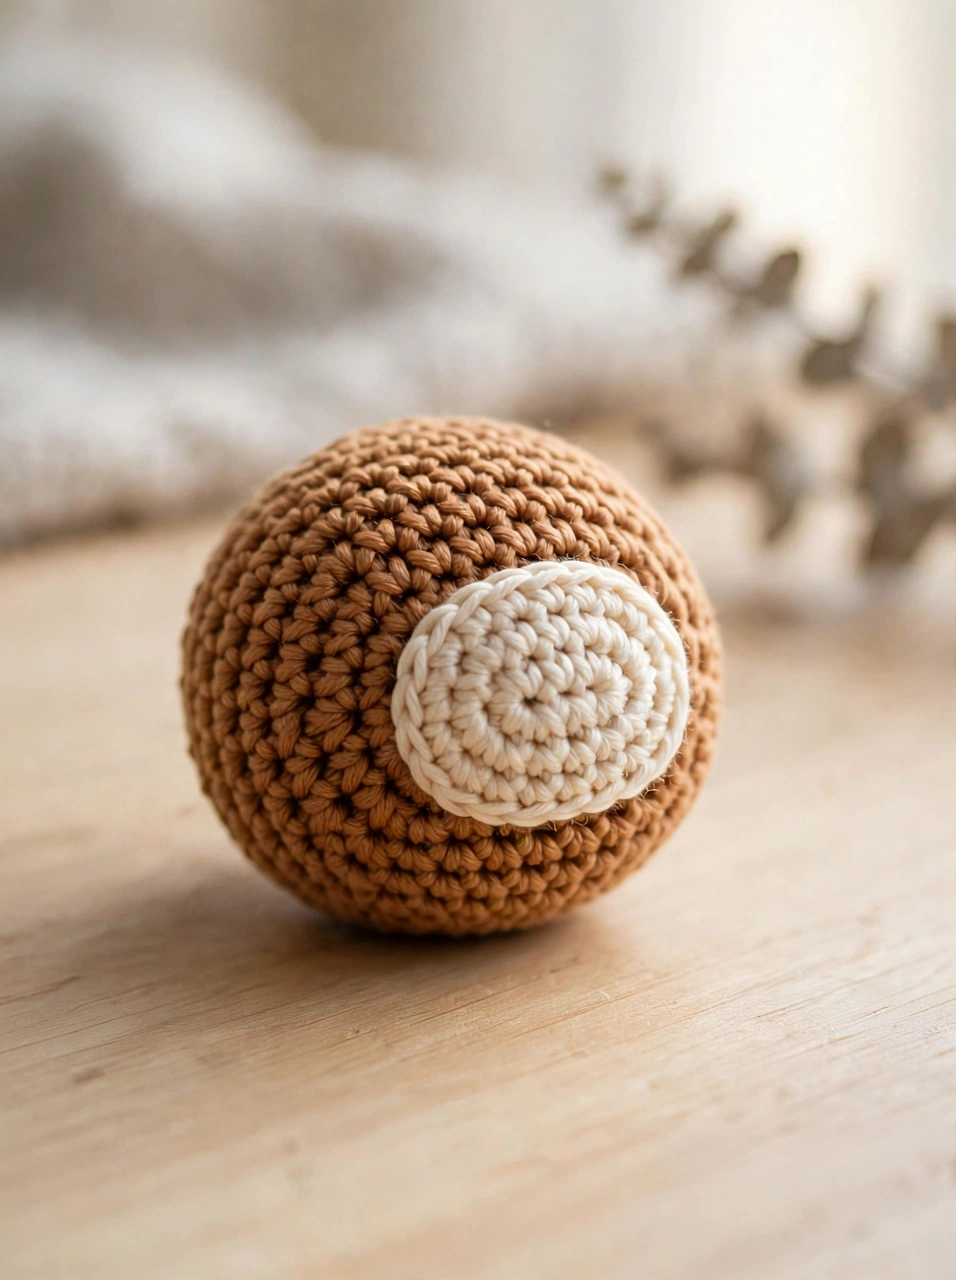
The muzzle is a small cream oval: chain 6, work around both sides of the chain, and increase slightly at the turns. Sew it centered on the lower front of the head with a yarn needle. Then crochet the body the same way you made the head — magic ring, increases to about 9 cm wide, straight rounds, and firm stuffing before decreasing closed. Stuff both pieces well; a firmly stuffed reindeer holds its shape for years.
Step 3: Add the Branchy Antlers
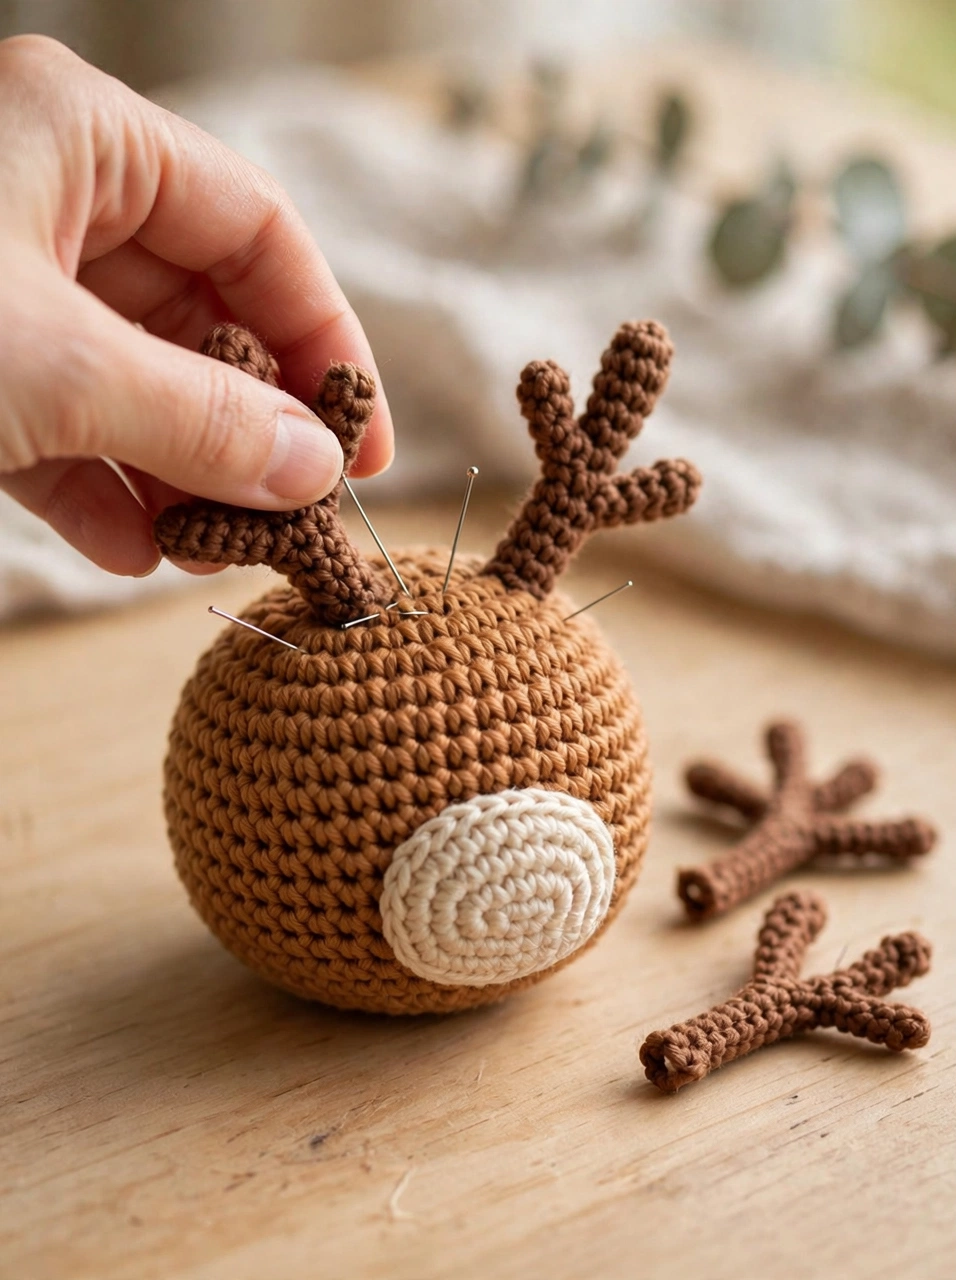
Each antler is a small brown tube with two tiny side branches worked as short chains of single crochet. Crochet two of them, stuff them very lightly, and pin them to the top of the head before sewing — pins let you check that both antlers match in height and angle. Sew each antler down with several firm whipstitches, hiding the yarn ends inside the head. The antlers are the signature feature of this crochet reindeer pattern, so take a moment to get them symmetrical.
Step 4: Ears & the Embroidered Face
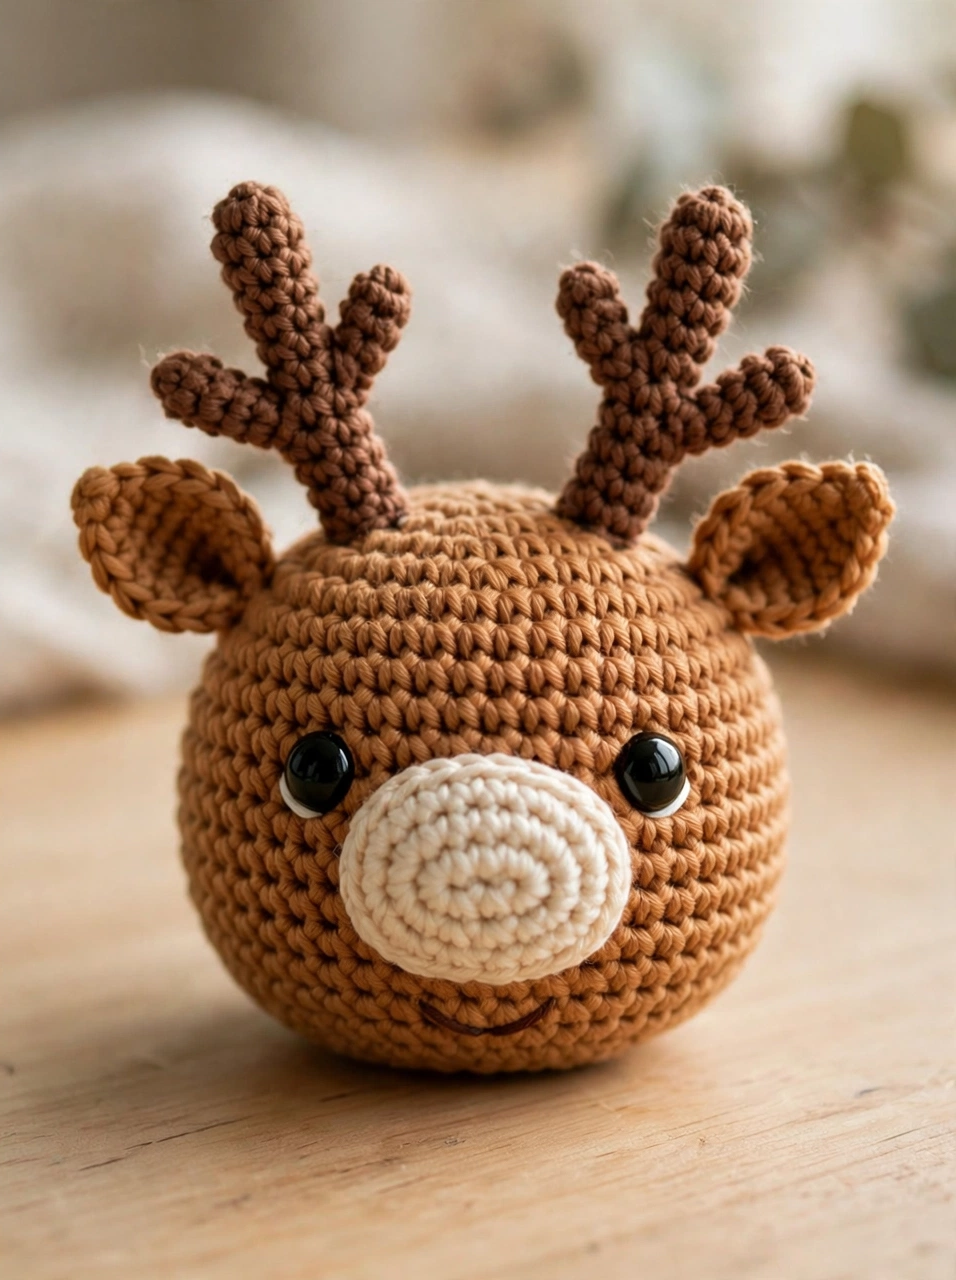
Crochet two small brown ears — flat ovals worked in just a few rounds — and sew them between the antlers on each side. Then press the two safety eyes into place above the muzzle, about 4 cm apart, and embroider a small smile on the cream muzzle with brown thread. These facial details bring your amigurumi reindeer to life, so position everything and check the face from a distance before stitching it down permanently.
Step 5: Wrap the Cozy Red Scarf
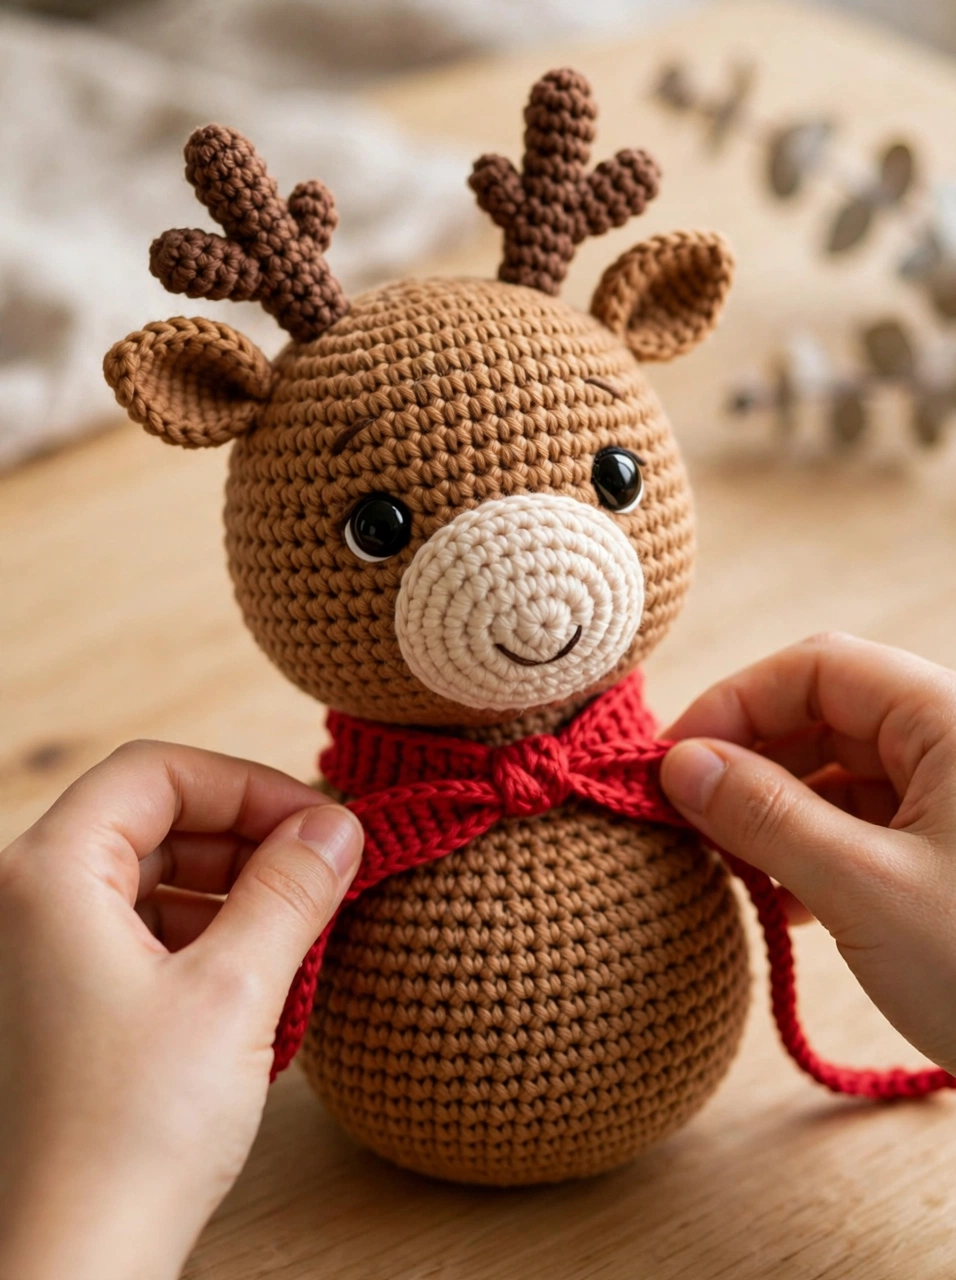
Chain 45 and work rows of single crochet until the strip measures about 4 cm wide. Sew the head onto the body first, then wrap the scarf around the join and tie a simple knot at the front. The bright red scarf pops against the warm brown yarn, hides the head-body seam, and makes this reindeer pattern look polished and gift-ready.
Step 6: Attach the Legs & Finish
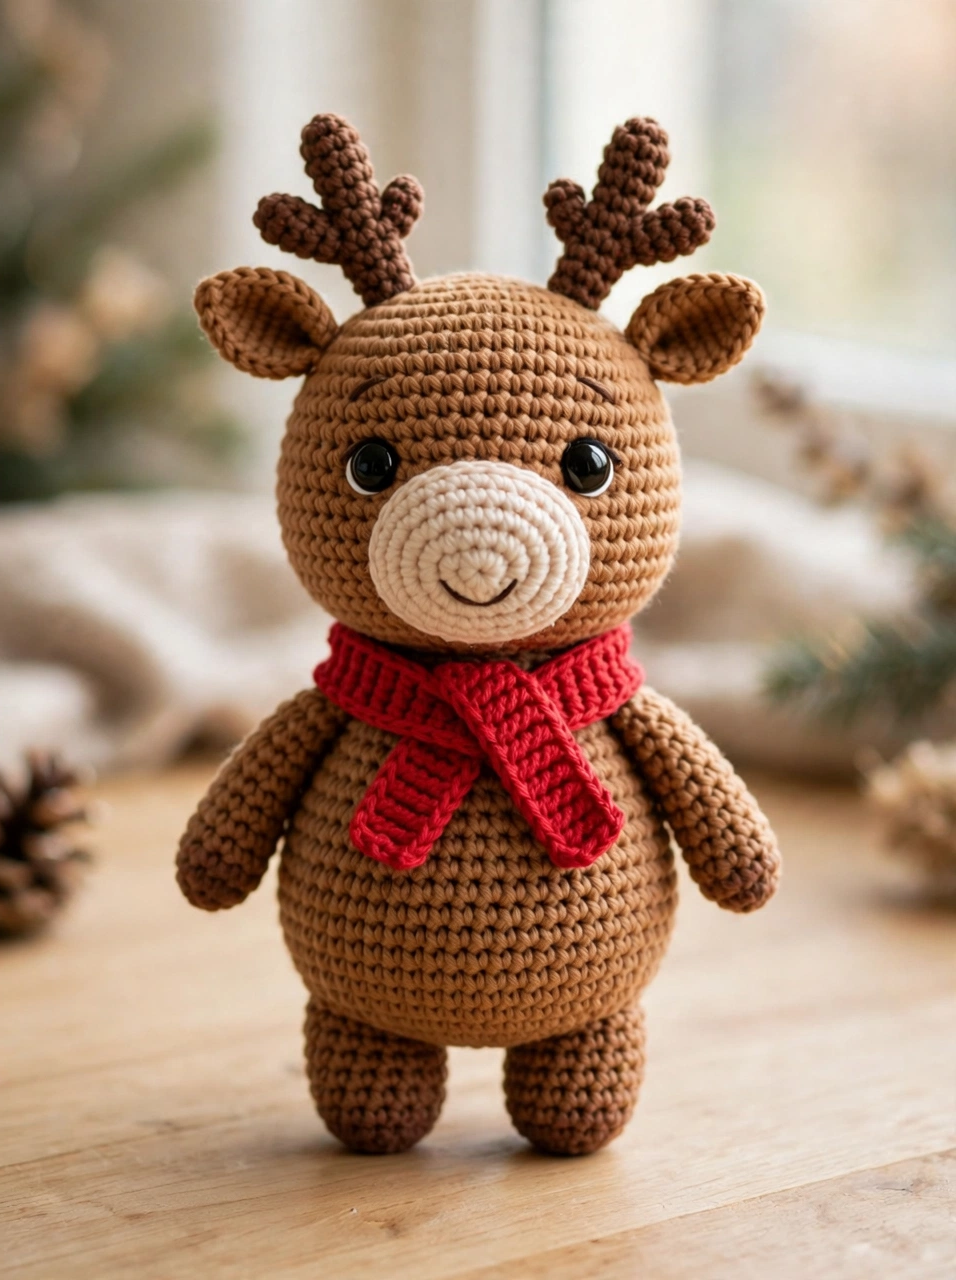
Crochet four stubby brown legs — short tubes worked in the round — stuff them lightly, and sew them evenly under the body so the reindeer stands upright. Check the balance before the final stitches: adjust one leg slightly forward or back until it sits steadily. Your crochet reindeer is complete — the whole project takes about 3 to 4 hours, perfect for a weekend afternoon.
3 Tips for a Perfect Amigurumi Reindeer
- Pin before you sew. Antlers, ears, and legs all look better when you pin them in place and check the symmetry first. The pinned-antler stage in the photos above shows this — that two-minute check saves a lopsided reindeer.
- Keep stitches tight. Use a hook one size smaller than the yarn label suggests so the fiberfill never peeks through the stitches.
- Stuff the antlers lightly. Firm antlers look stiff and can warp the head; a light fill keeps them plump but soft.
Crochet Reindeer Pattern FAQ
Is this crochet reindeer pattern good for beginners?
Yes. It uses only the magic ring, single crochet, increases, and decreases — the same four skills as every amigurumi on this site — and each shaping step is shown in the photos above.
How big is the finished reindeer?
The finished reindeer stands about 20 cm (8 inches) tall including the antlers — a lovely size for the mantel, the tree skirt, or a Christmas gift.
What yarn works best for this reindeer?
Worsted-weight acrylic is ideal: it holds the round amigurumi shape, comes in perfect browns and creams, and survives enthusiastic hugs from kids.
Can I make the reindeer without safety eyes?
Absolutely — embroider simple French-knot eyes with black yarn instead. Embroidered eyes are the safest choice for gifts for babies and toddlers.
Start Your Christmas Crochet Today
This crochet reindeer pattern proves that heart-melting holiday decor does not need to be complicated. Six simple steps, one afternoon, and you will have a handmade reindeer ready for the mantel, the tree, or a thoughtful gift. Save this tutorial, share it with a crochet friend, and let us know how yours turned out!