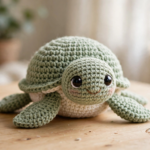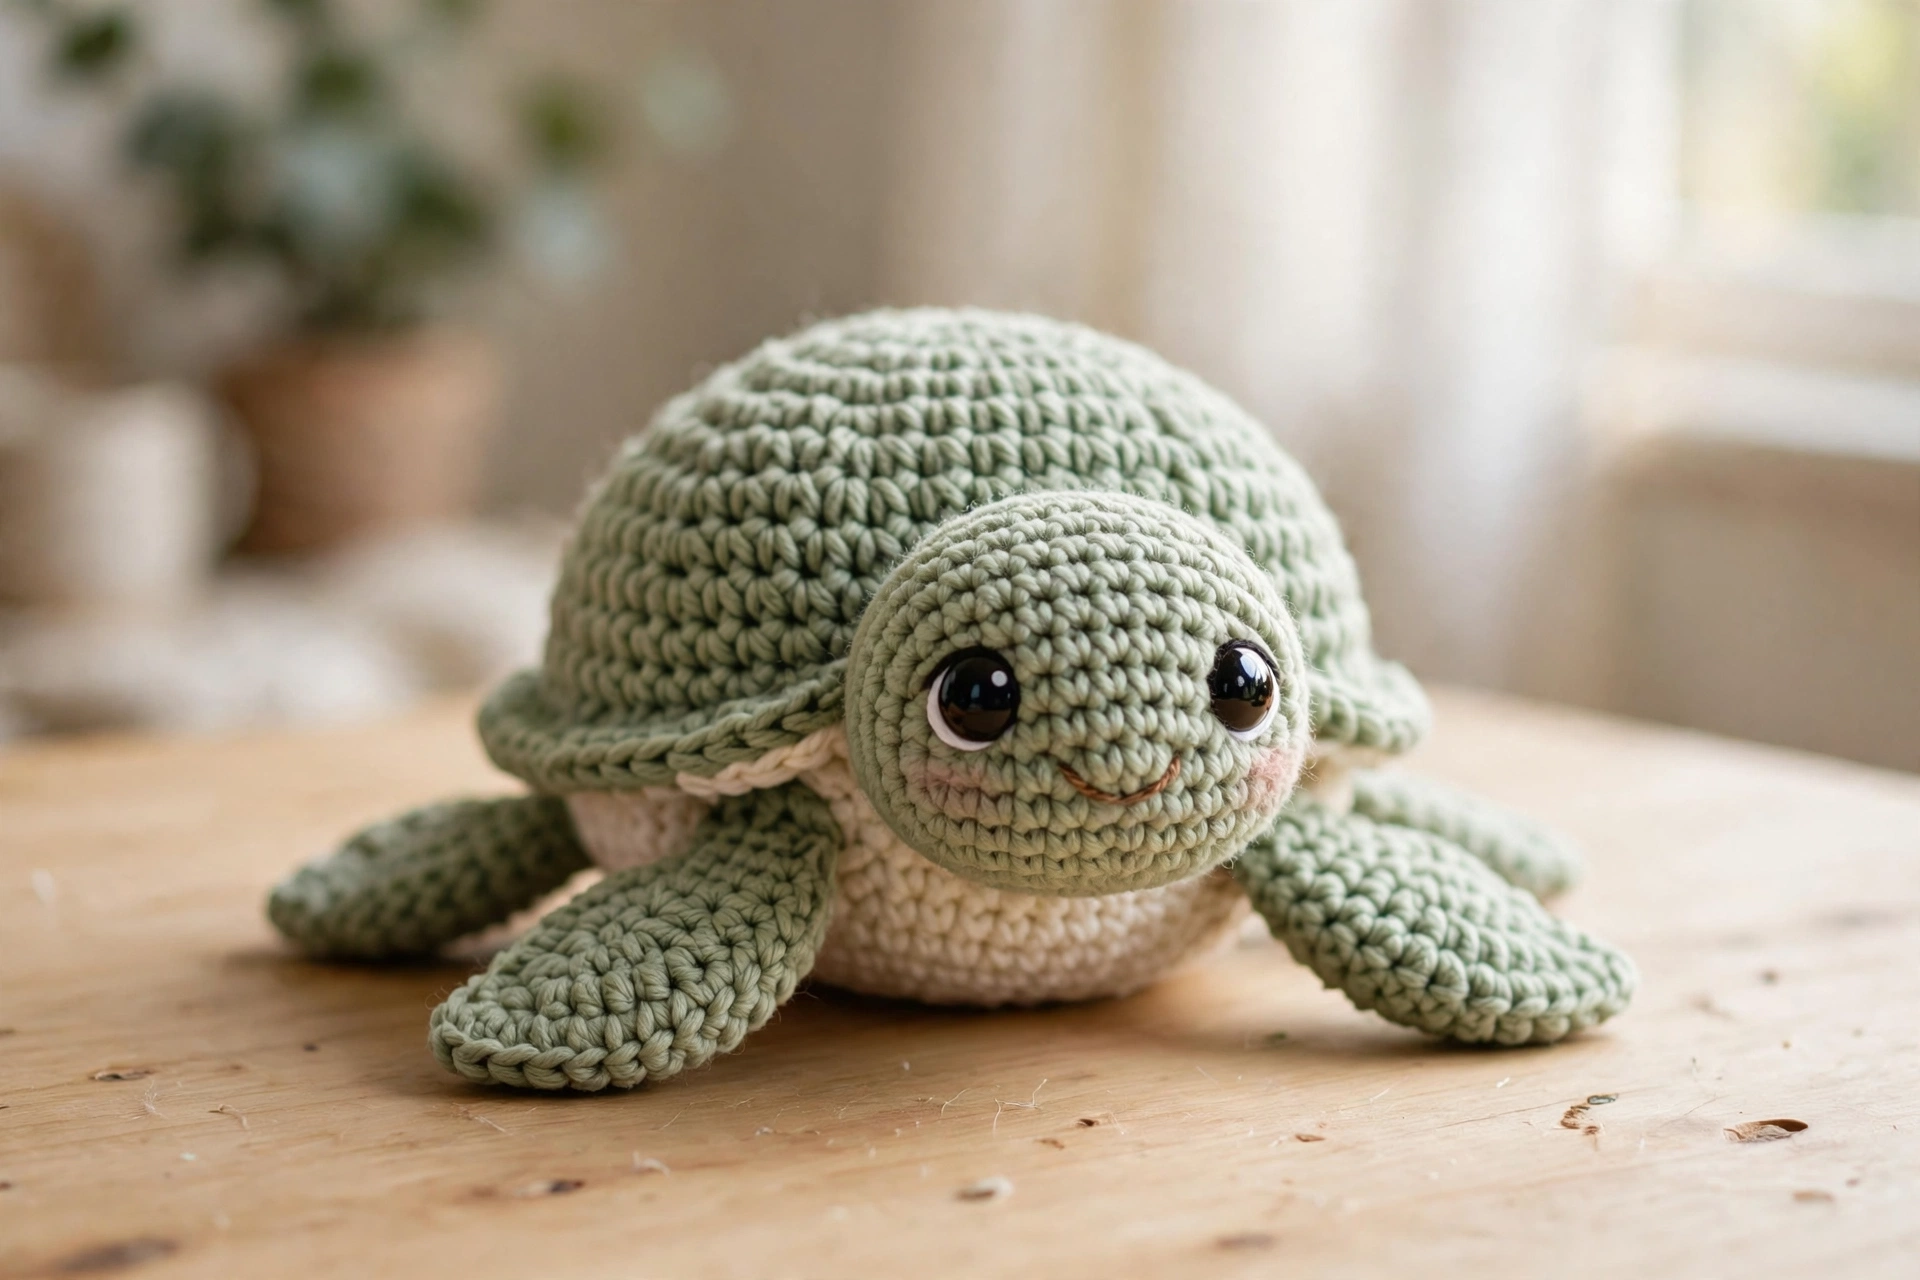
Few amigurumi animals are as universally loved as the turtle — and this crochet turtle pattern makes one of the sweetest sea creatures you can stitch. With its soft sage green shell, cream belly, chubby flippers, and a smile that never fails to charm, this little turtle is a quick, beginner-friendly project that most crocheters finish in a single afternoon. Make one as a handmade gift, a nursery decoration, or a cheerful addition to your craft-fair table.
Finished size: about 4.5 inches (11 cm) long, using worsted-weight yarn and a 4.0 mm hook.
Materials
- Worsted-weight yarn in sage green (about 60 g)
- Worsted-weight yarn in cream (about 30 g)
- 4.0 mm crochet hook
- 10 mm black safety eyes
- Polyester fiberfill stuffing
- Yarn needle, scissors, stitch markers
- Green embroidery floss (for the smile)
Step 1 – Start Your Crochet Turtle Shell with a Magic Ring
Every turtle begins with the shell. Using sage green yarn, work 6 single crochet into a magic ring, then increase round by round — 12, 18, 24 stitches — until the shell base measures about 4 inches across. Mark the first stitch of each round with a stitch marker so you never lose your place in the spiral.
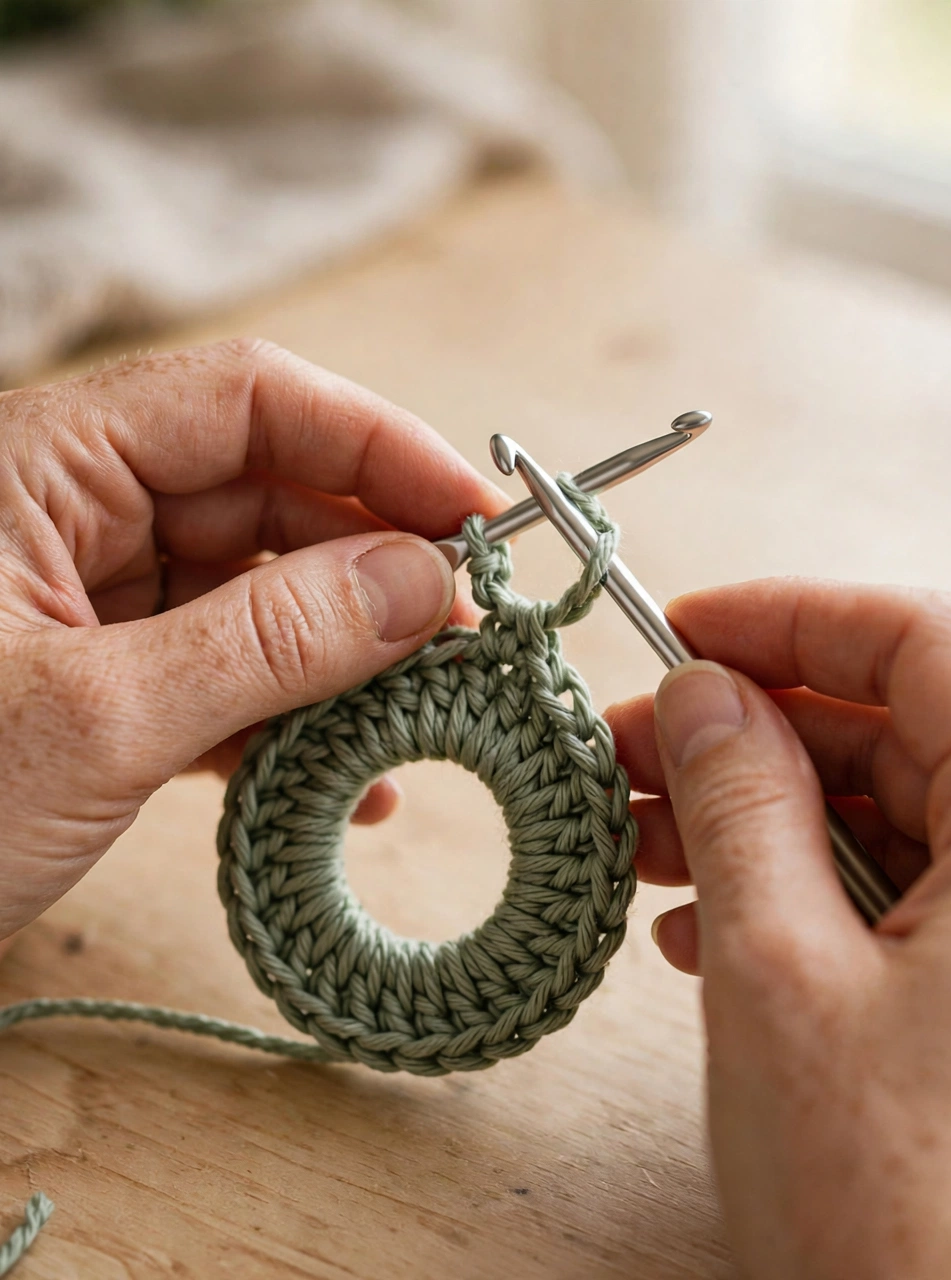
The magic ring gives you a perfectly closed starting point with no hole in the center. If you are new to the technique, wrap the yarn twice around your finger and work your first 6 stitches into the ring, then pull the tail tight to close it completely.
Step 2 – Grow the Shell Dome for Your Turtle Amigurumi
Once the base is wide enough, work several even rounds (no increases) to give the shell its gently domed shape. This crochet turtle pattern uses a simple half-sphere shell — the defining shape of any amigurumi turtle — and keeping your tension snug ensures it holds its curve without sagging.
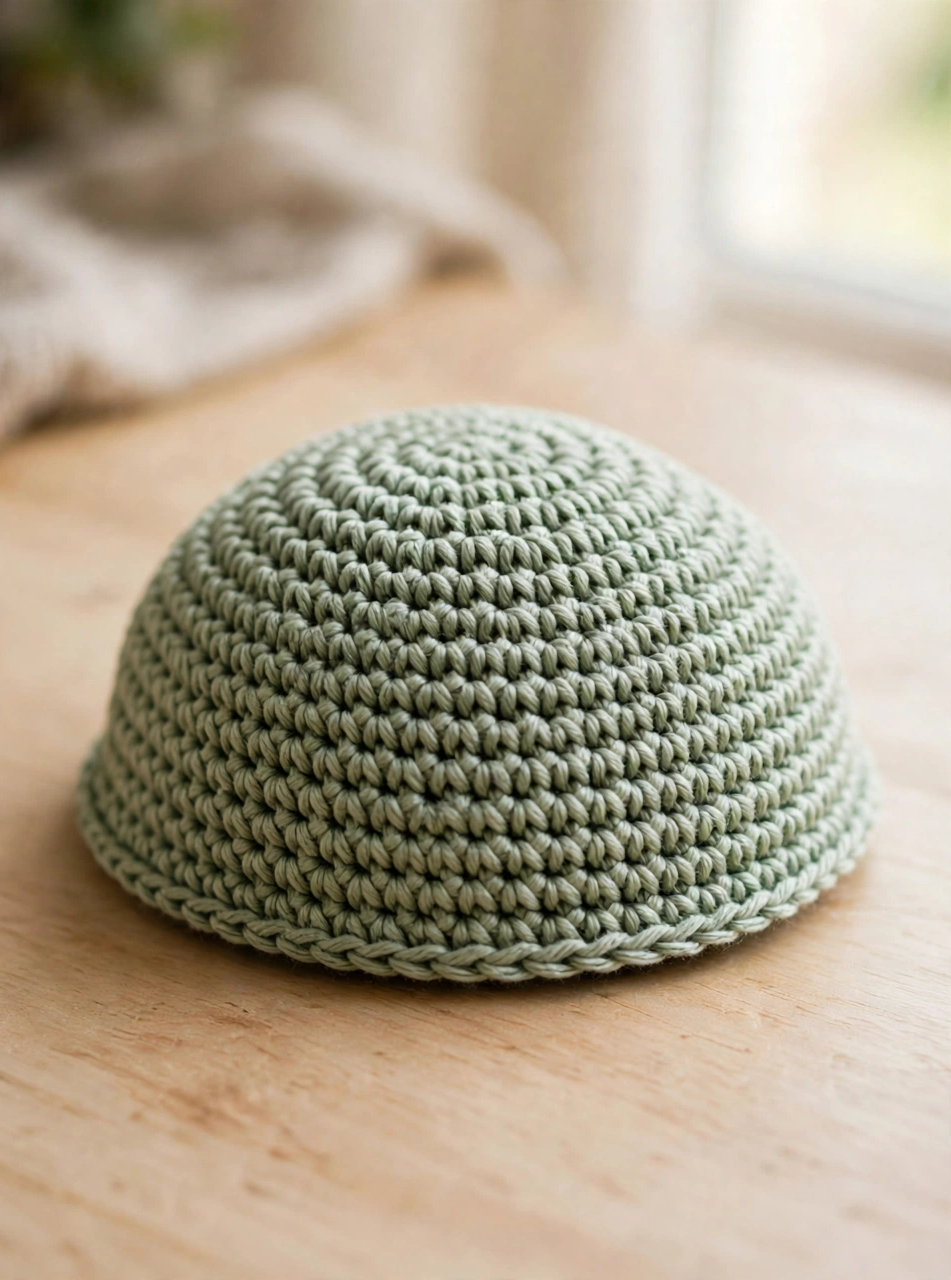
Check the shell’s shape as you go by pressing it lightly into a dome with your fingers. If it looks too flat, you increased too much; if it curls upward like a bowl, add an even round or two. A smooth, even dome is exactly what you want.
Step 3 – Add the Cream Belly to Your Crochet Turtle
The cream belly is what makes this crochet turtle pattern so charming. Work a flat cream circle in spiral rounds until it matches the opening of your green shell, then sew it to the shell’s bottom edge with your yarn needle, leaving a gap at the back for stuffing. Use the green yarn tail for an invisible join.
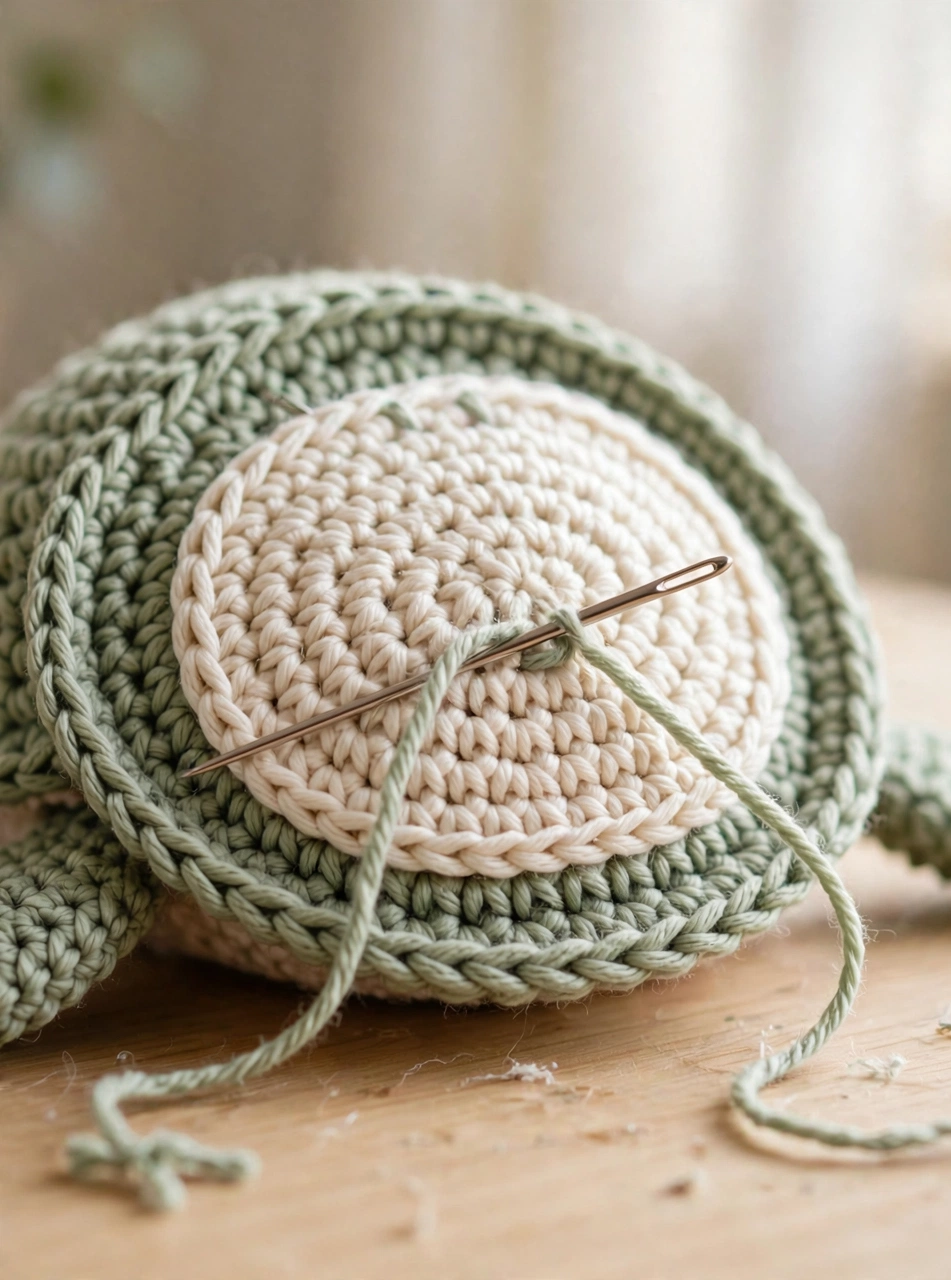
Pin or hold the belly circle in place before you start sewing so it stays centered. Small, even whipstitches around the edge create a clean seam that looks like part of the design rather than a join.
Step 4 – Crochet the Flippers for the Sea Turtle
A turtle needs four flippers — two front and two back. Crochet each one in sage green: work a small oval in rounds, then decrease at the tip to taper it. Make the front flippers slightly larger than the back pair for that classic sea turtle silhouette.
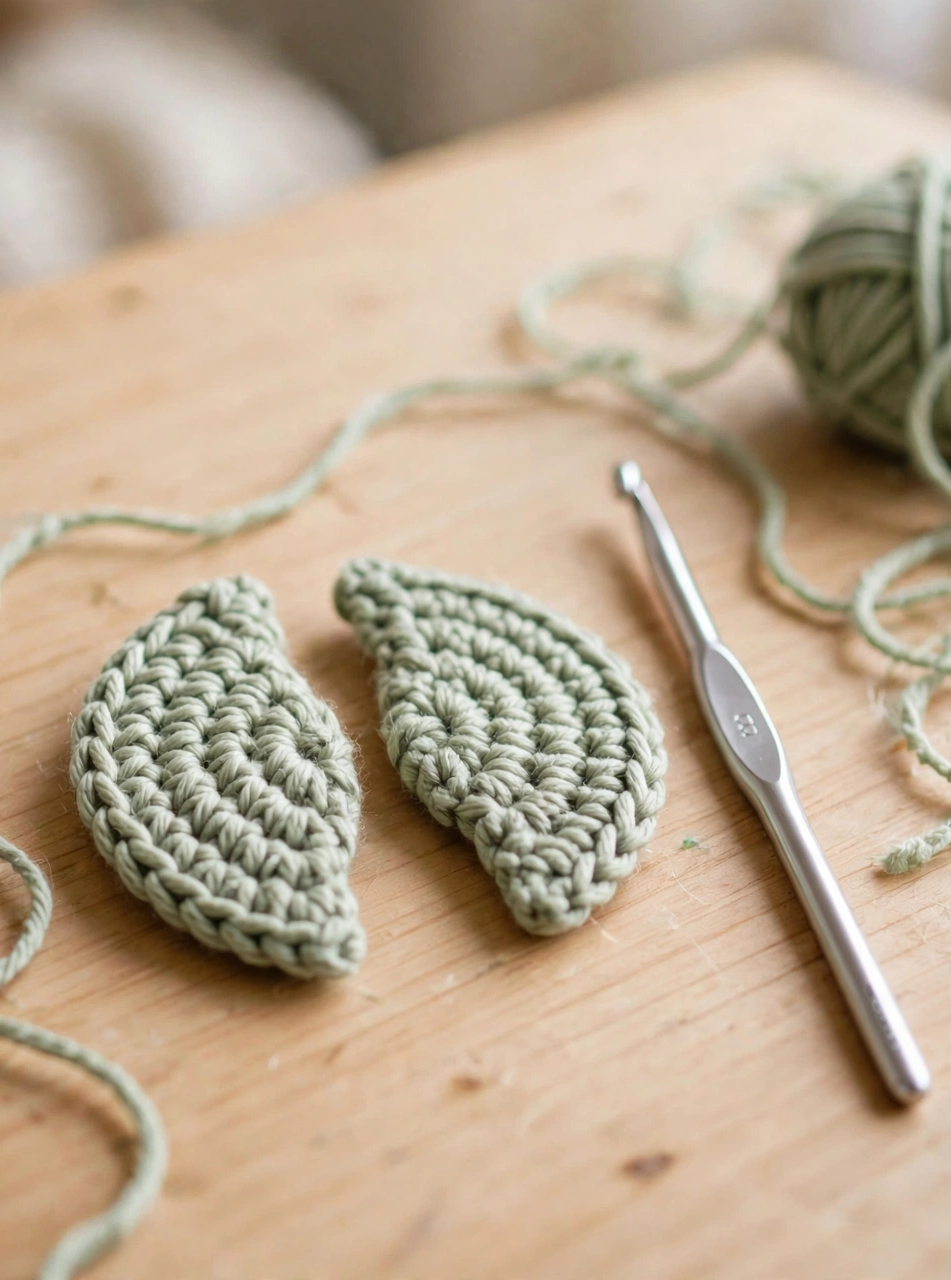
Leave a long tail on each flipper for sewing. Slightly vary the size of the front pair versus the back pair — the asymmetry is what makes a crochet sea turtle look natural and cute rather than blocky.
Step 5 – Stuff and Shape Your Crochet Turtle Amigurumi
Now fill the body with polyester fiberfill through the gap you left at the back. Add the stuffing in small handfuls, shaping the body with your fingers as you go. Pack it firmly — a well-stuffed turtle keeps its round shape and sits upright — but stop before the stitches start to stretch open.
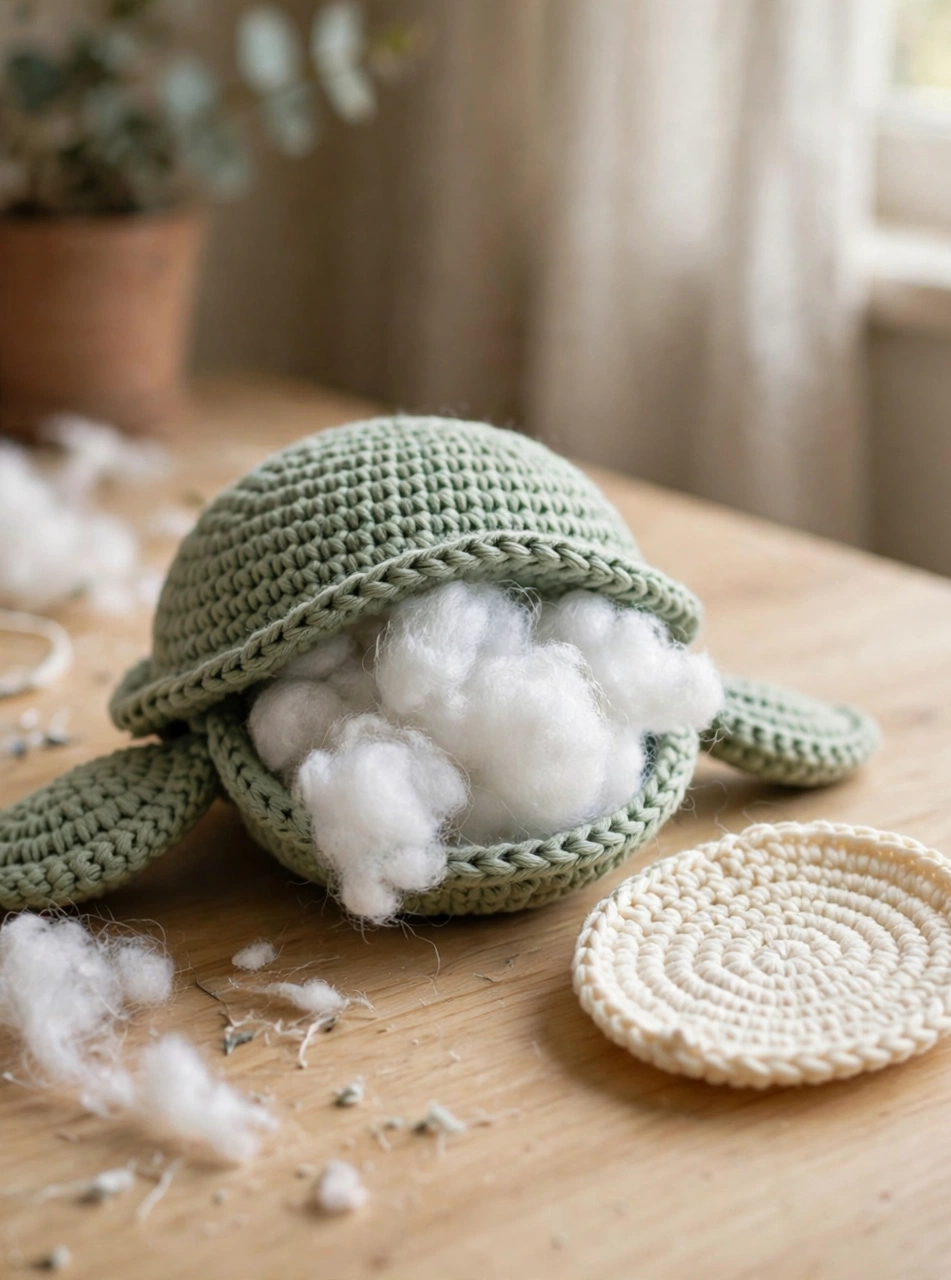
Sew the flippers to the body before you close the stuffing gap: position the front flippers just behind the head area and the smaller back pair near the tail end. Three secure knots per flipper keep them wiggle-proof for little hands.
Step 6 – Finish Your Crochet Turtle Pattern
Close the stuffing gap with a few final whipstitches, then add the face: place the safety eyes on the front of the head section, about 6 stitches apart, pressing the washers firmly on from the inside. Embroider the little smile with green floss using two short curved stitches, and weave in every loose end.
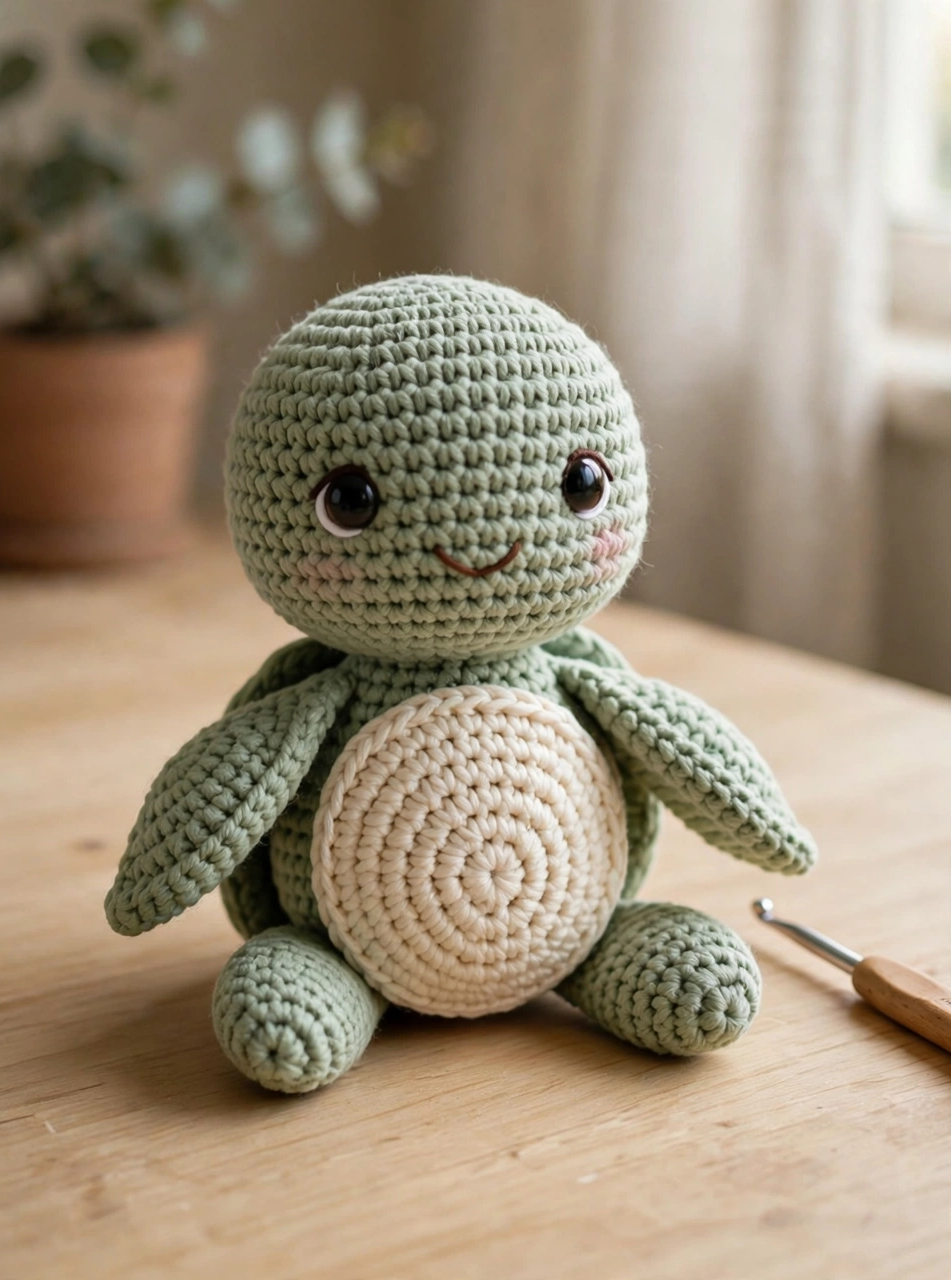
Give your finished turtle a final once-over: fluff the fiberfill anywhere the body looks flat, straighten the flippers, and check that both eyes sit level. Your crochet turtle should sit upright like a tiny, cheerful sea creature — ready for gifting, decorating, or market day.
Tips for a Perfect Turtle
- Go one hook size down. Amigurumi uses a hook one size smaller than the yarn label suggests. Tight stitches keep the fiberfill hidden inside your crochet turtle.
- Stuff in stages. Add small handfuls of fiberfill and shape as you go rather than cramming it all in at the end — it gives a much smoother finish.
- Test the flipper placement. Pin the flippers on with stitch markers and look at the turtle from the front before sewing, so the pose looks balanced.
FAQ
Is this crochet turtle pattern good for beginners?
Yes! If you can single crochet, increase, and decrease, you can make this turtle. Every part — shell, belly, flippers — uses the same basic spiral-round technique, so it is an excellent first amigurumi project.
How long does it take to crochet the turtle?
Most crocheters finish in 3–4 hours. The shell works up quickly, and each flipper takes just a few minutes. It is a perfect weekend project.
What yarn is best for a crochet turtle?
A smooth worsted-weight acrylic or cotton blend in sage green and cream gives the best stitch definition. Avoid fuzzy novelty yarns — they hide your stitches and make counting rounds difficult.
Can I sell finished turtles made from this pattern?
Yes — finished turtles made from this free crochet turtle pattern may be sold in small quantities with credit to TopNoted. Please do not redistribute the pattern itself.
Conclusion
This free crochet turtle pattern gives you an adorable, gift-ready amigurumi sea turtle in just a few hours — domed shell, cream belly, chubby flippers, and the sweetest little smile. Make one in sage green like ours, or try ocean teal, sandy beige, or pastel rainbow for a whole turtle family. Happy crocheting — and do not forget to pin this tutorial for your next cozy project!
Love sea creatures? Try our free crochet axolotl pattern next. For yarn and hook basics, the Craft Yarn Council is a great reference. You can also browse all our crochet tutorials for more free patterns.