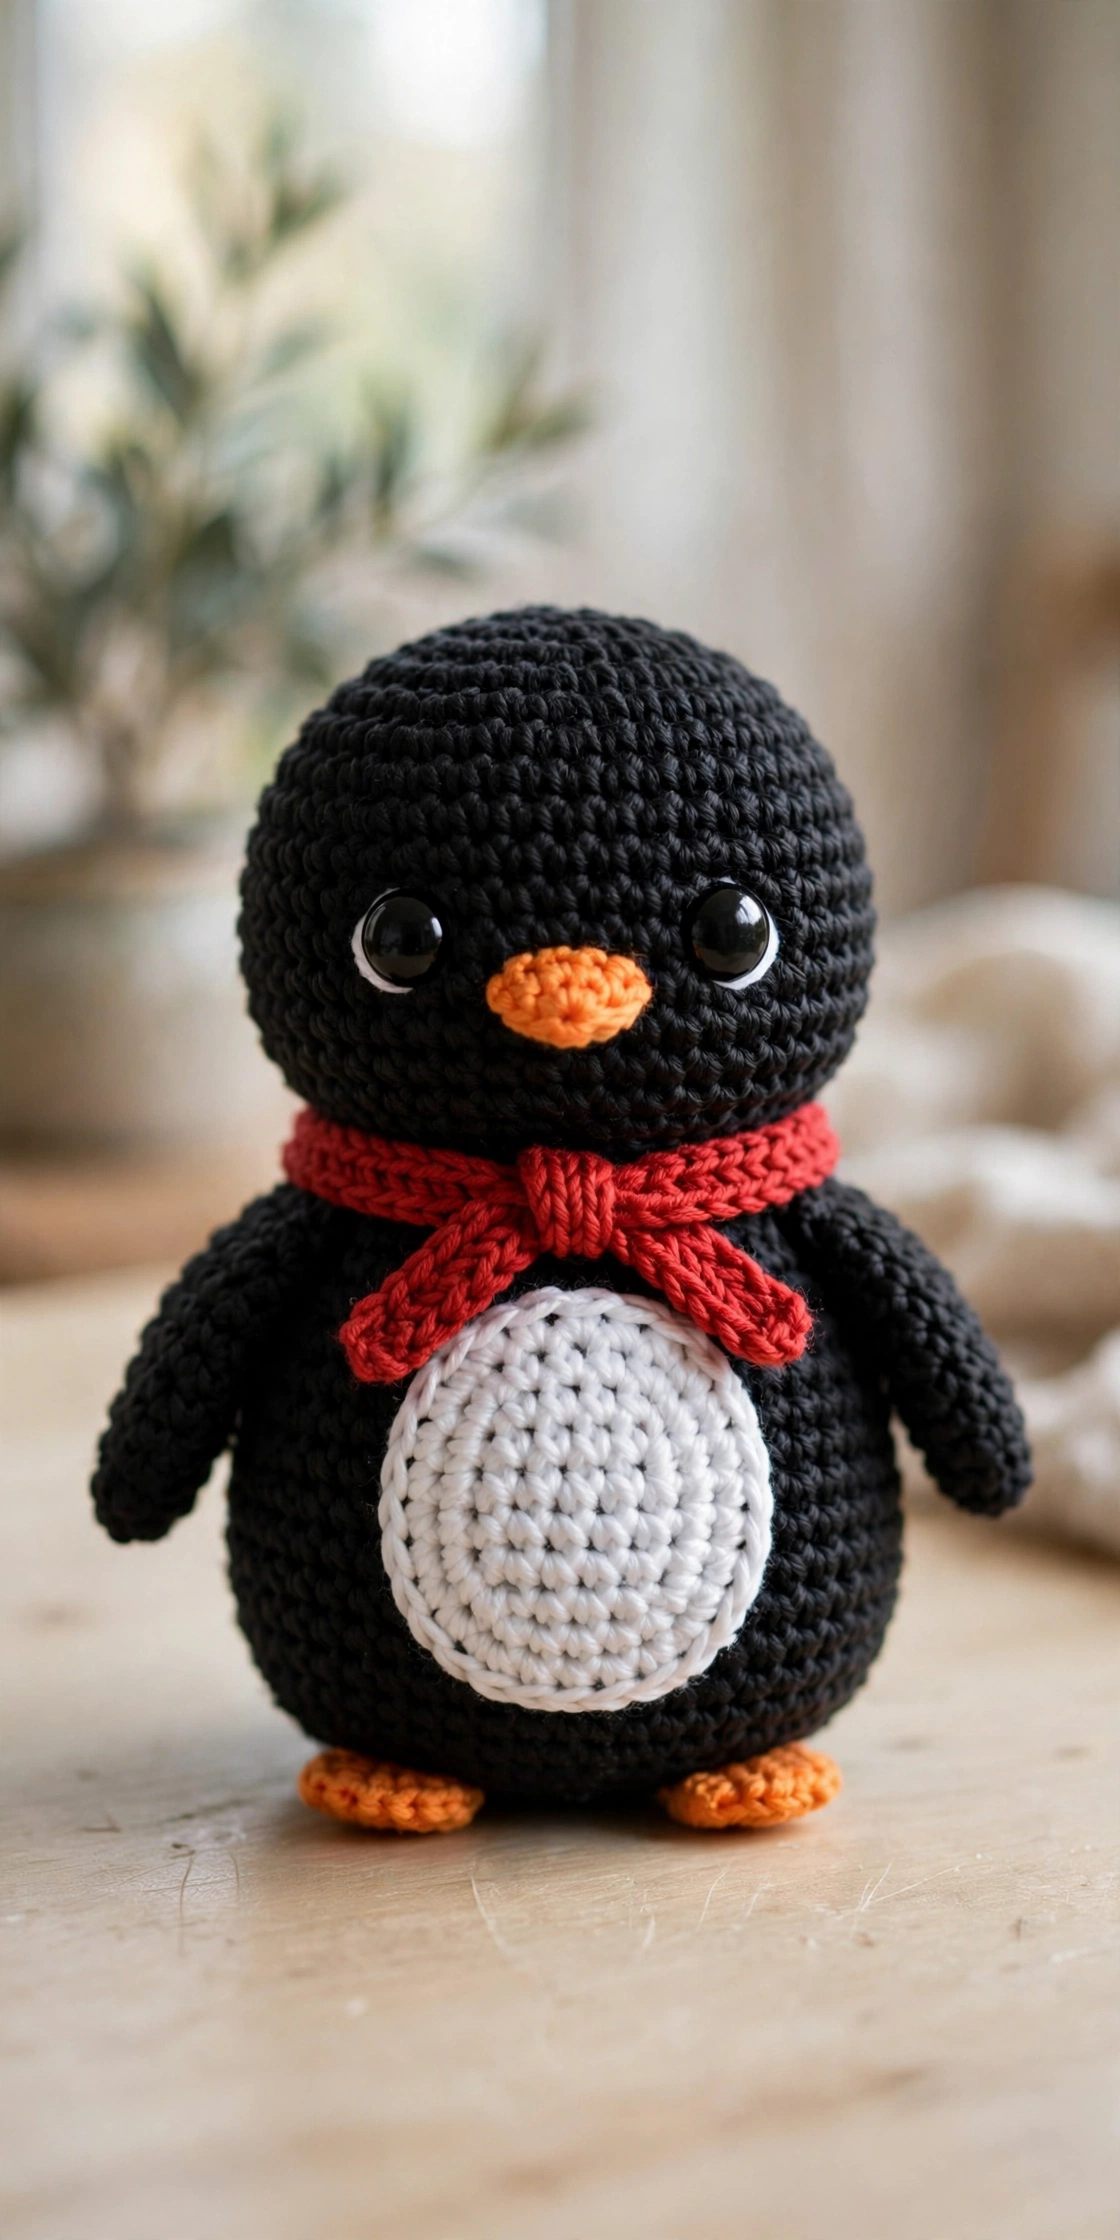
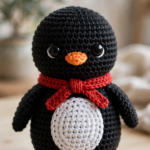
Nothing melts a heart quite like a chubby little penguin — and this crochet penguin pattern lets you make one in a single cozy afternoon. This free, beginner-friendly tutorial walks you through every step of creating a cute penguin amigurumi, complete with a white belly patch, tiny orange feet, and an adorable red winter scarf. Whether you are looking for a quick holiday gift or a sweet addition to your amigurumi collection, this pattern is the perfect weekend project.
The finished penguin stands about 15 cm (6 inches) tall, and the whole project uses simple single crochet stitches with easy increases and decreases. As a result, even confident beginners can finish it with a smile. Let’s grab our hooks and get started.
Materials
To make this crochet penguin pattern you will need:
- Black, white & orange worsted-weight yarn
- 3.5 mm crochet hook
- Red yarn for the scarf
- Fiberfill stuffing
- 9 mm safety eyes
- Yarn needle
- Scissors
Before you begin, gather everything in one spot. Having your materials ready keeps the rhythm of the project smooth from start to finish.
Make the Magic Ring & Body
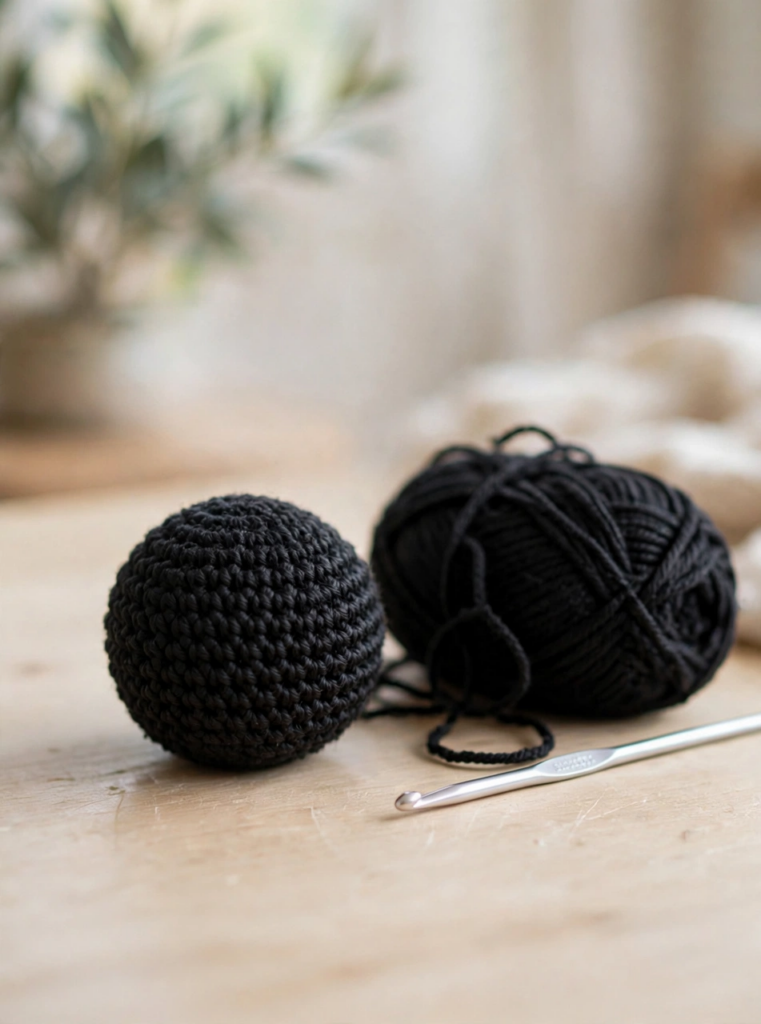
Every great amigurumi starts with a magic ring, and this penguin amigurumi is no exception. Using black yarn, work 6 single crochet stitches into a magic ring, then increase evenly across the next rounds until the body measures roughly 10 cm across. After that, work even rounds to build the round, plump body shape.
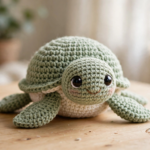
Keep your tension steady so the sphere stays smooth and the stitches stay tight enough that the fiberfill will not show through later. If you have already tried our other tutorials, such as this amigurumi turtle tutorial, you will recognize the same simple shaping logic here.
Crochet the White Belly Patch
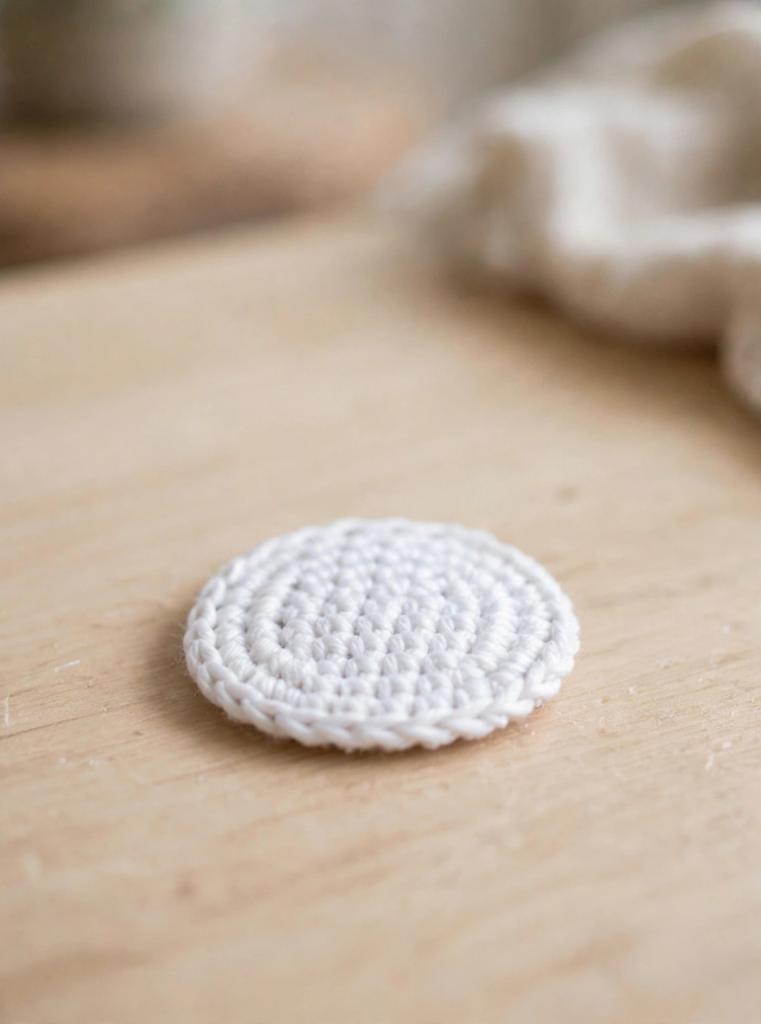
No penguin is complete without its signature white belly. With white yarn, crochet an oval patch in single crochet, increasing evenly at both ends of each round so the edges stay smooth. Then lay it against the front of the black body to check the size before you sew anything down.
This contrast patch is what gives the penguin its classic look, so take a moment to center it nicely. Pin it in place with a couple of stitch markers while you continue with the face.
Add the Penguin Face for This Crochet Penguin Pattern
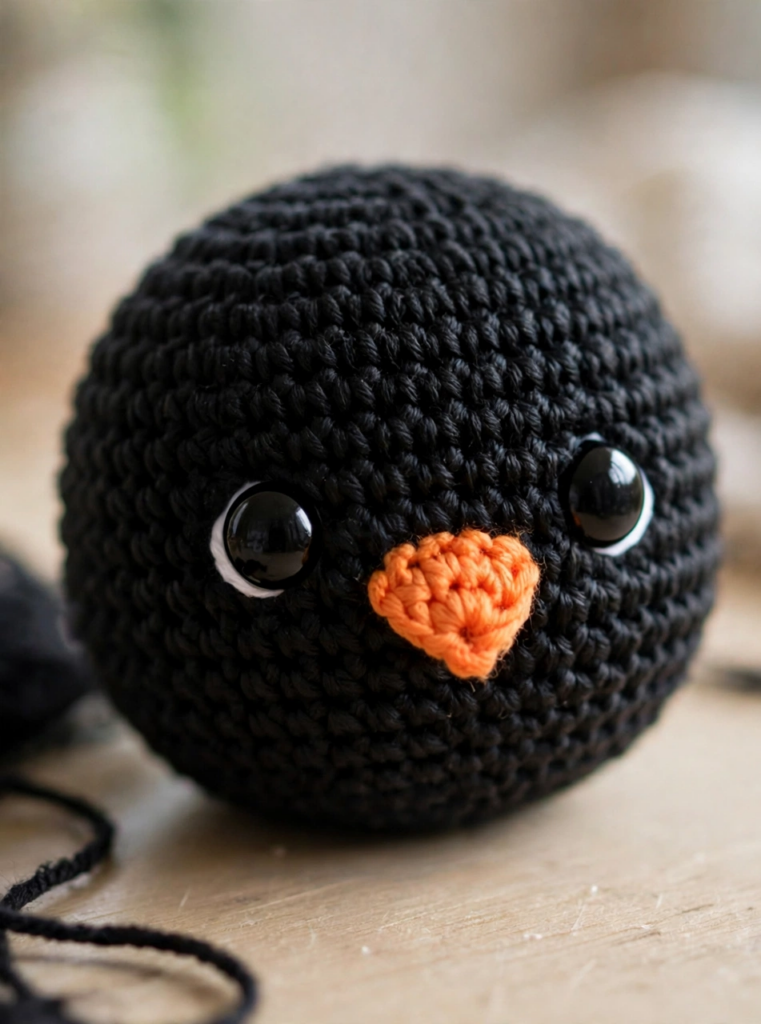
Now comes the fun part: bringing your penguin to life. Insert the 9 mm safety eyes between rounds 8 and 9 of the body, spacing them evenly on either side of the center front. Next, sew the small orange triangle beak just below and between the eyes, and weave in all the loose ends.
Always attach safety eyes before you close the body, because the locking washers sit inside the stuffing. According to the Craft Yarn Council, using the correct hook size for your yarn keeps safety-rated eyes secure — and in this amigurumi penguin tutorial, the 3.5 mm hook gives perfectly snug stitches.
Make the Wings & Feet
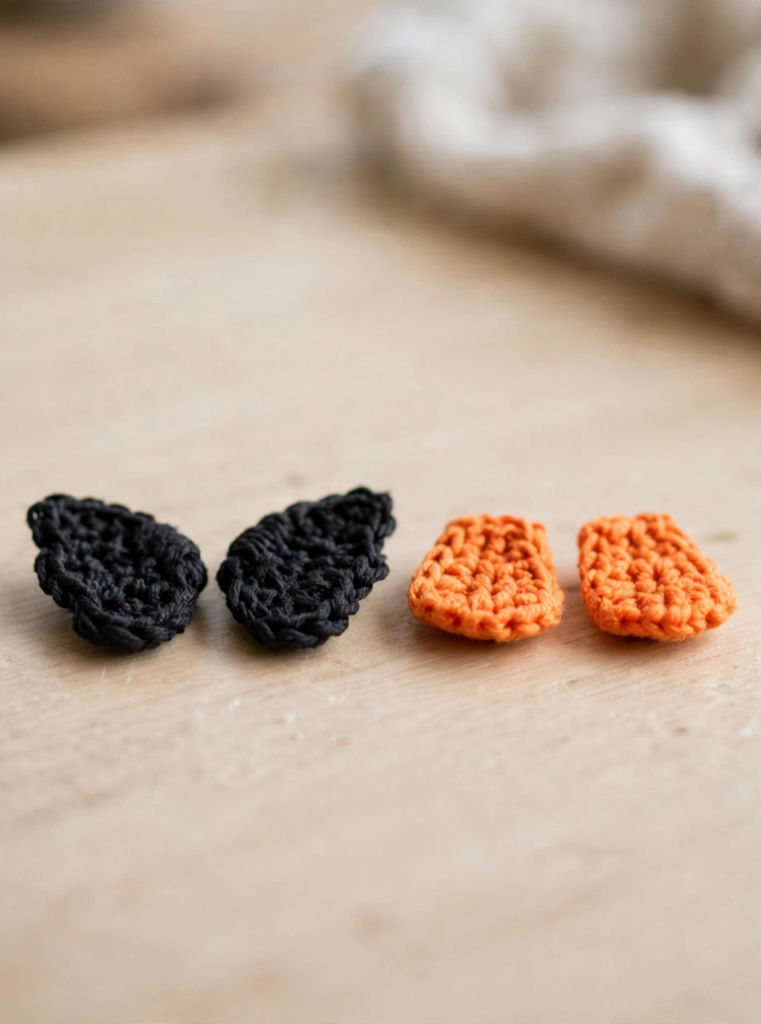
With the body and face done, it is time for the little details. Crochet two small teardrop-shaped wings in black yarn, then two flat oval feet in orange yarn. These pieces give the penguin its classic waddle-ready silhouette, so set them aside neatly for assembly.
Work these pieces in tight single crochet so they hold their shape. They may look tiny on their own, but they make a huge difference once attached.
Stuff & Assemble the Penguin
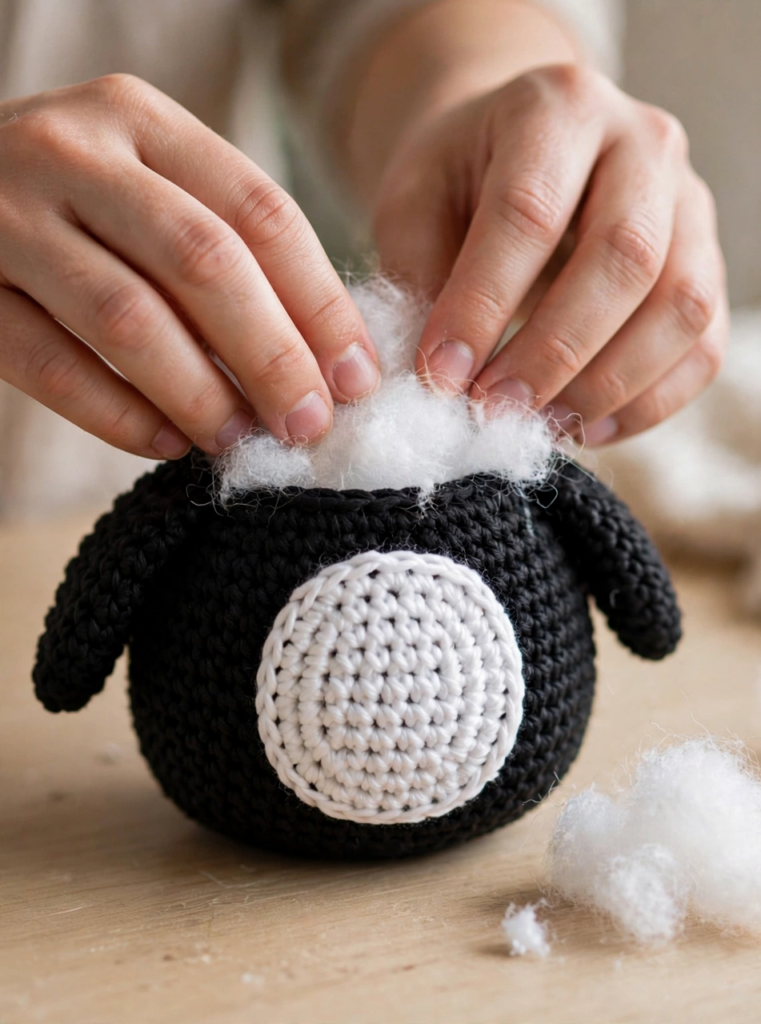
Stuffing is where your penguin gets its personality. Fill the body firmly with fiberfill before the opening becomes too small to reach inside, then close it up and weave in the end. Next, sew on the white belly patch with your yarn needle, followed by the wings at the sides and the orange feet underneath.
Take your time with the stitching — neat, invisible stitches along the edges of the belly patch will make the whole piece look professionally finished. Pin each part first to check the placement from every angle.
Add the Winter Scarf to Finish Your Crochet Penguin Pattern
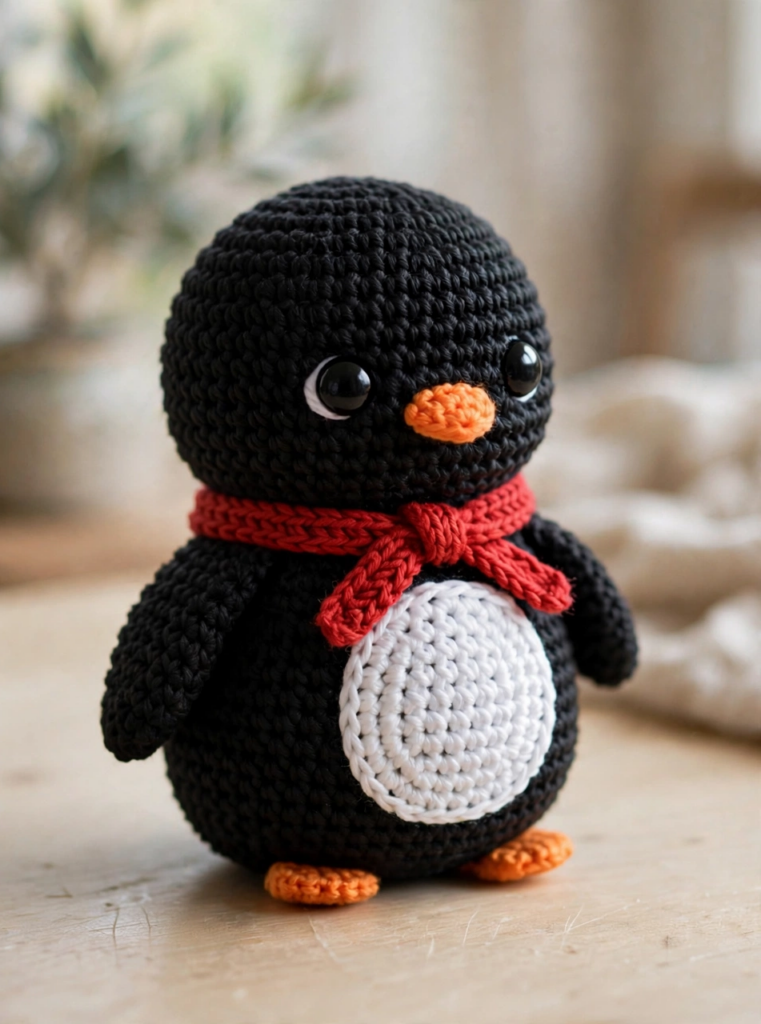
The final touch is the cutest one. Crochet a tiny red strip about 25 cm long using simple chains and rows, then wrap it around the penguin’s neck and tie a small knot at the front. Fluff the knot slightly so it looks cozy and handmade.
And just like that, your penguin is ready for winter. This little scarf is also easy to swap for other seasonal colors if you want to make a whole flock.
Tips
- Change colors cleanly by finishing the last stitch of a round with the new yarn color.
- Stuff the body firmly before the decreases get too small to reach inside.
- A tiny red scarf turns your penguin into cozy winter decor in minutes.
FAQ
Is this crochet penguin pattern beginner friendly?
Yes. This free crochet penguin pattern uses only single crochet, increases, and decreases, which makes it ideal for confident beginners. Each step includes a photo, so you always know what your work should look like.
What yarn should I use for an amigurumi penguin?
Worsted-weight acrylic yarn is the best choice for this penguin amigurumi. It holds its shape well, comes in every color you need, and is easy to wash. Just match it with a 3.5 mm hook for tight, gap-free stitches.
How long does this crochet penguin pattern take to finish?
Most crocheters finish in about 2 to 3 hours. Because the body is one simple sphere and the details are small, this is a genuinely quick amigurumi project.
Can I sell penguins made from this free pattern?
Absolutely — finished items made from this pattern may be sold in small batches, such as at craft fairs or in your own shop. A credit line back to the pattern is always appreciated.
Conclusion
This easy crochet penguin pattern proves that the sweetest handmade gifts do not have to be complicated. In just a few hours, you can turn basic stitches into a lovable little penguin with its own cozy winter scarf. If you enjoyed this amigurumi penguin tutorial, share a photo of your finished penguin and tag us — we love seeing your makes. Happy crocheting!
1 thought on “Crochet Penguin Pattern: Free Easy Amigurumi Tutorial”