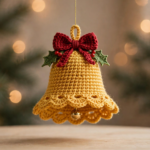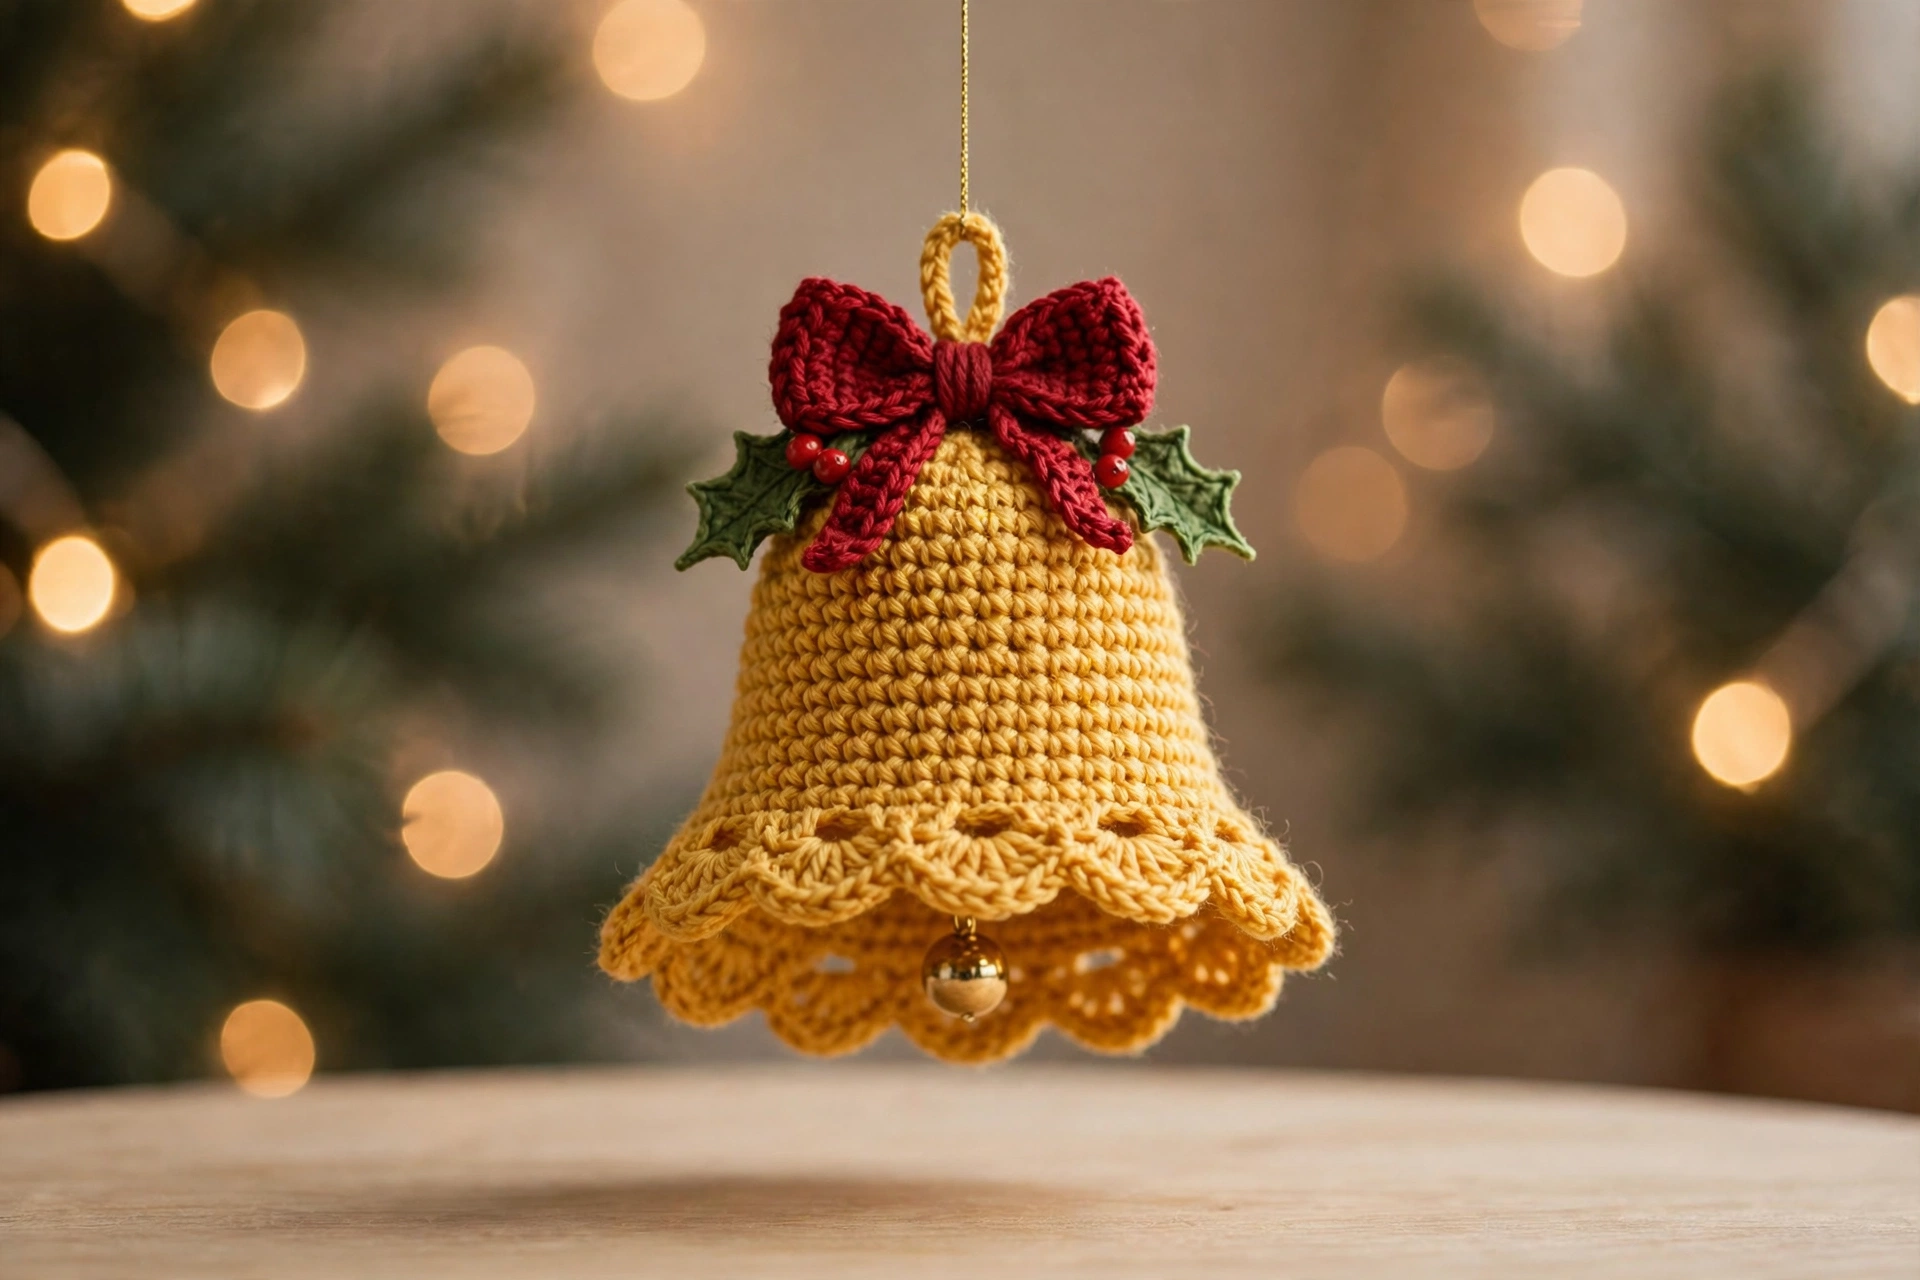
Nothing says Christmas quite like the sound of bells. This crochet Christmas bell ornament pattern turns that festive classic into a handmade treasure for your tree. Worked in sunny golden-yellow yarn with a flared scalloped rim, a deep red bow, holly leaves and a little gold clapper, this bell is quick enough to finish in one cozy evening. It is pretty enough to make a whole set for gifts, garlands and craft fair tables.
This free tutorial walks you through every stage with clear photos, from the magic ring to the final bow. It is a confident-beginner project: if you can work single and double crochet in the round, you can make this bell.
Materials
- Worsted weight (aran) yarn in golden yellow (approx. 40 g), deep red (approx. 15 g) and holly green (a small amount)
- 4.0 mm crochet hook
- Small gold jingle bell or a gold yarn ball for the clapper
- Yarn needle and scissors
- Stitch marker
- A short length of gold thread or thin ribbon for hanging
Finished size: about 9 cm tall (excluding the hanging loop) and 8 cm across the rim.
Step 1: Start the Dome with a Magic Ring
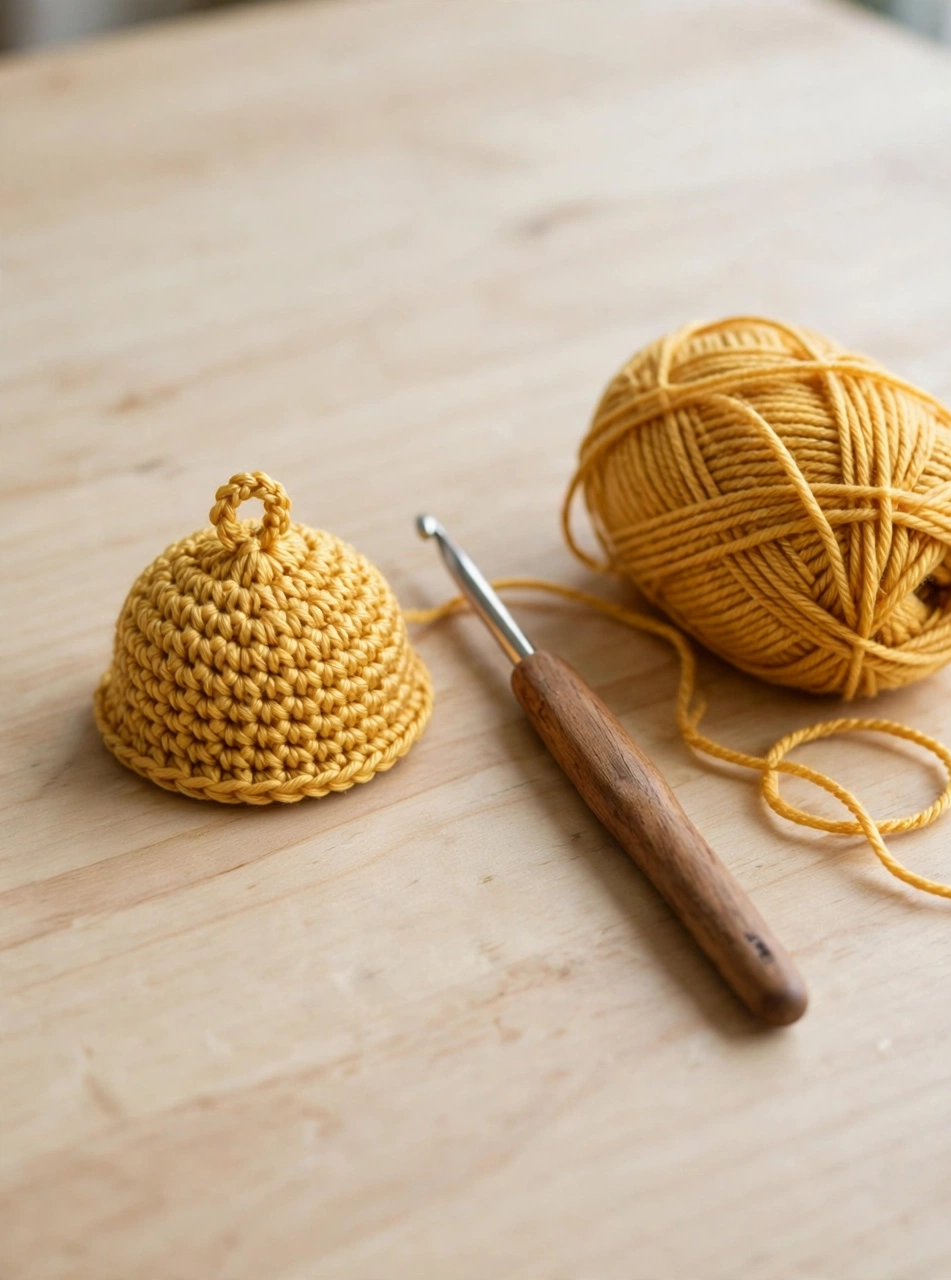
Every crochet Christmas bell ornament starts at the top, so begin with a magic ring in golden yellow yarn and work 6 single crochet into the ring. Pull the ring closed. Then increase evenly over the next four rounds: 12, 18, 24 and finally 30 stitches. This gives you a neat little dome like the one in the photo. Keep your stitches snug so the bell holds its shape. Pop a stitch marker in the first stitch of each round so you never lose your place.
Step 2: Grow the Bell Body
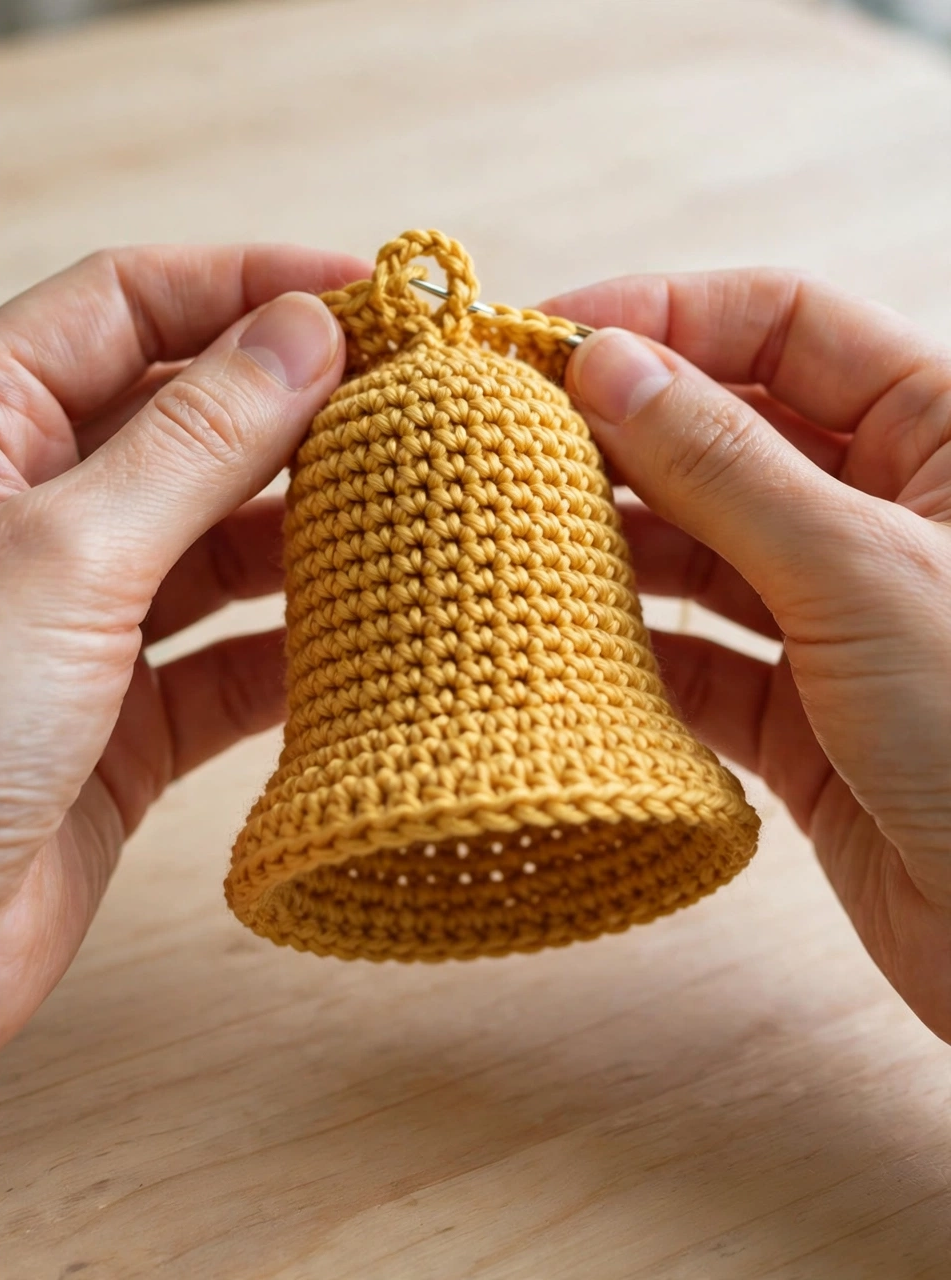
With the dome done, work five straight rounds of single crochet — 30 stitches in every round, no increases — to grow the tall, gently tapered body of the bell. This is the relaxing part of the crochet Christmas bell ornament pattern. Simple rounds build height while the bell’s classic silhouette starts to appear. Check your work as you go; the sides should stay straight and the fabric should feel firm rather than floppy.
Step 3: Flare into the Scalloped Rim
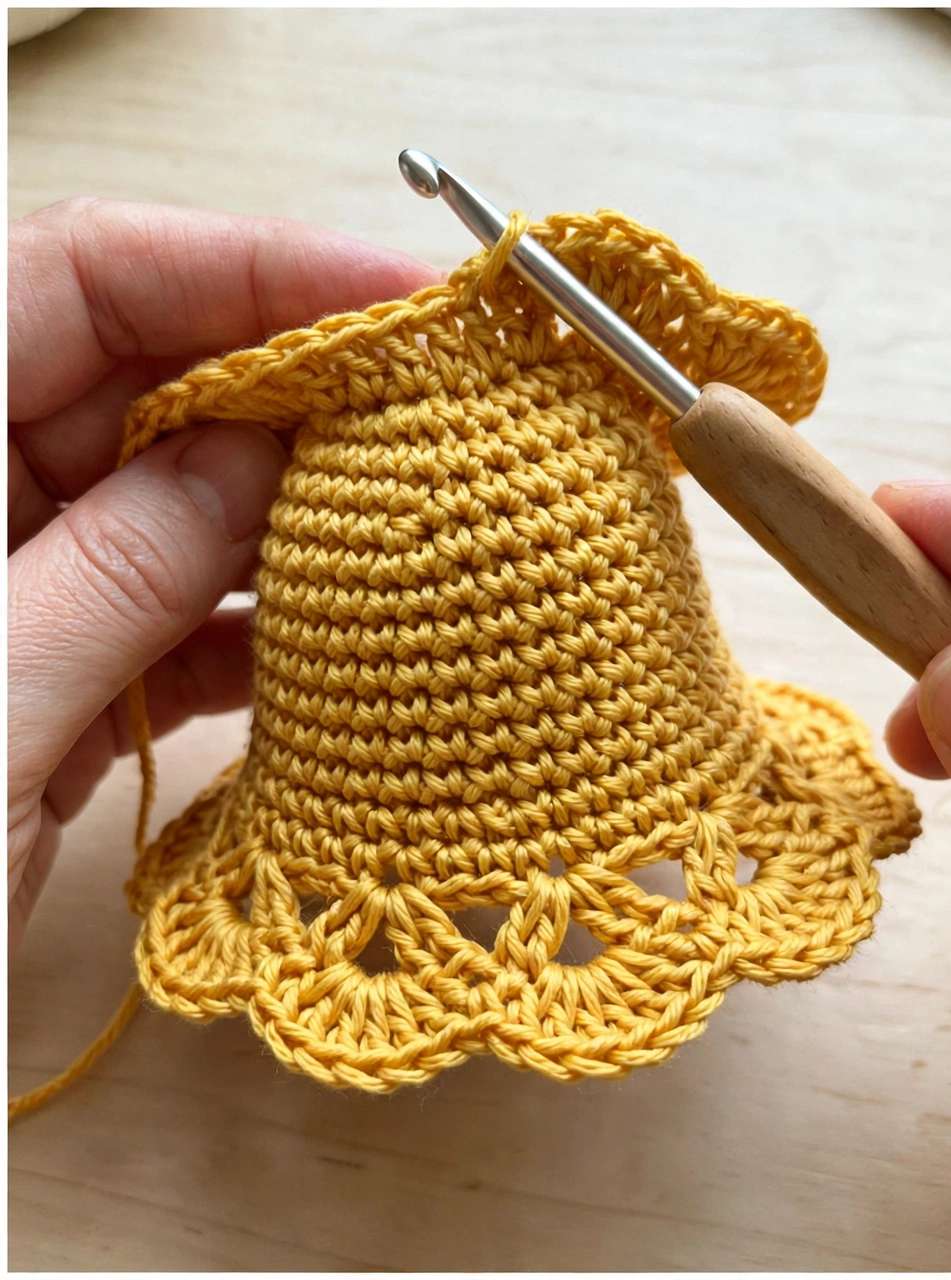
Now give the bell its signature flare. Increase to 36 stitches, work one even round, then finish with a scalloped edge: skip a stitch, work 5 double crochet into the next stitch, skip a stitch and slip stitch — repeated nine times around the rim. These nine pretty scallops make this crochet bell ornament look so festive. They echo the ruffled edge of a real brass bell. Fasten off and weave in the end neatly on the inside.
Step 4: Make the Clapper and Hanging Loop
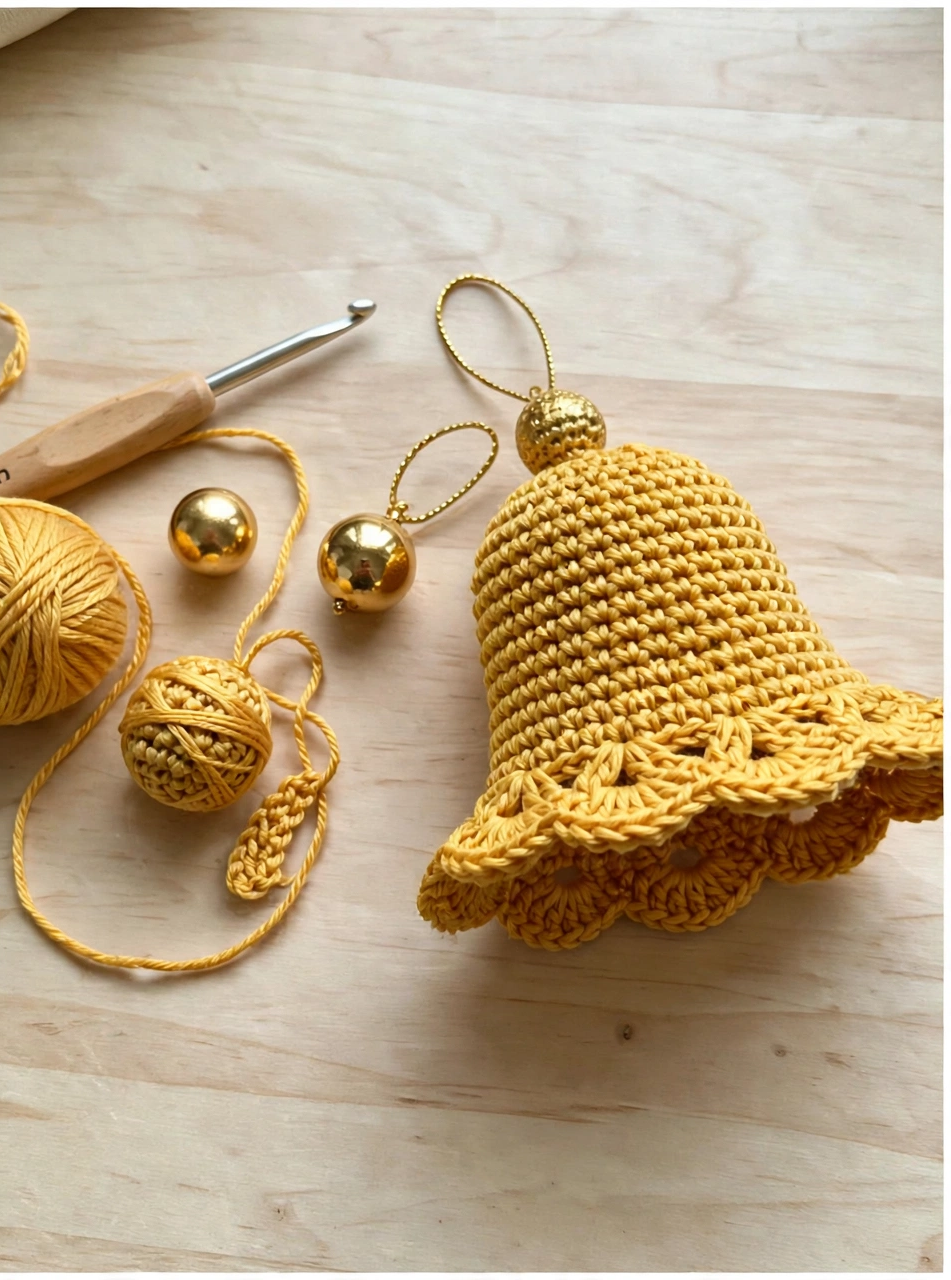
A bell needs something to ring with. Crochet a tiny gold ball. Start with a magic ring of 6, increase to 12, work two even rounds, then decrease back to 6 and stuff it lightly. Or simply use a small gold jingle bell if you want a real tinkle. Thread it through the centre of the bell so it hangs just below the rim. Then chain 12 in golden yellow, join it into a loop at the very top of the dome, and secure it firmly: this loop is what your ornament will hang from.
Step 5: Add the Red Bow and Holly Leaves
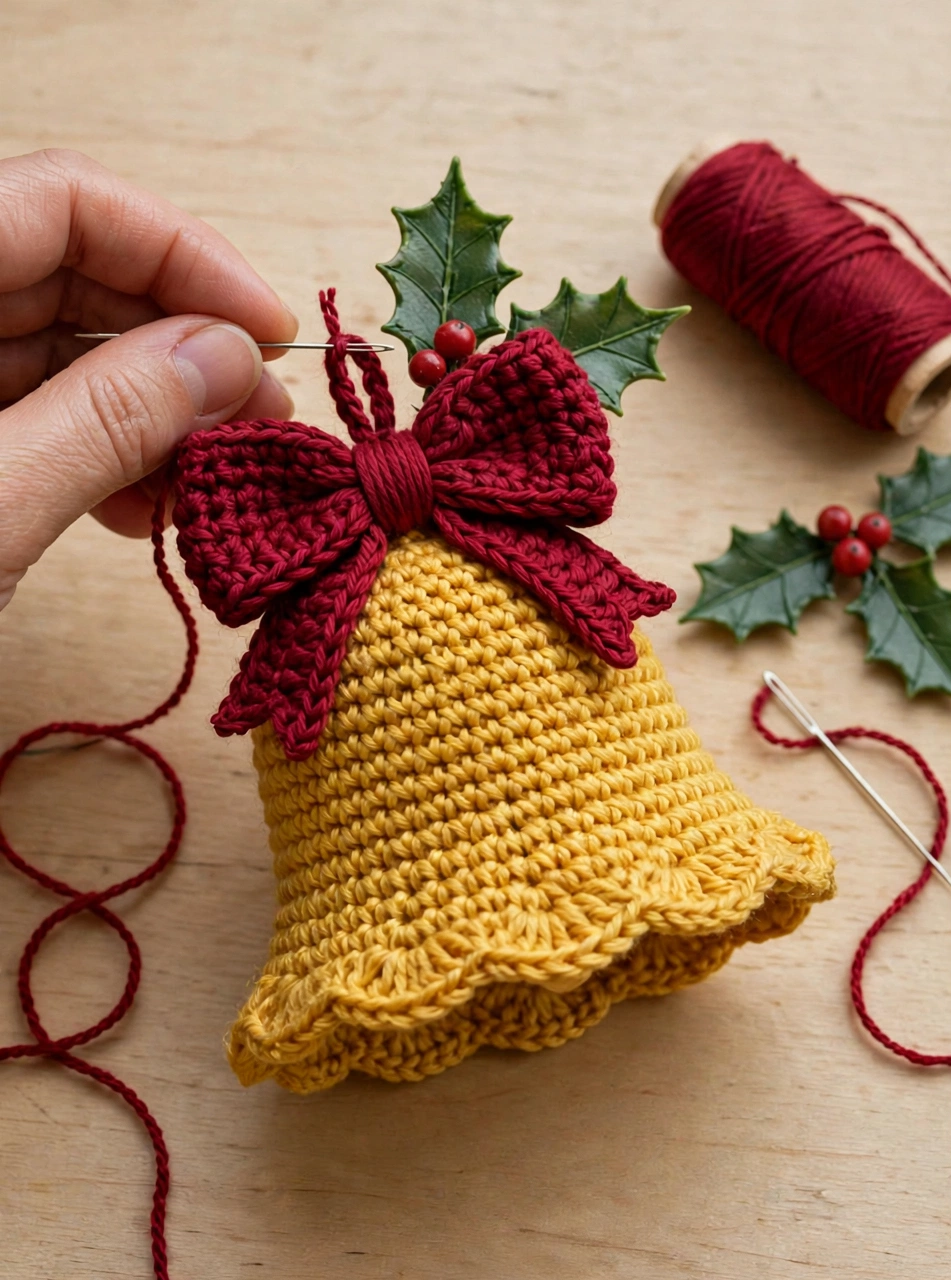
Time for the festive finishing touches. Crochet two small red rectangles, pinch them together in the middle and wrap with red yarn to form a plump bow, then crochet two pointed holly leaves in green with tiny red berries. Sew the bow to the top of the bell, just under the hanging loop. The holly leaves peek out behind it. This red-and-green accent against the golden yellow is what turns a simple bell into a Christmas showpiece.
Step 6: Assemble and Hang Your Bell
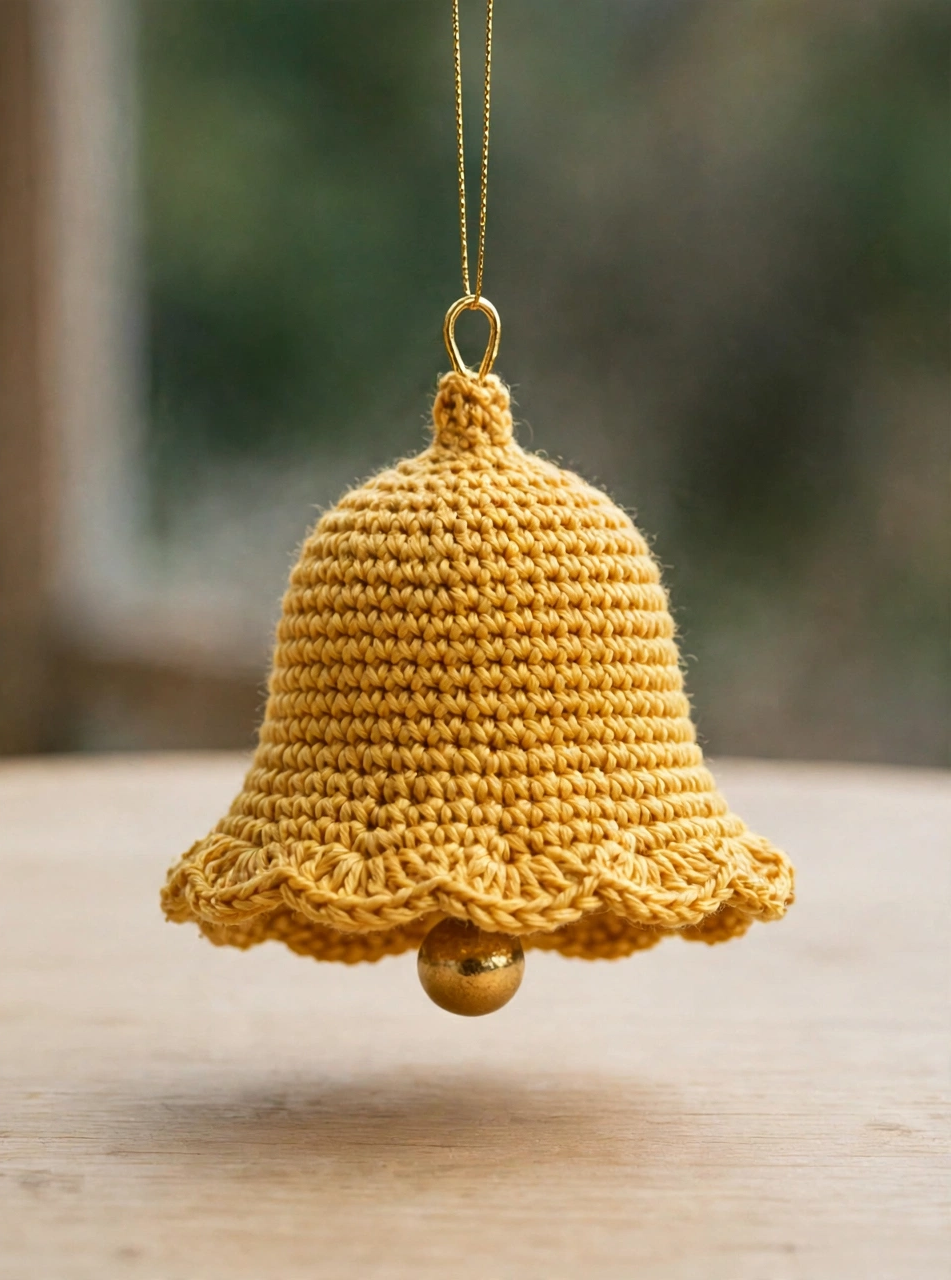
Give your bell a final once-over: tug the clapper gently to check it hangs freely, straighten the bow, and trim any loose ends. Thread gold thread or thin ribbon through the hanging loop. Hang your finished crochet Christmas bell ornament on the tree, from a garland, or on a gift. Make a matching set in different colours — cream bells with red bows, or deep red bells with gold bows — for a coordinated tree.
Tips for a Perfect Crochet Christmas Bell Ornament Pattern
- Keep your tension firm. Tight, even stitches give the bell its structure; if your bell flops, drop down half a hook size.
- Block the rim lightly. A quick steam or damp press over the scallops makes the flared edge sit beautifully flat.
- Make them in batches. Once you know the pattern, each bell takes under an hour — perfect for a full set of matching tree ornaments or last-minute gifts.
Frequently Asked Questions
Is this crochet Christmas bell ornament pattern suitable for beginners?
Yes. It uses only single crochet, double crochet, increases and decreases, all worked in the round. The scalloped rim looks fancy but is just a simple repeat.
What yarn works best for a crochet Christmas bell ornament pattern?
A smooth worsted weight cotton or acrylic holds the bell shape best. Avoid fluffy or textured yarns, which hide the scalloped rim and the stitch definition.
How big is the finished bell made from this crochet Christmas bell ornament pattern?
About 9 cm tall and 8 cm across the rim with worsted weight yarn and a 4.0 mm hook. Use a smaller hook and DK yarn for a daintier bell, or chunky yarn for a big statement ornament.
Can I wash a bell made with this crochet Christmas bell ornament pattern?
Yes — hand wash gently in cool water and reshape while damp. If you used a metal jingle bell as the clapper, remove it first or spot-clean around it.
Conclusion
This golden crochet Christmas bell ornament looks far more impressive than the effort it takes. A few simple rounds, a scalloped rim, and a cheerful bow are all it needs. If you enjoyed this pattern, you will also love our crochet Christmas bauble pattern for a matching tree set. You can find plenty of yarn inspiration at LoveCrafts. Download the free printable PDF pattern below, hang your bell with pride, and happy crocheting!