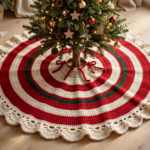
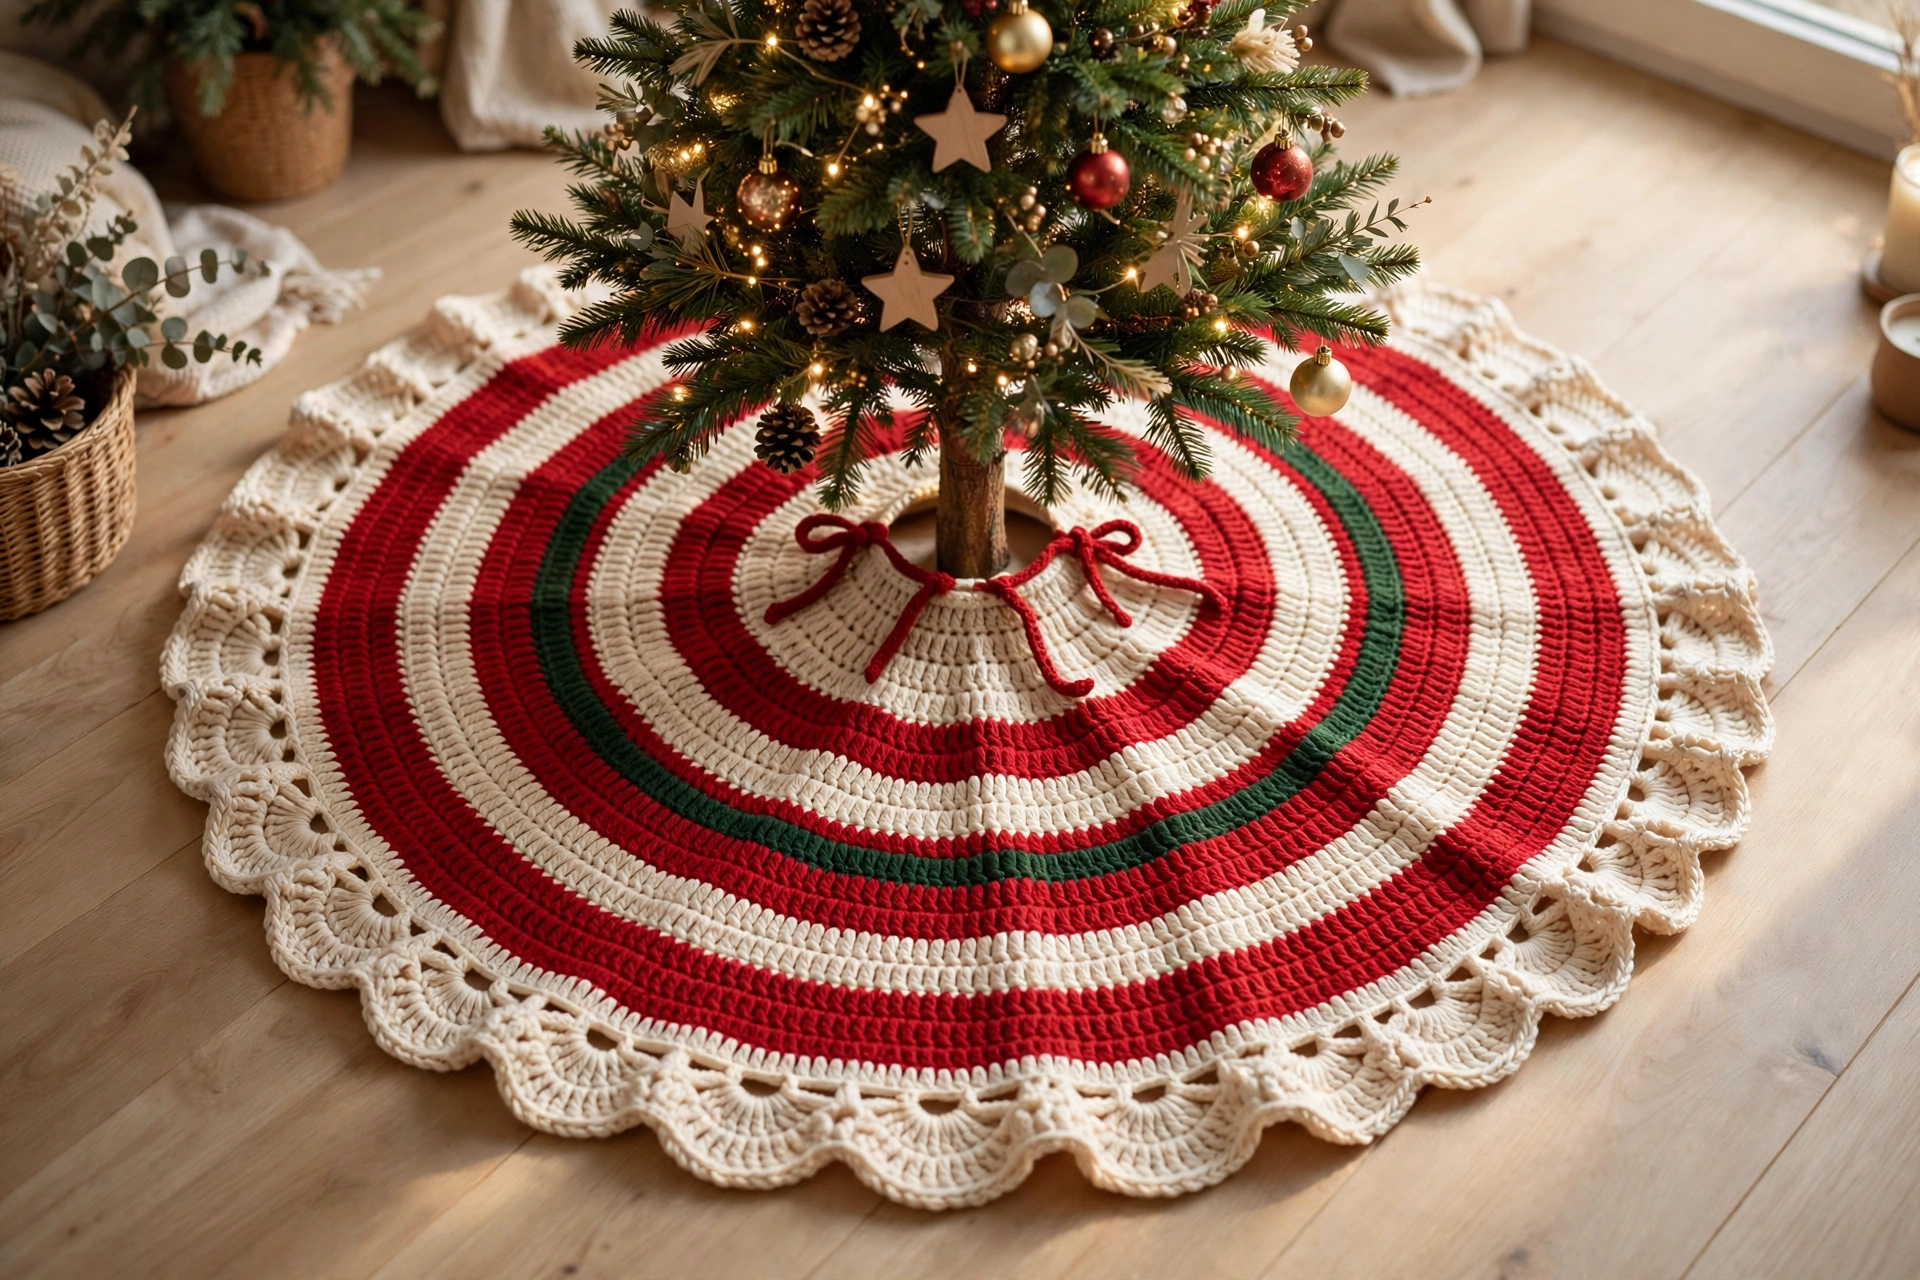
This free crochet christmas tree skirt pattern turns a few skeins of worsted yarn into the finishing touch your tree has been waiting for. It is a big, flat round skirt in wide red and cream stripes with one deep green accent stripe, finished with a wide scalloped shell edge. A slit and two ties let you wrap it around a tree that is already standing and decorated, so there is no wrestling the tree out of its stand. The finished skirt measures about 48 inches (122 cm) across and fits most trees from 5 to 7.5 feet tall.
If you can double crochet and count to twelve, you can make this skirt. It is one giant flat circle worked from the centre out, with the same increase repeated every round. It takes a weekend of relaxed crochet, roughly 10 to 12 hours, and the result is a piece you will pull out every December for years.
Materials
- Worsted-weight (#4) yarn: red, about 850 yards; cream, about 800 yards; deep green, about 250 yards (around 1,900 yards in total)
- 6.0 mm (US J-10) crochet hook
- Stitch markers (at least 2)
- Tapestry needle
- Scissors
- Tape measure
For yarn, any soft worsted acrylic or wool blend works well — look for a smooth yarn with good stitch definition, such as the worsted-weight options at Yarnspirations. Choose a red and a cream that read clearly against each other, because the stripes are the whole design.
Step 1: Start the Centre Ring
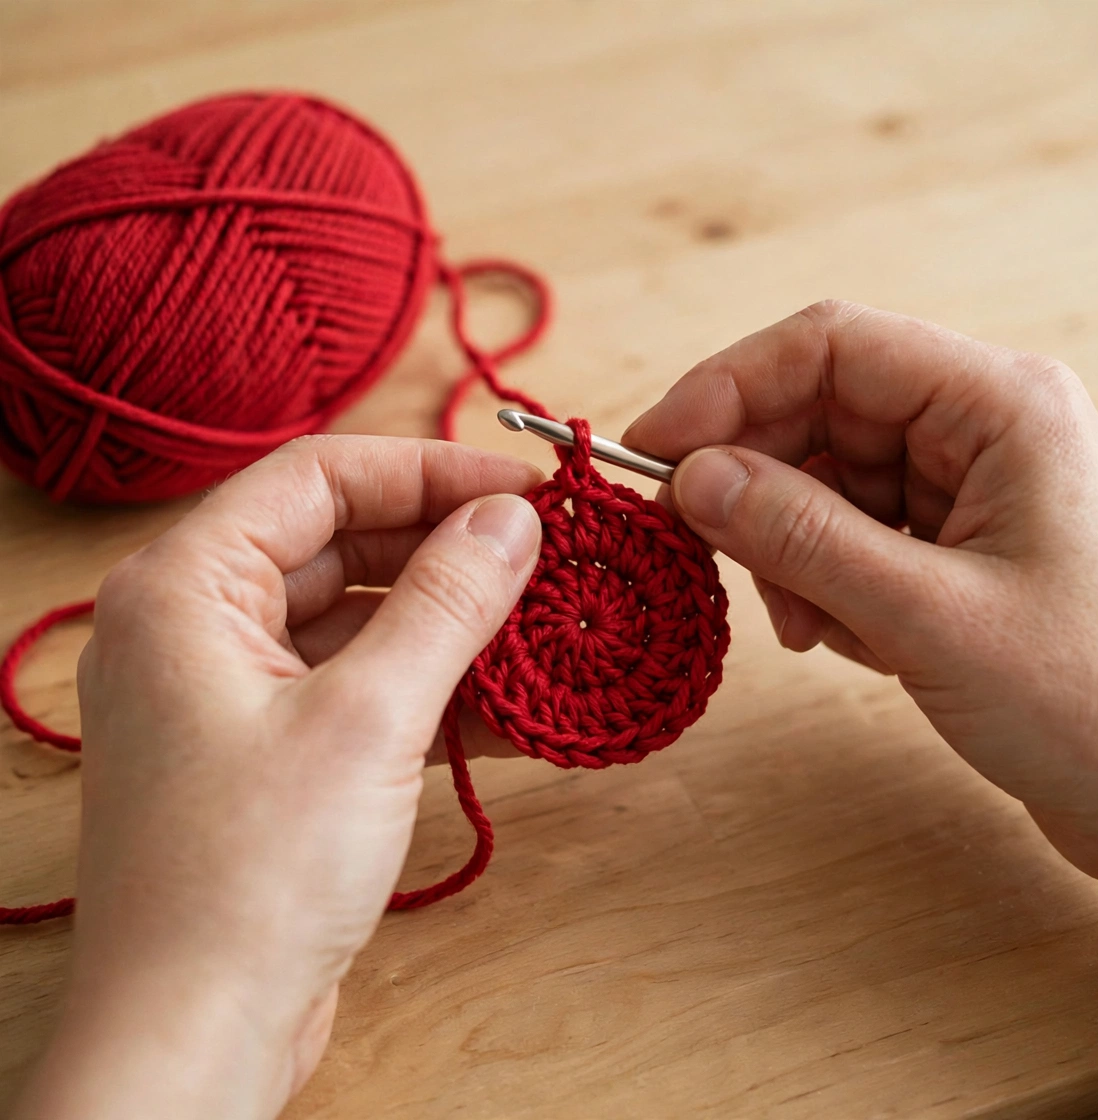
Every crochet Christmas tree skirt starts at the centre, and this one begins with a ring that becomes the opening for the trunk. Chain 18 and join with a slip stitch to form a ring — this opening ends up about 4 inches across, wide enough for most tree trunks and stands. Chain 3 (this counts as your first double crochet), then work 23 double crochets into the ring and join with a slip stitch to the top of the chain 3. You now have 24 stitches.
Place a stitch marker in the first stitch of the round — it keeps your stripe changes neat and your stitch counts honest.
Step 2: Grow the Flat Circle
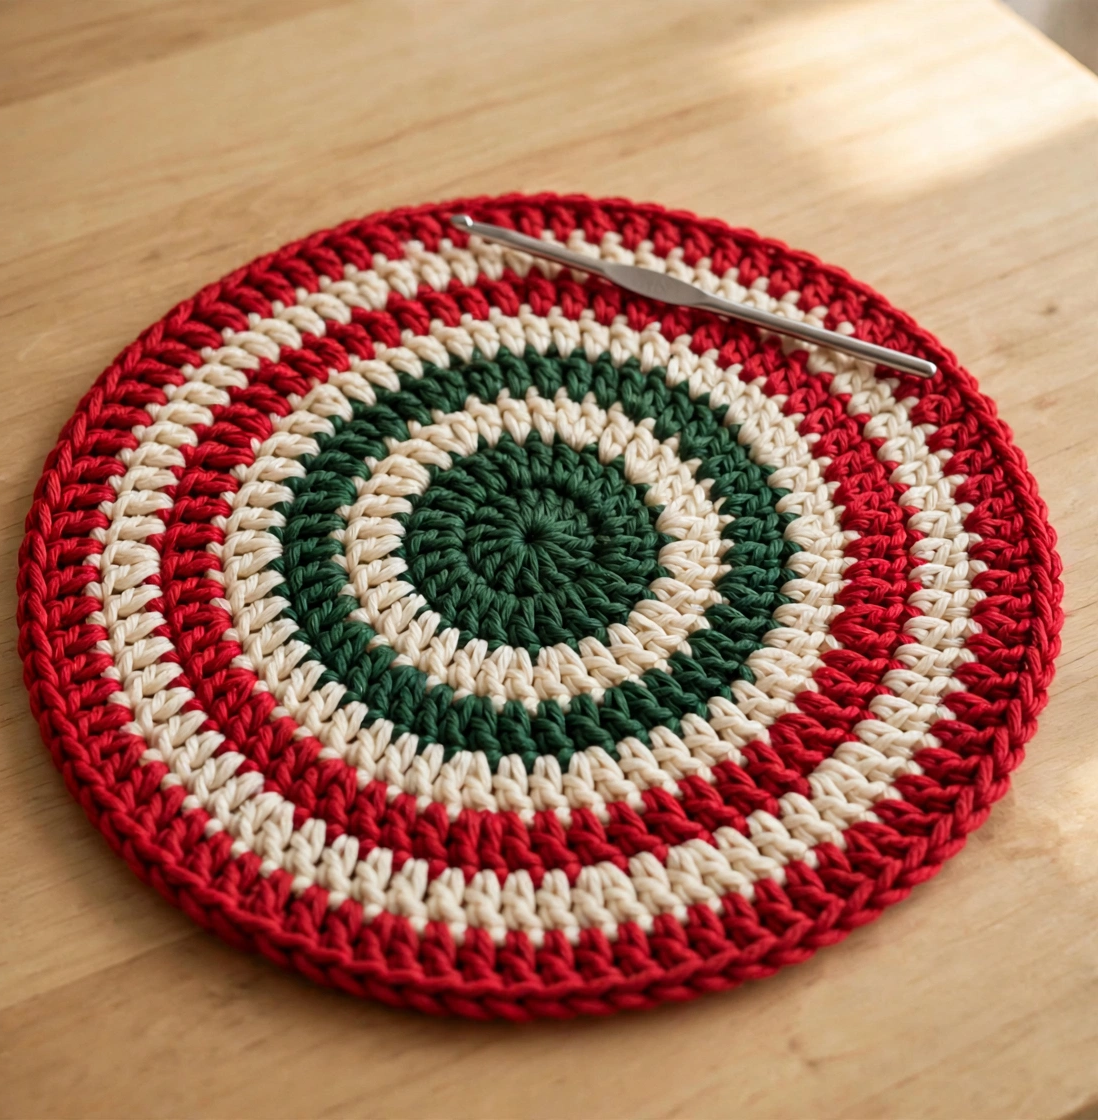
The secret to a skirt that lies flat instead of ruffling into a bowl is one steady rule: add exactly 12 stitches in every round. Round 2 is 1 double crochet, 2 double crochets in the next stitch repeated around (36 stitches). Round 3 is 2 double crochets, 2 double crochets in the next stitch (48 stitches). Keep going in the same way — each round, work one more plain double crochet between increases than the round before, and the stitch count climbs by 12 every time: 60, 72, 84, 96, 108, 120, and so on.
After every round, count your stitches. If the count is 12 more than the round before, the circle is growing correctly. When the edge starts to wave, your tension is too loose — go down half a hook size. If it cups upward, go up half a size.
Step 3: Work the Red, Cream and Green Stripes
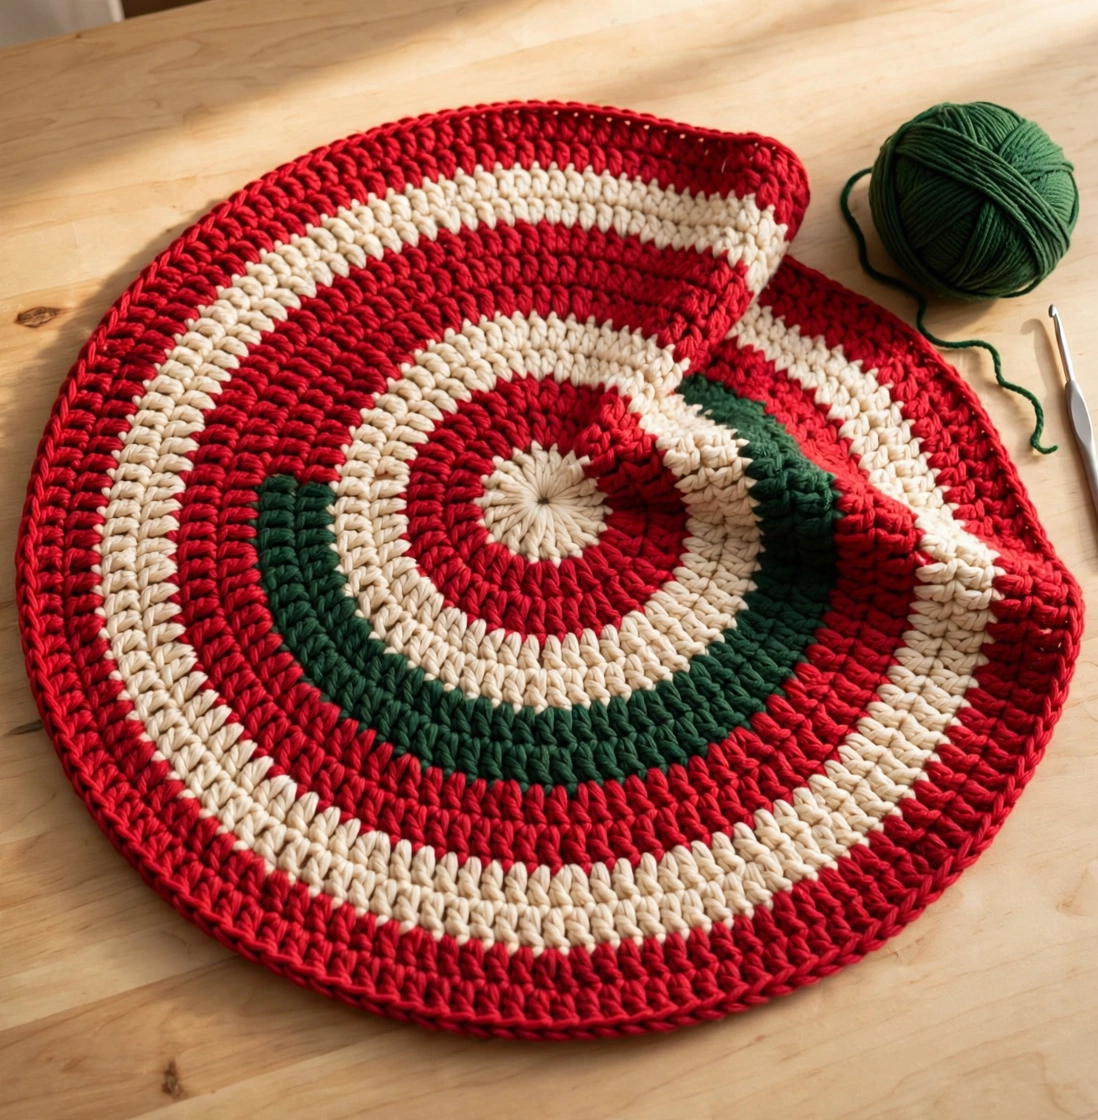
The stripes are what make this crochet Christmas tree skirt pattern look festive instead of plain, and the sequence is simple. Work rounds 1 to 4 in red, rounds 5 to 8 in cream, rounds 9 to 12 in red, rounds 13 to 15 in deep green, rounds 16 to 19 in cream, rounds 20 to 23 in red, rounds 24 to 27 in cream, rounds 28 to 31 in red, rounds 32 to 35 in cream, and rounds 36 to 40 in red. Change colour on the last yarn-over of the final stitch of the round, so the new colour starts cleanly at the join.
By round 40 the skirt holds 492 stitches and measures about 48 inches across. To change colour neatly, finish the last double crochet of the old colour with the new colour on the hook, then chain 3 in the new colour and carry on.
Step 4: Open the Slit
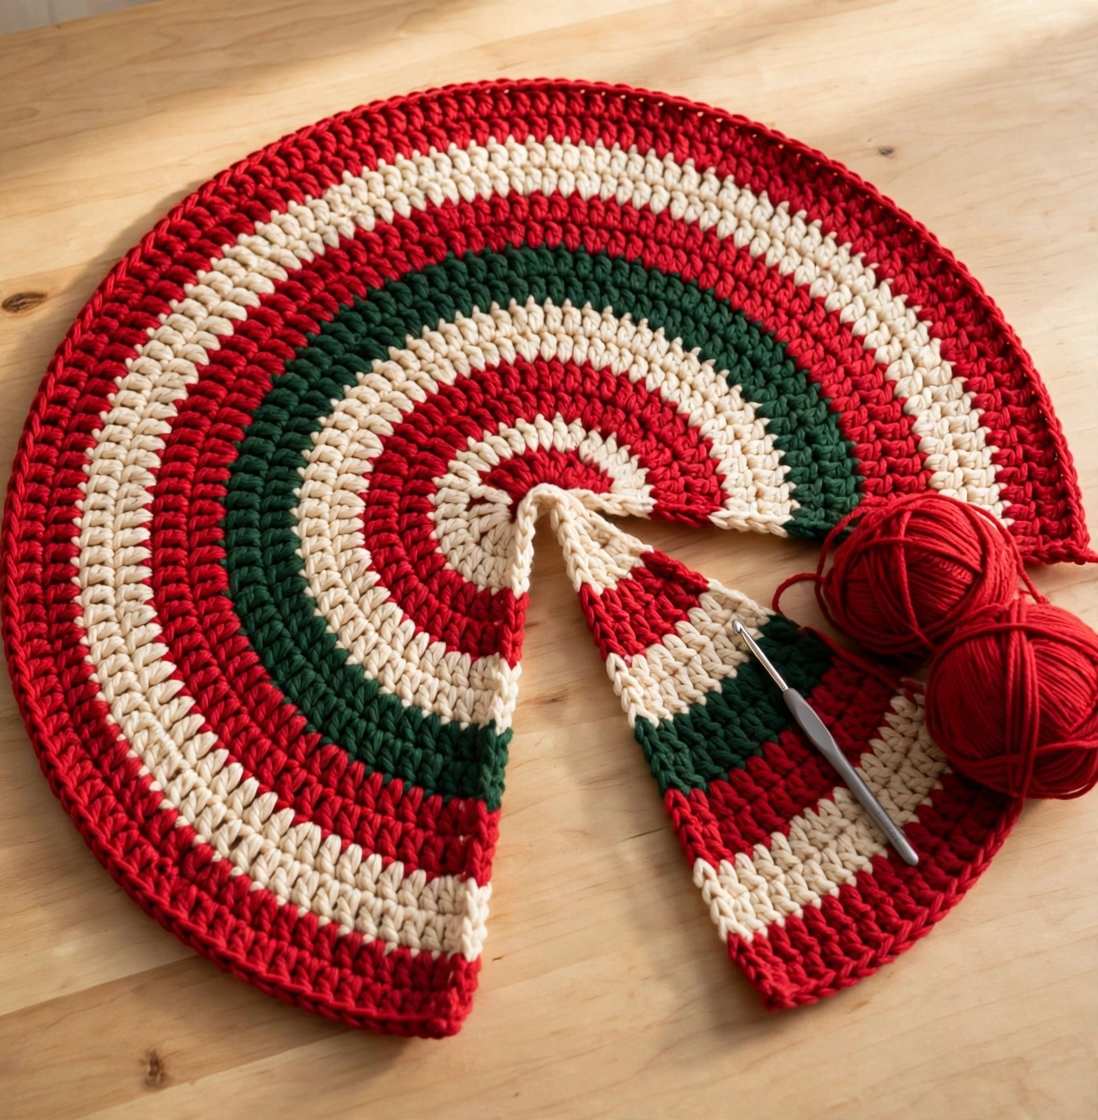
Here is the clever part of this crochet Christmas tree skirt pattern: the slit that lets you dress a tree that is already up. Work round 40 in red as a normal joined round (492 stitches). Then stop joining. For rows 41 and 42, chain 3, turn, and work double crochet back across all 492 stitches, then turn and do it again. Because the rows are no longer joined into a circle, a straight radial slit opens from the centre hole to the outer edge.
This slit is the difference between a skirt you can use and a skirt that sits in a cupboard. When the tree is already decorated, open the slit, slide the skirt around the trunk, and close it again. The slit edges will be finished in the next step, so they look deliberate rather than unfinished.
Step 5: Crochet the Scalloped Border
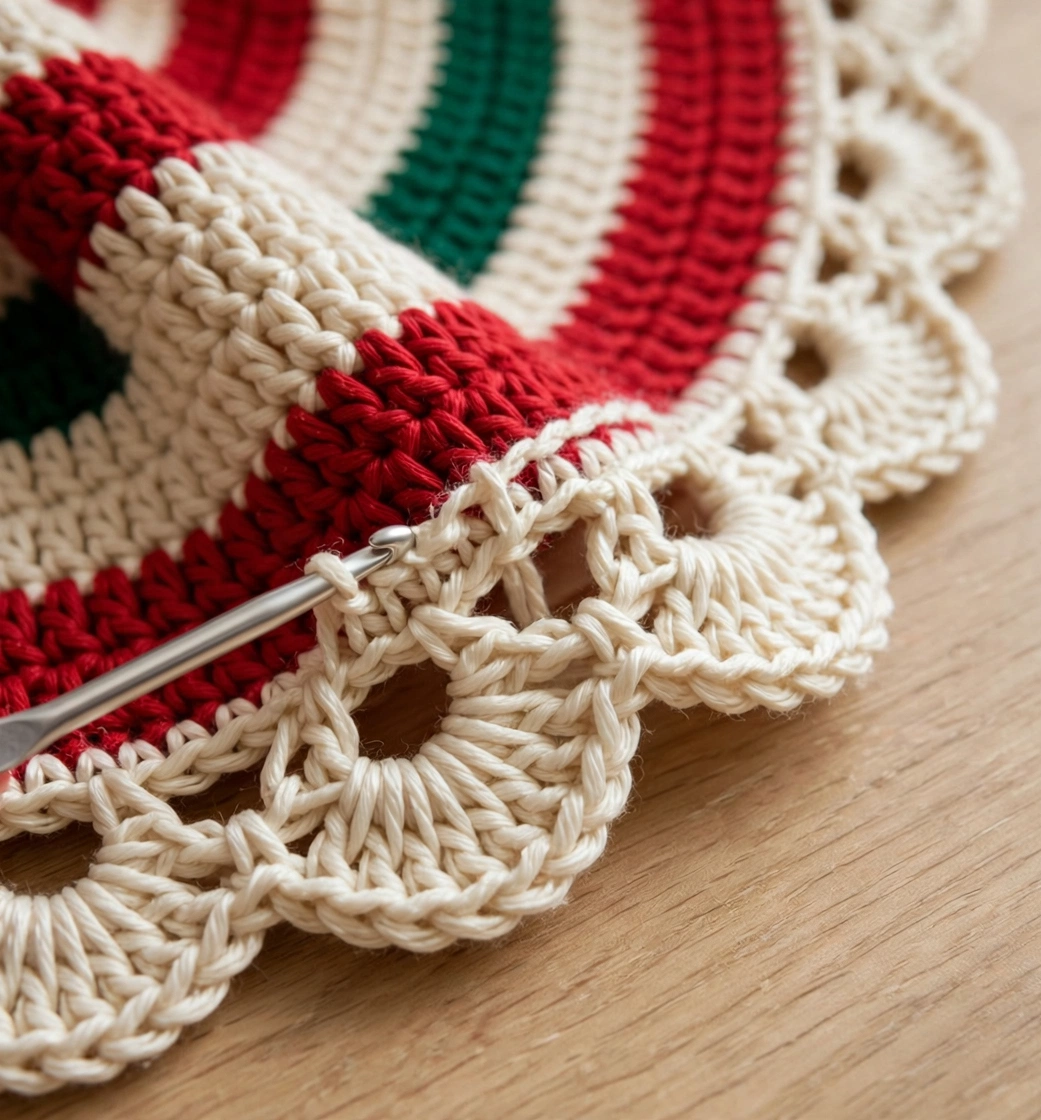
The wide scalloped border is the flourish that finishes the skirt, and it is just shell stitches — five double crochets worked into the same stitch. With cream yarn, work around the entire outer edge: skip 2 stitches, 5 double crochets in the next stitch, skip 2 stitches, slip stitch in the next stitch and repeat. The outer edge holds 492 stitches, which divides neatly into 82 shells, so the scallops come out even all the way around with no fudging.
Carry the same shell edging down one side of the slit, around the centre opening, and back up the other side, working a single crochet edge first along the slit so the shells have something even to sit on.
Step 6: Add the Ties, Block and Style
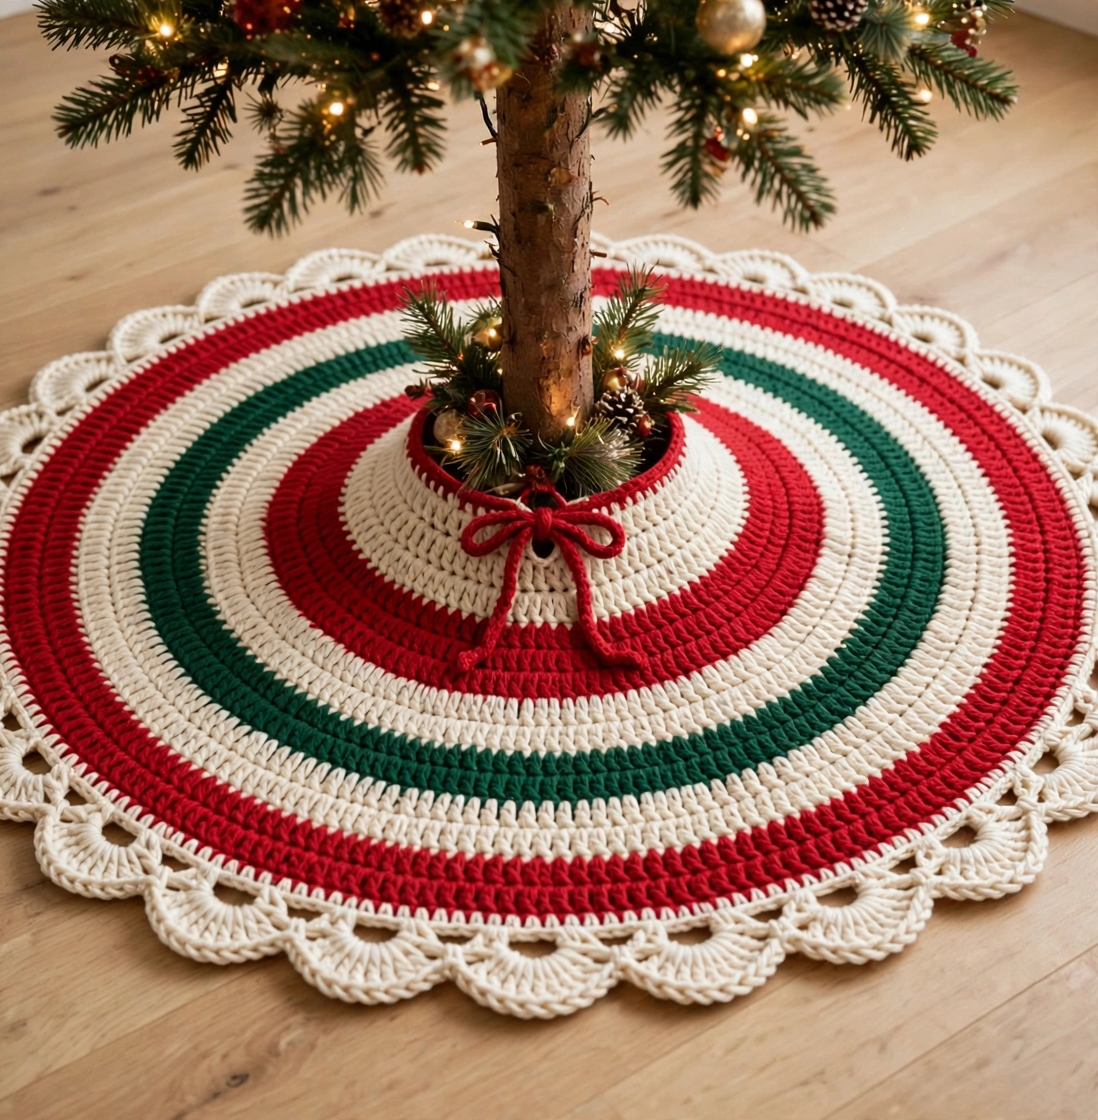
Finish the skirt with two ties that close the slit around the trunk. With red yarn, chain 40 at the top of each slit edge, slip stitch back down the chain to make a sturdy cord, and fasten off. Weave in all the yarn ends with the tapestry needle, working them through the backs of stitches in the same colour so they disappear.
Then block the skirt: lay it flat, pin the scallops out to their full width, mist it lightly with water, and let it dry completely. Blocking is what turns a good skirt into a great one — the stripes relax, the circle flattens, and the scalloped edge lies perfectly on the floor. Slide it under the tree, tie the cords in a bow, and scatter a few wrapped gifts on top. For a matching project in the same red, cream and green palette, see our crochet Christmas tree pattern.
Tips
- Count every round. The flat-circle rule is 12 new stitches per round, every round. If your count is off by even one stitch, the increases drift and the skirt will ripple — catch it early and the fix is one round, not a whole skirt.
- Mark the first stitch. A stitch marker in the first stitch of each round keeps your joins invisible and your stripe changes exactly where you want them. Move it up as you go.
- Block before the first use. A quick pin-and-mist blocking session makes the scalloped edge lie flat and the stripes sit evenly. It takes ten minutes of pinning and a few hours of drying, and it is the single biggest upgrade to the finished look.
FAQ
Q: How much yarn do I need for a crochet Christmas tree skirt?
A: This pattern uses about 1,900 yards of worsted-weight (#4) yarn: roughly 850 yards of red, 800 of cream and 250 of deep green — about ten 100-gram skeins. Buy one extra skein of red if you crochet loosely or want a larger skirt.
Q: Can a beginner crochet a Christmas tree skirt?
A: Yes. This crochet Christmas tree skirt pattern uses only chain, slip stitch and double crochet, plus shell stitches for the border — and a shell is just five double crochets in one stitch. The rounds repeat the same increase, so once you have made the first few rounds, the rest is rhythm. It takes time because the skirt is large, but it is not difficult.
Q: How big should a crochet tree skirt be?
A: A 48-inch (122 cm) skirt fits most trees from 5 to 7.5 feet tall and leaves a generous ring of pattern showing around the base. For a tabletop tree, stop after round 20 (about 24 inches); for a very large tree, keep adding rounds until the skirt measures about half the height of the tree.
Q: How do I put a tree skirt on a tree that is already decorated?
A: That is exactly what the slit is for. Open the slit, slide the skirt around the trunk with the opening at the back of the tree, then tie the two red cords in a bow. The slit sits flat and nearly invisible once the ties are fastened and a few gifts are placed on top.
Conclusion
This crochet Christmas tree skirt pattern is a slow, satisfying make with a big payoff: one weekend of simple double crochet rounds becomes the frame for every Christmas morning photo for years to come. Make it in the classic red, cream and green shown here, or raid your stash for a snowy all-cream version, a woodland green and gold one, or a soft dusty-blue winter palette. Grab your hook, pick your colours, and pin this pattern for later — then come back and tell us which palette you chose.