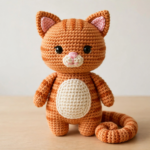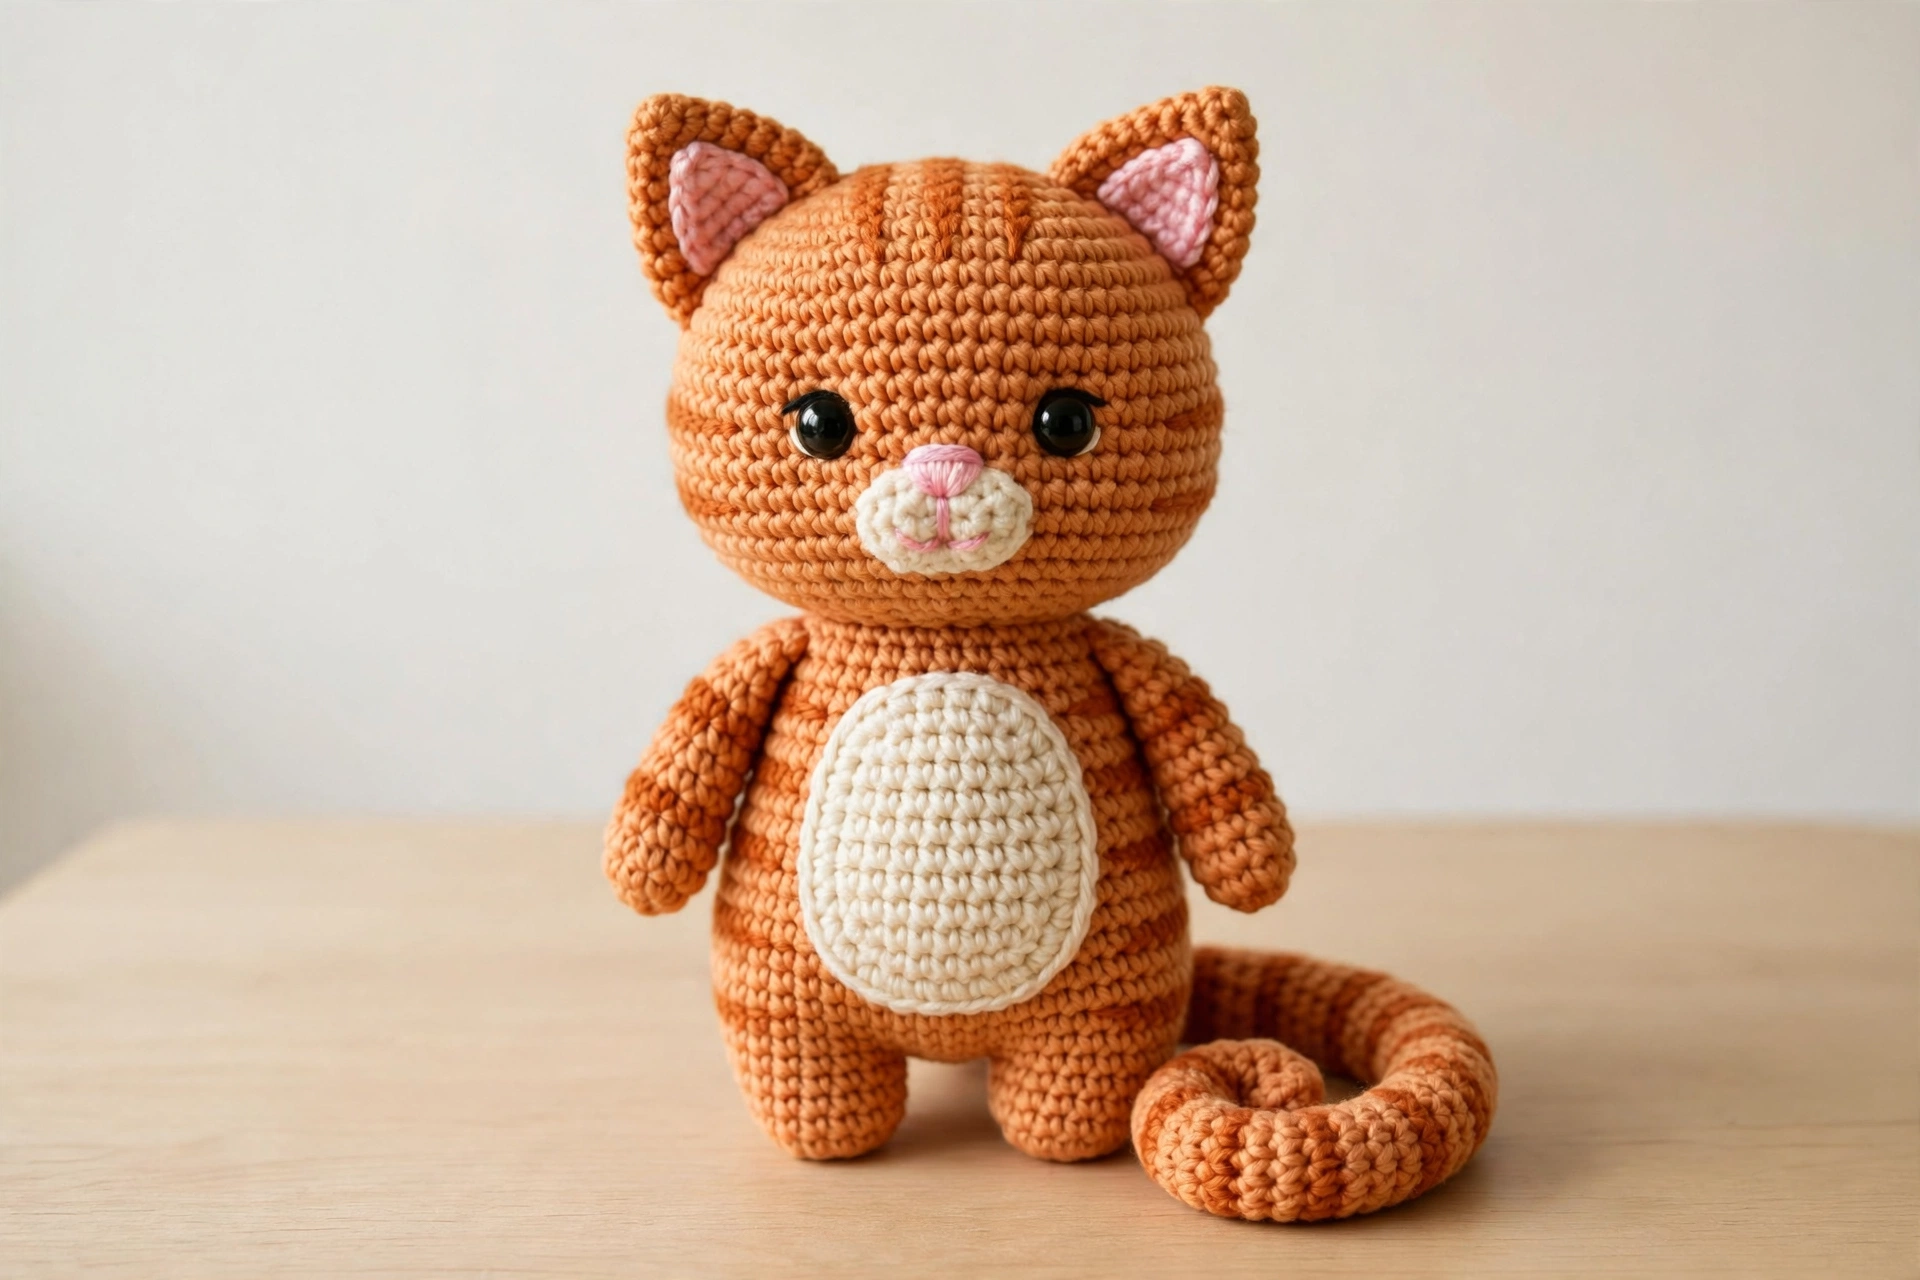
This free crochet cat pattern makes the sweetest little friend: a ginger-orange tabby amigurumi cat with a cream belly, pink inner ears, a long striped tail and a hand-embroidered face. Worked in simple single crochet in the round, this crochet cat pattern is a perfect beginner project — most makers finish it in one relaxed evening, and it stands about 20 cm tall when finished. Follow the six photo steps below, then download the free printable PDF pattern at the end of the guide.
Materials
- Orange worsted-weight yarn (about 90 g) for the head, body, ears, tail and paws
- Cream worsted-weight yarn (about 25 g) for the belly patch and muzzle
- A small amount of pink yarn for the inner ears and nose
- Black embroidery floss for the whiskers and mouth
- 4.0 mm crochet hook
- 10 mm black safety eyes (2)
- Polyester fiberfill stuffing
- Yarn needle and scissors
- Stitch marker
If you are new to amigurumi, you may also enjoy our crochet bunny pattern — it uses the same basic stitches. For yarn, a smooth worsted cotton-acrylic blend such as Paintbox Yarns (see LoveCrafts) keeps the stitches neat and the tabby stripes crisp.
Step 1: Crochet the Cat Head
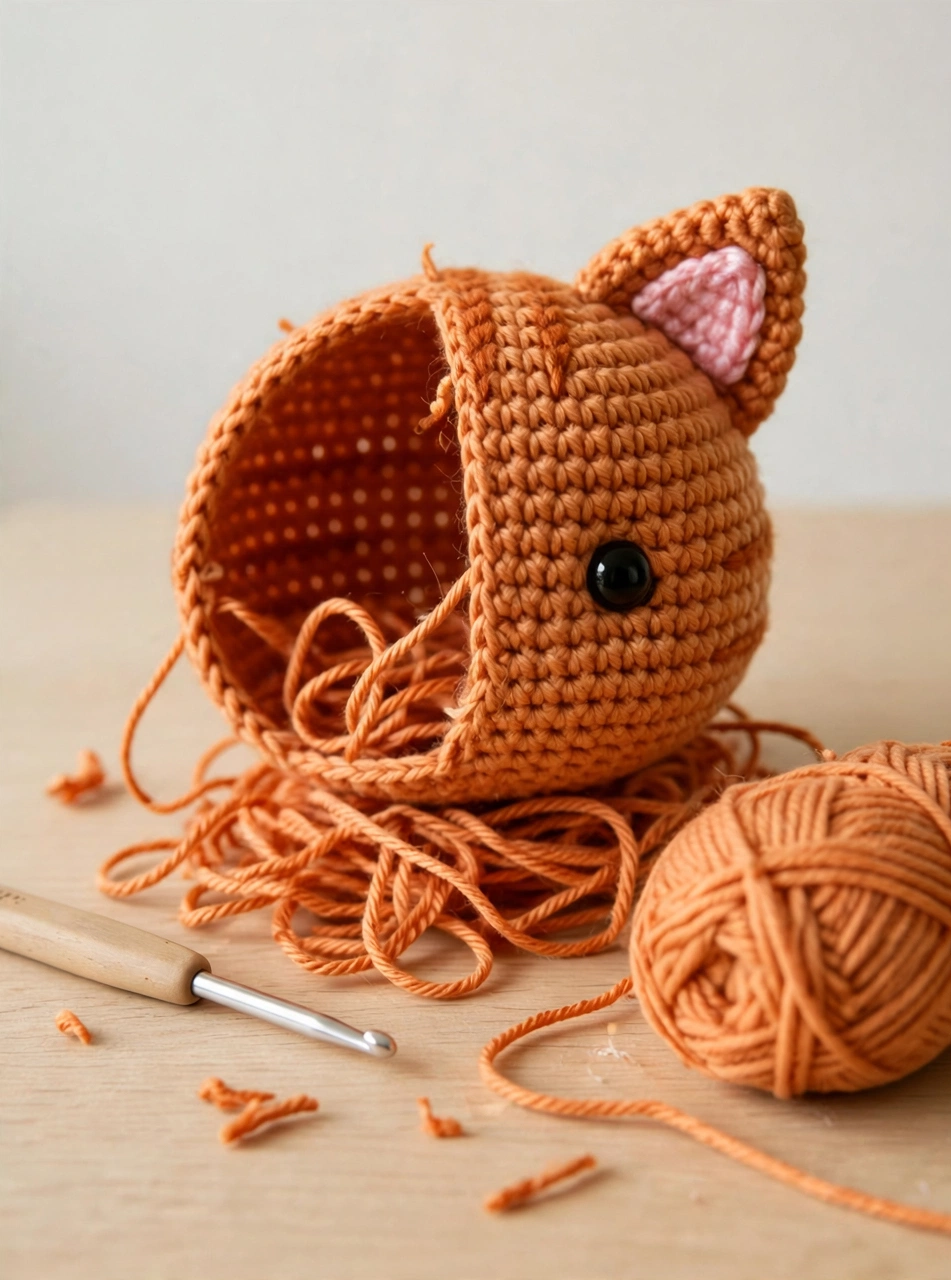
Start this crochet cat pattern with the head, worked in orange yarn in a continuous spiral. Begin with a magic ring of 6 single crochet, then increase evenly — 12, 18, 24 and finally 30 stitches — before working five straight rounds. Decrease back down to 6 stitches, stuffing firmly before you close. Place the safety eyes between rounds 8 and 9, about 6 stitches apart, so the face stays balanced and sweet.
Step 2: Crochet the Cat Body
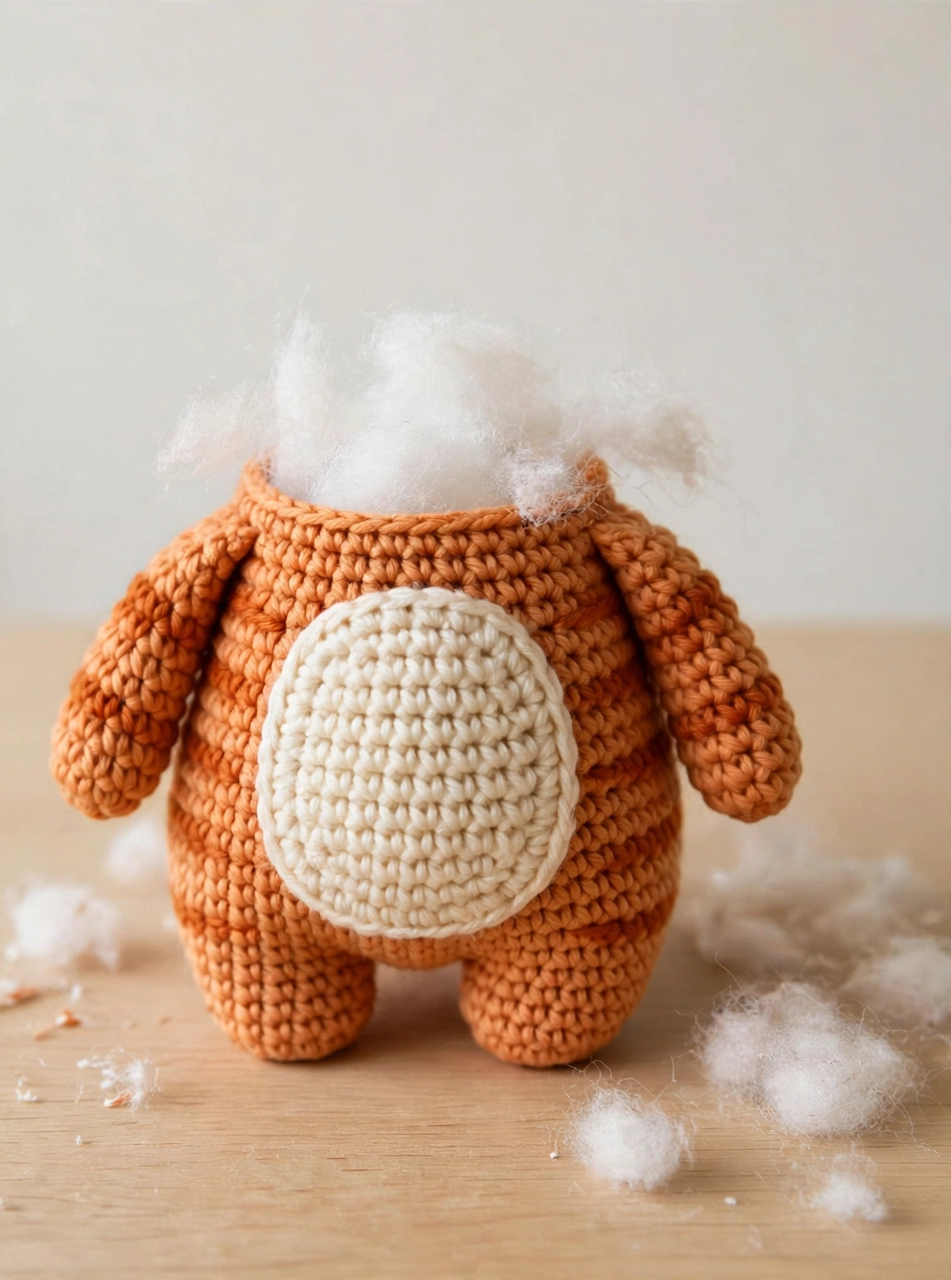
The body of this amigurumi cat follows the same idea on a slightly larger scale: increase from a magic ring of 6 up to 36 stitches, work five even rounds, then decrease gradually to 6 and close. Stuff the body a little at a time, shaping it into a plump upright form as you go — a well-stuffed body is what lets your crochet cat sit up straight instead of flopping forward.
Step 3: Make the Triangle Ears
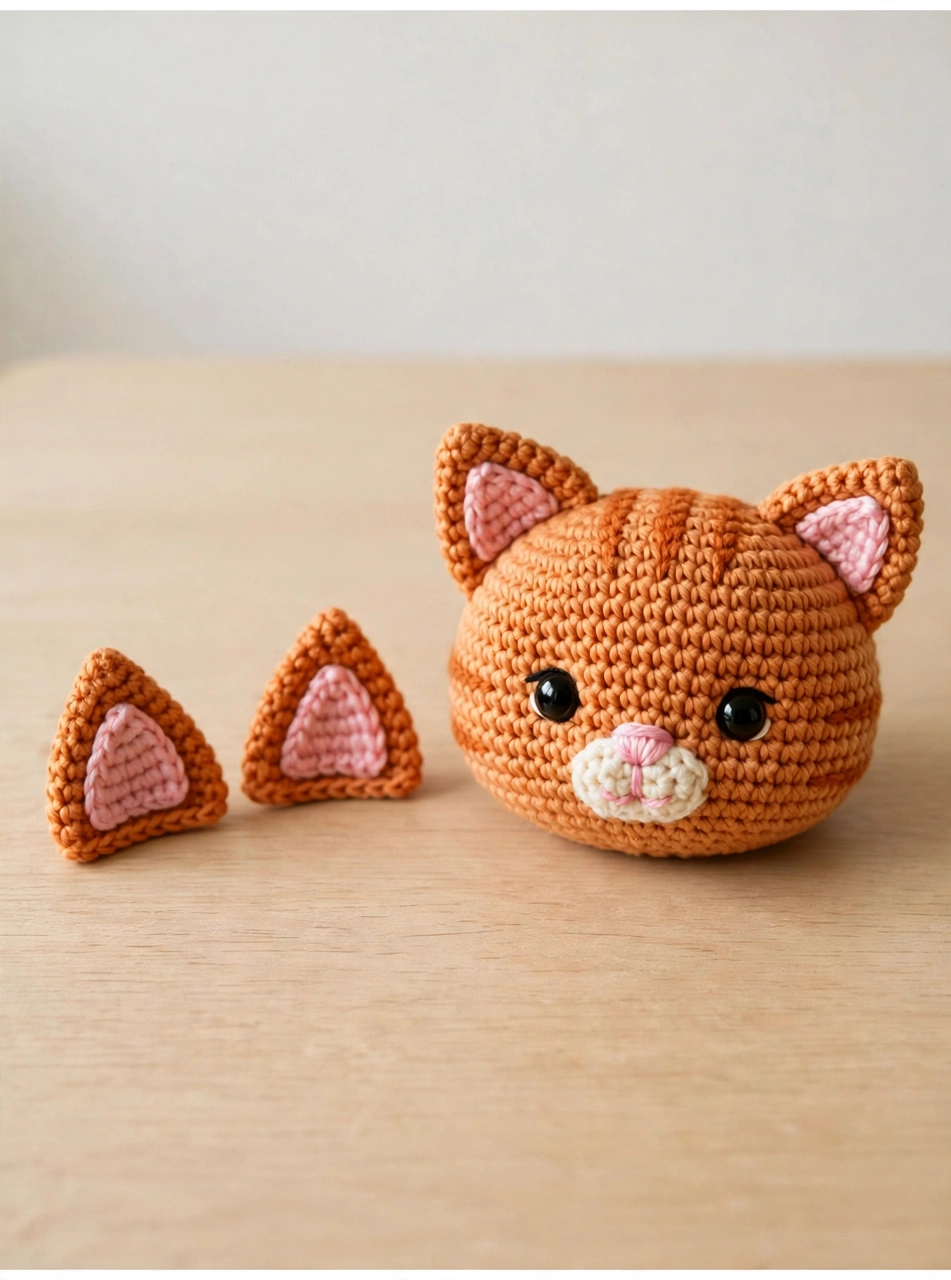
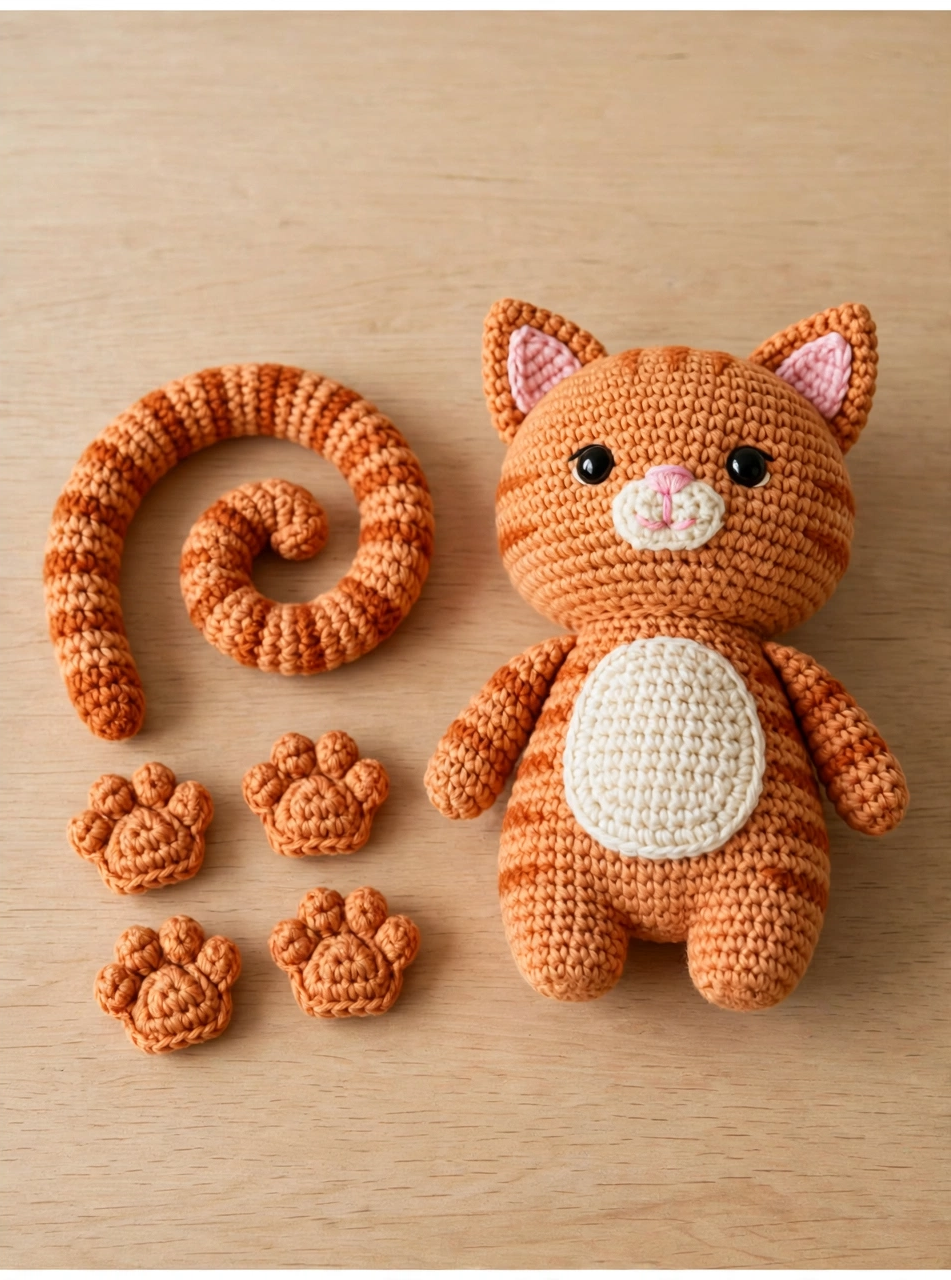
No cat is complete without pointy ears. Crochet two triangles in orange — chain 5, then work single crochet rows, decreasing one stitch at each end until a point forms — and add a smaller pink triangle to the front of each one for the inner ear. Sew the ears to the top of the head, about 8 stitches apart, tilting them very slightly outward for that alert, curious look.
Step 4: Crochet the Tail and Paws
The tail is what gives this tabby its character. Work a long tube in orange, switching to a darker orange every two rounds for stripes, until it measures about 18 cm, then stuff it lightly so it still curls. Make four small paws the same way — a magic ring increased to 12 stitches, two plain rounds, then a gentle decrease. These little details are what make this easy crochet cat pattern look finished rather than plain.
Step 5: Assemble the Cat
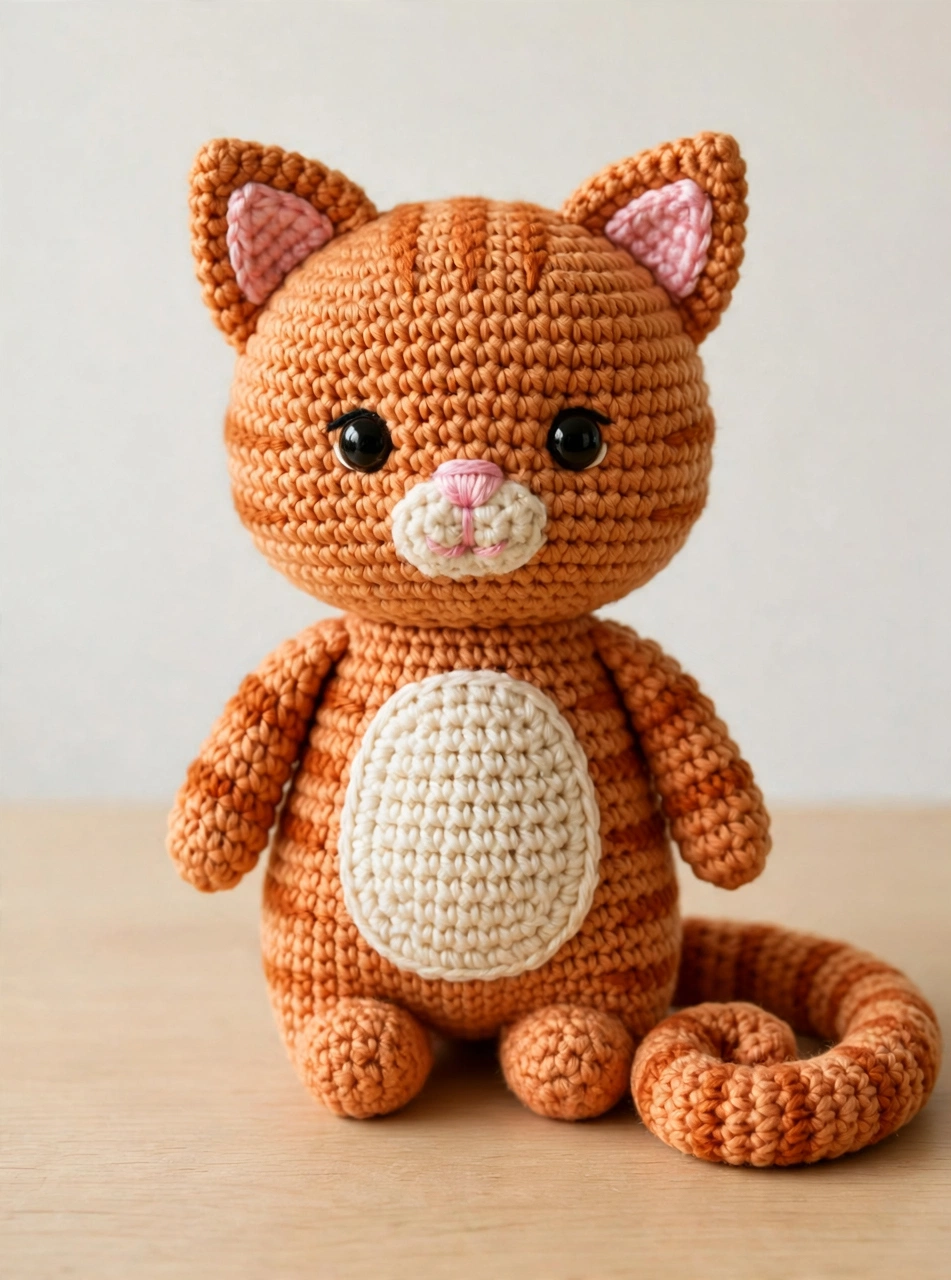
Now bring your cat together. Sew the head to the top of the body with the yarn needle, taking small neat stitches all the way around so no stuffing shows. Attach the tail to the back of the body, low down, and curl it around to one side. Sew two paws to the front of the body as little arms and two underneath as feet, checking from the front that your cat sits level before you knot off.
Step 6: Embroider the Face
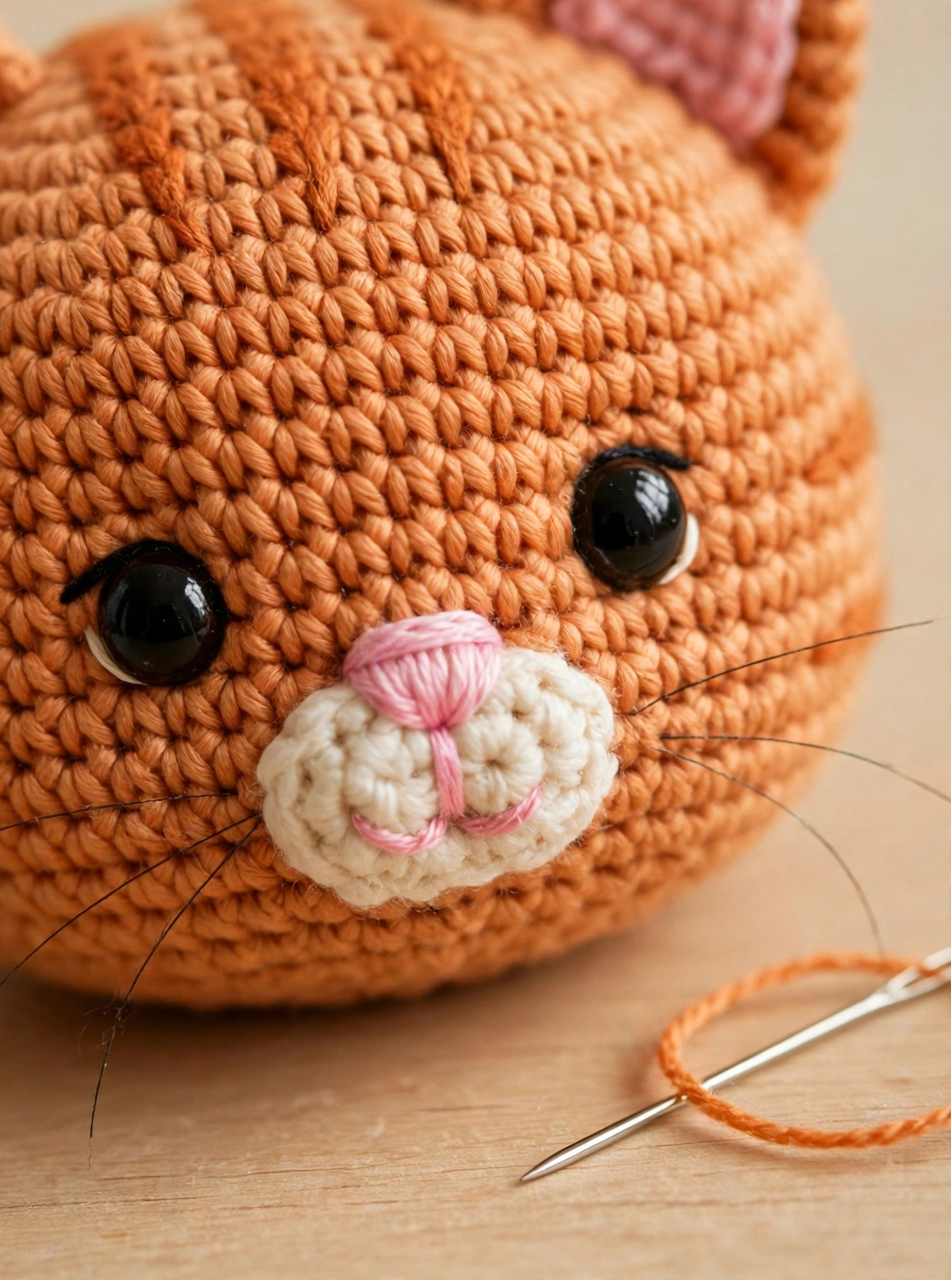
The face is the final touch. In pink yarn, embroider a small triangle nose on the cream muzzle, then a tiny vertical line down to a little “w” shaped mouth. Add three thin whiskers on each cheek with black embroidery floss, using long straight stitches. Step back and check both sides match — a neat face is what turns a good crochet cat into an adorable one.
Tips for a Purr-fect Cat
- Stuff as you go. Add small handfuls of fiberfill at every decrease round rather than all at once — it keeps the head and body smooth, with no lumps.
- Keep the stripes even. Change to the darker orange every two rounds on the tail and arms, and count your rounds so the stripes line up on both sides.
- Embroider before you assemble. It is much easier to stitch the nose, mouth and whiskers while the head is still separate, so finish the face before sewing the head to the body.
Frequently Asked Questions
Is this crochet cat pattern good for beginners?
Yes. This crochet cat pattern uses only single crochet, increases and decreases, all worked in the round. If you can make a magic ring, you can make this cat — the photo steps show every stage.
How big is the finished cat?
The finished amigurumi cat stands about 20 cm (8 inches) tall, including the ears, and sits neatly on a shelf, a desk or a child’s bed.
What yarn works best for an amigurumi cat?
A smooth worsted-weight cotton or cotton-acrylic yarn is ideal: it shows the stitches clearly, holds the tabby stripes well and keeps its shape after play. Avoid fluffy or eyelash yarns for your first cat.
Can I make the cat in a different colour?
Absolutely. This free cat crochet pattern works beautifully in grey, black, calico or cream — just keep the belly and muzzle in a lighter shade than the body so the face stands out.
Conclusion
This free crochet cat pattern is a quick, joyful make: six simple steps, one evening of stitching, and a ginger tabby friend to keep. Download the printable PDF below, grab your orange yarn, and start your cat today — and if you make one, share a photo with your fellow makers. Happy crocheting!