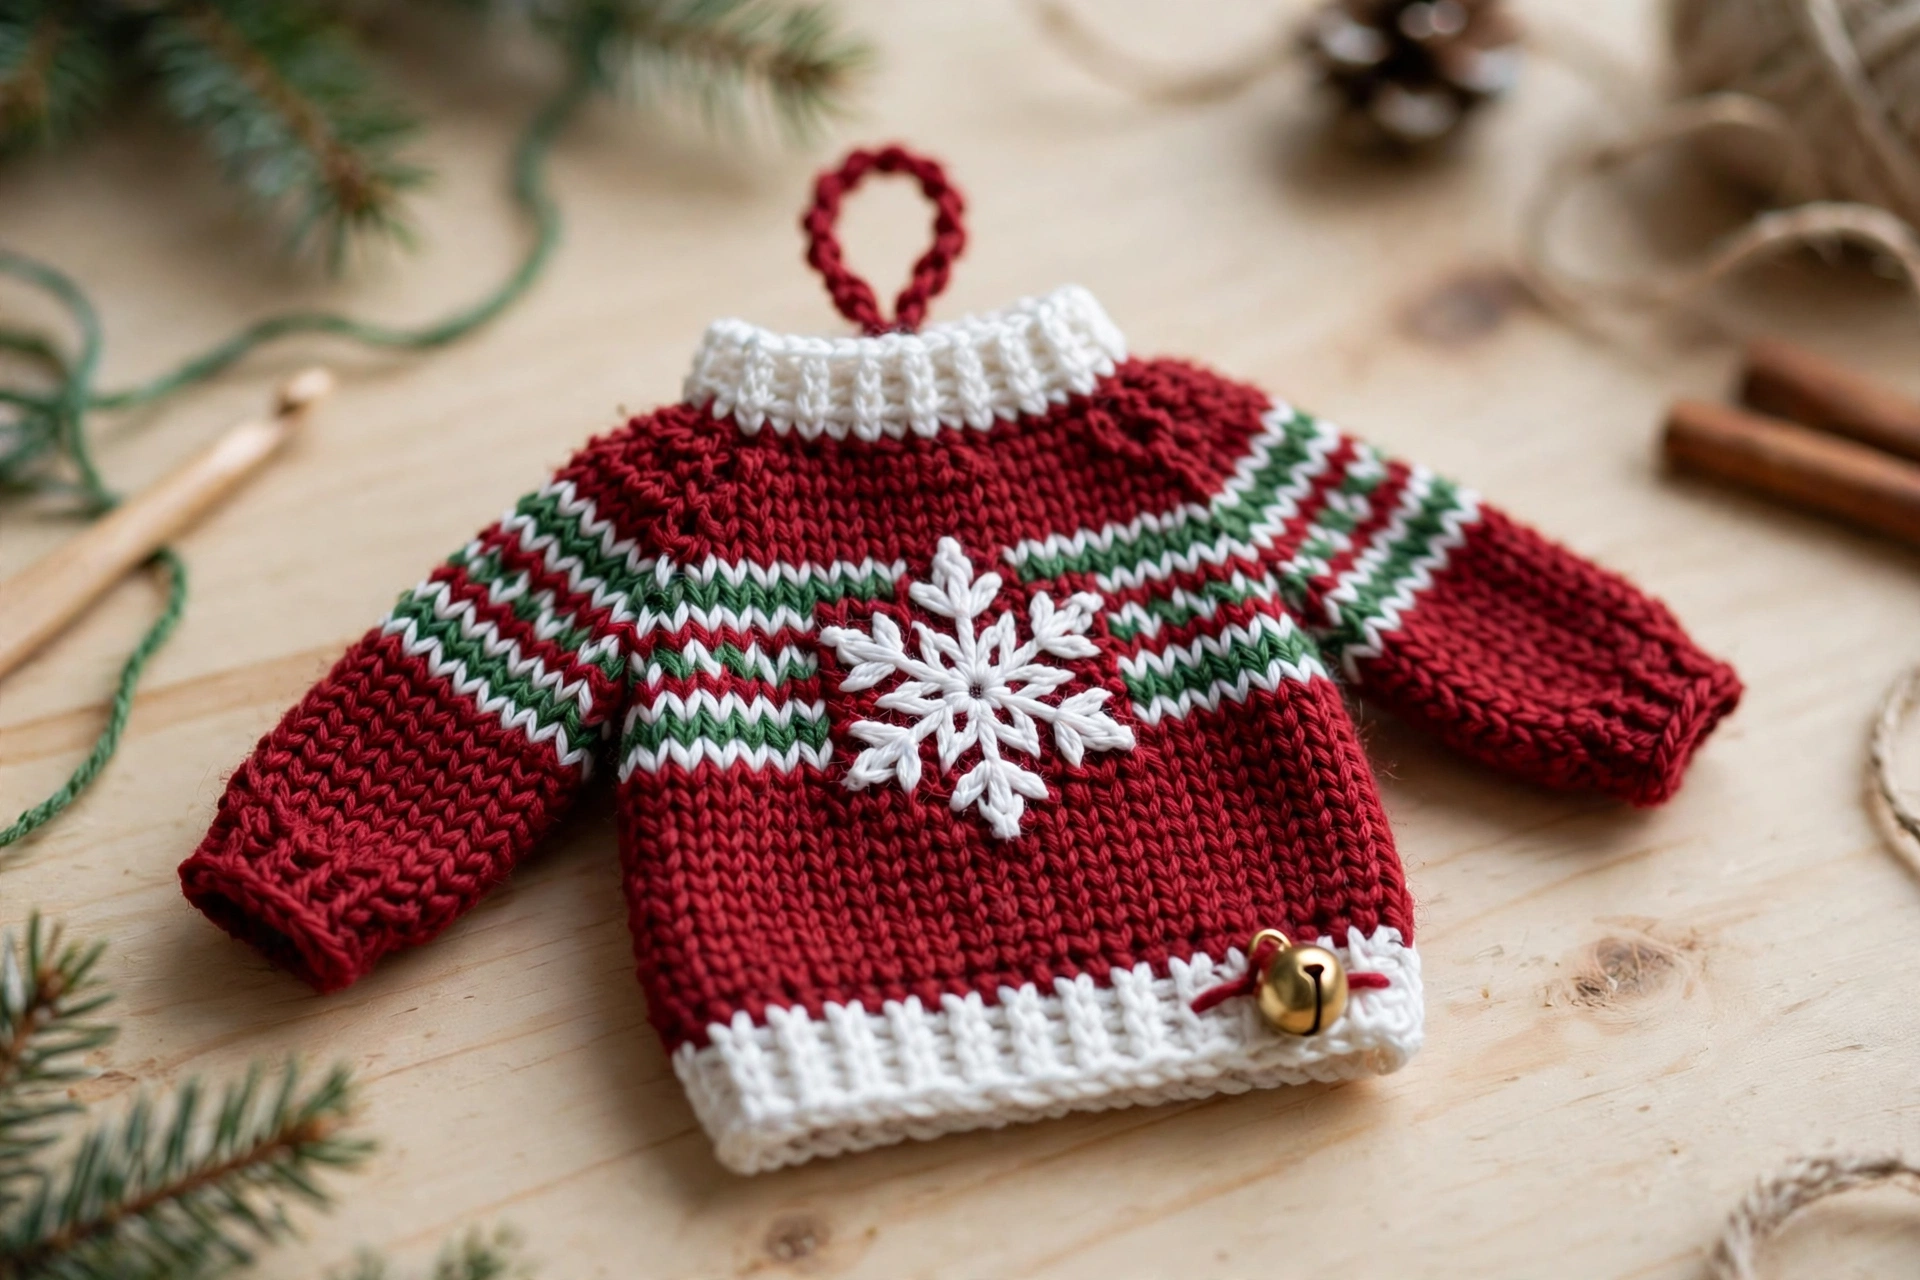
This free crochet ugly sweater ornament pattern turns a few scraps of yarn into the cheekiest little sweater for your Christmas tree. It is a tiny red sweater with green and white Fair Isle stripes, a white snowflake motif on the chest, two little sleeves, a white ribbed hem and collar, a gold bell at the hem and a red hanging loop — everything an ugly Christmas sweater should be, shrunk down to ornament size. The whole project takes about an hour, uses only basic stitches, and is a perfect beginner make for the holidays.
The finished ugly sweater ornament measures about 9 cm (3.5 inches) tall from the hem to the collar, and about 8 cm (3 inches) wide across the body, not counting the sleeves or the hanging loop. It is worked flat in two identical panels, sewn together with just a whisper of stuffing so it keeps its shape without getting puffy. Make one in an evening, or batch a whole set in different stripe colours for gifts, gift tags and craft fairs.
Materials
- Worsted-weight yarn in red (about 20 g), white (about 10 g) and green (about 5 g)
- 3.5 mm crochet hook
- One small gold jingle bell (about 12 mm)
- A small amount of polyester fiberfill stuffing
- Tapestry needle
- Scissors
- Stitch marker
Step 1: Crochet the Sweater Body
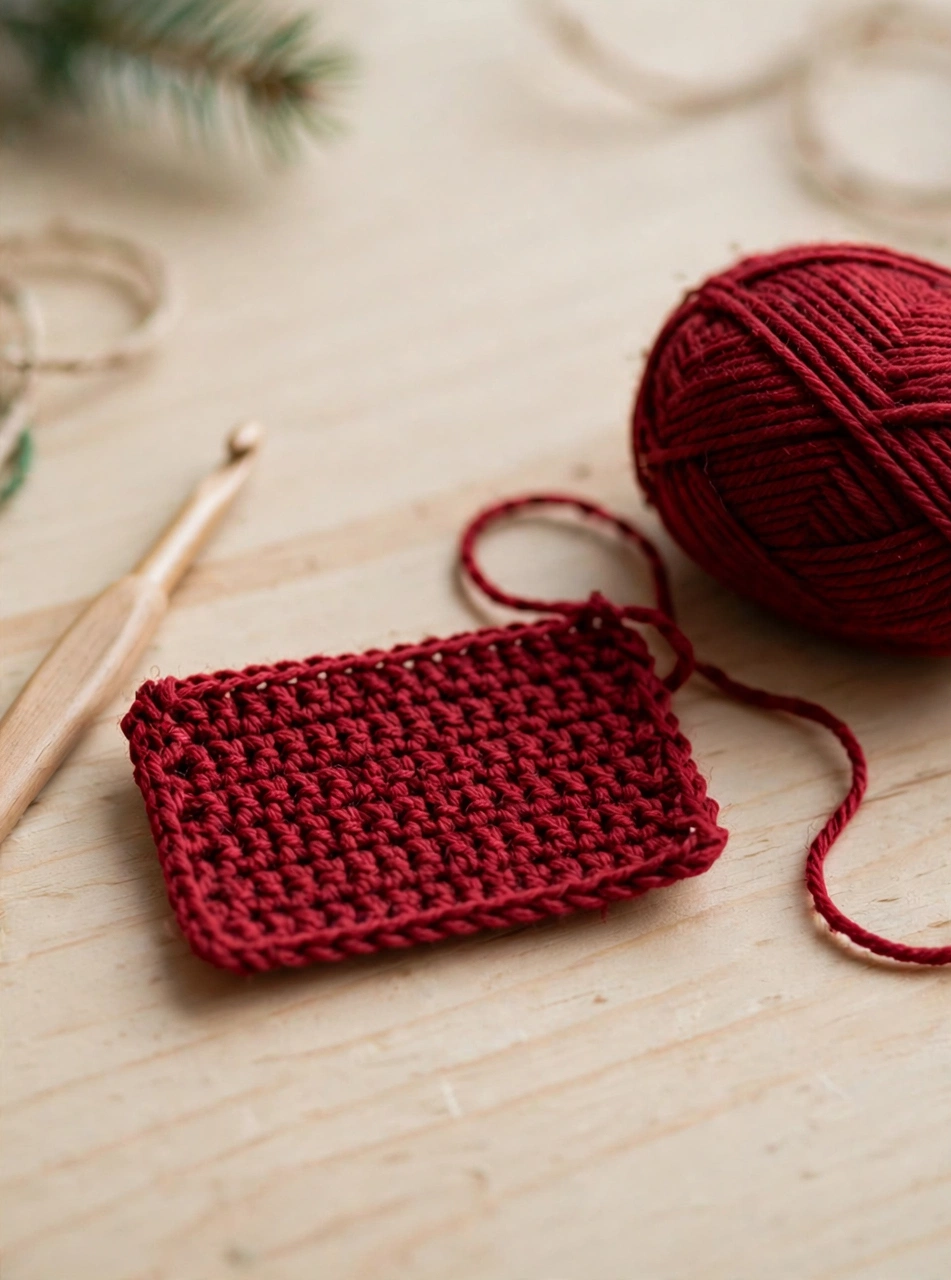
Start your crochet ugly sweater ornament pattern with the body, worked flat in red yarn. Chain 22, then single crochet in the second chain from the hook and in each chain across (21 stitches). Work rows 2 to 5 in single crochet with no shaping, keeping 21 stitches in every row so the panel stays a neat rectangle. Place a stitch marker in the first stitch of each row if you are new to counting rows — it makes the stripe section much easier. Make a second identical panel later, or work both panels now so the stripes match exactly.
Step 2: Add the Fair Isle Stripes
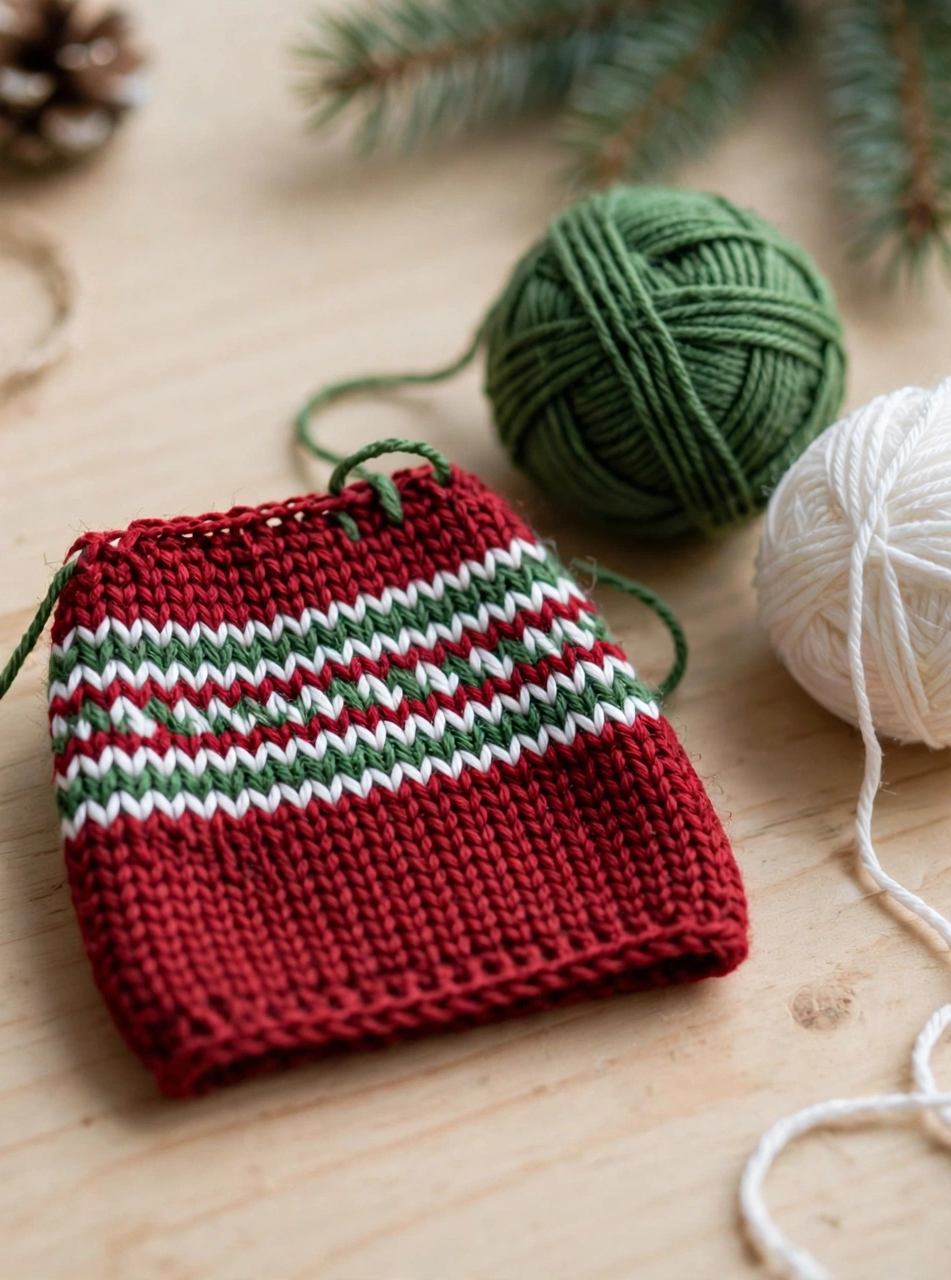
The stripes are what make this ugly sweater ornament instantly recognisable, and they are just simple colour changes. Continuing on the same panel, work row 6 in white (21 single crochets), row 7 in green (21), row 8 in white (21) and row 9 in green (21), carrying the unused yarn loosely up the side edge so you do not have a dozen ends to weave in. Then switch back to red and work rows 10 to 13 in single crochet (21 stitches each). Fasten off, leaving a long tail for sewing. Repeat the whole panel, rows 1 to 13, for the back — the stripes should line up when the two panels sit together.
Step 3: Crochet the Snowflake Motif
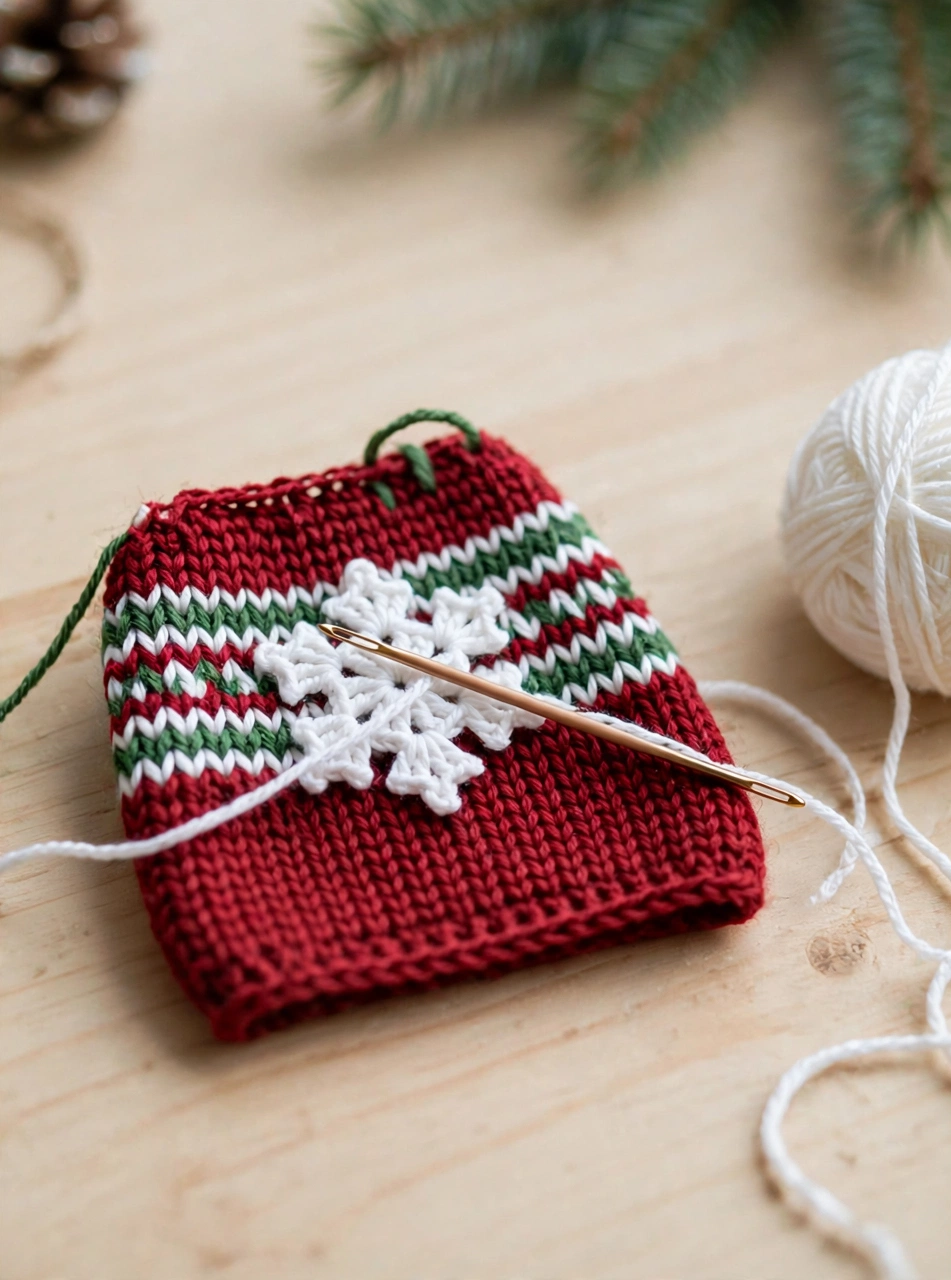
The snowflake is the star of this ugly sweater ornament, and it is worked separately in white yarn. Make a magic ring and work 6 single crochets into it, then slip stitch to join (6 stitches). For each of the six arms, chain 4, slip stitch in the second chain from the hook, single crochet in the next chain, half double crochet in the next chain, then slip stitch into the next single crochet of the ring. Repeat around until you have six pointed arms, then fasten off. Sew the snowflake to the centre of the front panel, right over the stripe band, with a few small stitches through the back of the motif so they stay invisible from the front.
Step 4: Crochet the Tiny Sleeves
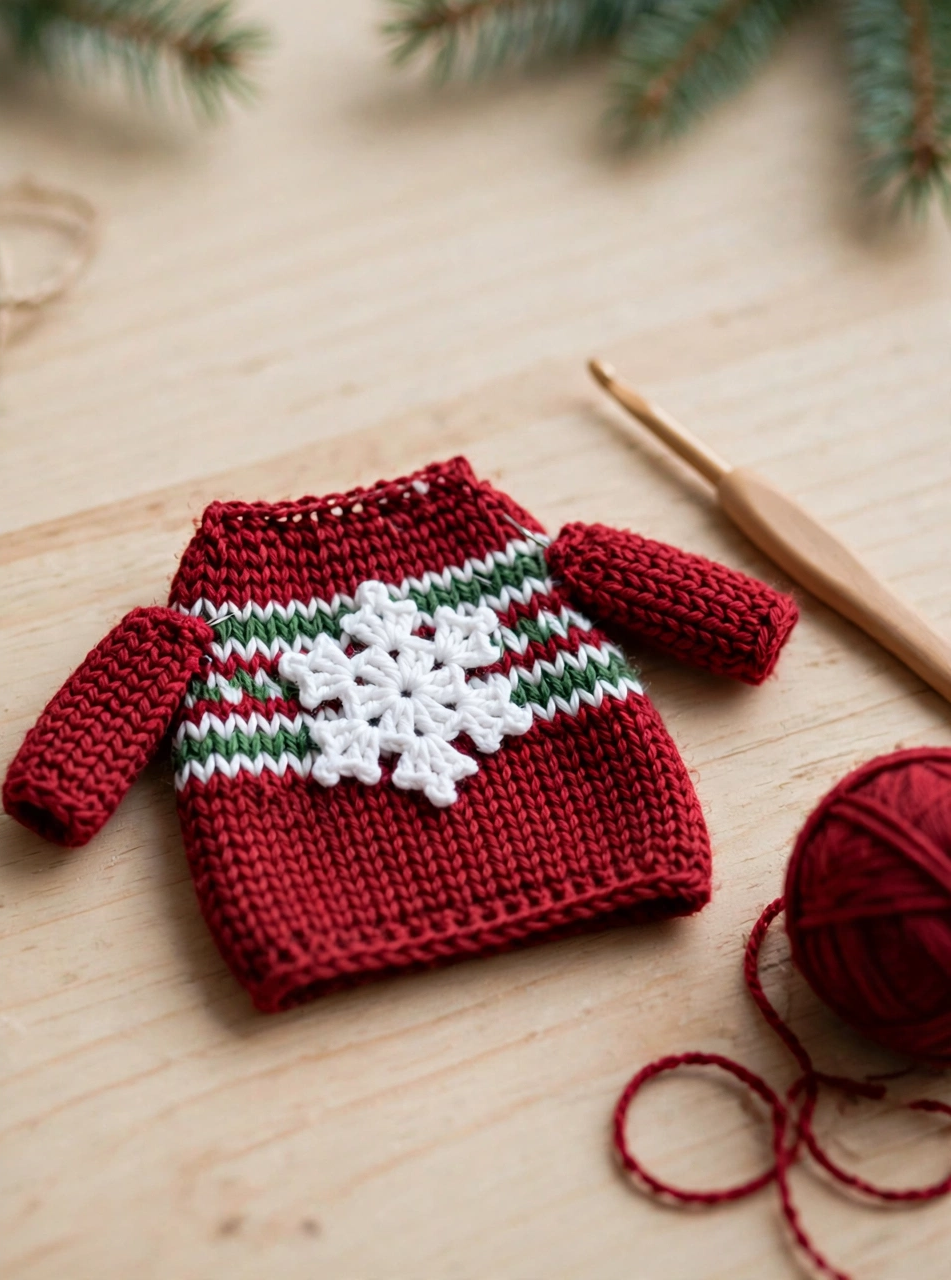
Every ugly sweater needs sleeves, even a tiny one. With red yarn, chain 10, single crochet in the second chain from the hook and in each chain across (9 stitches), then work 5 more rows of 9 single crochets. Fasten off, leaving a long tail. Fold the little rectangle in half lengthwise and sew the long edge closed to make a tube, then sew one end of the tube to the top side edge of the body panel, just below the shoulder. Make a second sleeve the same way and attach it to the other side. Sew the two body panels together around the sides and shoulders, leaving the bottom open for a pinch of stuffing.
Step 5: Add the Ribbed Hem and Collar
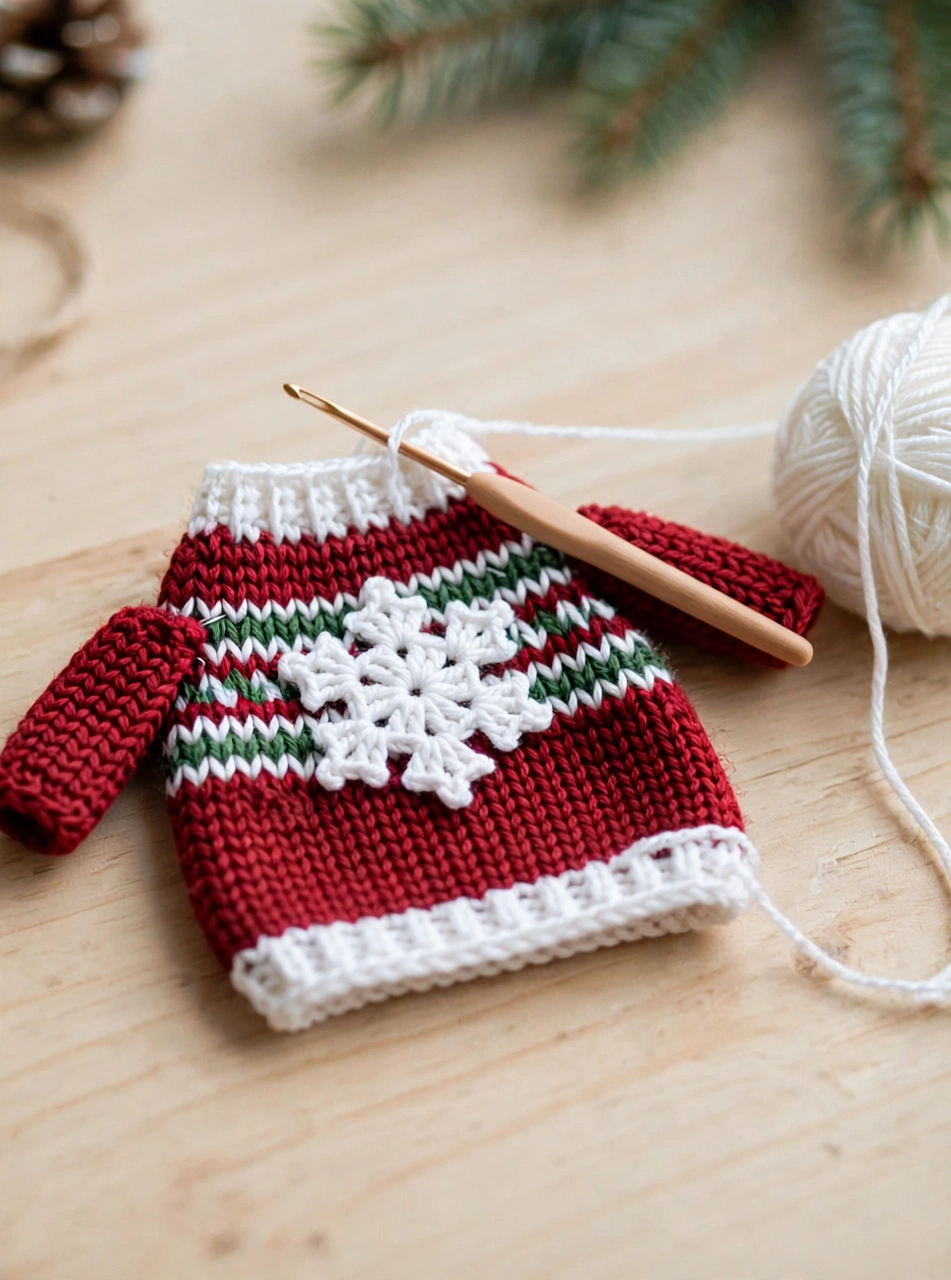
The white ribbing is what turns the panels into a proper little sweater. With white yarn, join at the bottom edge of the body and work two rows of ribbing: alternate one front post double crochet and one back post double crochet across the 21 stitches of the hem, then repeat the same two rows around the neck opening at the top, working into the top edge of both panels. The ribbed stitches pull in slightly, giving the hem and collar that neat, stretchy sweater look. Fasten off and weave in all the ends inside the ornament, tucking in a small pinch of stuffing through the bottom opening before you close the hem completely.
Step 6: Add the Hanging Loop and Gold Bell
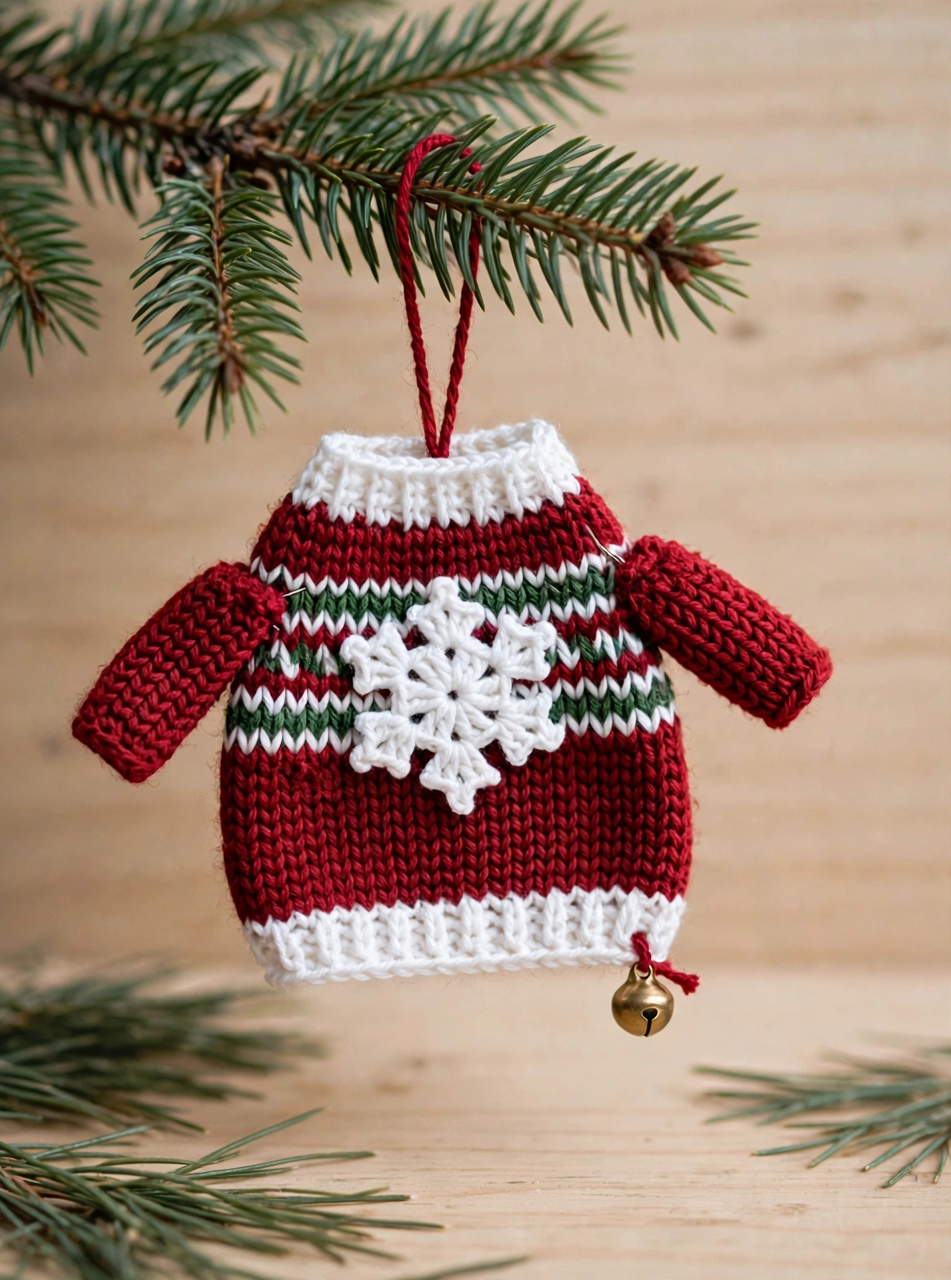
The last step is the finishing touch. With red yarn, chain 16 and slip stitch into the top of the collar to form a loop, then fasten off and weave the end inside the collar so the knot is hidden. Sew the little gold bell to the bottom corner of the hem with a few strong stitches — it should dangle just below the ribbing and jingle when the ornament moves. Give the sweater a gentle shake: it should hang straight and face forward. Your crochet ugly sweater ornament is ready for the tree! It also looks lovely tied to a wrapped gift, hung in a window, or strung along a garland with a few of its friends.
Tips for a Perfect Crochet Ugly Sweater Ornament Pattern
- Keep the stripes lined up. Work both panels at the same time, row by row, or count carefully — stripes that sit at different heights on the front and back are the one thing that gives this ornament away.
- Carry the yarn up the side. Instead of cutting the yarn at every colour change, carry the unused colour loosely up the inside edge. It saves a forest of ends to weave in and the inside stays tidy.
- Sew the snowflake on before joining the panels. It is much easier to hide your sewing stitches when the back panel is not in the way yet, and the motif sits flatter on a single panel.
FAQ
How long does this crochet ugly sweater ornament pattern take to make?
About one hour for an experienced beginner, and a relaxed evening at most for a first-timer. The panels are small and the stripes work up fast.
What yarn is best for a crochet ugly sweater ornament pattern?
A smooth worsted-weight acrylic or cotton yarn in red works best, because the stitches stay crisp and the stripes read clearly. Avoid fuzzy or eyelash yarns: they hide the stitch definition that makes the Fair Isle bands look neat. If you need yarn inspiration, Yarnspirations has a wide range of worsted-weight yarns in exactly these colours.
Can I change the colours of my ugly sweater ornament pattern?
Absolutely — that is half the fun of an ugly sweater. Try a green body with red and white stripes, a navy body with gold stripes, or a pink body with mint stripes. Keep the snowflake white so it pops against any colour, and match the bell to your stripe colours.
Is this crochet ugly sweater ornament pattern suitable for beginners?
Absolutely. You only need a chain, single crochet, half double crochet, double crochet and post stitches, and the pattern includes a free printable PDF with the full row-by-row instructions. If you enjoyed this make, try our crochet snowman ornament pattern next — a matching tree decoration — or our crochet christmas star ornament pattern for another quick ornament.
Conclusion
This little crochet ugly sweater ornament pattern is proof that the best Christmas decorations are the handmade — and slightly silly — ones. One evening, a few scraps of yarn and six easy steps give you a keepsake that will come out of the decoration box year after year. Download the free printable PDF pattern below, make a whole wardrobe of ugly sweaters in different colour combinations, and share your finished ornaments — we would love to see them on your tree!