This crochet mushroom pattern is one of the cutest and quickest amigurumi projects you can make. With its glossy red cap, embroidered white spots, and a sweet little face, this tiny mushroom works up in under two hours and looks adorable on a shelf, a desk, or a fall-themed tiered tray. It is also one of the best beginner-friendly patterns for anyone new to amigurumi, because it only uses single crochet stitches, simple increases, and a tiny bit of hand sewing.
Whether you are crocheting a whole woodland set or just want a cheerful little make between bigger projects, this free crochet mushroom pattern walks you through every stage with clear photos. Grab some red and white yarn, and let us get started.
Crochet Mushroom Pattern Materials
- Worsted-weight yarn in red (about 25 g) and cream white (about 15 g)
- 3.5 mm (US E-4) crochet hook
- Polyester fiberfill stuffing
- Black embroidery thread (for the face)
- Yarn needle and scissors
- Optional: 8 mm safety eyes instead of an embroidered face
Tip: a smooth acrylic or cotton yarn gives the cleanest stitch definition for amigurumi, so your mushroom’s cap looks neat and polished.
Step 1: Start the Red Cap with a Magic Ring
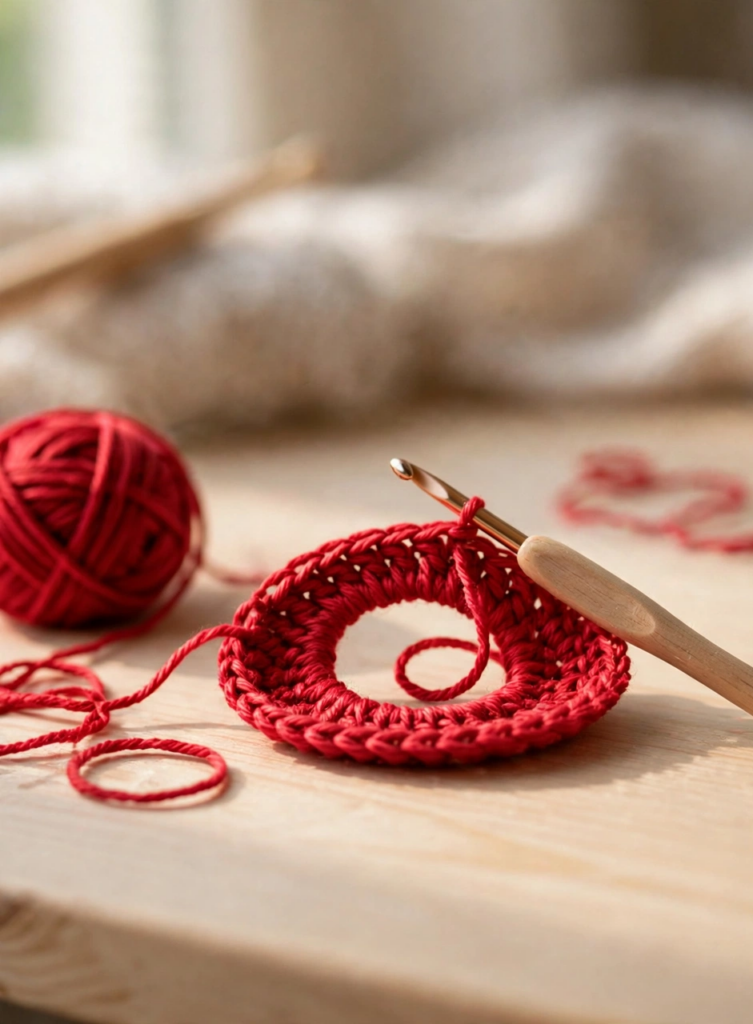
First, every great amigurumi piece begins with a tidy magic ring, and this crochet mushroom pattern is no exception. Create a magic ring with your red yarn and work 6 single crochet stitches into it, then pull the ring closed. In the next rounds, increase evenly — 12 stitches, then 18 — until the cap measures about 7 cm across.
Step 2: Shape the Mushroom Cap
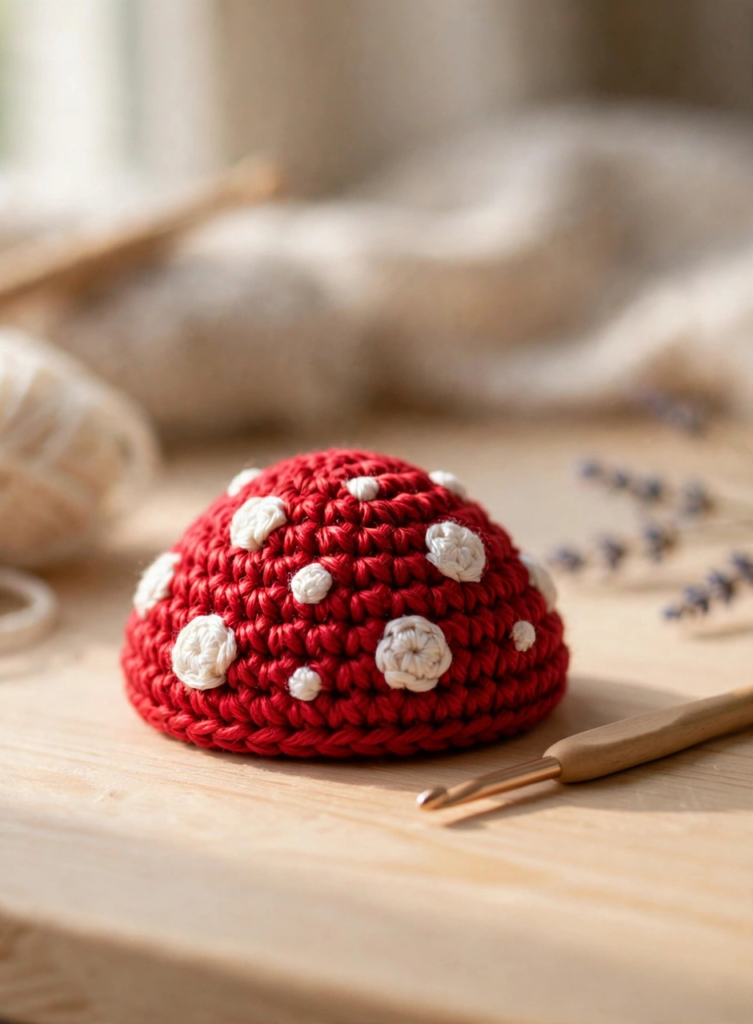
Now it is time to give the cap its classic dome. Work one or two rounds of single crochet with no increases so the edges start to curve downward, then decrease gently on the final round to tuck the edge inward. Keep your tension even here — a consistent gauge is what makes the cap of this crochet mushroom pattern look professionally made.
Step 3: Add the White Spots
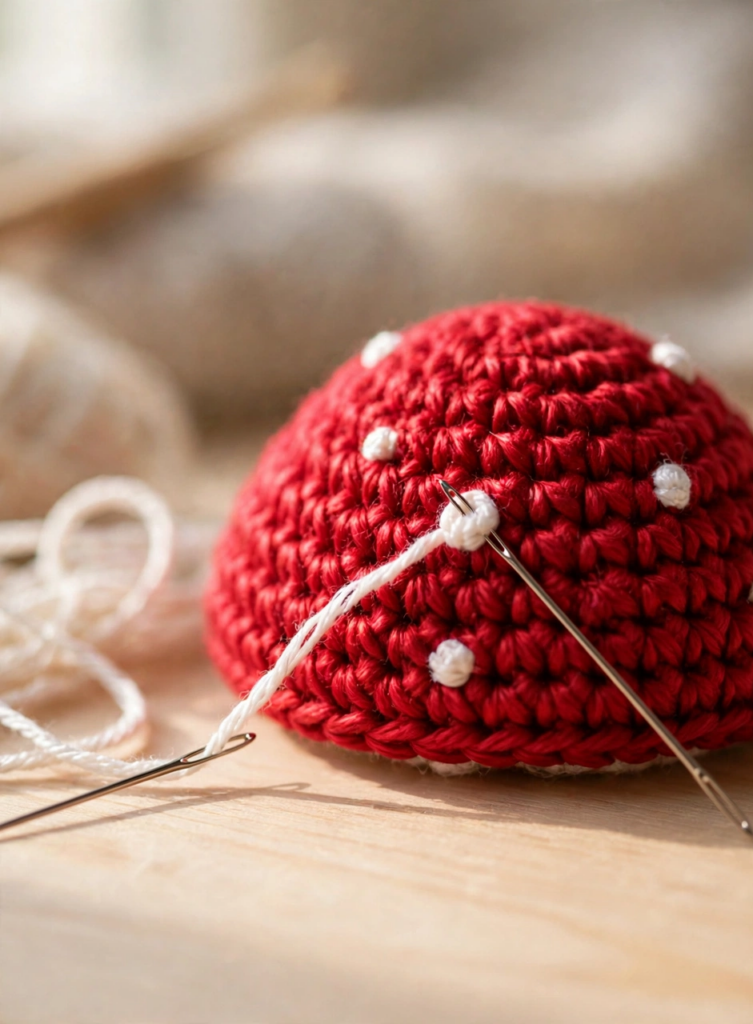
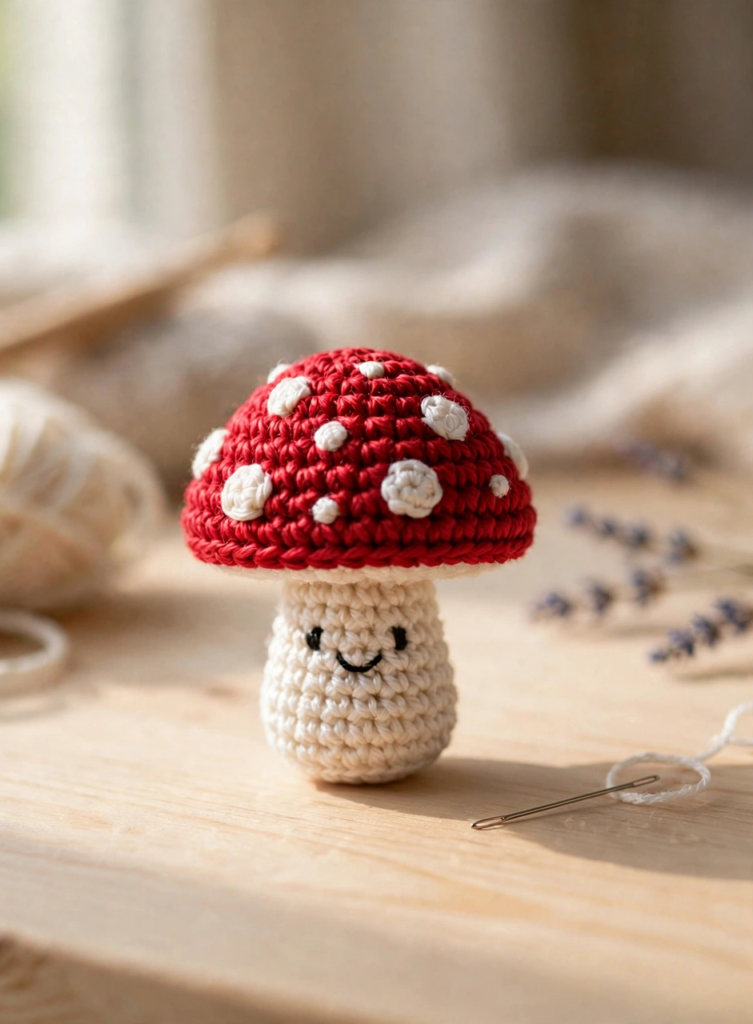
This is the fun part! Cut a length of white yarn and embroider small French-knot or satin-stitch spots all over the red cap. Vary their sizes and scatter them naturally — real mushrooms are never symmetrical, and the irregular placement is what gives this cute crochet mushroom its handmade charm.
Step 4: Crochet the Stem
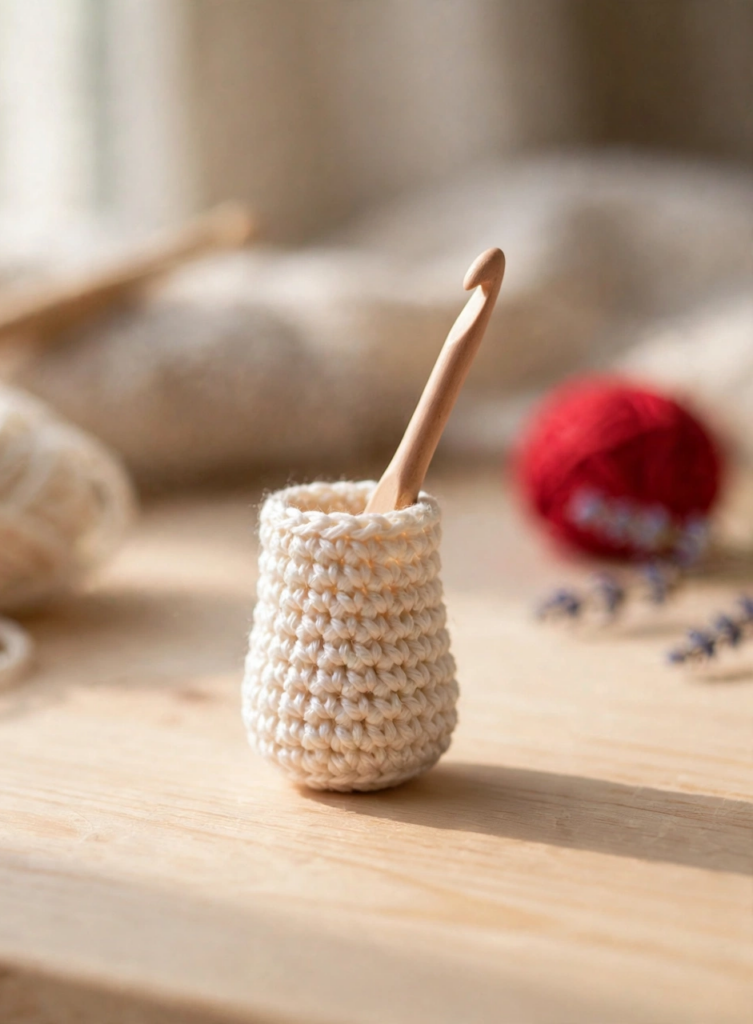
Then, switch to your cream-white yarn and crochet a short cylinder for the stem: start with a magic ring of 6 stitches, increase to 12, and work even rounds until it is about 5 cm tall. Stuff the stem lightly with fiberfill as you go so it holds its shape. Fasten off, leaving a long tail for sewing.
Step 5: Stuff and Join the Cap
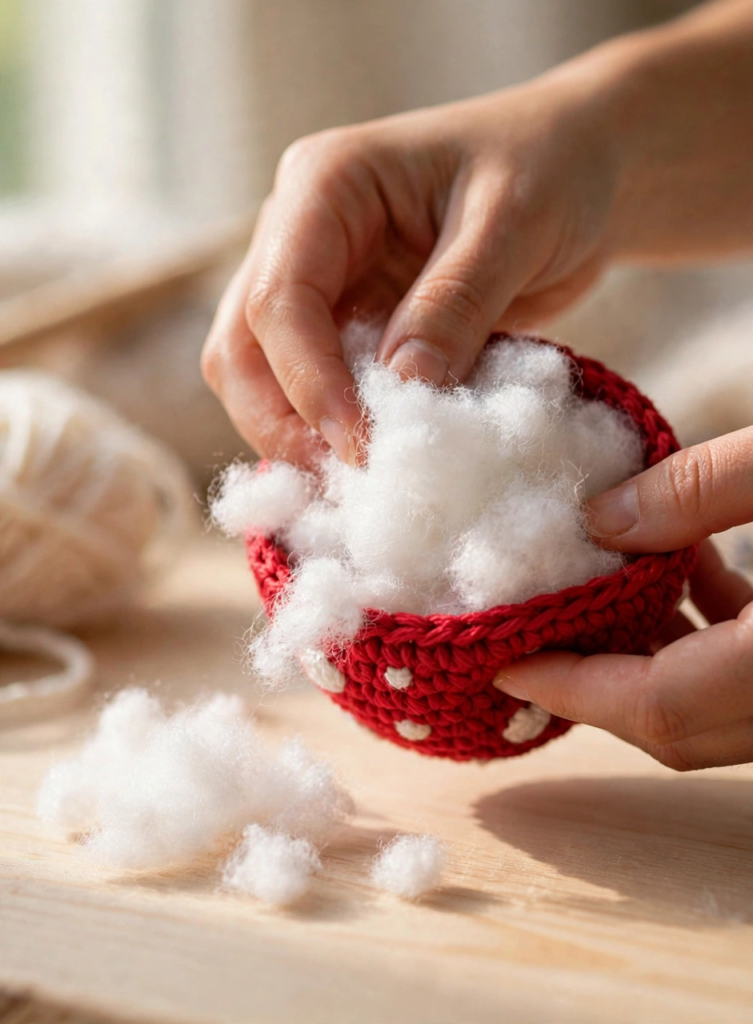
After that, firmly stuff the red cap with fiberfill — a full, plump cap is what makes the mushroom look juicy and three-dimensional. Center the stem under the cap and sew them together with the long tail, stitching through both layers in small, neat whip stitches. Weave in any remaining ends with your yarn needle.
Step 6: Add the Cute Face
The final touch on this easy crochet mushroom pattern is the face. Using black embroidery thread, stitch two small eyes and a tiny curved smile onto the stem. If you prefer, attach 8 mm safety eyes instead — just be sure to secure them before you stuff and sew. Your adorable mushroom is finished!
Tips for the Perfect Crochet Mushroom Pattern
- Stuff generously. A firmly stuffed cap keeps its dome shape and sits perfectly on the stem.
- Scatter the spots. Uneven, differently sized spots look more natural and cute than a perfect grid.
- Make a trio. Crochet three mushrooms in different sizes — large, medium, and mini — for an irresistible woodland display, or stitch a small hanging loop on top to turn one into a Christmas ornament.
Crochet Mushroom Pattern FAQ
Is this crochet mushroom pattern good for beginners?
Yes. This mushroom amigurumi tutorial only uses the magic ring, single crochet, increases, and decreases. If you can crochet in the round, you can make this mushroom — most makers finish it in about 90 minutes.
How big is the finished mushroom?
The finished mushroom is about 8 cm (3 inches) tall and 7 cm (2.75 inches) wide at the cap, made with worsted-weight yarn and a 3.5 mm hook. Use a thinner yarn and smaller hook for a mini version.
Can I make the mushroom without safety eyes?
Absolutely — the pattern uses a simple embroidered face, which also makes it fully child-safe with no small parts. You can also leave the face off entirely for a classic woodland look.
What else can I do with a crocheted mushroom?
These little mushrooms make wonderful keychains (just add a key ring), garland pieces, fairy-garden decor, or gifts for mushroom lovers. They are also popular at craft fairs — a basket of them sells fast in autumn. If you enjoyed this project, you will love our crochet axolotl pattern too. For more on the craft itself, explore the history of crochet.
Crochet Mushroom Pattern: Final Thoughts
Overall, this free crochet mushroom pattern proves that the sweetest projects are often the simplest. In about an hour and a half, you have a cheerful little mushroom that brightens any shelf — and a technique (shaped caps, embroidered details) you can reuse in dozens of future amigurumi. Pin this tutorial for later, share your finished mushrooms, and happy crocheting!