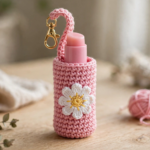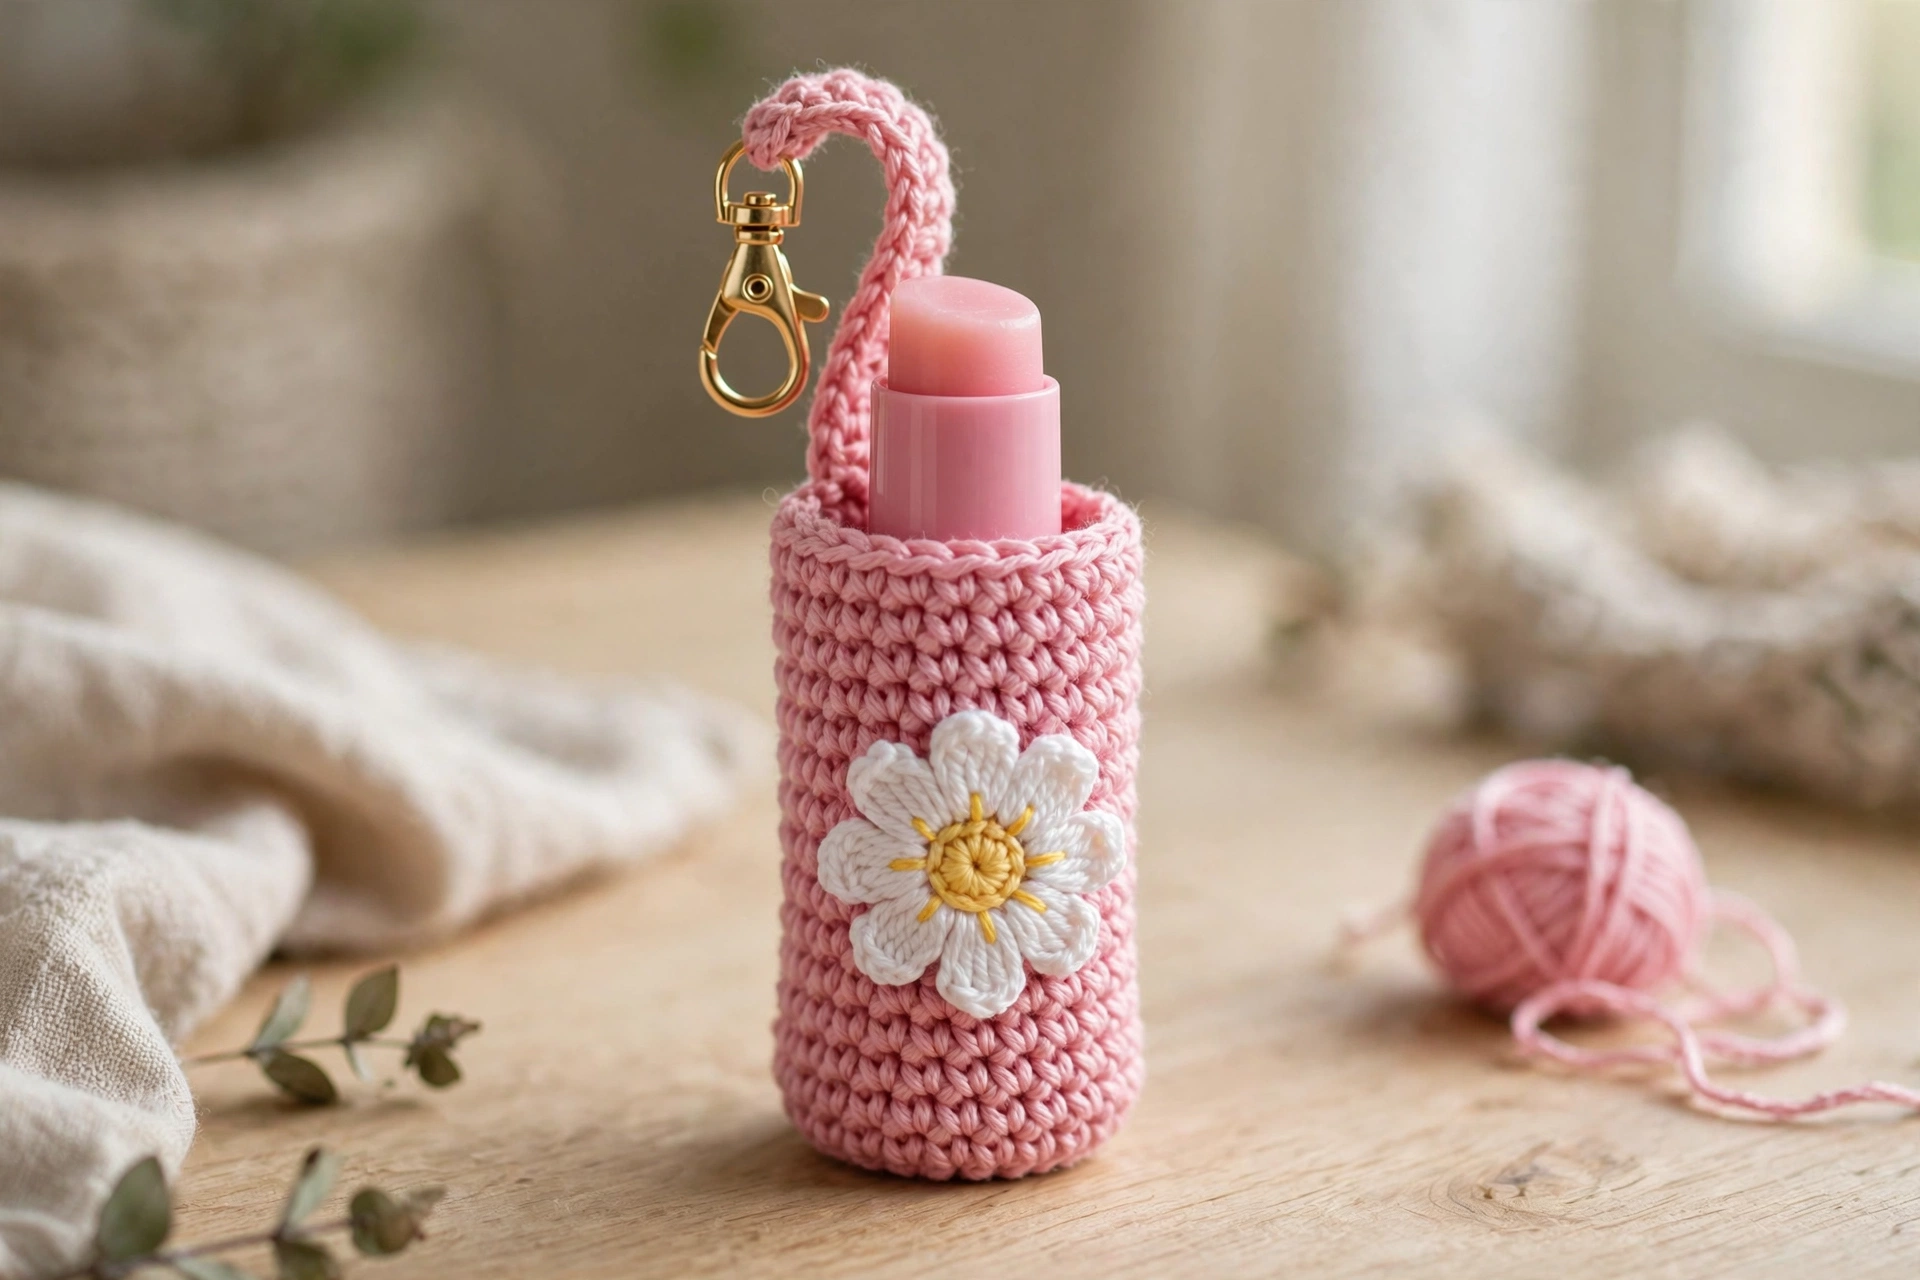
If you have been looking for a quick, adorable project, this crochet lip balm holder pattern is exactly what you need. It works up in under an hour, uses only a small amount of yarn, and turns an everyday lip balm tube into a cute keychain accessory you will actually want to show off. The little daisy flower on the front gives it that handmade charm, and the lobster clasp means it clips right onto your bag, keys, or backpack zipper. In this tutorial I will walk you through every step with clear photos — from chaining the base to sewing on the flower — so even a confident beginner can finish it in one sitting. Let’s get hooking!
Materials You’ll Need
- Worsted-weight (#4) acrylic in pink (main color), plus small amounts of white and yellow for the daisy flower
- Crochet hook: 3.5 mm (E-4); use 3.0–4.0 mm to match your tension
- Lobster clasp or keyring for the keychain attachment
- Yarn needle for sewing pieces together
- Scissors
- Stitch marker (optional, helpful for rounds)
- A standard lip balm tube, to check the fit as you go
Most crocheters will have everything on hand already — this is a wonderful stash-buster. If you are unsure about yarn weights and hook pairings, the Craft Yarn Council’s standards are the reference I always recommend.
Step 1: Chain the Base of Your Crochet Lip Balm Holder
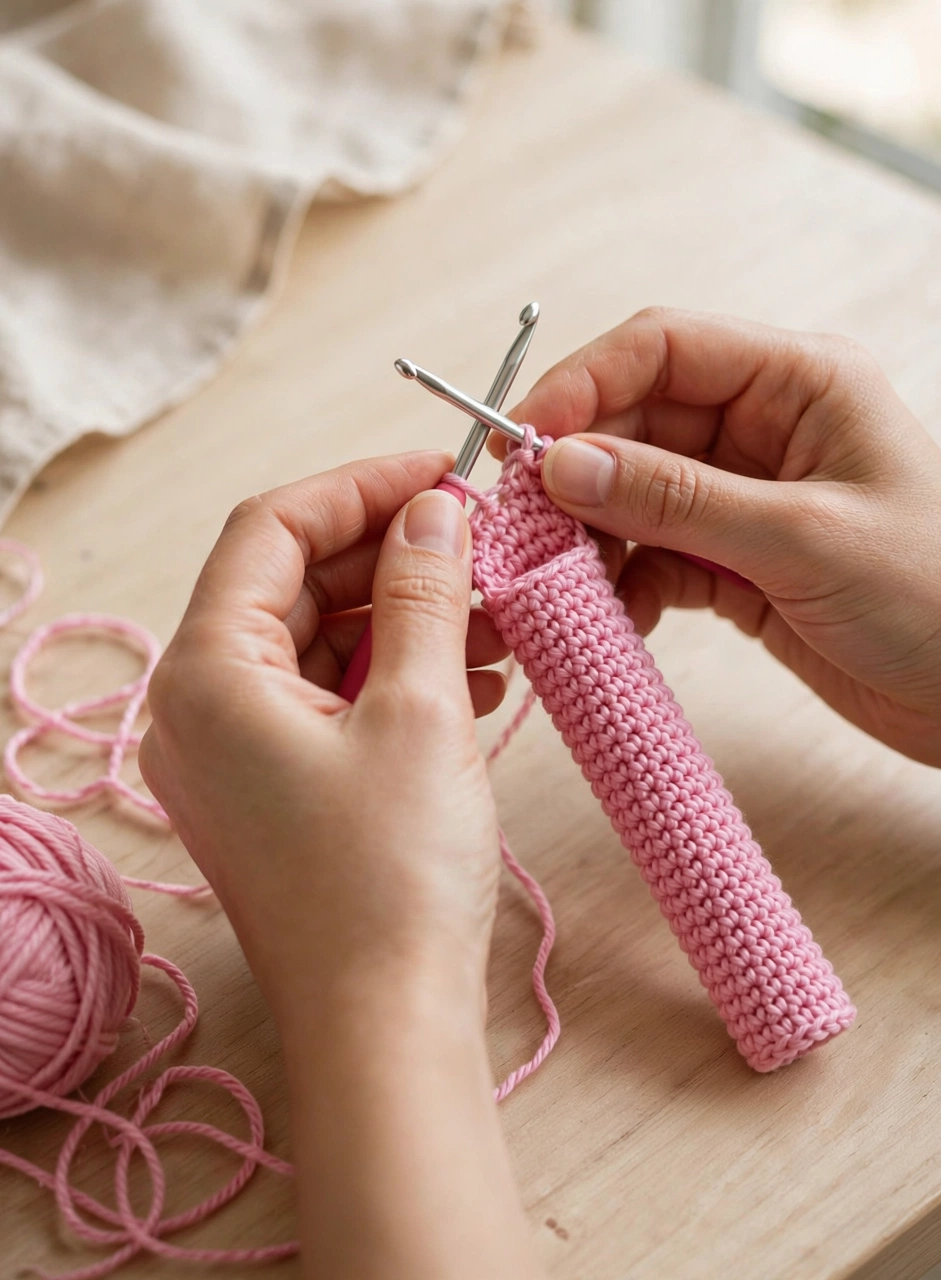
Every crochet lip balm holder starts with a simple foundation chain. Chain 8 (adjust up or down to fit your specific tube — wrap the chain around the tube to check). Work single crochet in the second chain from the hook and in each chain across, giving you 7 stitches. This flat rectangle becomes the bottom of the holder, so keep your tension even and the edges straight.
Step 2: Crochet the Holder Body
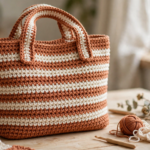
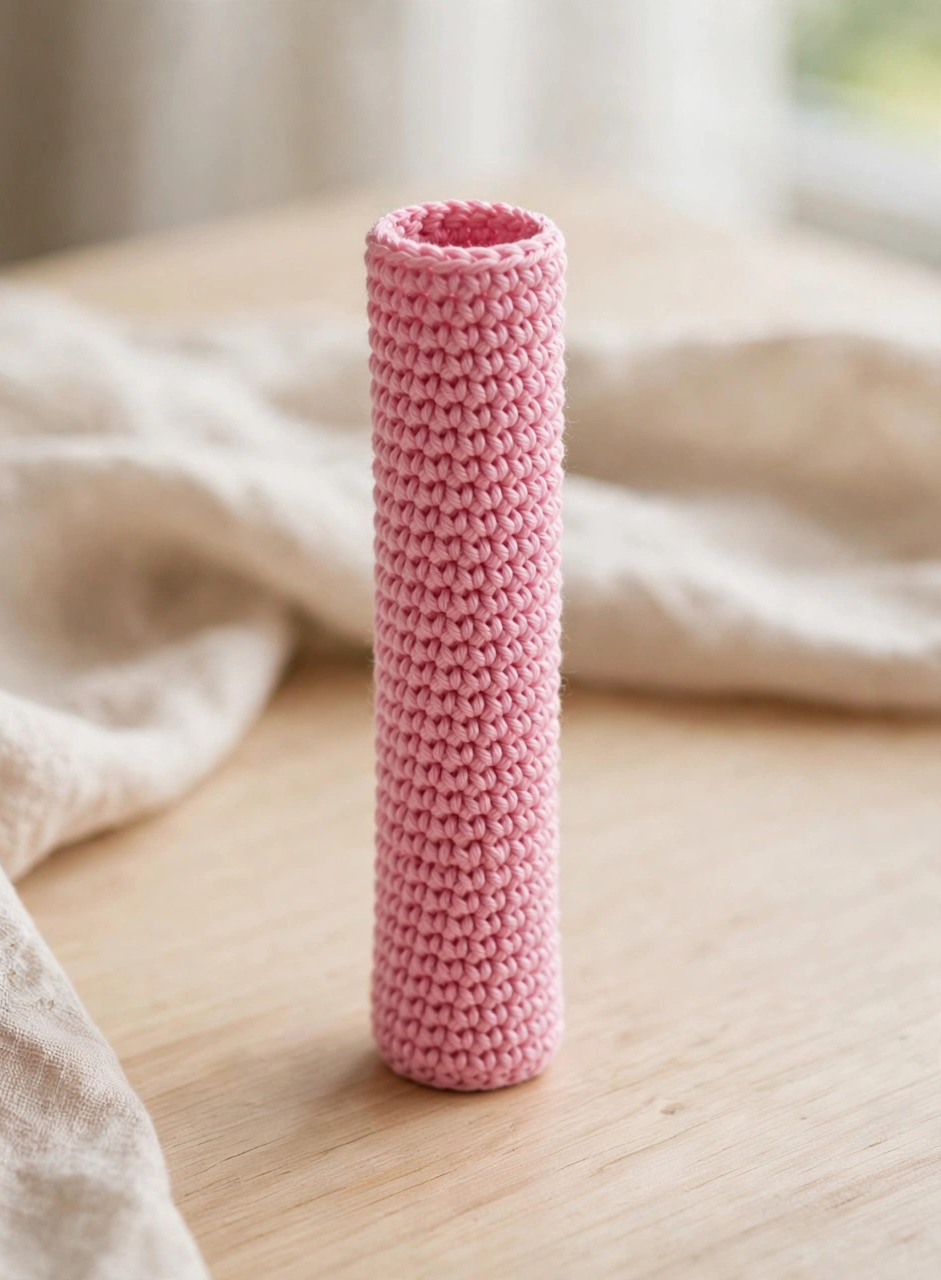
Now build the walls of the holder. Work in rounds (or turned rows joined into a tube) until the piece measures about 8–9 cm tall — roughly rounds 3 through 22 depending on your tension. The tube should hug the lip balm snugly without stretching the stitches. Slip the balm in every few rounds to check the fit; it is much easier to adjust now than after fastening off. For a very similar tube-shaping technique, you might enjoy my crochet tote bag pattern — the principle is the same, just on a bigger scale.
Step 3: Make the Strap
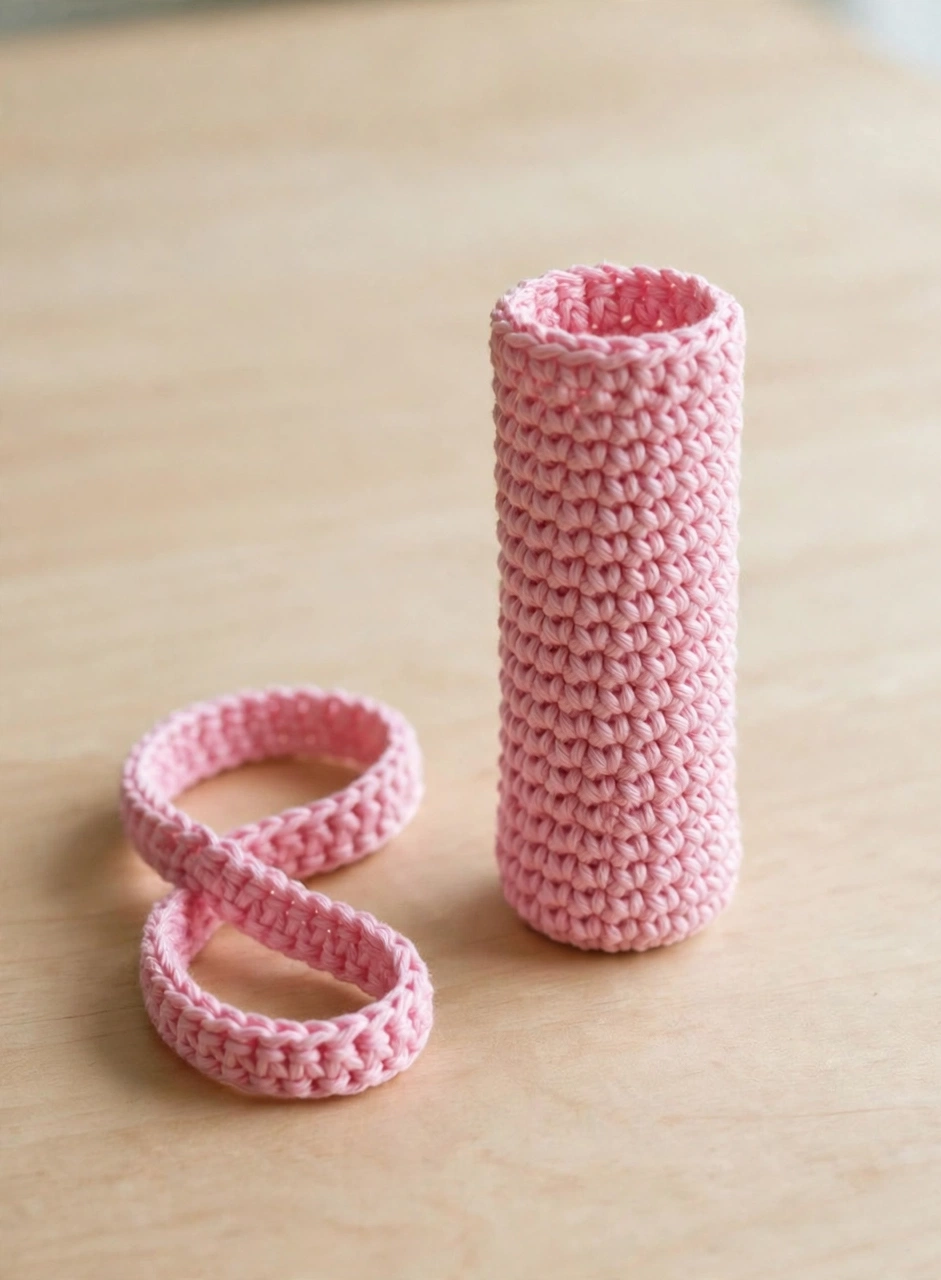
The strap turns your holder into a keychain. Chain 12 (or your desired length), then slip stitch back into the opposite side of the holder’s top edge to form a loop. Join with a slip stitch and fasten off, weaving in the end securely — this loop takes all the pulling, so make those stitches tight. A slightly longer chain gives a dangly, playful look; a shorter one sits neatly on a keyring.
Step 4: Crochet the Daisy Flower
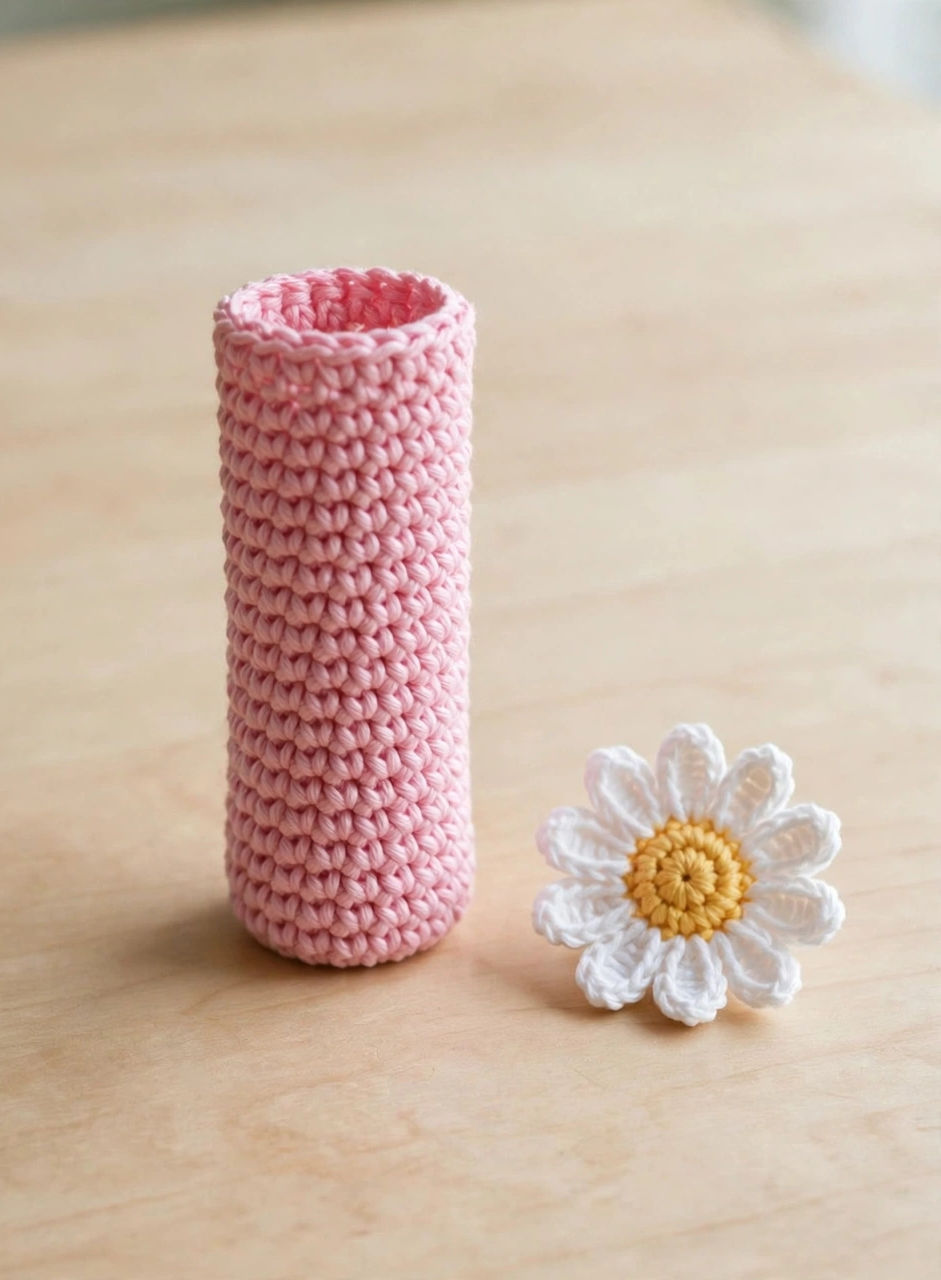
The daisy is the star of this crochet lip balm holder. With yellow yarn, make a magic ring, chain 1, and work 6 single crochet into the ring; slip stitch to join and fasten off. Join white yarn and work (3 double crochet, slip stitch) six times around to form the petals, then fasten off and weave in the ends. Keep the flower small and flat so it sits nicely on the front of the holder.
Step 5: Attach the Strap and Sew on the Flower
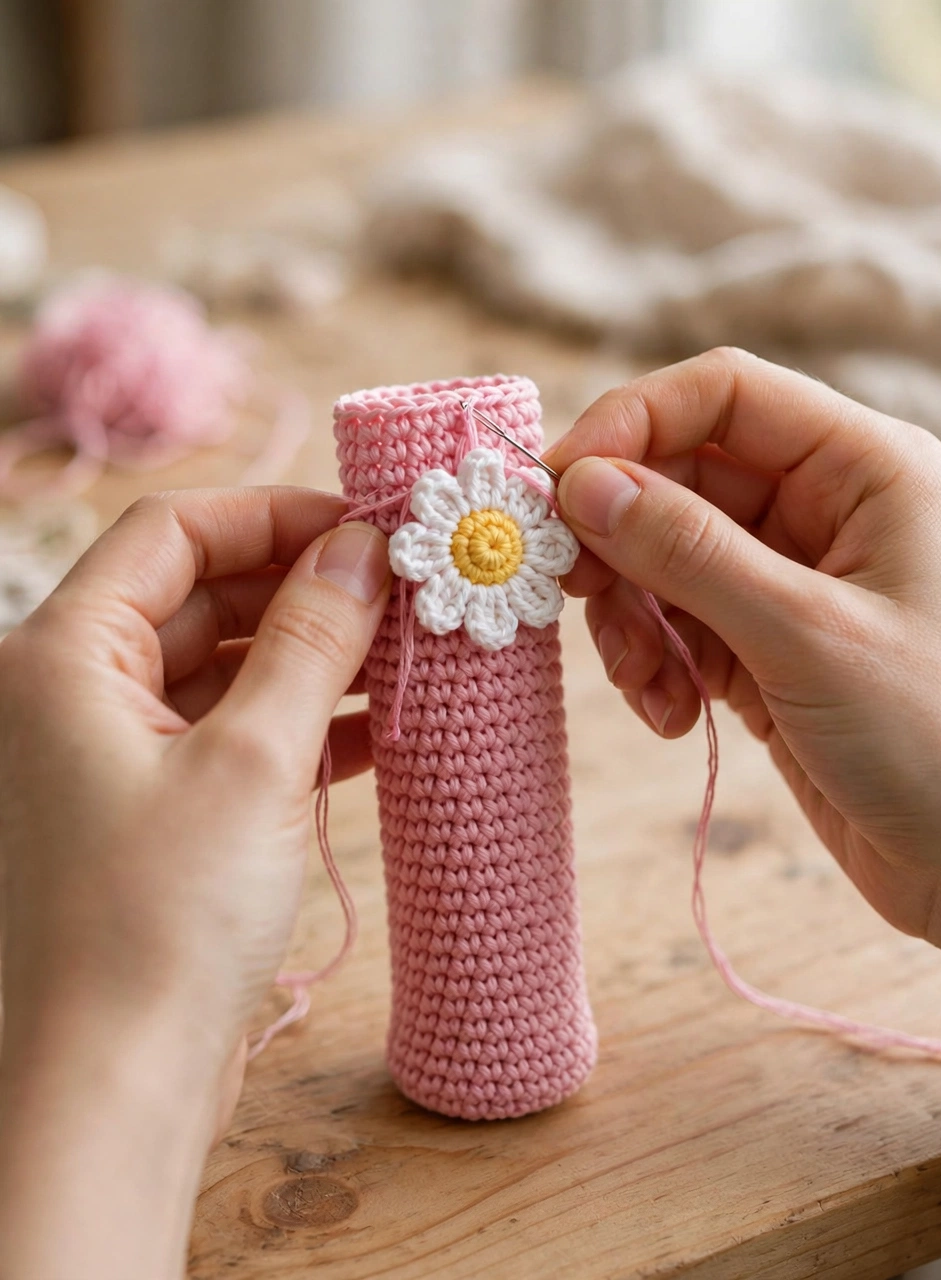
Time for assembly. Attach the strap to the top edge of the holder with slip stitches, spacing it evenly so the holder hangs straight. Then position the daisy flower on the front, about a third of the way down from the top, and sew it on with the yarn needle using small, invisible stitches through the back of the petals. Give it a gentle tug to make sure it is secure — keychains get tossed around in bags!
Step 6: Add the Clasp and Finish
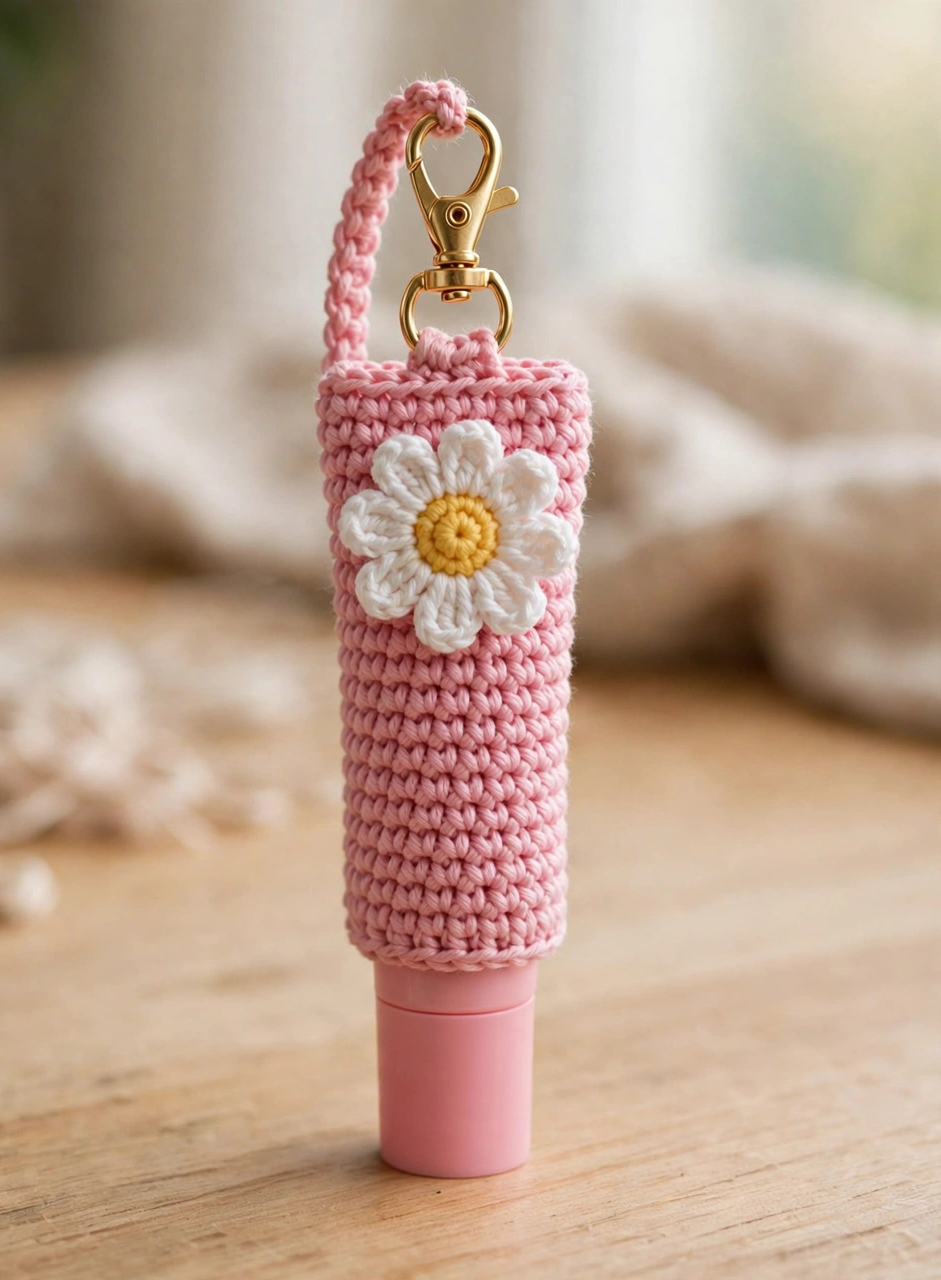
The last step is the hardware. Attach a lobster clasp or keyring to the strap loop, insert your lip balm tube, and you are done! Weave in any remaining ends with the yarn needle. Your handmade crochet lip balm holder is ready to clip onto your keys — no more digging through your bag for lip balm.
Tips for the Perfect Crochet Lip Balm Holder
- Check the fit as you go. Lip balm tubes vary slightly in diameter — slip yours in every few rounds and adjust your stitch count early.
- Keep the flower flat. Work the petals loosely enough that the daisy doesn’t curl; a flat flower sews on much more neatly.
- Reinforce the strap. The strap carries the whole keychain, so work back over its base with an extra round of slip stitches for strength.
Frequently Asked Questions
Is this crochet lip balm holder pattern good for beginners?
Yes! You only need to know how to chain, single crochet, and slip stitch. The flower uses basic double crochet petals, and every step is photographed.
How long does it take to make?
Most crocheters finish in 45–60 minutes, making it a perfect last-minute gift or craft-fair item. Once you know the pattern, you can batch several in an evening.
Will it fit my lip balm tube?
The pattern fits most standard tubes (about 1.5–2 cm diameter). Just adjust the starting chain: wrap it around your tube and add or remove chains until it fits snugly.
Can I sell finished lip balm holders made from this pattern?
Absolutely — finished handmade items are yours to sell at markets or online. A credit link back to this tutorial is appreciated but not required.
Conclusion
And that’s it — your own cute crochet lip balm holder, made with your own two hands! This is one of those patterns you’ll return to again and again: for gifts, for craft fairs, or just because your keys deserve something pretty. If you made one, I’d love to hear how it turned out — and when you’re ready for your next project, browse our other Crochet tutorials for more beginner-friendly patterns. Happy crocheting!