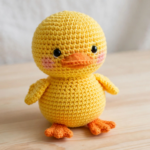
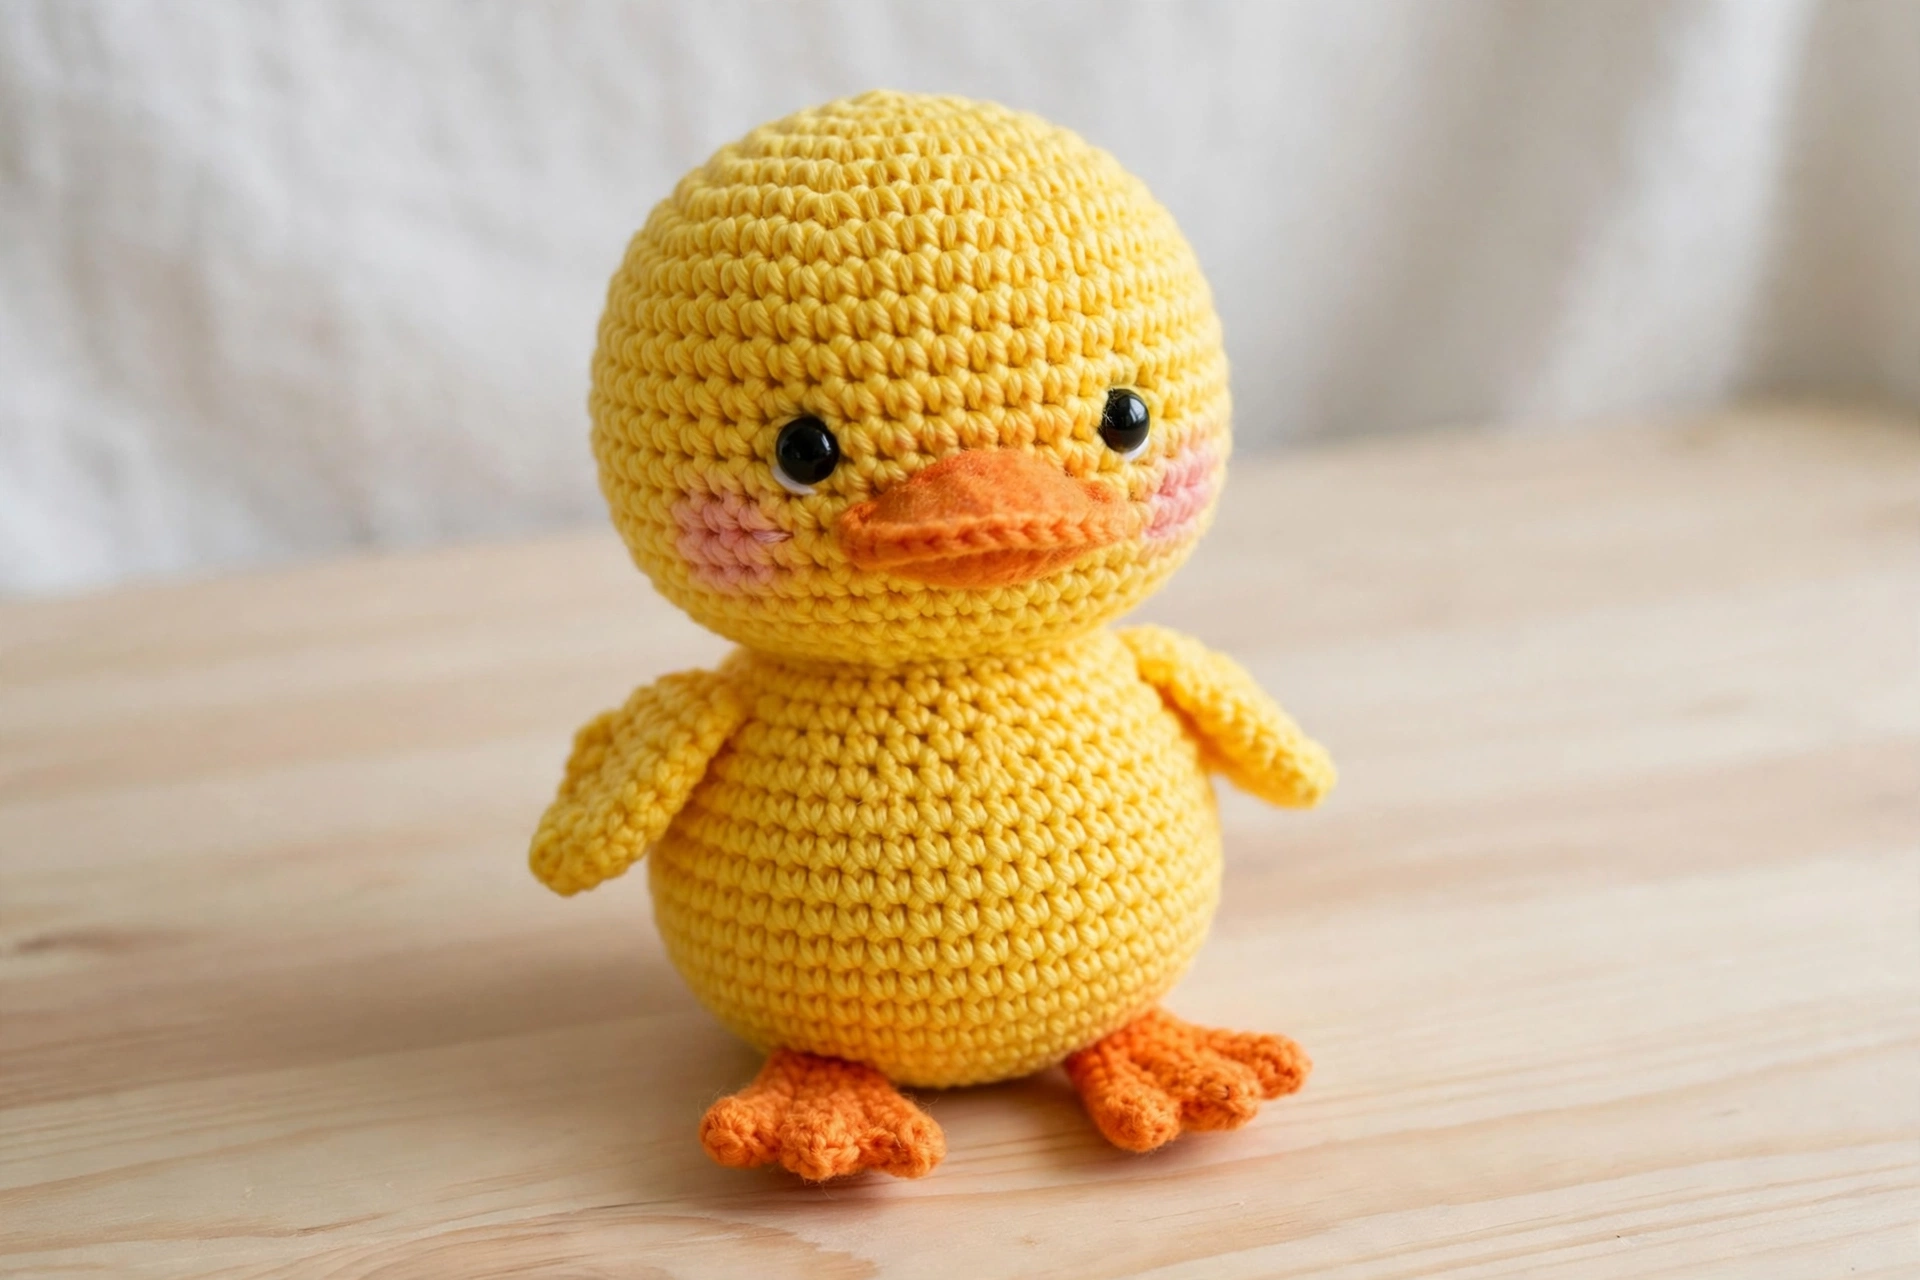
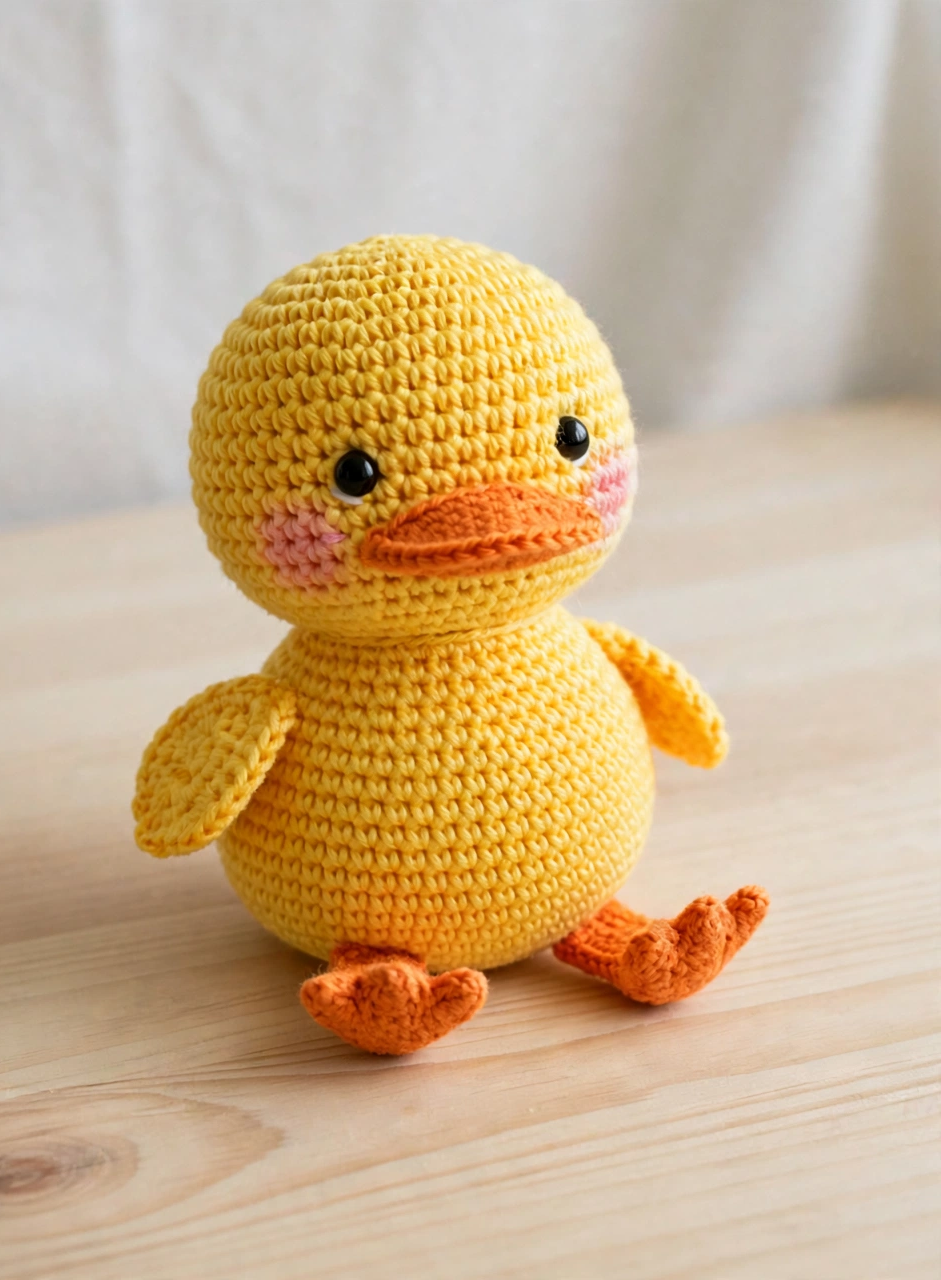
This free crochet duck pattern makes the sweetest little friend: a sunny-yellow amigurumi duck with a flat orange beak, tiny yellow wings, orange webbed feet, black safety eyes and soft pink blush cheeks. Worked in simple single crochet in the round, this crochet duck pattern is a perfect beginner project — most makers finish it in one relaxed evening, and it stands about 18 cm tall when finished. Follow the six photo steps below, then download the free printable PDF pattern at the end of the guide.
Materials
- Yellow worsted-weight yarn (about 80 g) for the head, body and wings
- Orange worsted-weight yarn (about 20 g) for the beak and feet
- A small amount of pink yarn for the blush cheeks
- 4.0 mm crochet hook
- 10 mm black safety eyes (2)
- Polyester fiberfill stuffing
- Yarn needle and scissors
- Stitch marker
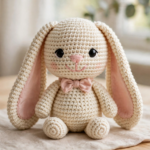
If you are new to amigurumi, you may also enjoy our crochet bunny pattern — it uses the same basic stitches. For yarn, a smooth worsted cotton-acrylic blend such as Paintbox Yarns (see LoveCrafts) keeps the stitches neat and the duck’s shape crisp.
Step 1: Crochet the Duck Head
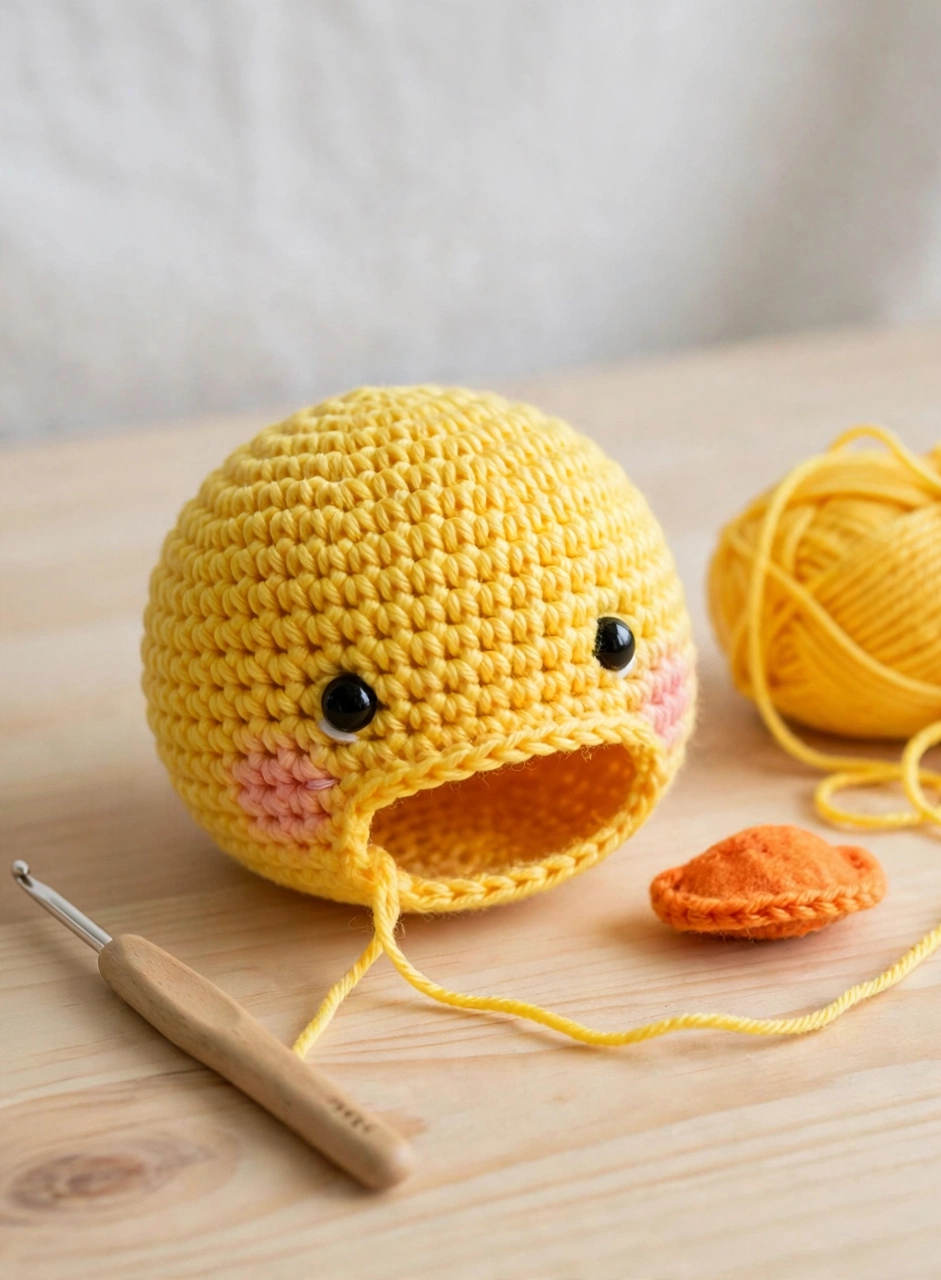
Start this crochet duck pattern with the head, worked in yellow yarn in a continuous spiral. Begin with a magic ring of 6 single crochet, then increase evenly — 12, 18, 24 and finally 30 stitches — before working five straight rounds. Decrease back down to 6 stitches, stuffing firmly before you close. Place the safety eyes between rounds 8 and 9, about 6 stitches apart, so the face stays balanced.
Step 2: Crochet the Duck Body
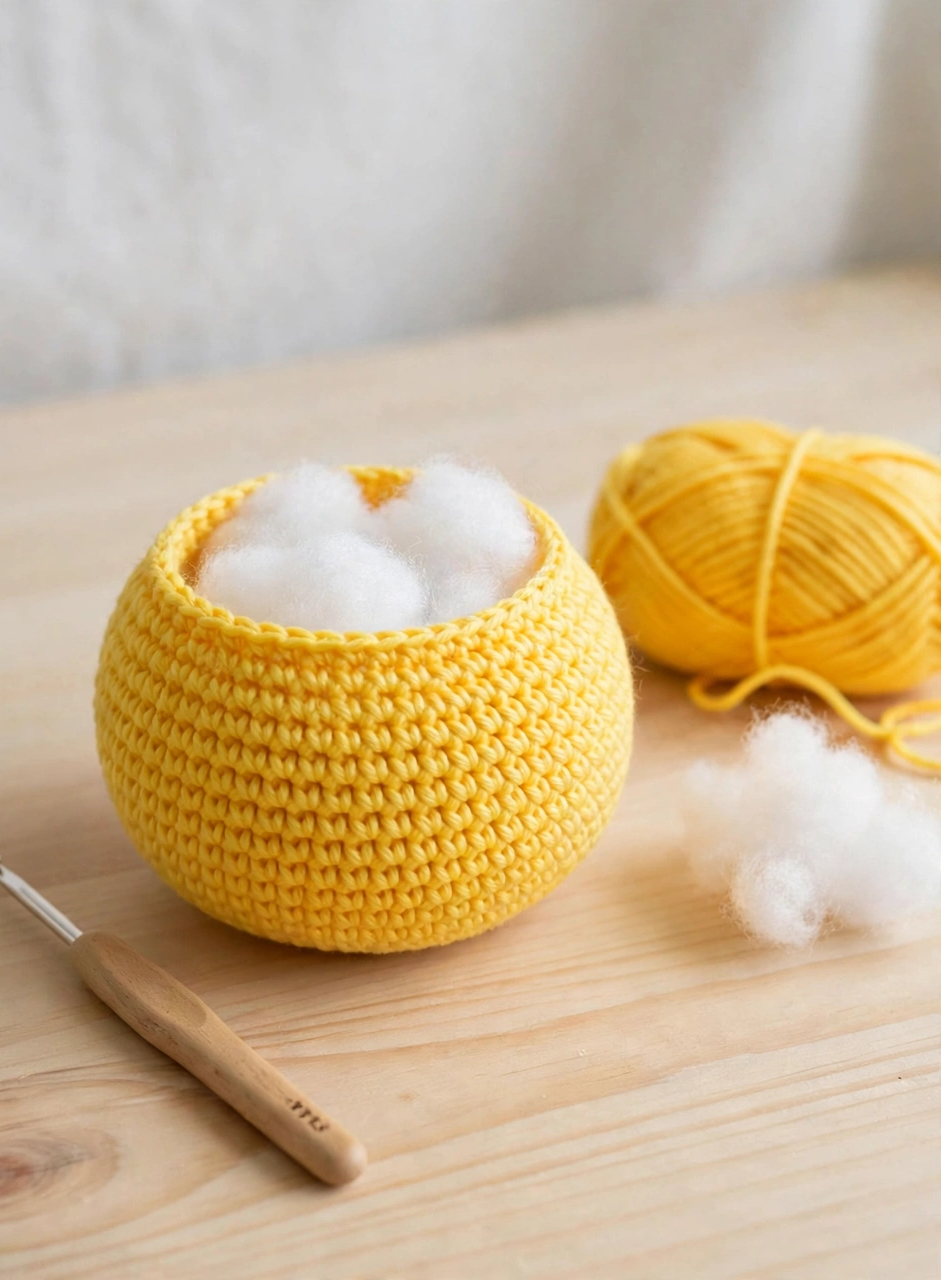
The body of this amigurumi duck follows the same idea on a slightly larger scale: increase from a magic ring of 6 up to 36 stitches, work five even rounds, then decrease gradually to 6 and close. Stuff the body a little at a time, shaping it into a plump egg form as you go — a well-stuffed body is what lets your crochet duck sit upright instead of flopping forward.
Step 3: Make and Sew On the Orange Beak
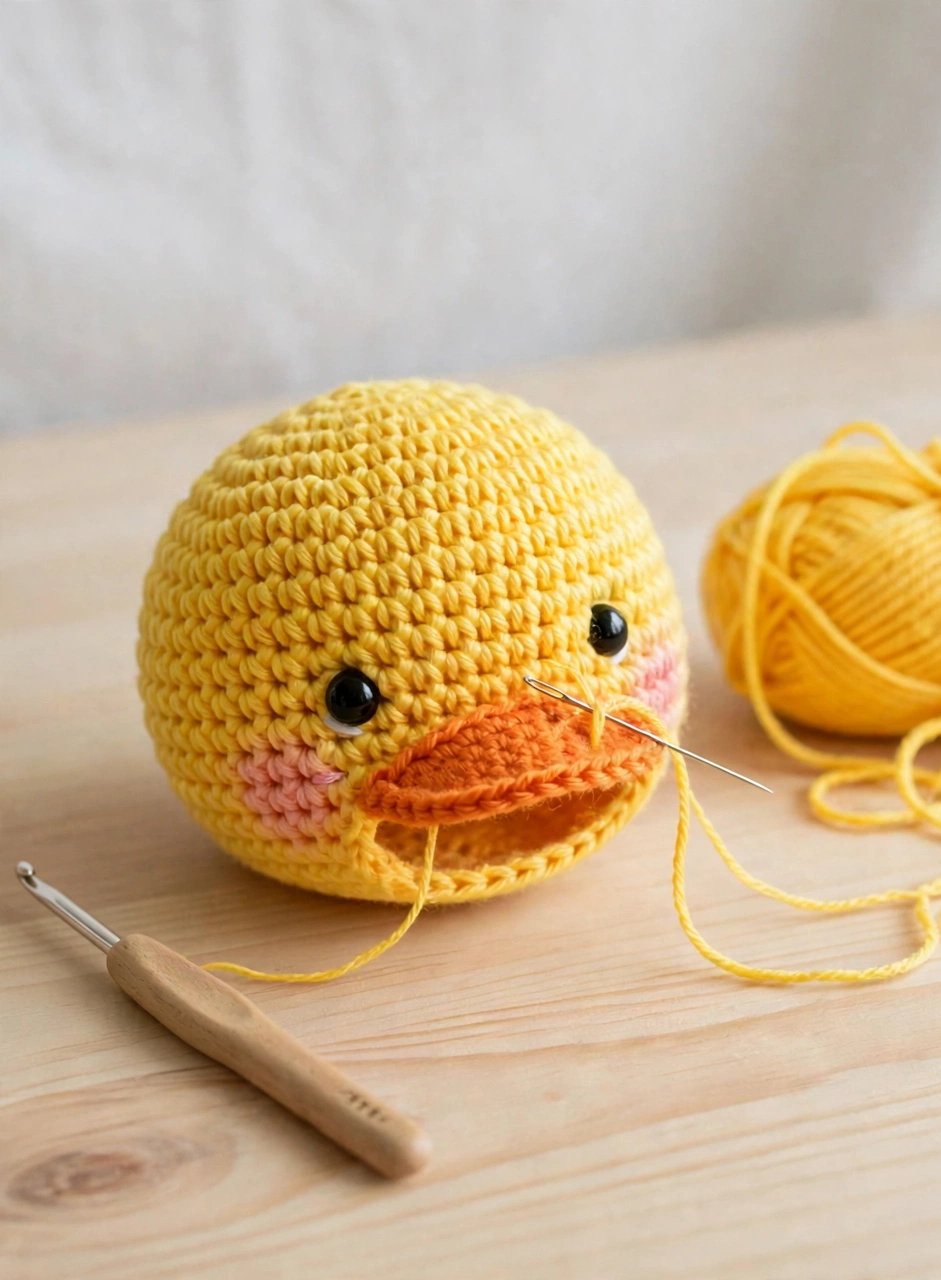
The beak is what turns a yellow ball into a duck, so take your time here. Crochet one flat orange piece in rows — chain 9, work single crochet across, then taper the end slightly — and sew it flat across the lower half of the head, centred between the eyes. Keep the top edge of the beak straight and the bottom edge slightly rounded for that classic duck-bill look.
Step 4: Crochet the Wings and Webbed Feet
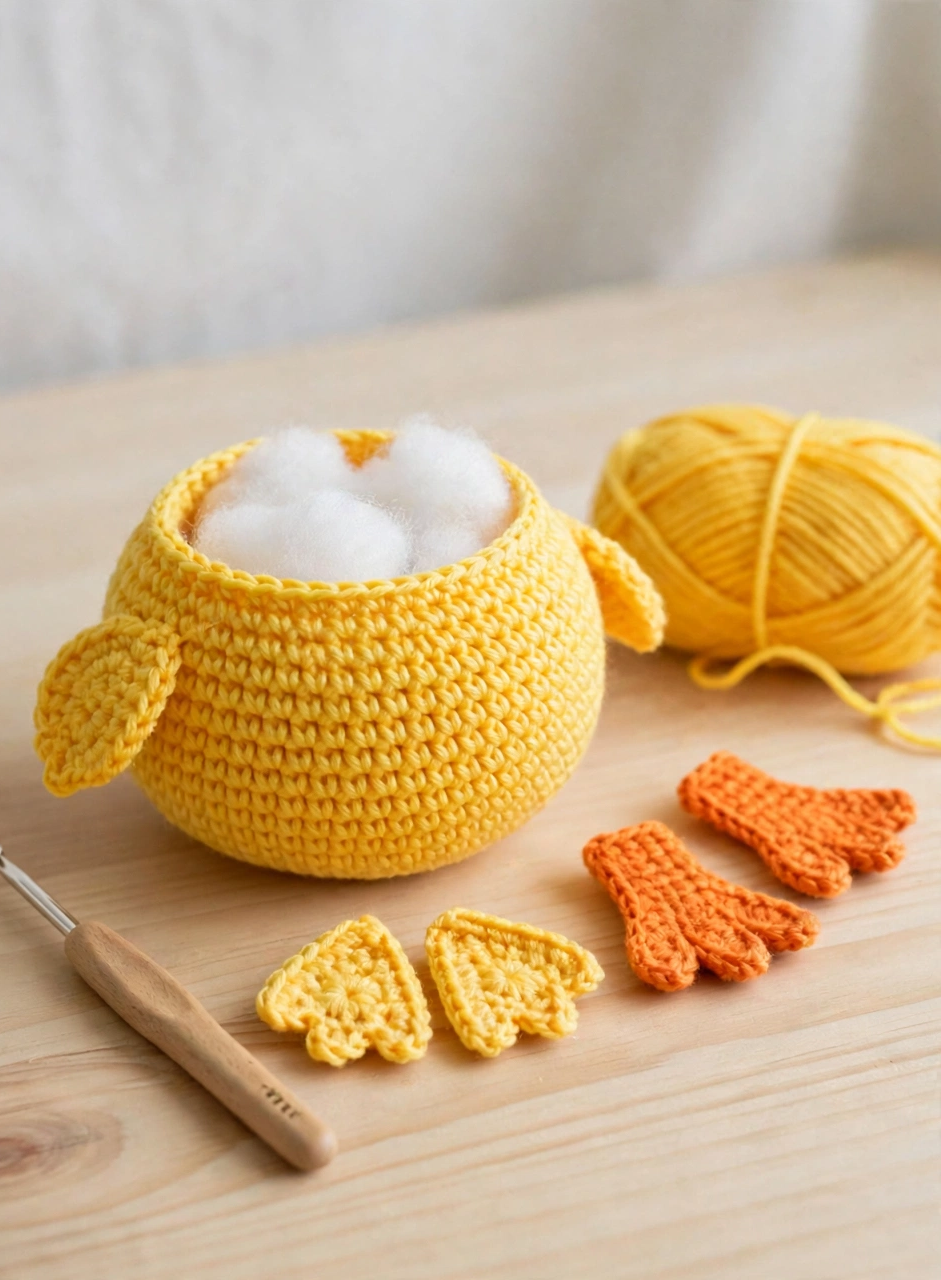
Make two small yellow wings — a magic ring increased to 12 stitches, two plain rounds, then a gentle decrease — and flatten each one before sewing it to the side of the body. For the feet, crochet two flat orange ovals, then embroider two short lines across each one to suggest three webbed toes. These little details are what make this easy crochet duck pattern look finished rather than plain.
Step 5: Stuff and Sew the Duck Together
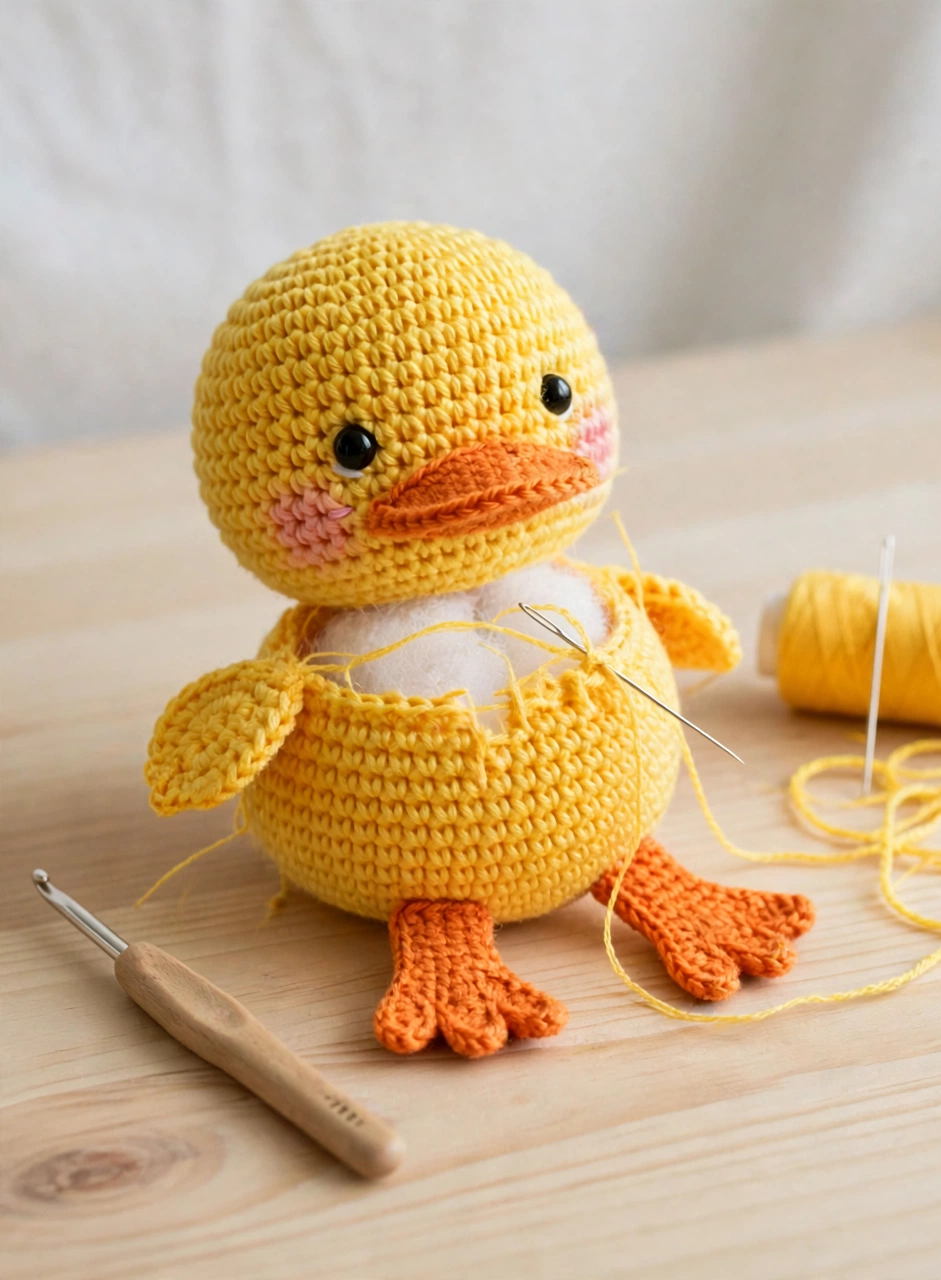
Now assemble your amigurumi duck: sew the head firmly to the top of the body, then attach the wings at the sides, slightly angled outward, and the feet underneath so the duck stands level. Pin every piece in place and check the balance from the front and the side before you sew — a minute of pinning here saves a lopsided duck later. Weave in all yarn ends neatly.
Step 6: Add the Face and Finishing Touches
Finish your crochet duck with its face: the safety eyes are already in place, so now embroider two small pink blush circles on the cheeks with pink yarn, one stitch below and slightly outside each eye. Give the duck a final once-over, fluff the wings outward, and set it upright — your sunny-yellow duck is ready for the shelf, a nursery gift or a craft fair table.
Tips for a Perfect Crochet Duck
- Mark every round. Amigurumi is worked in a spiral, so move your stitch marker up at the start of each round — losing your place is the most common beginner mistake.
- Stuff in small pinches. Add a little fiberfill at a time and shape as you go; overstuffing in one lump makes lumps, while gentle layers give a smooth, plump duck.
- Pin before you sew. Check the beak, wings and feet from every angle while they are pinned — once they are sewn, moving them means unpicking.
Frequently Asked Questions
Is this crochet duck pattern good for beginners?
Yes. This crochet duck pattern uses only single crochet, increases, decreases and a magic ring, with no colour changes inside a round. If you can crochet a ball shape, you can make this duck.
How big is the finished amigurumi duck?
Made with worsted-weight yarn and a 4.0 mm hook, the finished duck stands about 18 cm tall and 13 cm wide. Use a smaller hook and DK yarn for a mini version, or chunky yarn for a bigger plush.
How long does this duck amigurumi take to crochet?
Most beginners finish it in 3–4 hours, spread over an evening or two. The head and body take the longest; the beak, wings and feet are each under 20 minutes.
Can I sell ducks made from this crochet duck pattern?
Yes — ducks you crochet yourself from this free pattern may be sold at craft fairs or online, with credit to this pattern appreciated. The written pattern itself may not be resold or redistributed.
Conclusion
This free crochet duck pattern is a cheerful, quick amigurumi project that looks far more impressive than its simple stitches suggest. Grab your yellow and orange yarn, follow the six photo steps, and you will have a sunny little duck ready to gift or keep. Happy crocheting — and do not forget to download the free printable PDF pattern below for your next make!