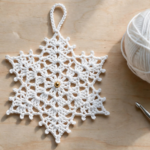
This free crochet mitten ornament pattern is the quickest way to add a handmade touch to your Christmas tree. In about an hour, a few scraps of red and white yarn become a tiny mitten ornament with a fluffy cuff, an embroidered snowflake, and a candy-striped hanging loop. It is a perfect beginner project, a lovely gift topper, and a wonderful way to use up leftover yarn before the holidays.
Best of all, this crochet mitten ornament pattern is worked in simple single crochet rounds, so you do not need any advanced skills. If you can make a magic ring and crochet in the round, you can make this mitten. Make one for the tree, or make a whole set in different colours for gifts, garlands, and craft fair tables.
Materials
- DK or worsted-weight yarn in red (main colour) and white (cuff and snowflake)
- 3.5 mm crochet hook (or the size that suits your yarn)
- Yarn needle for sewing and embroidery
- Small amount of toy stuffing or yarn scraps
- Scissors
- Stitch marker
- Optional: red-and-white baker’s twine or a short length of twisted cord for the hanging loop
Finished size: about 9 cm tall (excluding the loop) with DK yarn and a 3.5 mm hook. Heavier yarn and a larger hook will give you a bigger mitten ornament, which is ideal if you want a matching pair for a garland.
Step 1: Start the Mitten Tip with a Magic Ring
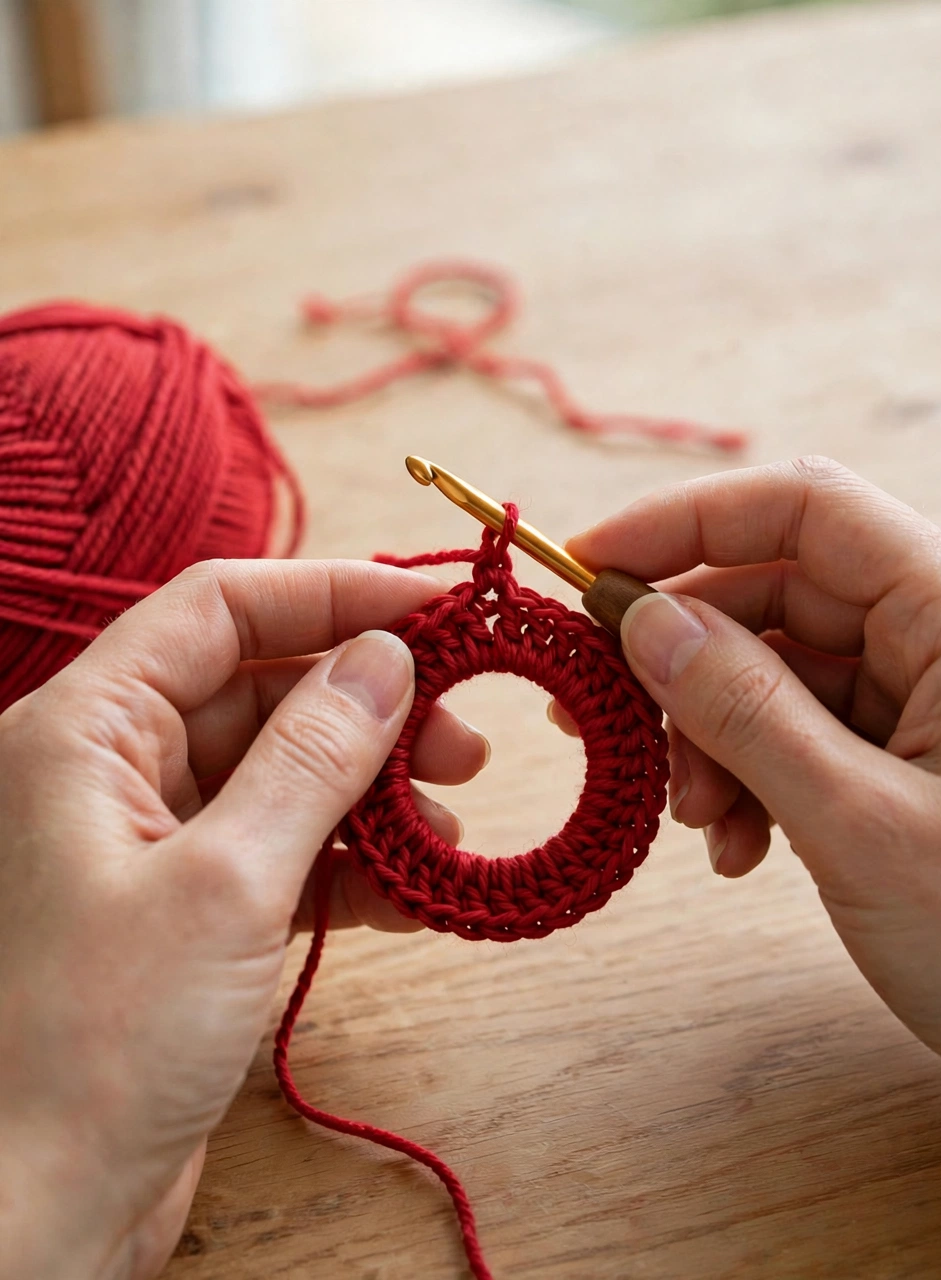
Every good crochet mitten ornament pattern starts at the fingertip, and this one is no different. Make a magic ring and work 6 single crochet stitches into it, then pull the ring closed. Increase steadily over the next three rounds — 12 stitches, then 18, then 24 — until the rounded tip of the mitten is wide enough to look plump and even.
Keep your stitches snug and use a stitch marker at the start of each round. A tight, even tension at this stage is what gives the finished mitten ornament its neat, shop-bought shape rather than a floppy one.
Step 2: Crochet the Mitten Body
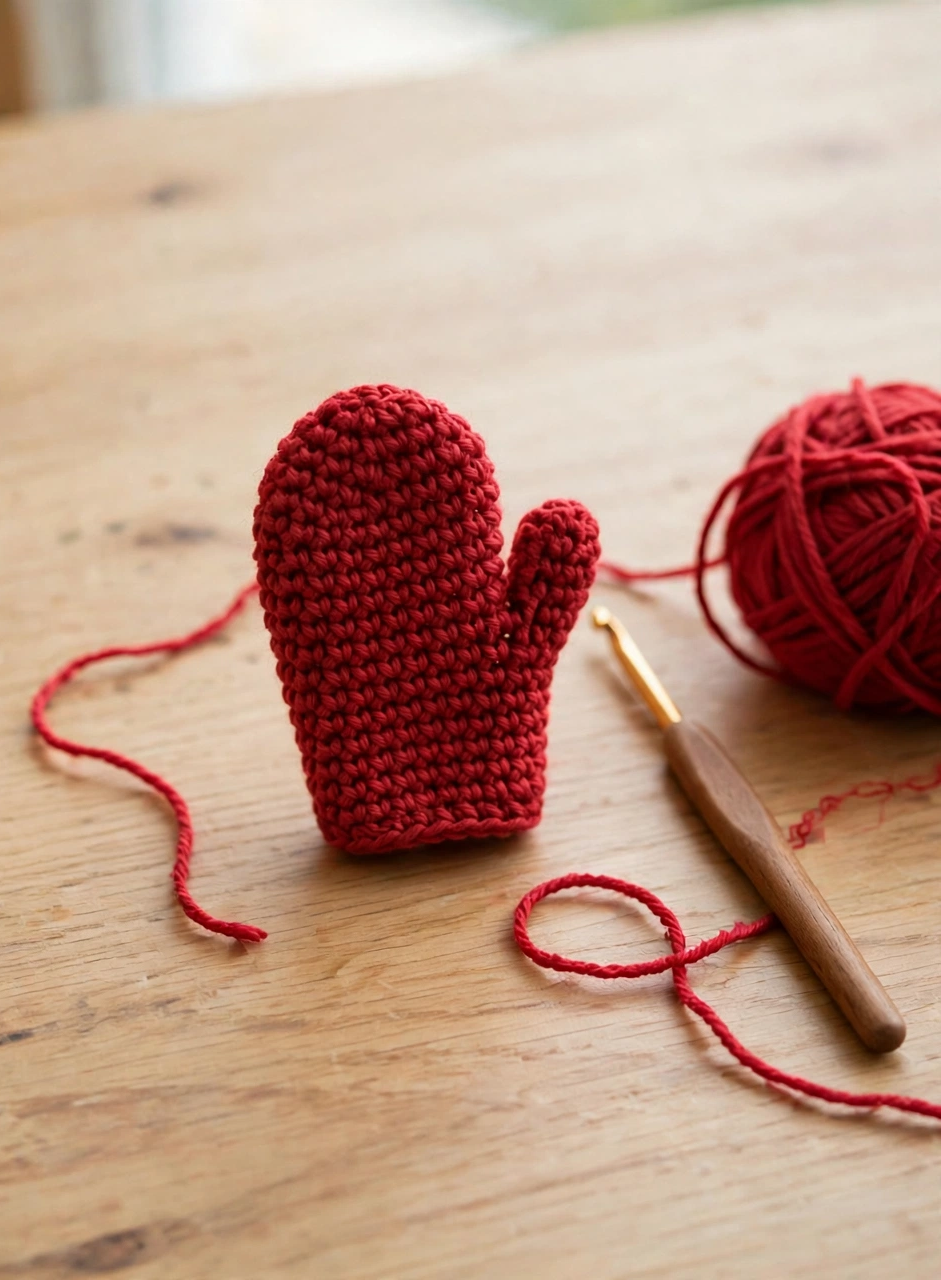
Once you reach 24 stitches, stop increasing and simply work one single crochet in each stitch around for eight rounds. This straight section forms the body of the mitten, and it grows surprisingly fast. The mitten should start to cup naturally into a little pouch shape as you go.
Try the mitten against your hand as a guide: at this size it should cover roughly two finger joints. If your tension is loose, drop down half a hook size so the stuffing will not show through the stitches later.
Step 3: Make and Attach the Thumb
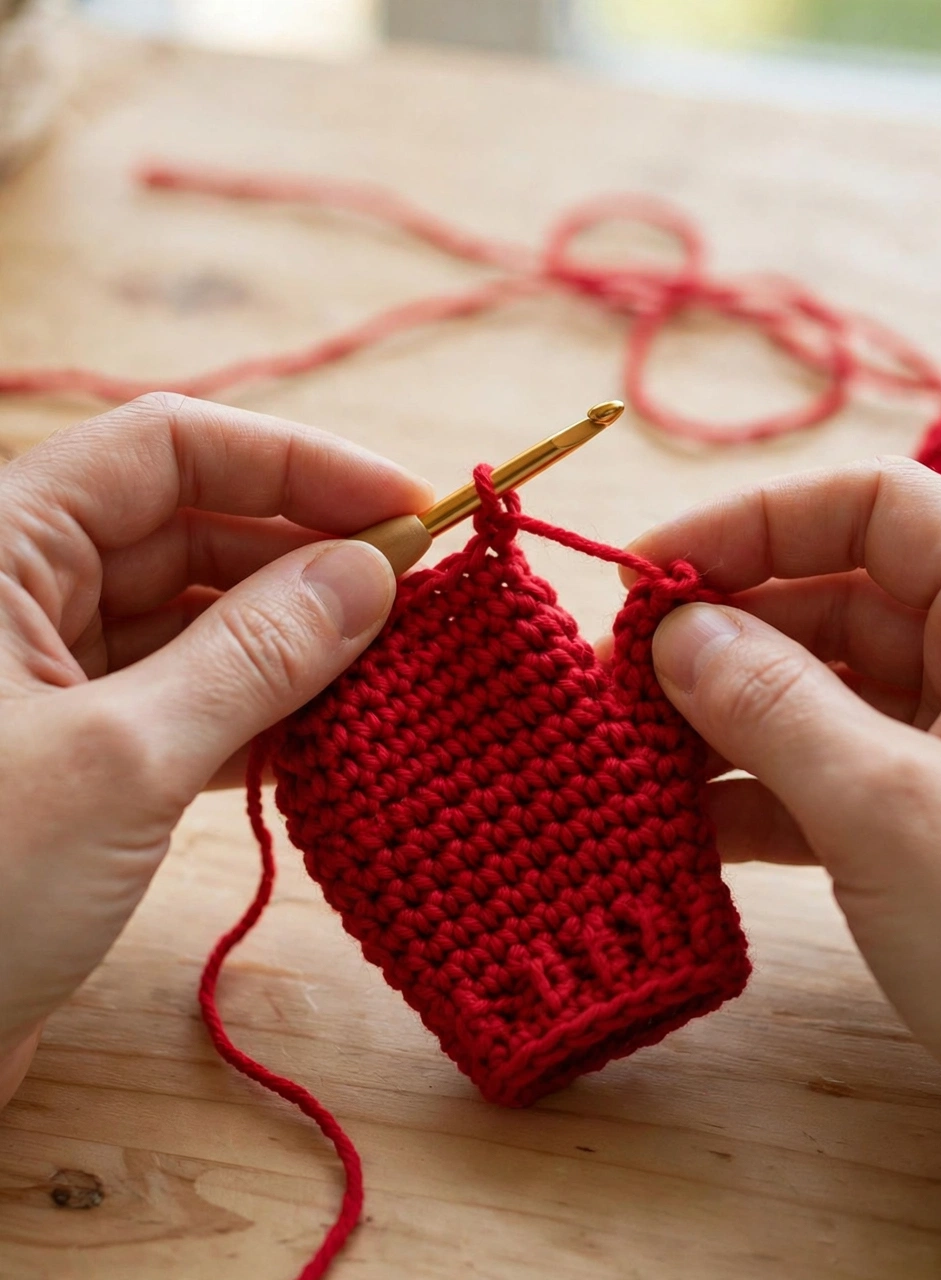
The thumb is a tiny tube worked separately: 6 single crochet in a magic ring, increased to 12 stitches, then three straight rounds. Fasten off, leaving a long tail for sewing, and close the top of the tube with a few whip stitches.
Sew the thumb to the side of the mitten body, roughly at rounds 7 to 9, with the closed end pointing slightly upward. Position matters here — a thumb set too low looks like a pocket, while one set at mid-body reads instantly as a mitten. Sew firmly all the way around the base so it cannot wobble loose on the tree.
Step 4: Add the Fluffy White Cuff

Join the white yarn at the top opening of the mitten and work three rounds of single crochet around the 24 stitches. For the fluffy finish, use a soft, slightly fuzzy white yarn, or work the final round in a bobble-style stitch if you prefer extra texture. The cuff is what turns a plain red mitten into a Christmas ornament, so do not skip it.
Fold the cuff down slightly over the red body once it is finished. This little roll hides the join and makes the mitten look cosy and finished, just like a real winter mitten.
Step 5: Embroider the Snowflake
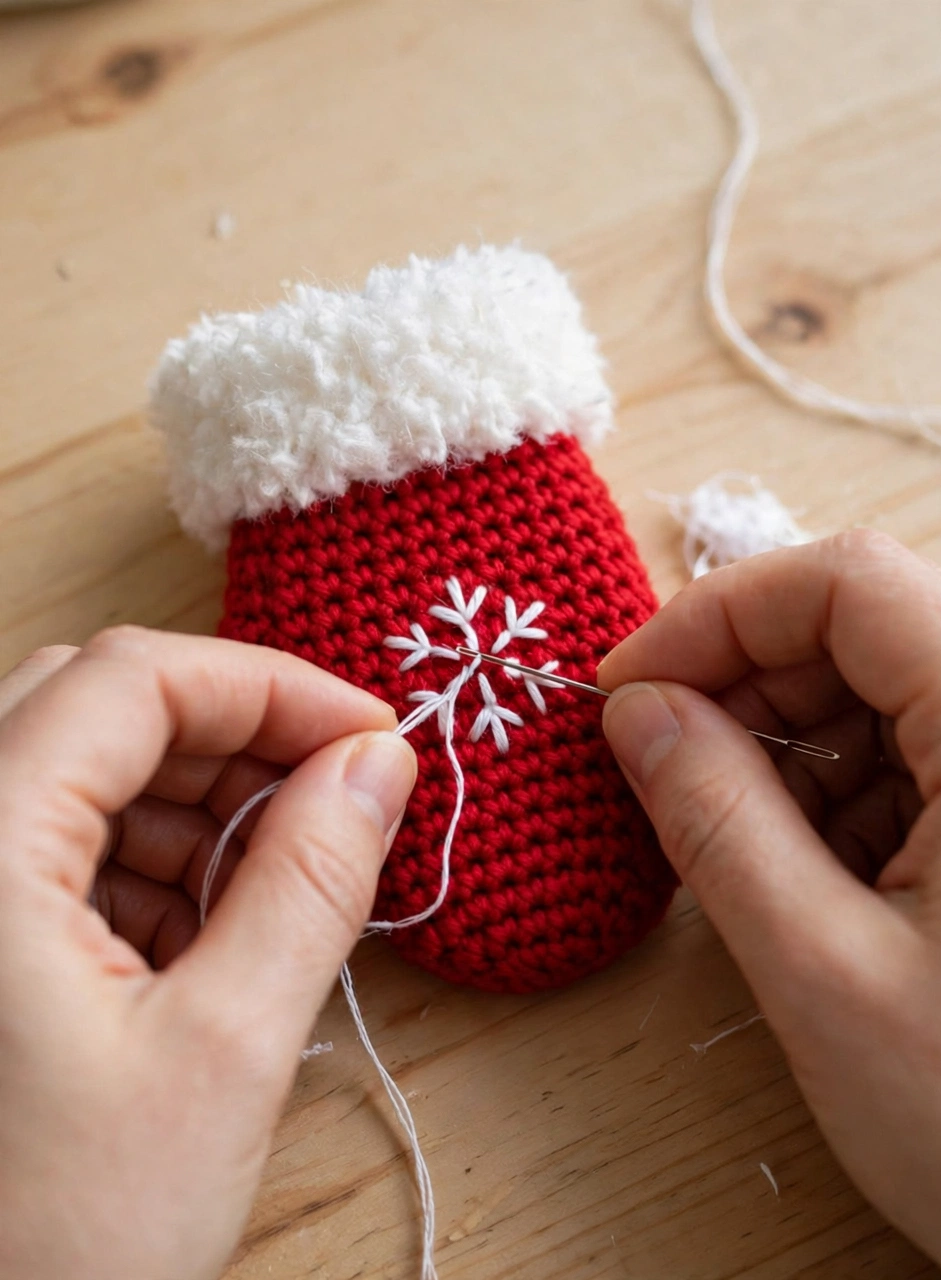
Thread your yarn needle with white yarn and embroider a simple snowflake on the front of the mitten. Start with three straight stitches crossing at the centre, like an asterisk, then add a tiny stitch at the end of each arm to suggest snowflake branches. Keep the snowflake small and centred — it should sit comfortably on the red body without touching the cuff or the thumb.
If embroidery feels fiddly, a single white French knot or a tiny white button works just as well. The goal is one bright focal point on the red mitten, not a crowded design.
Step 6: Add the Hanging Loop and Finish
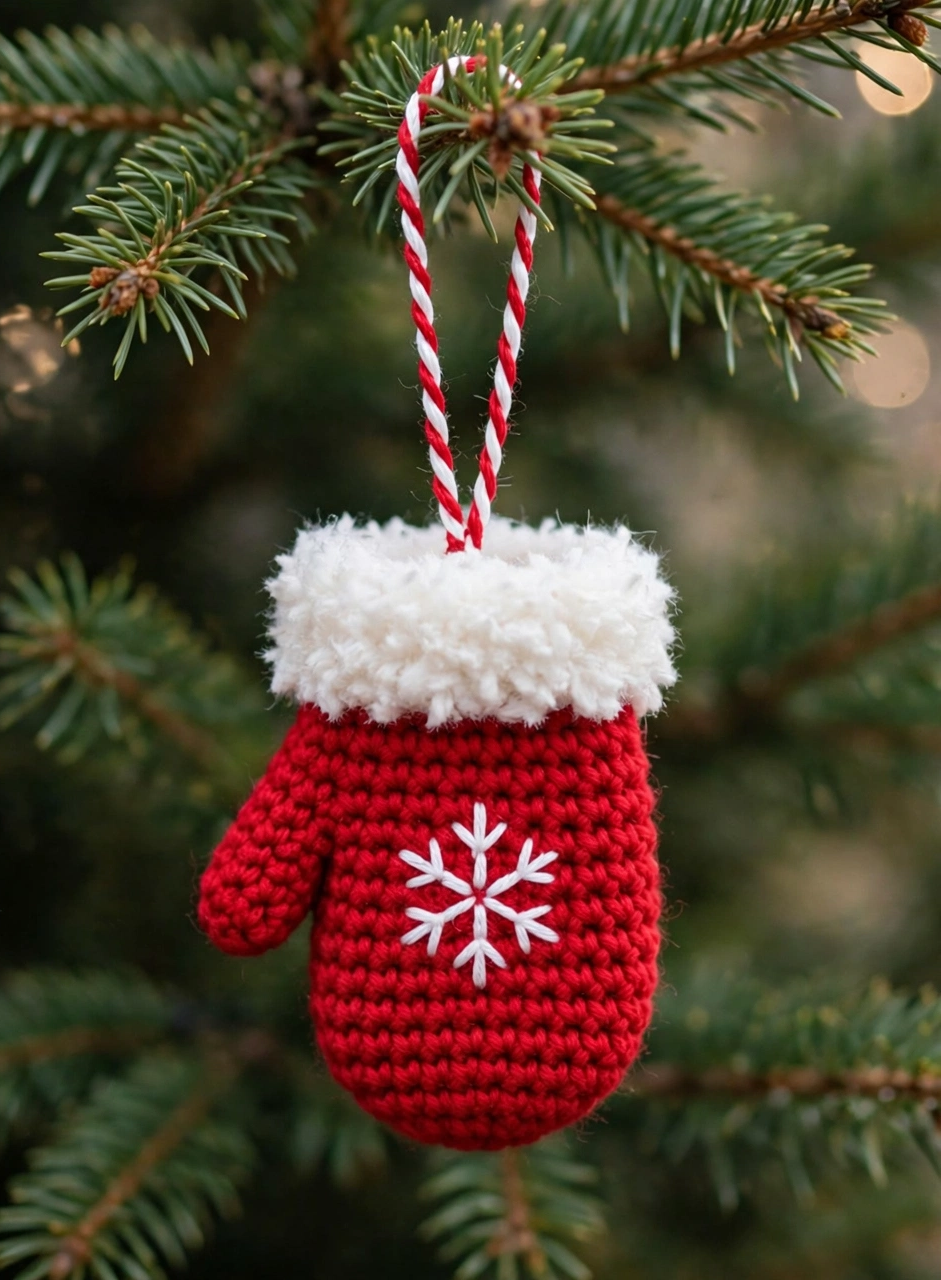
Lightly stuff the mitten with a small amount of toy stuffing — just enough to hold its shape, not so much that the stitches stretch. Twist a short length of red and white yarn together (or use baker’s twine), fold it into a loop, and sew both ends securely inside the cuff.
Weave in all remaining ends, give the cuff a final fluff, and your mini mitten ornament is ready to hang. Make a second mitten in green or cream, join the pair with a cord, and you have a classic Christmas decoration that looks wonderful draped over a branch or strung along a mantelpiece.
Tips for a Perfect Mini Mitten Ornament
- Keep it firm. A slightly tighter tension than usual stops stuffing from peeking through and keeps the mitten’s shape on the tree all season.
- Make a set. One mitten takes under an hour, so batch them in red, green, cream, and dusty blue for a coordinated tree or a craft fair set.
- Use scraps. This pattern needs less than 20 g of each colour, making it one of the best scrap-busting Christmas crochet projects.
Frequently Asked Questions
Is this crochet mitten ornament pattern suitable for beginners?
Yes. This crochet mitten ornament pattern uses only single crochet, increases, and basic sewing. If you have made a simple amigurumi ball or a mug cosy before, you already have every skill you need.
How long does one mini mitten ornament take to make?
Most crocheters finish one mitten in 45 to 60 minutes. The body rounds are quick and repetitive, and the cuff and snowflake take only a few minutes each.
Can I make a pair of mittens instead of one?
Absolutely. Make two mittens and join them with a twisted cord between the cuffs, or hang them separately on either side of a wreath. For a true pair, mirror the thumb position so the thumbs face each other.
What yarn works best for a Christmas mitten ornament?
A smooth DK or worsted cotton or acrylic in red with a soft white yarn for the cuff gives the cleanest result. Avoid very fluffy yarn for the red body, as it hides the snowflake embroidery. For more yarn ideas, browse the seasonal ranges at LoveCrafts, and see our matching crochet Christmas stocking pattern for another quick tree decoration.
Conclusion
This little red mitten proves that the best Christmas decorations are often the simplest. Follow this crochet mitten ornament pattern once, and you will have a decoration you can repeat all season — for your tree, for gifts, and for everyone who loves a handmade Christmas. Grab your red yarn, pick up your hook, and make your first mitten ornament today. Do not forget to download the free printable PDF pattern below to keep beside you while you crochet.