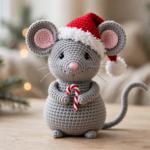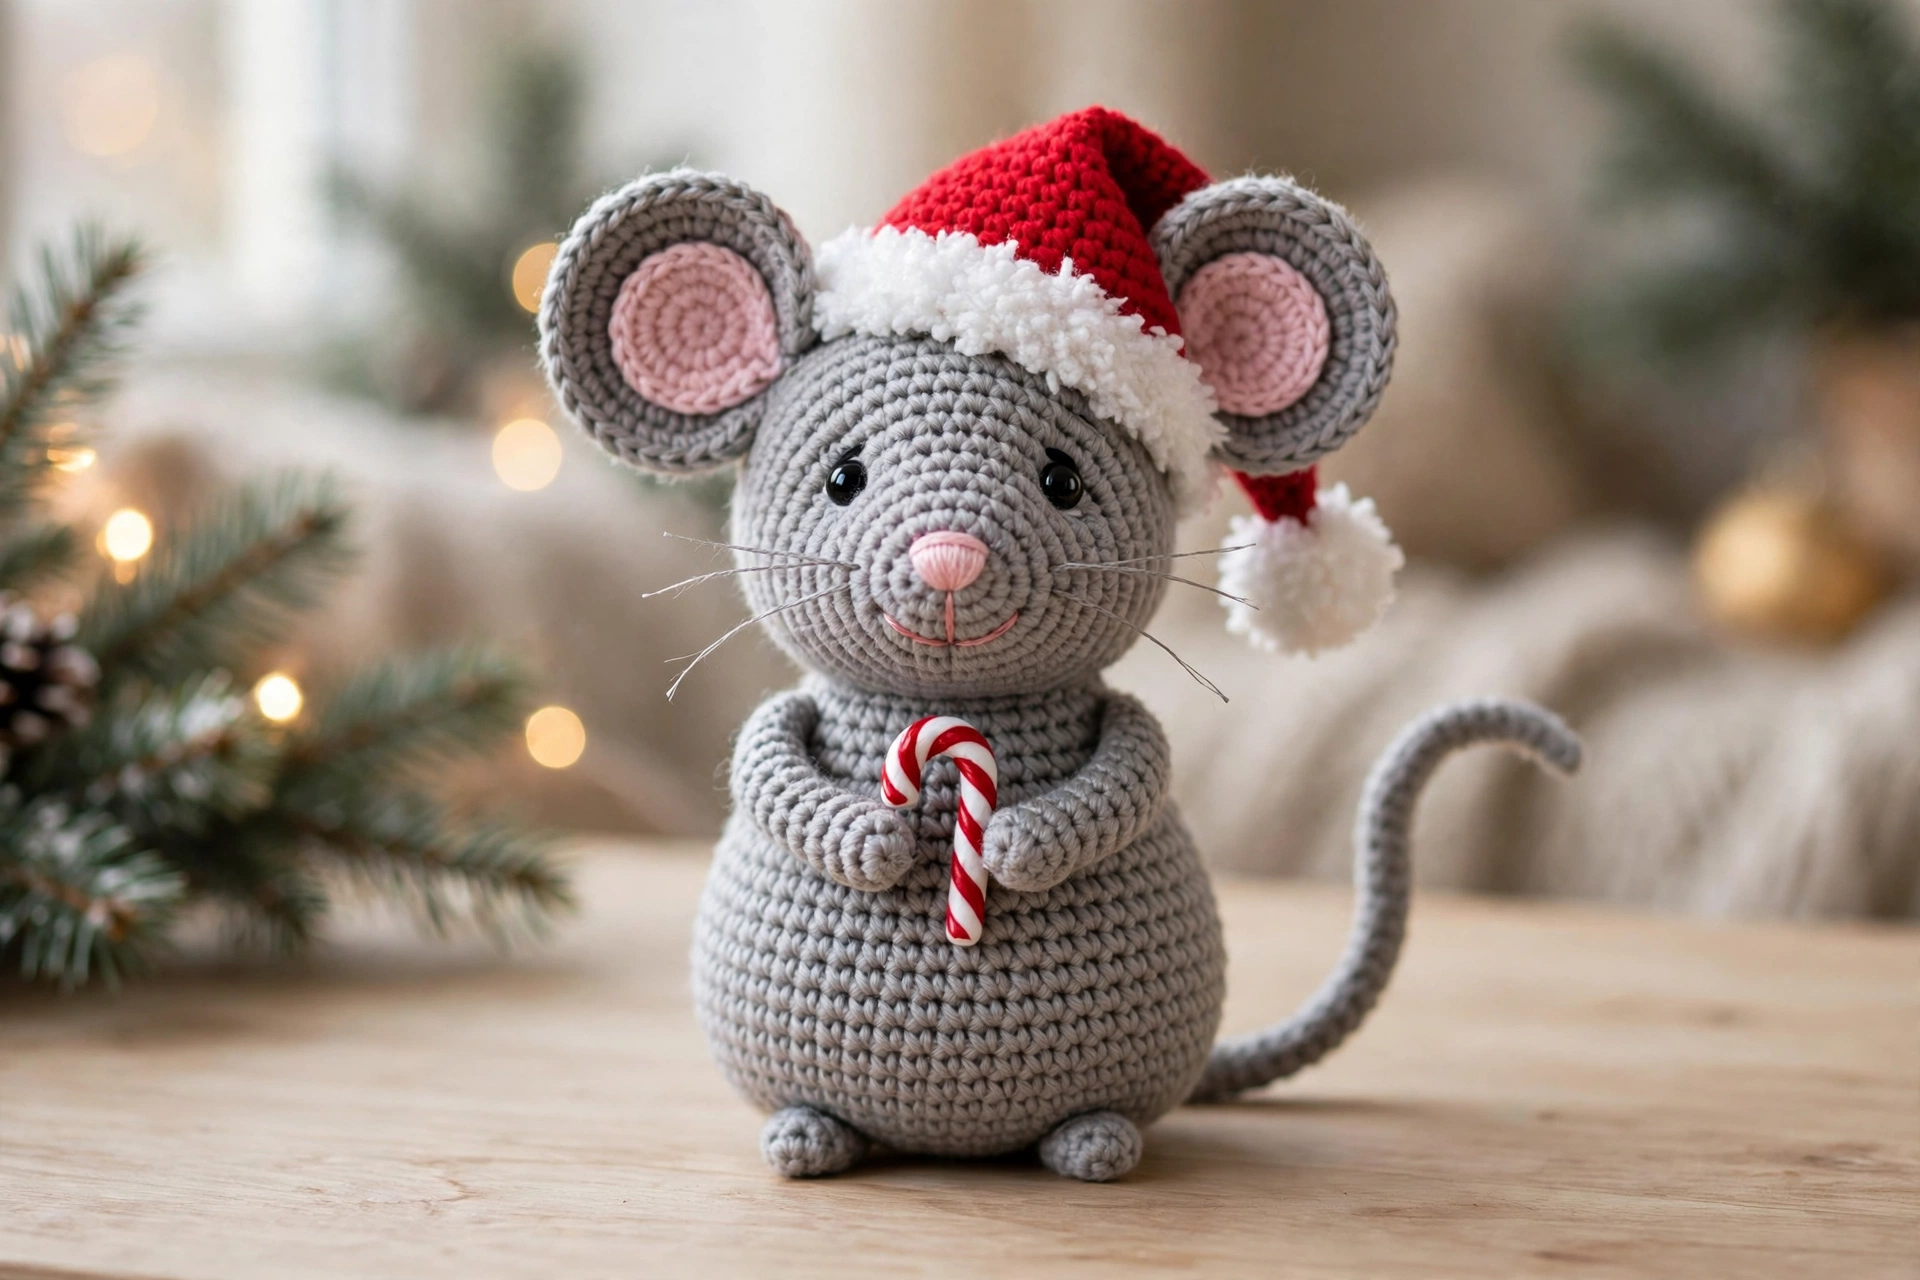
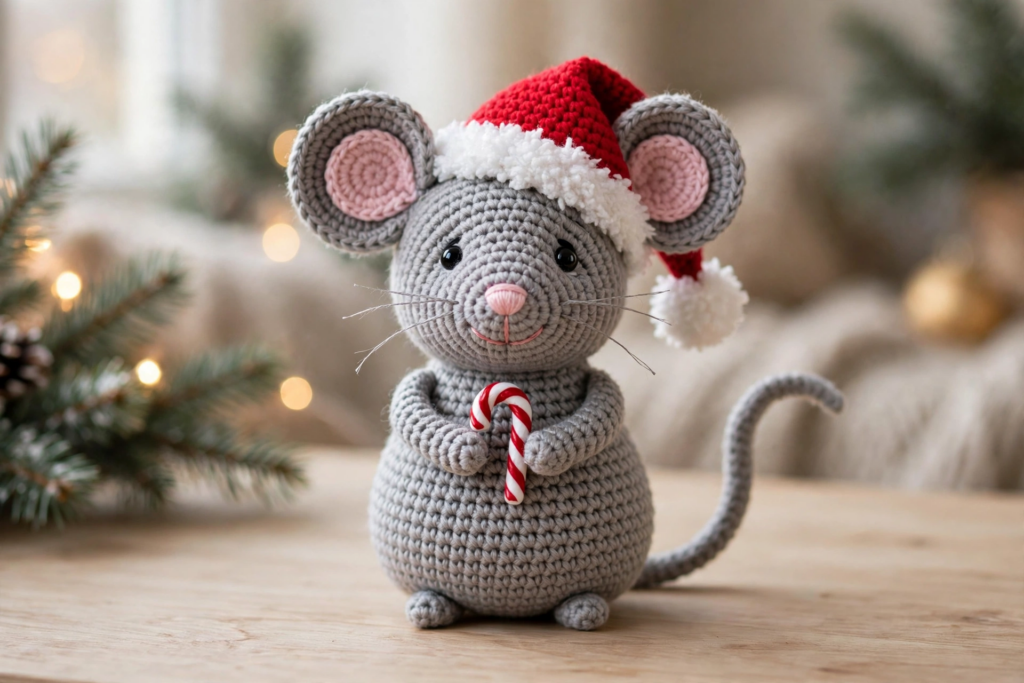
Meet the sweetest little guest at the Christmas table: this free crochet Christmas mouse pattern makes a soft grey mouse with big round ears, a pink nose, a red Santa hat and a tiny candy cane clutched in its paws. It is a quick one-evening amigurumi project that uses only basic stitches, so it is perfect for beginners, and the finished mouse looks adorable on the mantel, under the tree, or tucked into a stocking.
The finished mouse stands about 18 cm (7 inches) tall including its Santa hat, and it sits up nicely on its own thanks to its pear-shaped body and flat little feet. Because the head, body, ears and tail are all worked separately and sewn together, there is no tricky shaping to worry about — just simple rounds, a little embroidery, and one very cute hat.
Materials for This Crochet Christmas Mouse Pattern
- DK or worsted-weight yarn in soft grey (about 60 g), cream (about 15 g), pink (small amount), red (about 25 g) and white (small amount, for the hat trim)
- 3.5 mm crochet hook
- Two 9 mm black safety eyes
- Small amount of toy stuffing
- Yarn needle
- Scissors
- Stitch marker
- A tiny ready-made candy cane, or red and white yarn to crochet one
Step 1: Crochet the Head
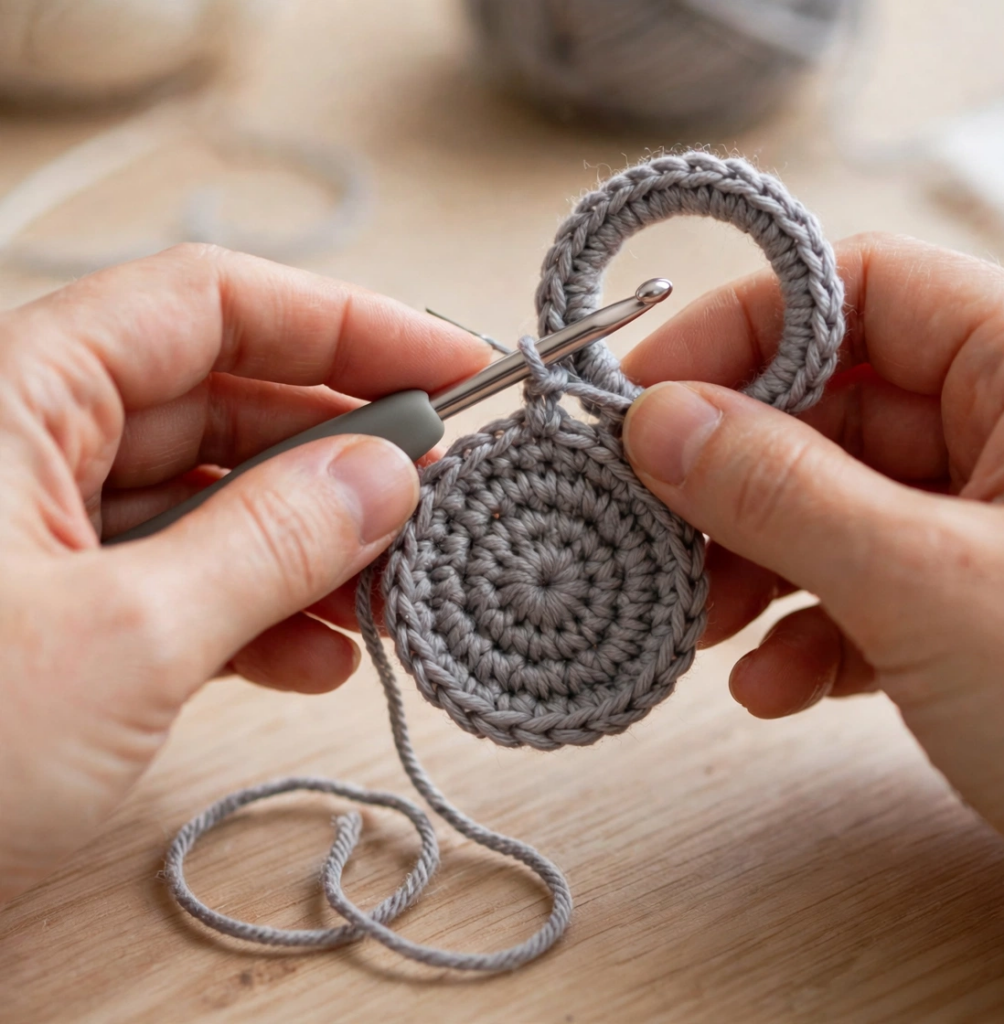
Start your crochet Christmas mouse pattern with the head: work 6 single crochets into a magic ring in soft grey yarn, then increase evenly — 12 stitches in round 2, 18 in round 3, 24 in round 4 and 30 in round 5. Work four plain rounds of 30 stitches, then decrease back down: 24 stitches, then 18, then 12, stuffing the head firmly before you close it. A firm, round head is the foundation of the whole mouse, so take your time with the stuffing — it should feel springy, not lumpy, when you squeeze it.
Step 2: Crochet the Body and Belly Patch
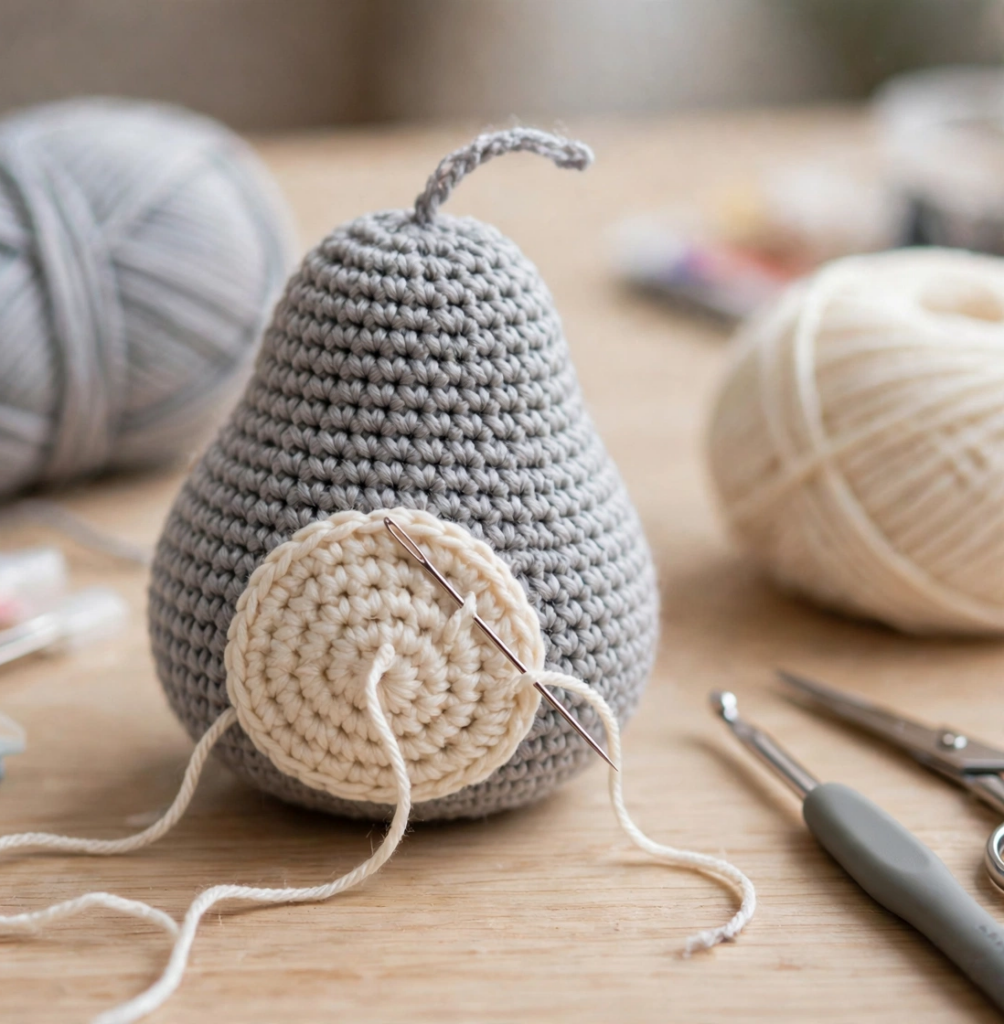
The body is a soft pear shape worked in the same grey yarn. Start with 6 single crochets in a magic ring, increase to 12, 18, 24, 30 and 36 stitches, then work five plain rounds of 36. Decrease to 30, then 24 stitches and stuff firmly before closing. The cream belly patch is a flat circle: work 6 single crochets into a magic ring, increase to 12, 18 and 24 stitches, then fasten off and sew it to the front of the body with a yarn needle. Sew the head to the top of the body with the long grey tail, keeping the seam neat and hidden at the back of the neck.
Step 3: Make the Ears and Tail
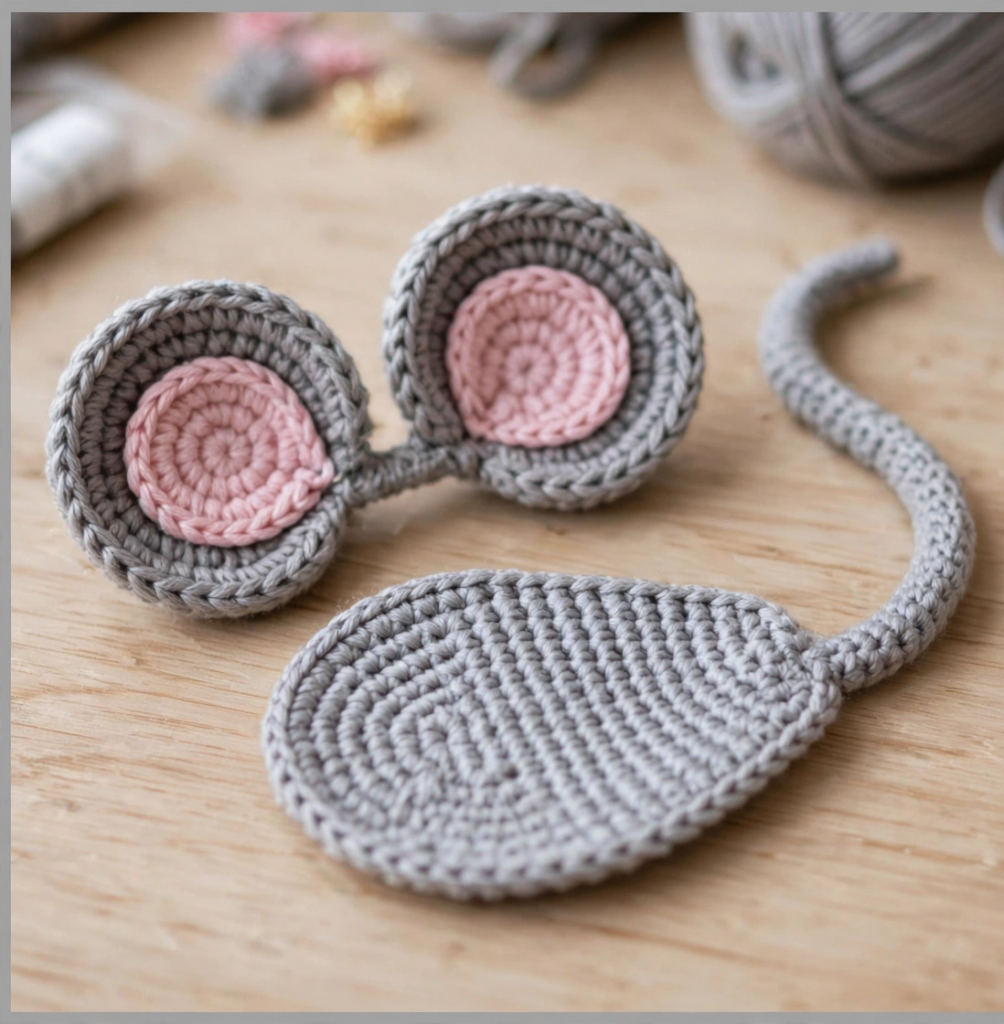
The big round ears are what make this mouse instantly recognisable. For each ear, work 6 single crochets into a magic ring in grey, increase to 12, 18 and 24 stitches, then work two plain rounds and fasten off. The pink inner ear is a smaller circle: 6 single crochets in a magic ring in pink, increased to 12 stitches, then fastened off and sewn flat onto the grey ear. Make two of each. The tail is a simple chain of 28 stitches in grey, worked back with single crochets for a gentle curve. Sew the ears to the top of the head, spaced wide apart and tilted slightly outwards, and stitch the tail to the back of the body so it curls up behind the mouse.
Step 4: Embroider the Face
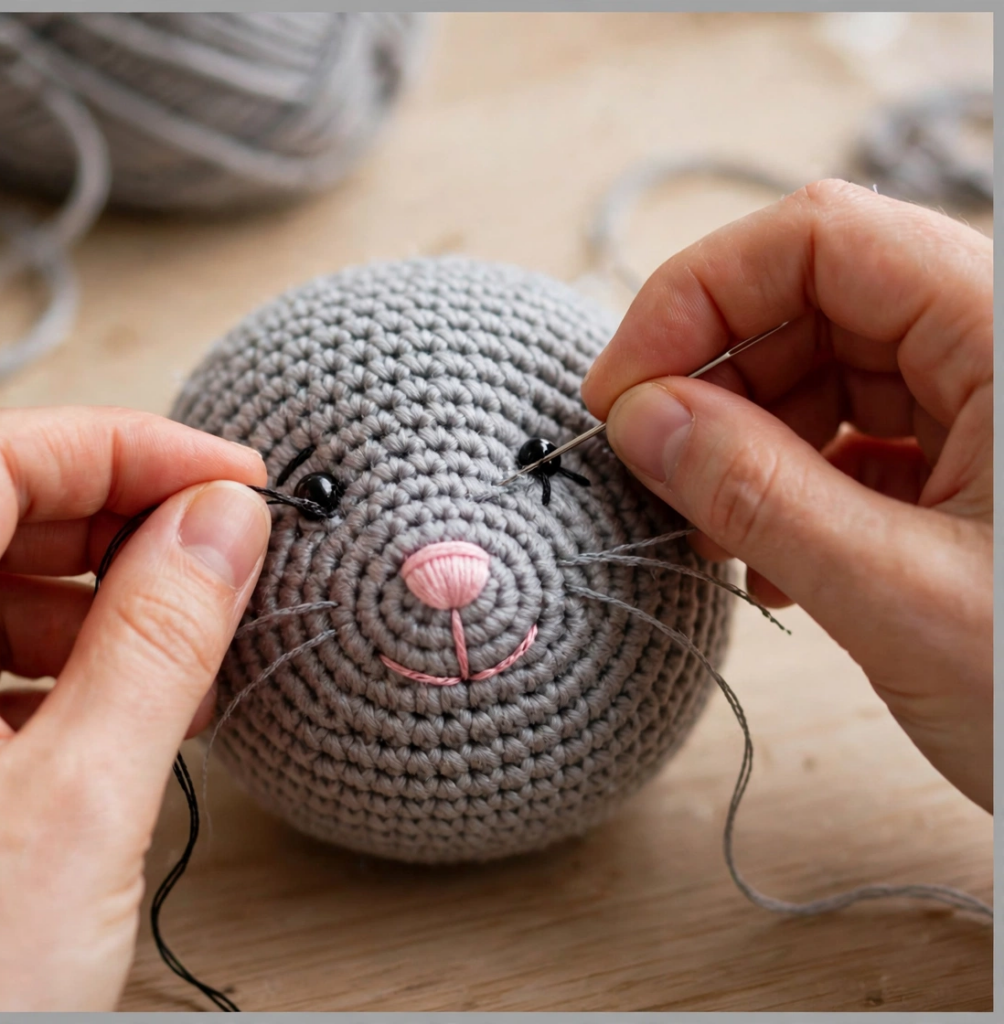
Now the mouse gets its personality. Fix the two black safety eyes between rounds 8 and 9 of the head, about 7 stitches apart. With pink yarn, embroider a small triangle nose at the centre of the face, then work a short vertical line down from the nose and two curved lines out to each side for the smile. Thread six thin strands of grey or white yarn through the cheeks for whiskers — three on each side — and knot them on the inside of the head so they stay put. Check the face from the front as you go: the eyes should sit level, and the smile should curve evenly on both sides.
Step 5: Crochet the Santa Hat
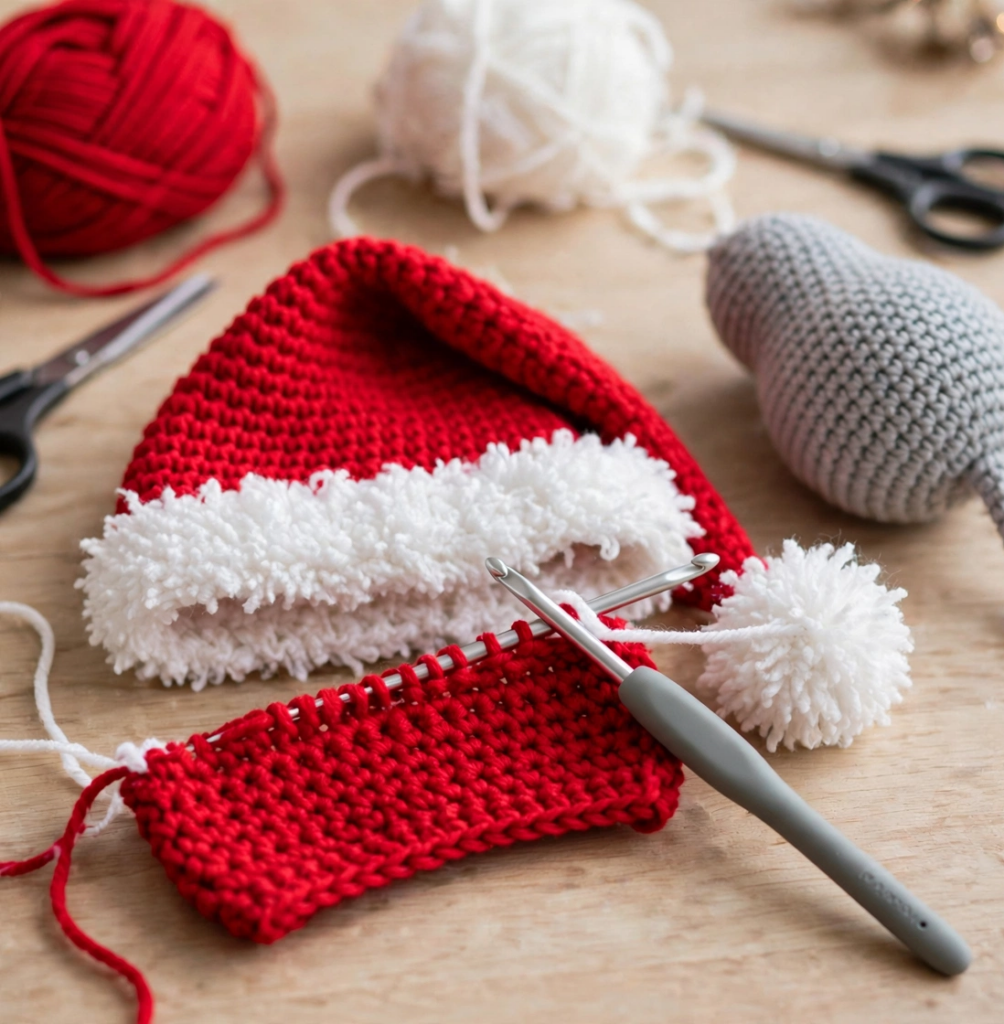
The Santa hat is the finishing touch that turns a grey mouse into a Christmas mouse. With red yarn, work 6 single crochets into a magic ring, increase to 12, 18 and 24 stitches, then work rounds of 24, decreasing by 2 stitches every third round so the hat tapers to a floppy point. Work the last three rounds in white for the fluffy brim, then make a small white pom pom — wrap white yarn around two fingers about 30 times, tie it tightly in the middle, cut the loops and trim it round — and sew it to the tip of the hat. Pull the hat down over the mouse’s head, between the ears, and stitch it in place with a few hidden stitches.
Step 6: Add the Candy Cane and Finish
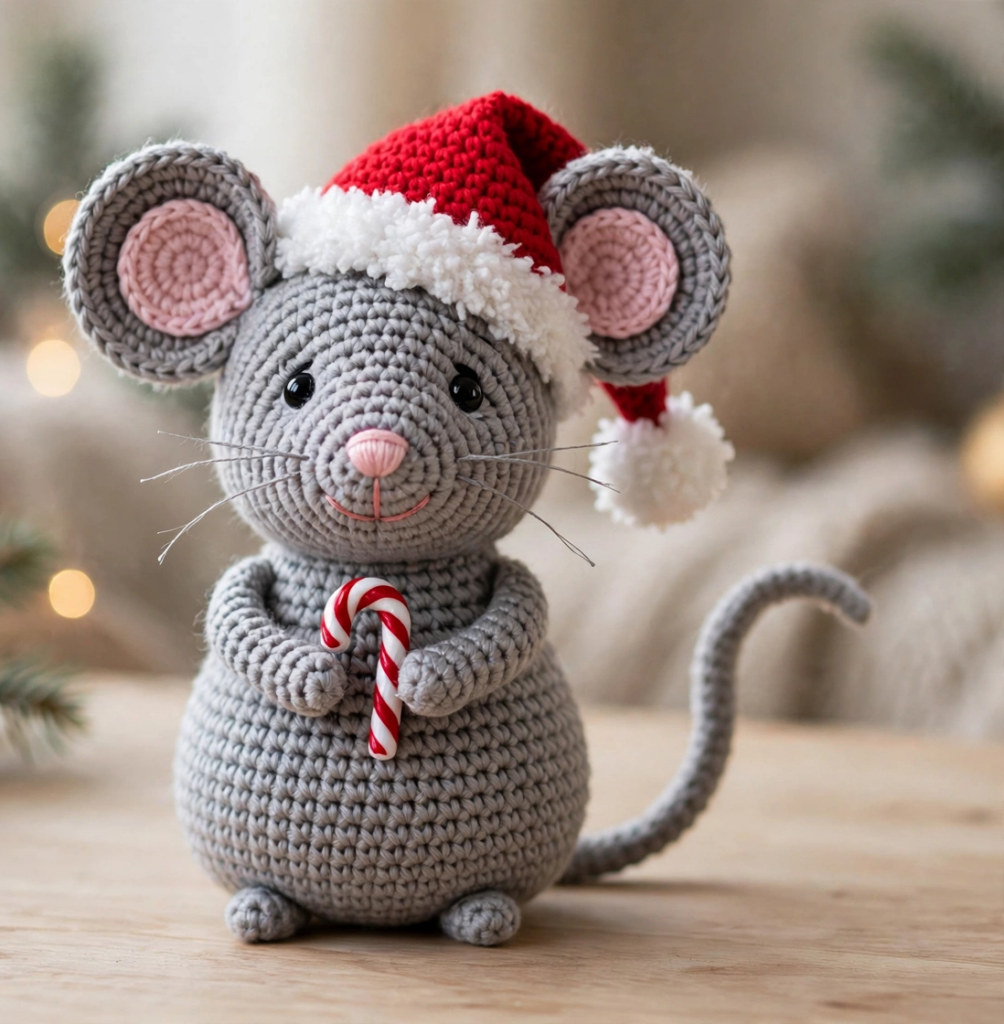
Tuck a tiny candy cane into the mouse’s paws and stitch it lightly in place so it stays put when the mouse is moved. If you prefer to crochet the cane, work a short chain in red, single crochet back along it, then twist a strand of white yarn around it in a spiral. Weave in every loose end, give the ears a final gentle press into shape, and your crochet Christmas mouse pattern is finished. It looks wonderful on its own, or crochet two or three in different shades of grey and group them together on the mantel for a little mouse family.
Tips for Your Crochet Christmas Mouse Pattern
- Keep your stitches tight: tight stitches stop the stuffing from peeking through the grey yarn, and they give the mouse a neat, professional finish. If you can see stuffing, go down half a hook size.
- Embroider the face after stuffing: the head changes shape slightly once it is stuffed, so sew the eyes and embroidery last, when the head is firm and round, to keep the face even.
- Sew the ears on symmetrically: pin both ears in place with the yarn needle before you sew, and step back to check they match — wonky ears are the easiest mistake to make on this mouse.
Frequently Asked Questions About the Crochet Christmas Mouse Pattern
Is this crochet Christmas mouse pattern suitable for beginners?
Yes. The pattern uses only single crochet, increases, decreases and chains, plus a little simple sewing and embroidery. If you can work a magic ring and count your rounds, you can make this mouse.
How long does the Christmas mouse take to crochet?
Most crocheters finish it in one relaxed evening — about 3 to 4 hours. The head and body are the longest parts; the ears, hat and face are all quick finishes.
What yarn works best for a Christmas mouse amigurumi?
A DK or worsted-weight yarn in a soft grey is ideal, with a little cream, pink, red and white for the details. Cotton yarn holds its shape well, while acrylic is softer and easier to find in festive reds — either works for this project.
Can I make the mouse without safety eyes?
Absolutely. If the mouse is for a small child, embroider the eyes with black yarn instead — two small French knots or short satin stitches are safe and just as sweet.
Conclusion
This little grey mouse in its Santa hat is one of those makes that gets smiled at every time someone sees it. The crochet Christmas mouse pattern is quick, beginner-friendly and endlessly giftable — try it in a soft brown for a field mouse, or make a pair for a mantel display. If you enjoyed this project, take a look at our crochet candy cane pattern next — the tiny cane your mouse is holding makes a lovely matching ornament. For more festive yarn inspiration, browse the free Christmas patterns at Lion Brand Yarn. Happy crocheting, and happy holidays!