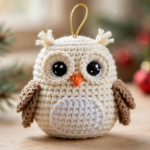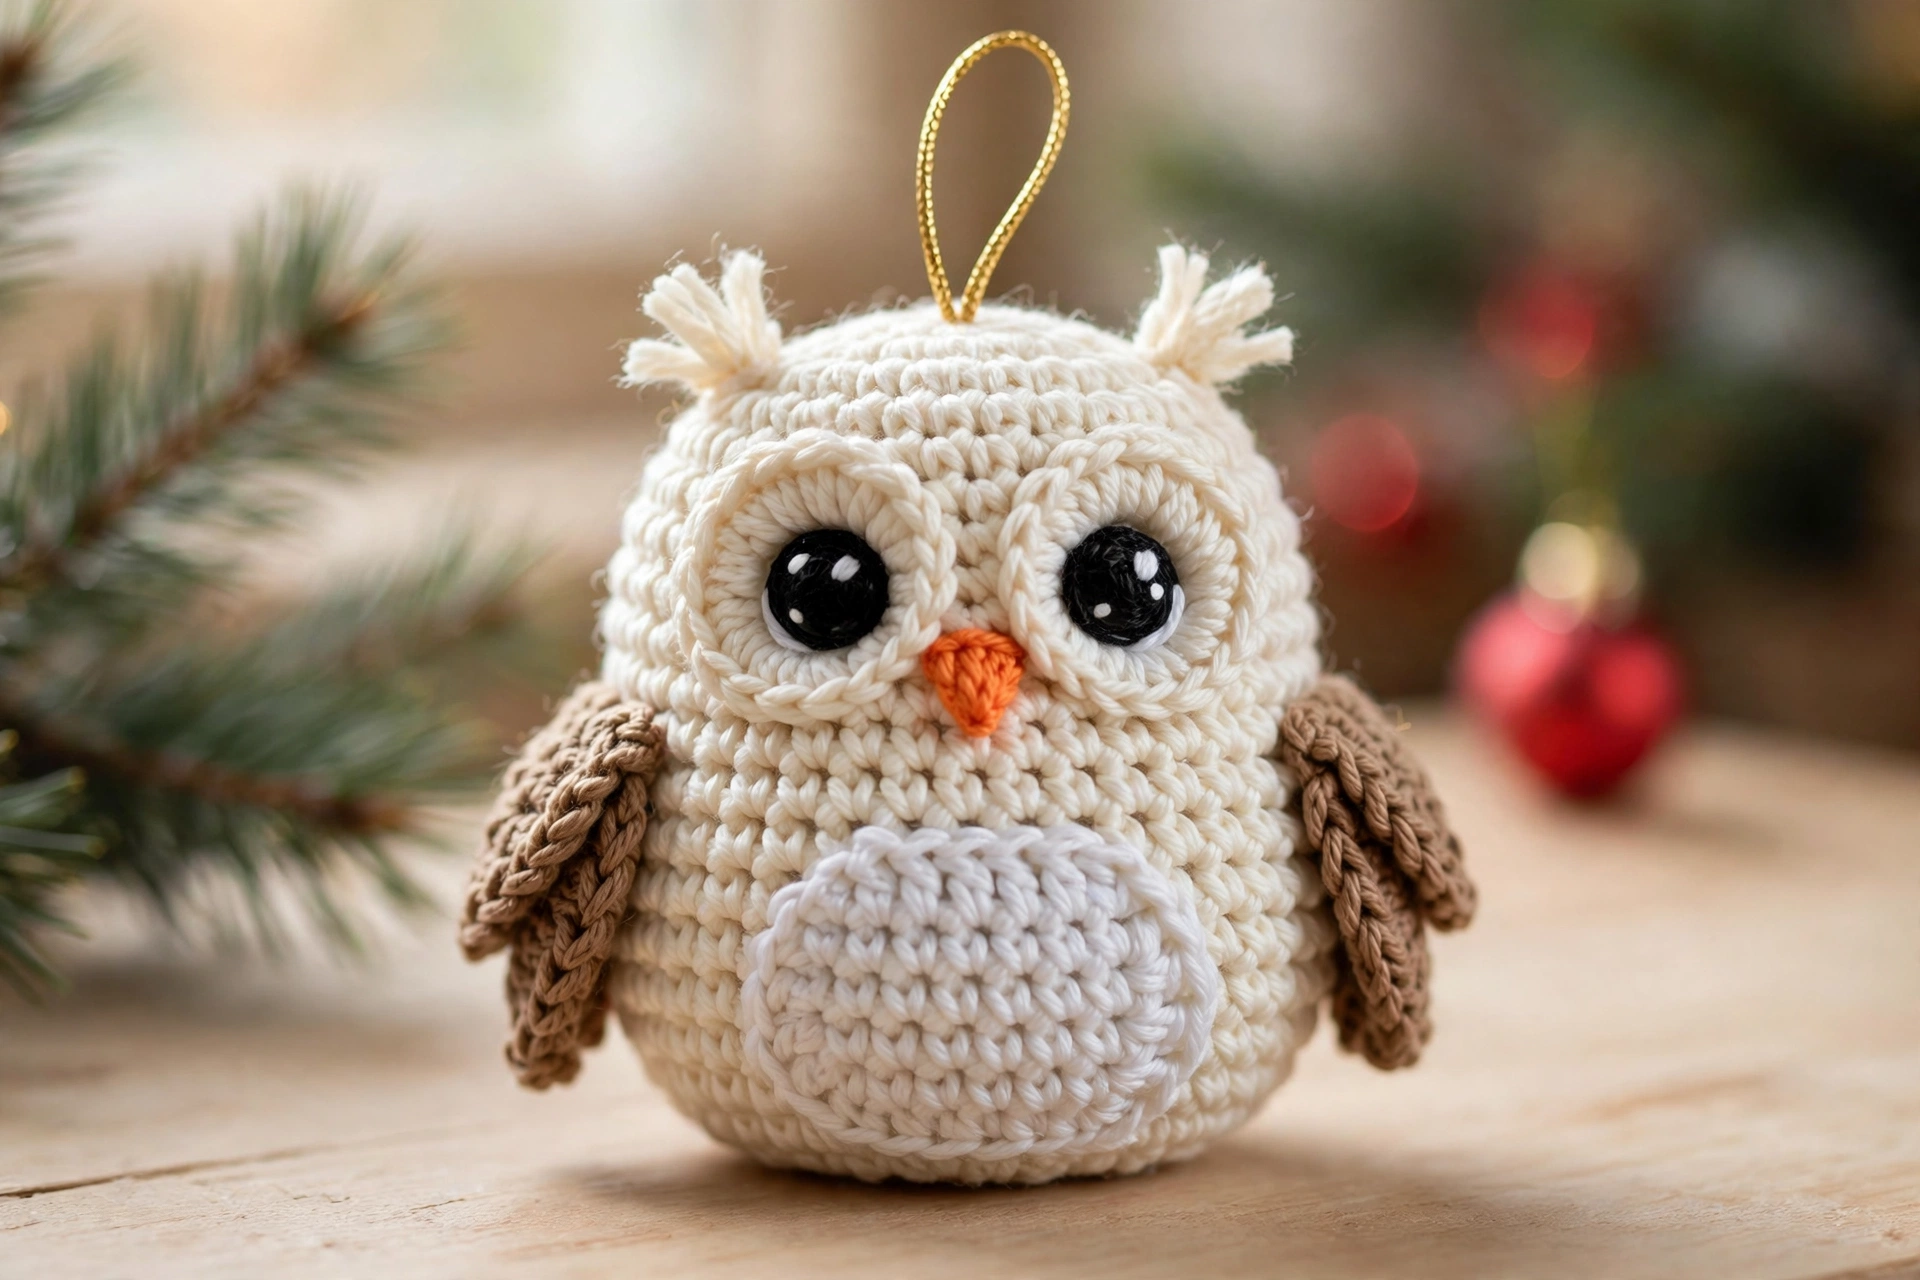
This free crochet Christmas owl ornament pattern turns a few scraps of cream, white and brown yarn into the sweetest little snowy owl for your tree. With big round eyes, a tiny orange beak, soft brown wings and a gold hanging loop, this woodland owl ornament looks straight out of a snowy forest — and it works up in about one cozy evening.
The owl is worked in the round from the top down, so there are no seams to sew. You start with a magic ring, grow a plump round body with simple increases, then shape it back in with decreases. The face gives this little owl its charm: two white eye circles with glossy black safety eyes, a small orange beak and a white belly patch. If you can single crochet, increase and decrease, you can make this owl.
The finished owl stands about 9 cm (3.5 inches) tall, not counting the hanging loop, and about 7 cm (2.75 inches) wide. It hangs beautifully on the tree or tied onto a gift. If you enjoyed our simpler crochet Christmas tree pattern, this snowy owl is the perfect woodland companion for it.
Materials
- Cream worsted-weight (#4) yarn, approx. 40 g — for the body
- White worsted-weight yarn, approx. 15 g — for the eyes and belly patch
- Brown worsted-weight yarn, approx. 10 g — for the wings
- Orange worsted-weight yarn, a small scrap — for the beak
- 3.5 mm (US E-4) crochet hook
- Two 10 mm black safety eyes
- Polyester fiberfill stuffing
- Gold cord or ribbon, approx. 15 cm — for the hanging loop
- Stitch marker, yarn needle and scissors
A smooth worsted-weight yarn in a light cream shade works best: the stitches stay neat and the round body keeps its shape. Avoid fluffy or novelty yarns — the big eyes and belly patch should stand out crisply.
Step 1: Start the Body with a Magic Ring
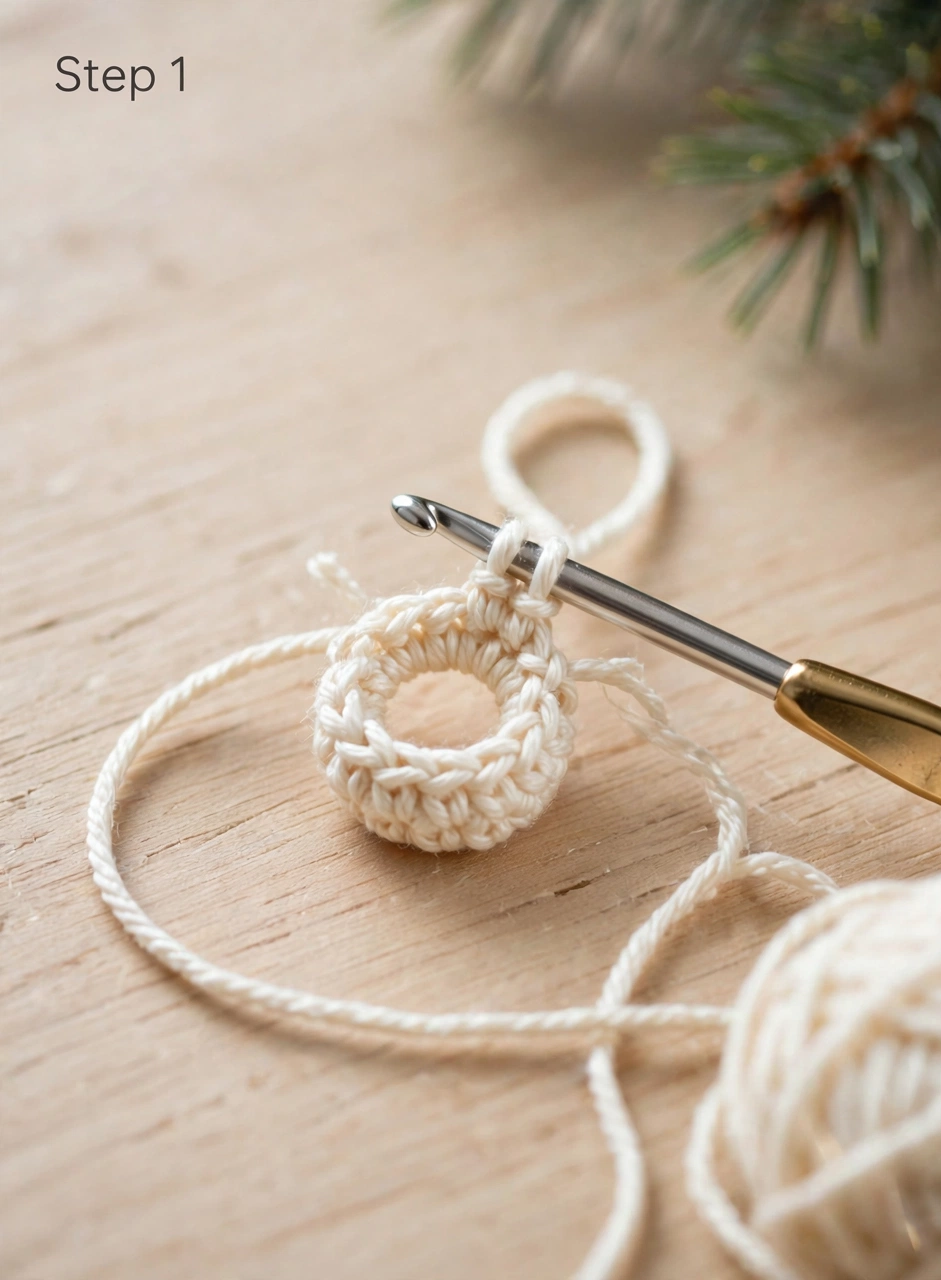
Make a magic ring in cream yarn and work 6 single crochet stitches into it, then pull the tail tight to close the ring. Place a stitch marker in the last stitch so you can track your rounds. Work 2 single crochet stitches into each stitch around (12 stitches), then keep increasing evenly — 18, 24, 30 and finally 36 stitches. Keep your tension even and count carefully: these first rounds set the shape of the whole owl.
Step 2: Shape the Round Owl Body
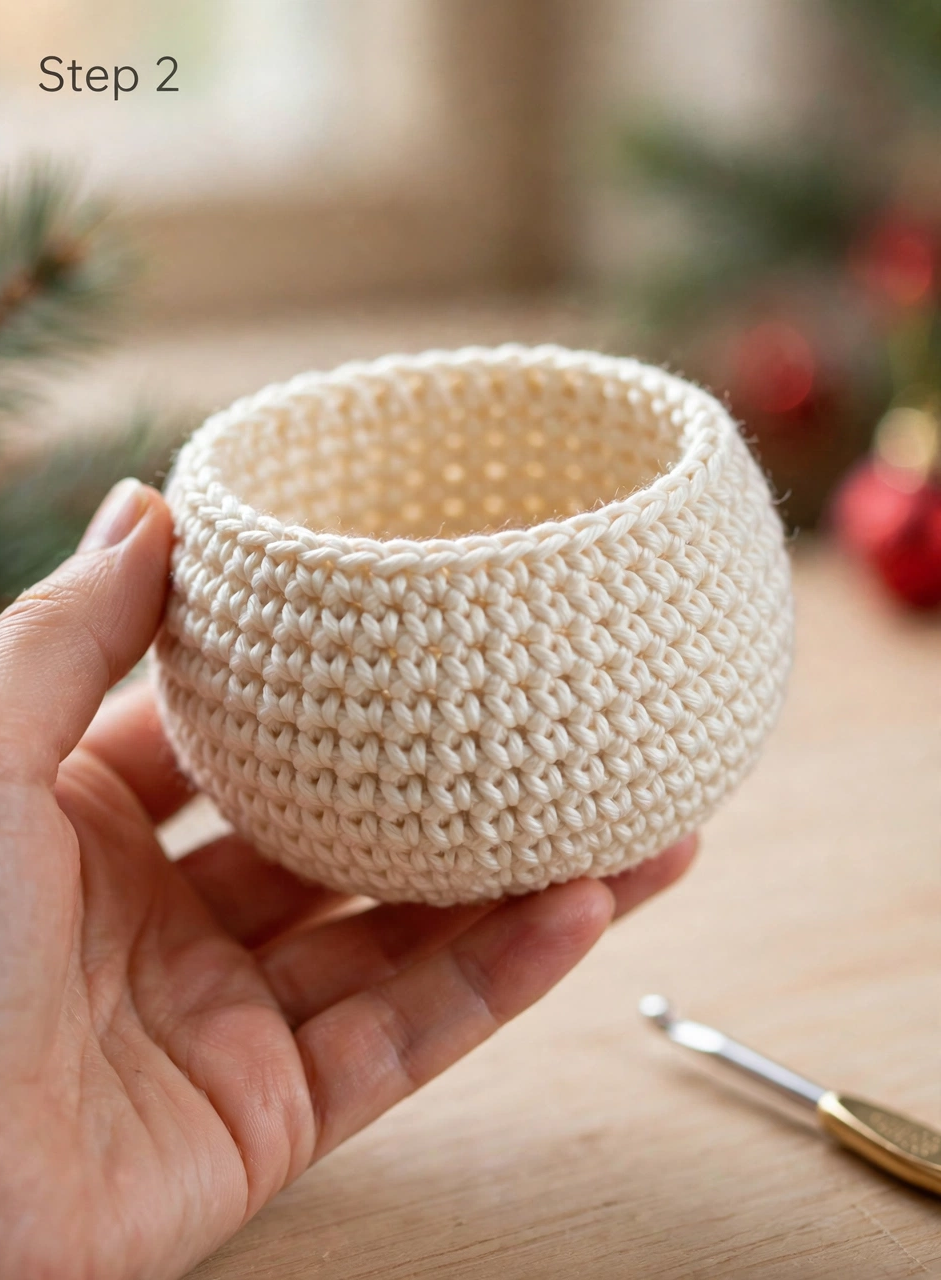
Once you reach 36 stitches, stop increasing and simply single crochet around for six rounds. This straight section gives the owl its plump, round shape. Then decrease evenly — 30, then 24, then 18 stitches — to taper the body back in. Check the shape as you go: it should look like a soft, slightly squashed ball. Leave the bottom open for now; you will stuff the owl in a later step.
Step 3: Crochet the Big Eyes for Your Christmas Owl Ornament
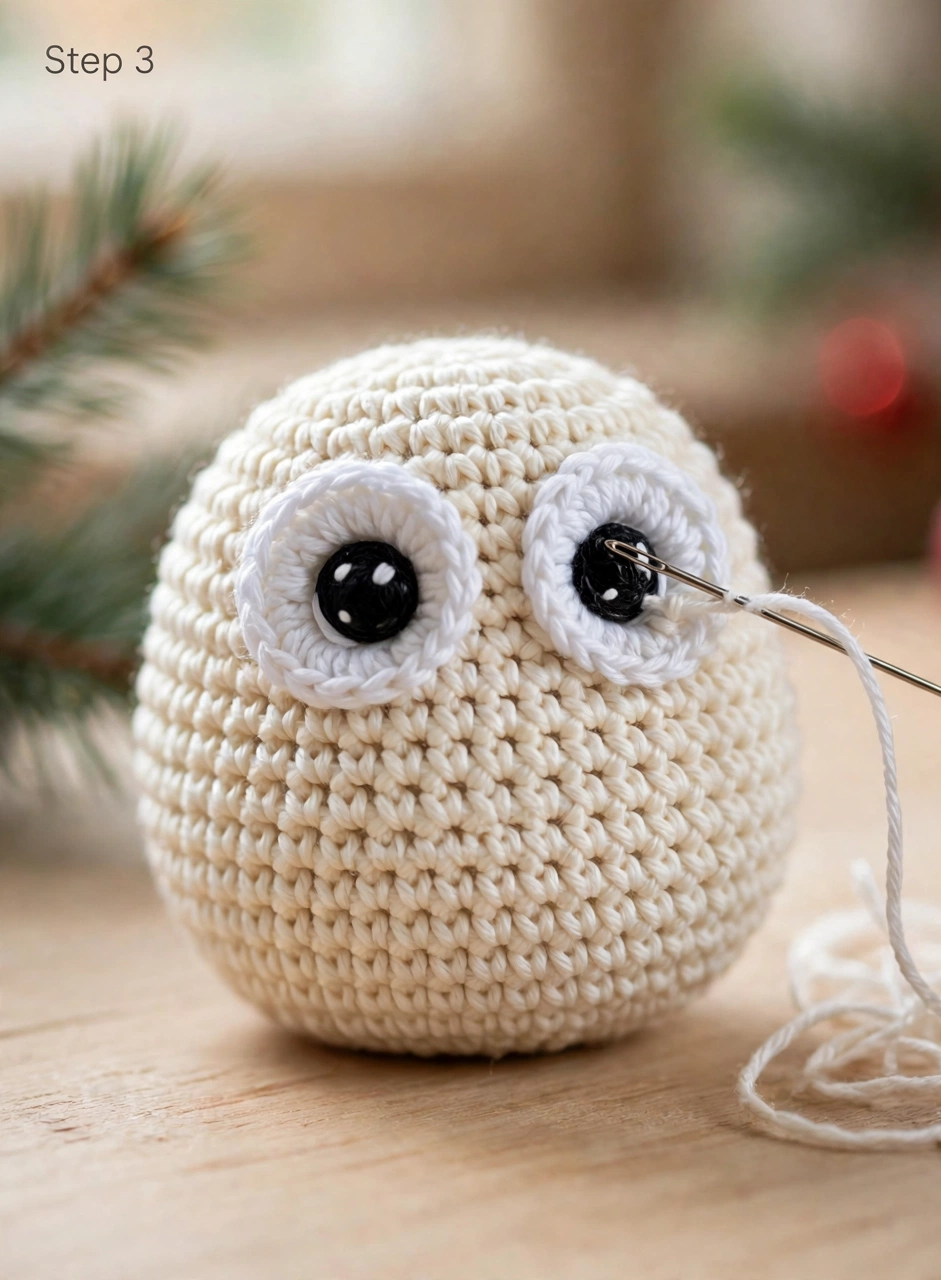
The eyes make this snowy owl ornament so sweet, so take your time here. In white yarn, make two eye circles: a magic ring with 6 single crochet stitches, then increase to 12, then to 18 stitches, and fasten off. Push a 10 mm black safety eye through the center of each circle and secure the washer on the back. Sew the two circles side by side onto the upper half of the body, fairly close together. Step back and check that they sit level before you sew them down firmly.
Step 4: Add the Wings, Beak and Belly Patch
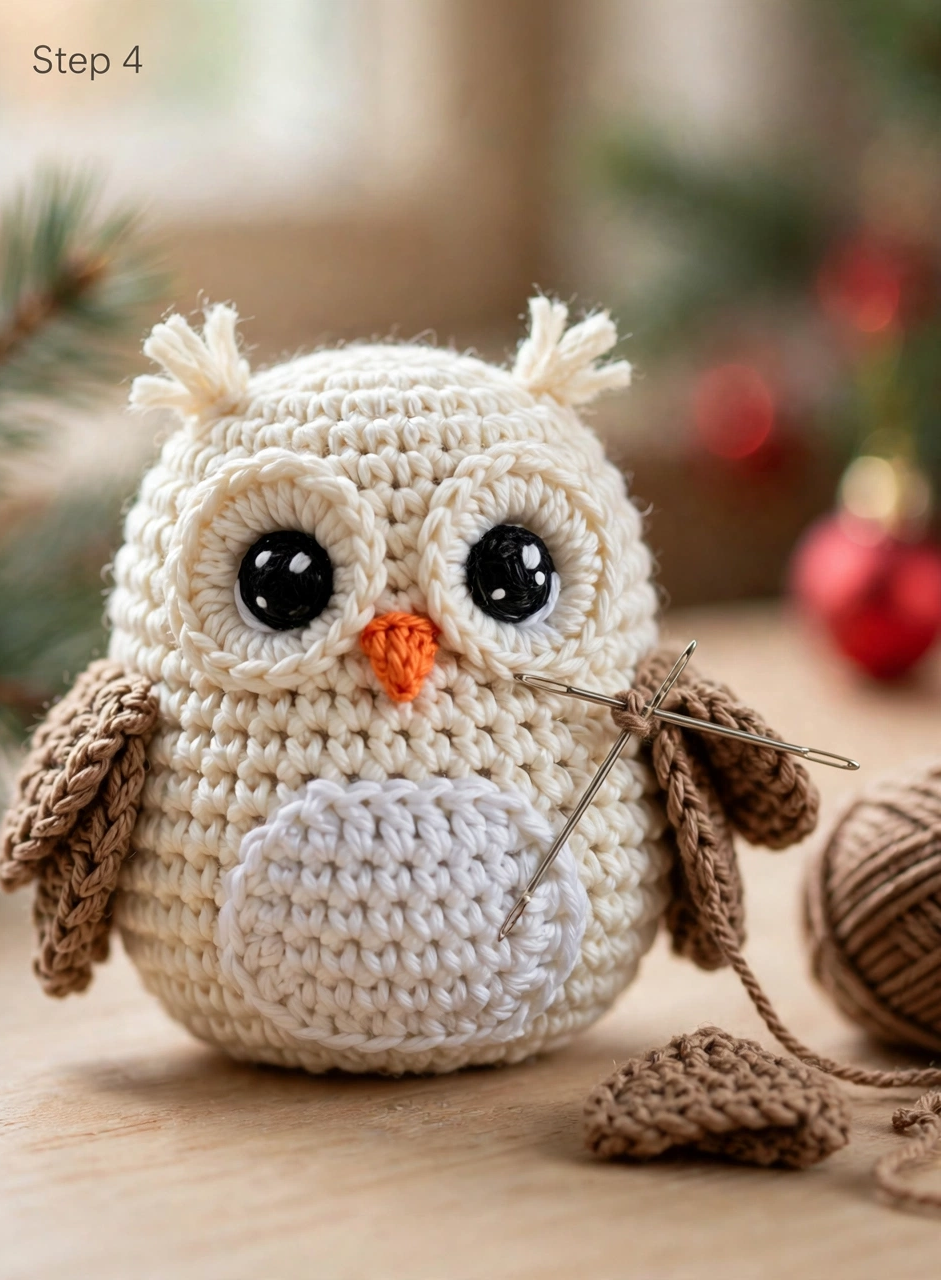
Now give your owl its wings and beak. Crochet two small brown wings — a magic ring worked up to 12 stitches over a few rounds, then folded flat — and sew one to each side of the body, at about the middle height, with the folded edge facing down. For the beak, work a tiny orange triangle in rows and sew it between and just below the eyes. Finally, crochet a white belly patch — a flat circle worked up to 24 stitches — and sew it onto the lower front of the body.
Step 5: Stuff and Close the Owl
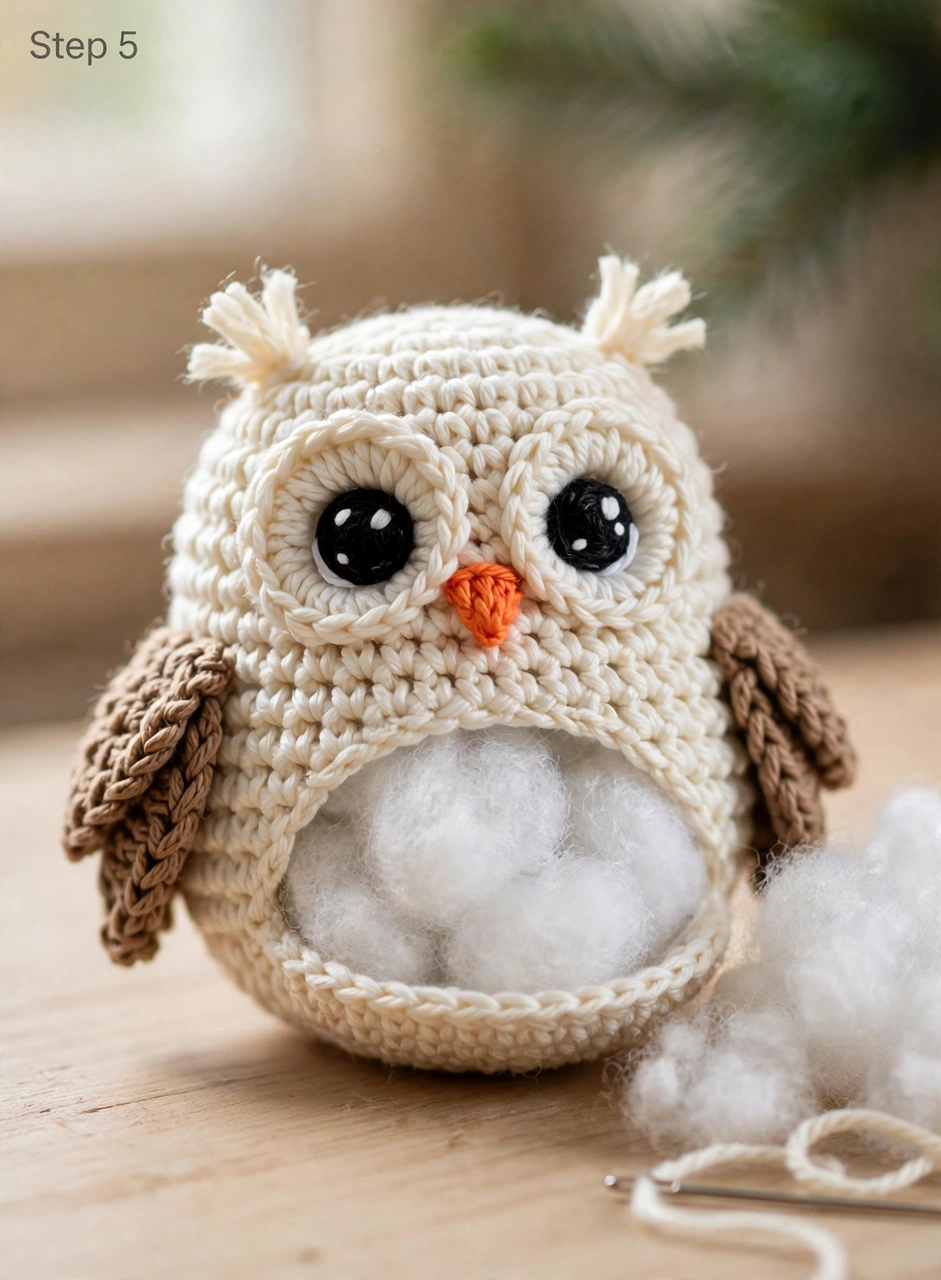
With the face finished, it is time to stuff the owl. Push small tufts of polyester fiberfill into the body a little at a time, shaping as you go. The owl should feel firm and round, not lumpy — add the stuffing in layers and smooth the outside with your fingers after each handful. Once you are happy, work the final decrease rounds — 12 stitches, then 6 — and fasten off, weaving the tail through the last stitches to close the bottom neatly.
Step 6: Add the Hanging Loop and Ear Tufts
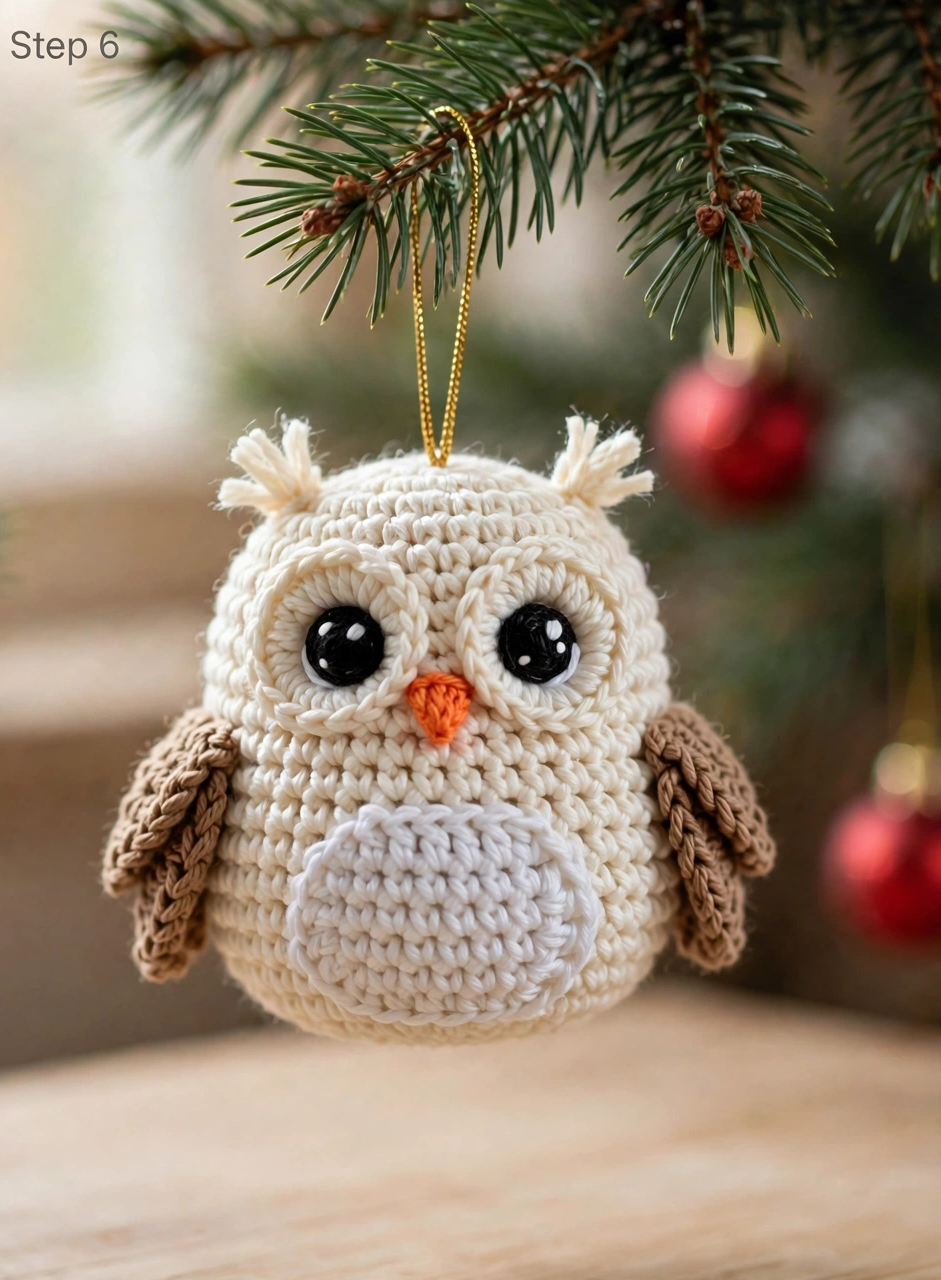
The finishing touches turn your owl into a tree ornament. Cut a 15 cm length of gold cord, knot the ends together, and sew the knot securely to the top of the head so the loop stands upright. For the ear tufts, cut six short strands of cream yarn, fold them in half and knot them through stitches on each side of the top of the head. Trim the tufts to about 1.5 cm so they stand up like little snowy ears. Hang your owl on the tree — your woodland friend is ready for Christmas.
Tips for a Perfect Owl Ornament
- Mark your rounds. The body is worked in continuous spirals, so move your stitch marker up at the start of every round.
- Sew the eyes before stuffing. It is much easier to position the eye circles and belly patch while the body is still flat and empty.
- Keep the stuffing light at the top. A little less fiberfill near the head keeps the owl soft and slightly squashed — exactly the cute, chubby look you want.
Frequently Asked Questions
Is this crochet Christmas owl ornament pattern suitable for beginners?
Yes. The pattern uses only single crochet, increases, decreases and a magic ring, and the pieces are all simple shapes — circles and one small triangle. If this is your first amigurumi, the owl is a great place to start.
What size hook should I use for this owl ornament?
A 3.5 mm (US E-4) hook with worsted-weight (#4) yarn gives a firm fabric with no stuffing showing through. If your stitches tend to be loose, try a 3.25 mm hook instead.
Can I make the owl in different colours?
Absolutely. A soft grey body with a cream belly makes a beautiful barn owl, while a warm brown body with cream wings looks like a classic tawny owl. Keep the eyes black and the beak orange so the face stays readable.
How long does the owl ornament take to crochet?
Most crocheters finish one owl in about two hours, including sewing on the face and wings. Because it uses so little yarn, it is also a wonderful stash-busting project.
Conclusion
This crochet Christmas owl ornament pattern is a quick, joyful make that brings a touch of the winter woodland to your tree. The big round eyes, soft brown wings and tiny orange beak come together in one evening, and the finished owl is just as charming on a gift as it is hanging from a branch. Download the free printable PDF pattern below, gather your yarn, and happy crocheting!