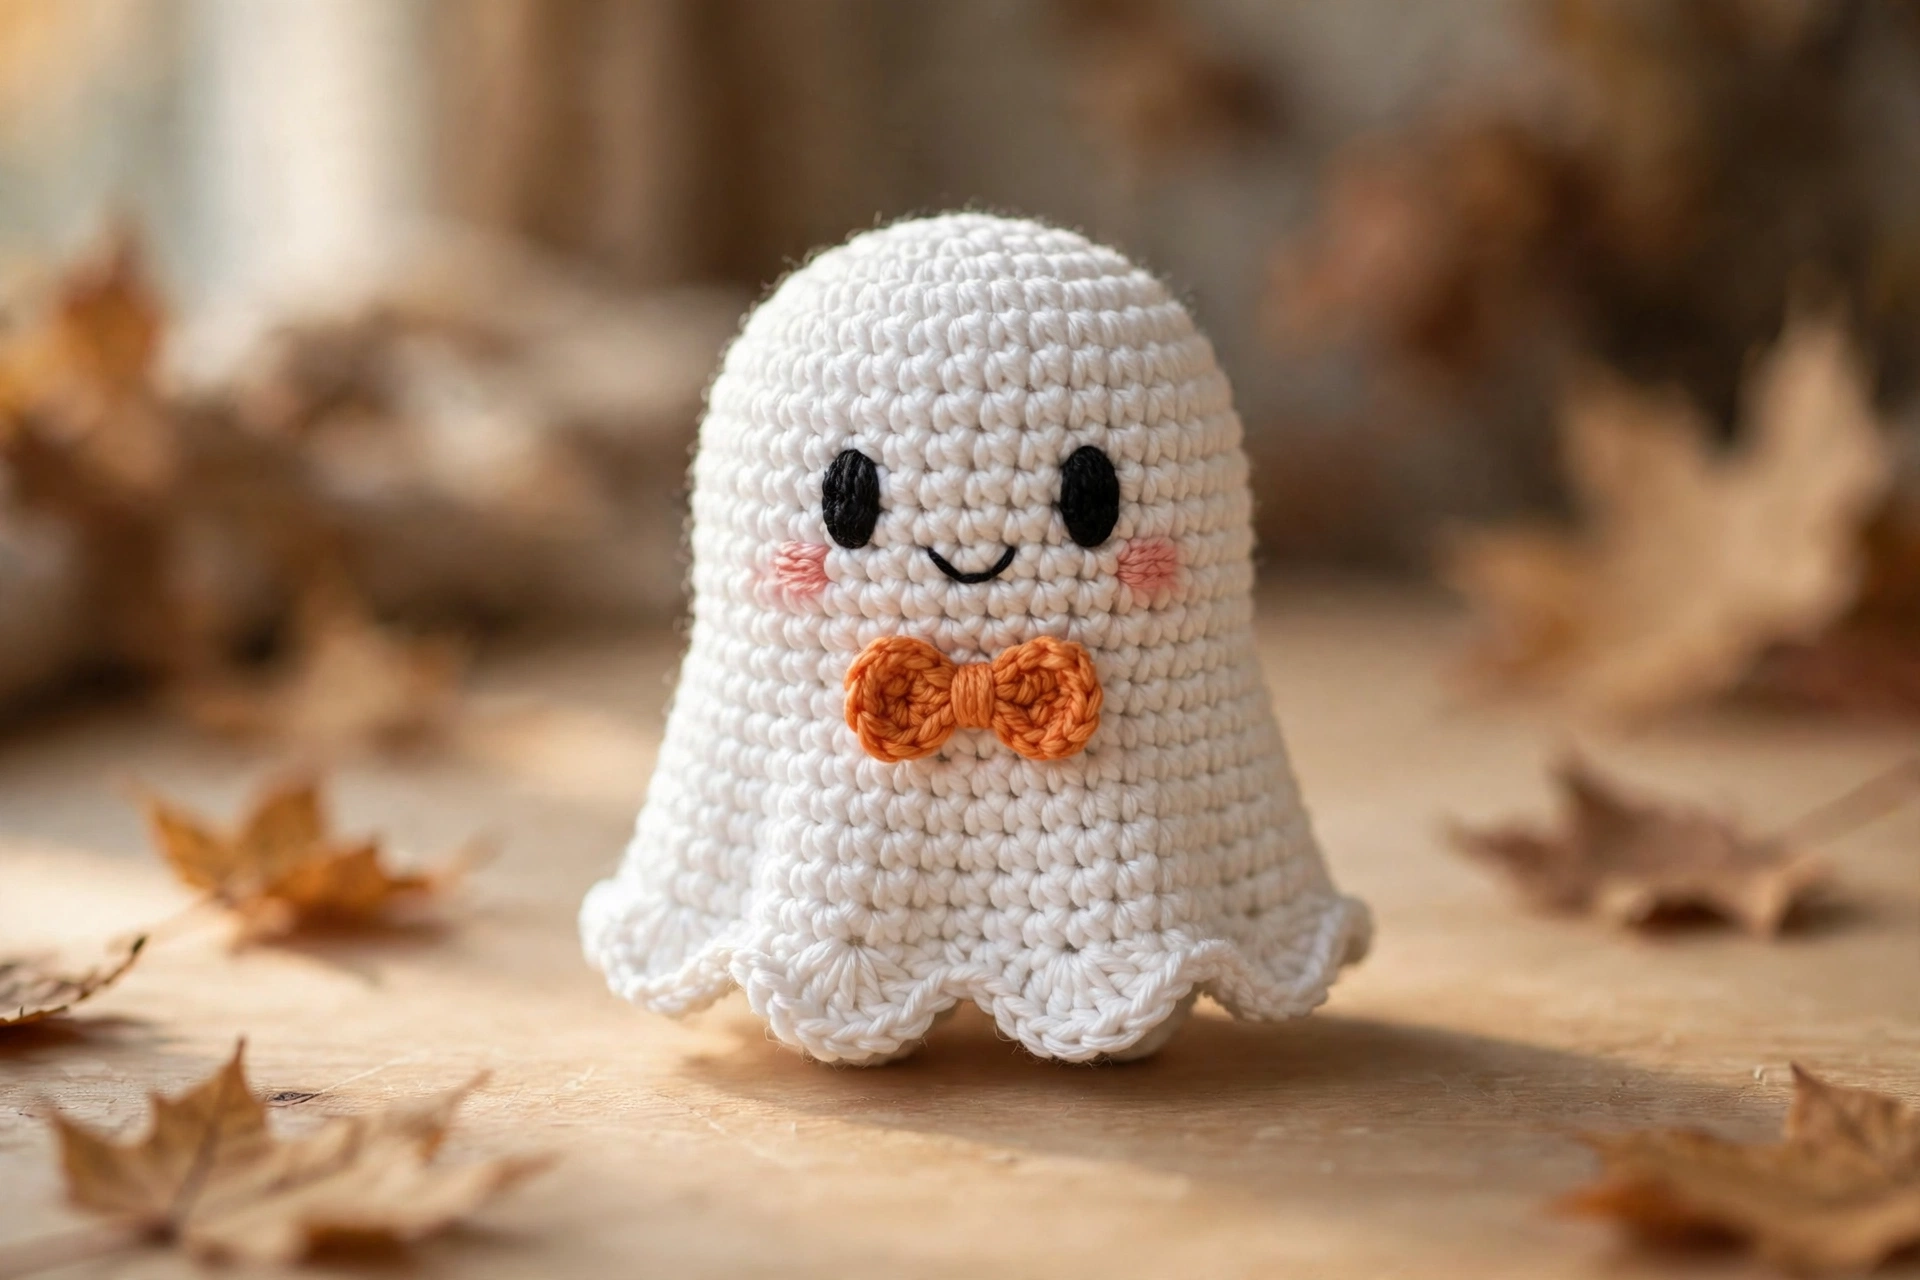
Looking for an adorable crochet ghost pattern that’s perfect for Halloween? This beginner-friendly ghost amigurumi works up in about an hour using nothing but basic single crochet stitches. With its wavy scalloped hem, embroidered smile, rosy cheeks, and a tiny orange bow tie, this little ghost is the cutest Halloween crochet project you will make this year.
Whether you want spooky-cute shelf decor, a handmade Halloween gift, or a quick win for your fall crochet lineup, this free crochet ghost pattern delivers. So grab your hook — let’s get started!
Materials You’ll Need
- White worsted-weight yarn (about 50 g)
- Orange yarn, small amount (for the bow tie)
- Black embroidery floss or thin black yarn (for the face)
- Pink embroidery floss (for the cheeks — optional, but adorable)
- 4.0 mm crochet hook
- Polyester fiberfill stuffing
- Yarn needle
- Scissors
- Stitch marker (optional, but very helpful)
Step 1: Begin Your Crochet Ghost with a Magic Ring
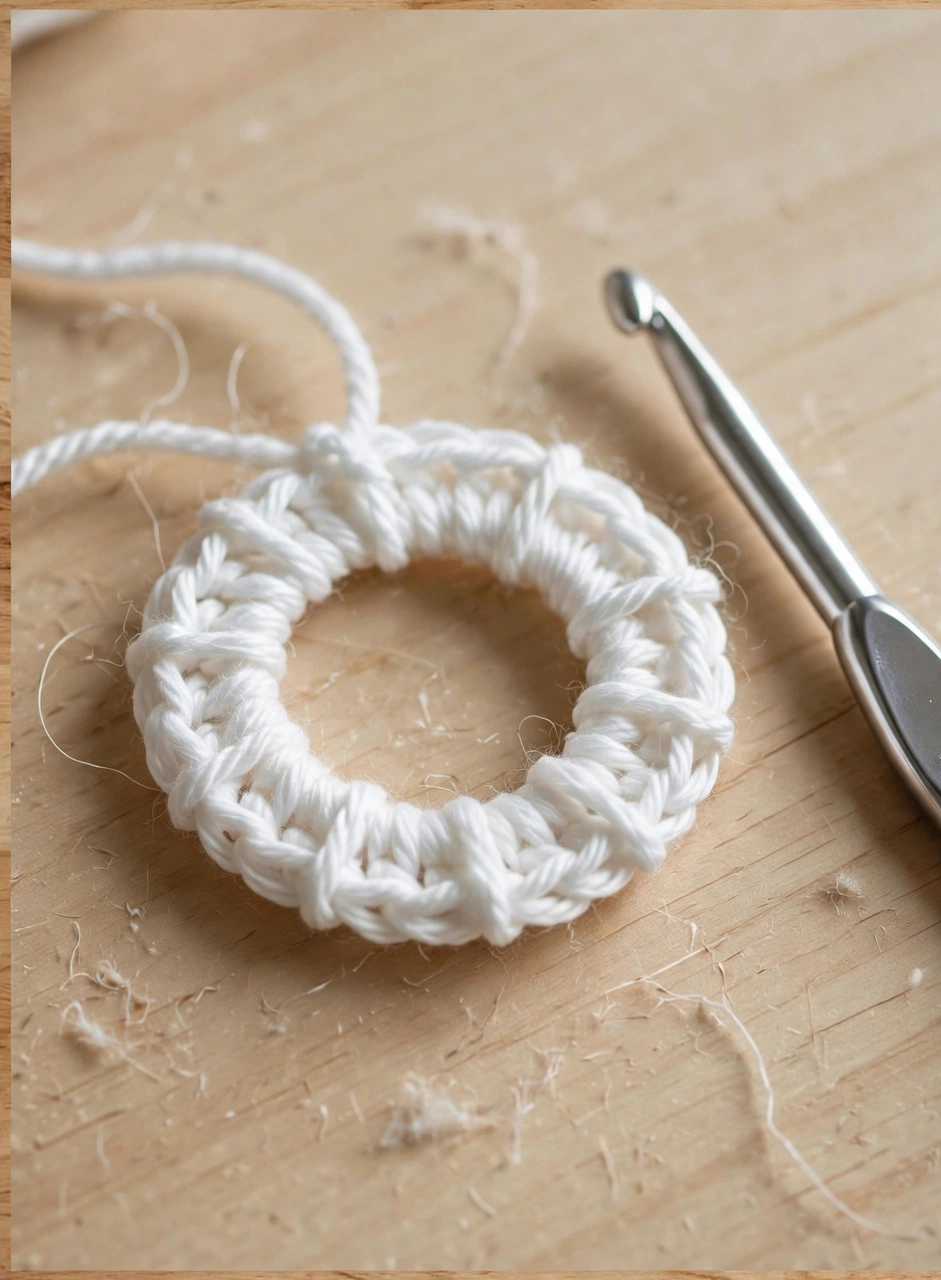
Every amigurumi starts the same way. To begin this crochet ghost pattern, make a magic ring with your white yarn and work 8 single crochet stitches into it. Then pull the tail tight to close the ring completely — this creates a neat, gap-free top of the ghost’s head with no hole for stuffing to peek through later. If you are new to the technique, the Craft Yarn Council has a clear illustrated guide to basic crochet stitches to help you practice: Craft Yarn Council
Step 2: Crochet the Ghost Body in Rounds
Continue working in single crochet rounds, increasing evenly until you have about 36 stitches around. Then work several rounds even — no increases — to build the tall, rounded body of your ghost. Because a ghost is basically a cute little dome, the shaping here is very forgiving. Place a stitch marker at the start of each round so counting stays effortless and your sides stay even.
Step 3: Add the Wavy Scalloped Hem
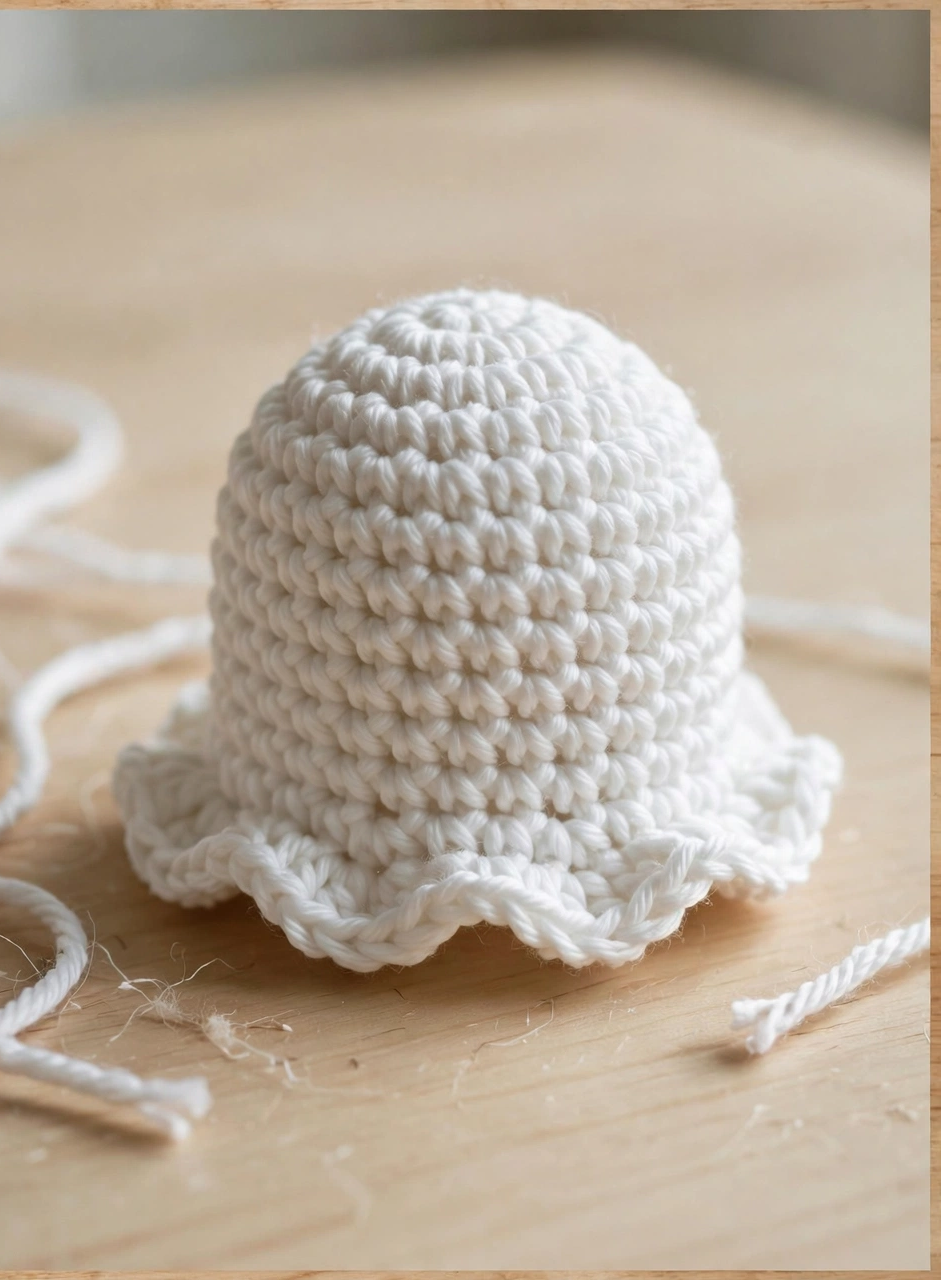
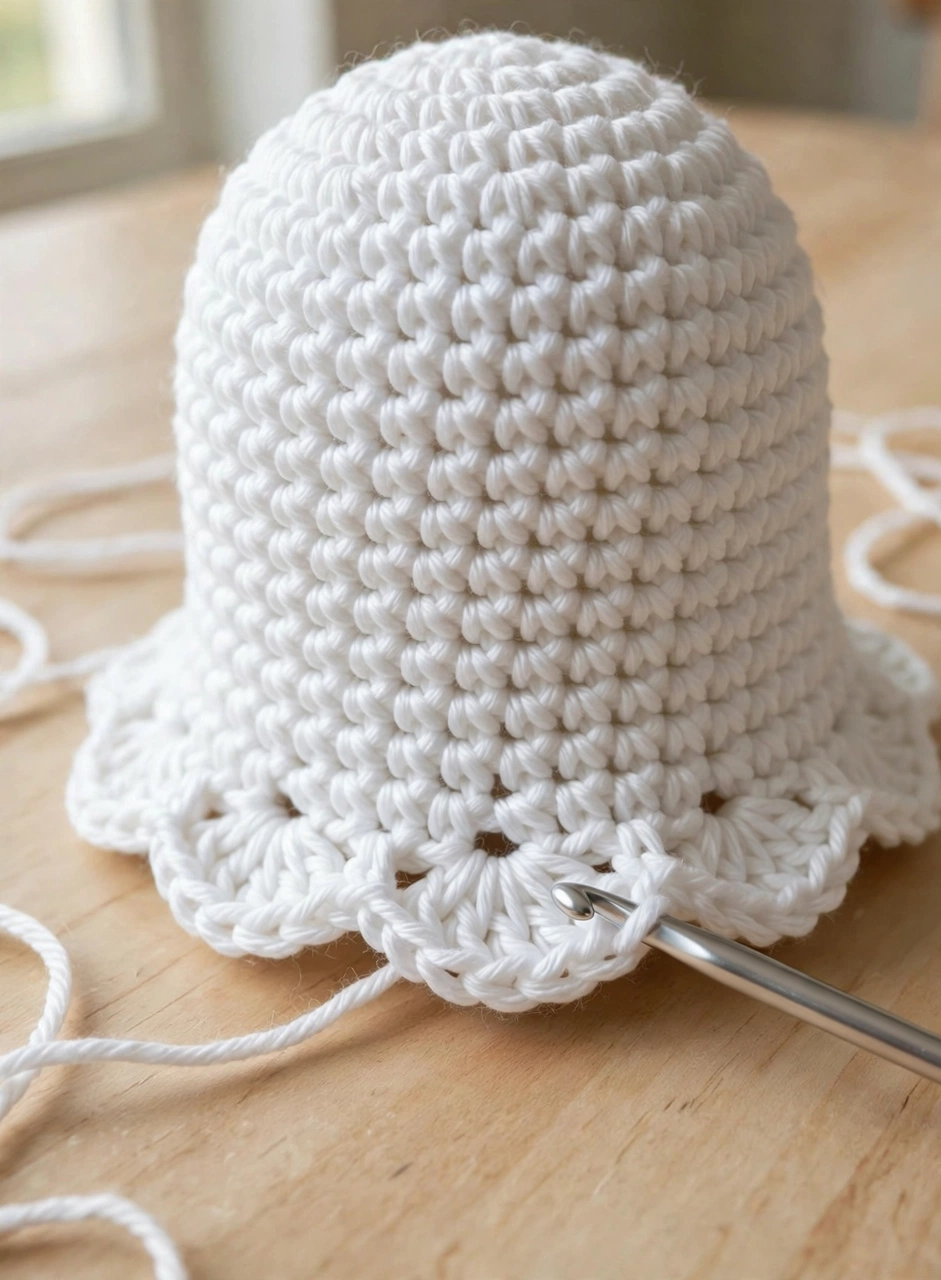
Here comes the signature ghost look! Work one round of shell stitches around the bottom edge — for example, 5 double crochet into one stitch, skip 1 stitch, single crochet into the next, and repeat. This creates the wavy, rippled hem that makes a crochet ghost instantly recognizable. Keep the shells evenly spaced so the ripple looks neat all the way around.
Step 4: Stuff Your Crochet Ghost Amigurumi
Gently fill the body with polyester fiberfill, adding small handfuls at a time and shaping with your fingers as you go. Stuff firmly enough that the ghost holds its dome shape, but keep it soft and squeezable. The bottom stays open, so you can push stuffing right up into the head. Once you are happy with the shape, you can either close the bottom with a quick round of decreases or leave it open — it sits flat either way.
Step 5: Embroider the Cute Ghost Face
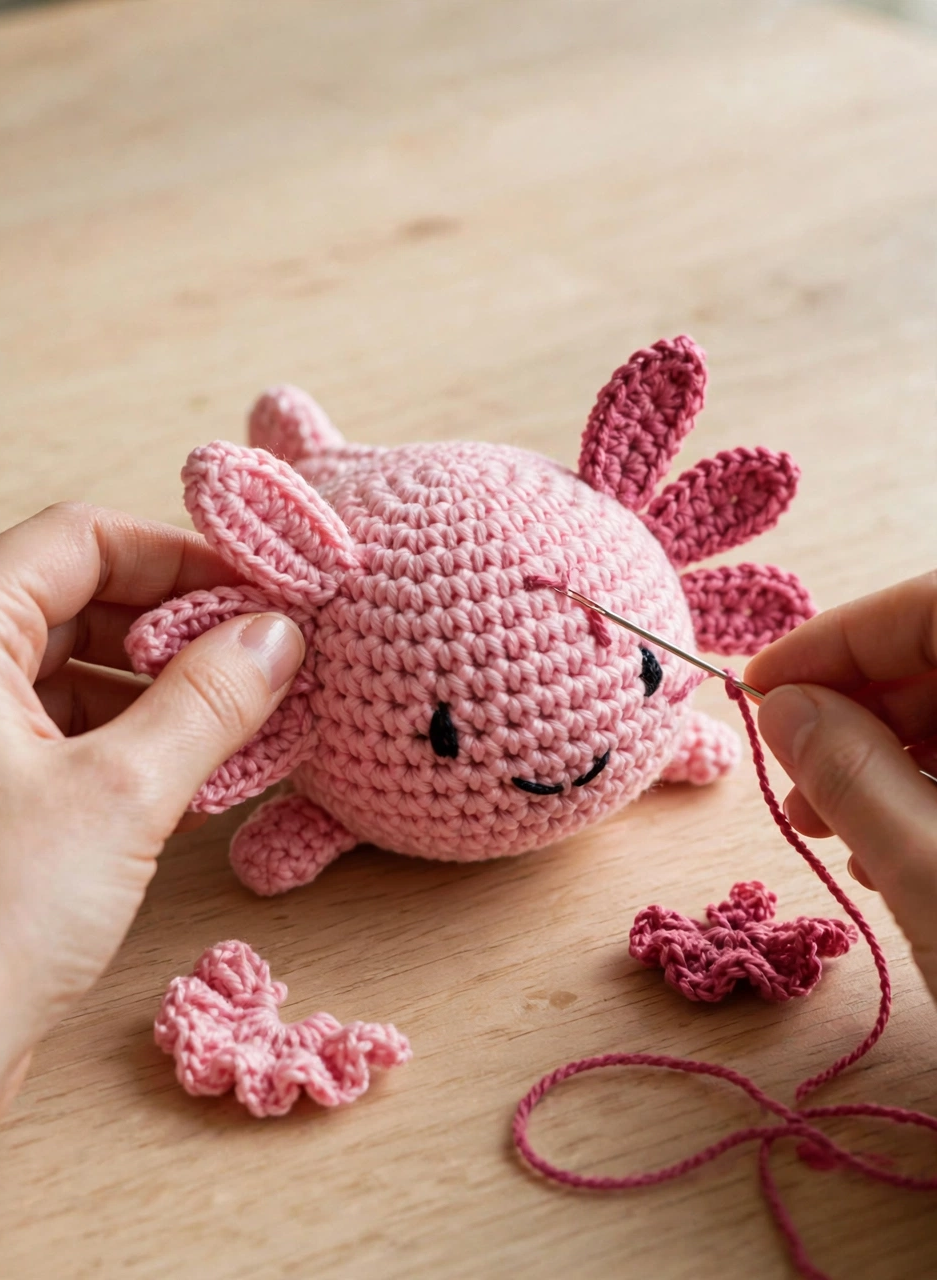
Now for the best part — the face! Using black embroidery floss, stitch two small oval eyes and a sweet curved smile onto your ghost. Keep the features centered and evenly spaced, and embroider after stuffing so you can judge the placement on the plump, finished shape. Then add a tiny pink blush mark under each eye with a couple of straight stitches for extra kawaii charm.
Step 6: Add the Orange Bow Tie and Finish
The final touch is the dapper orange bow tie. Chain a short strip of orange yarn, pinch it in the middle, and wrap yarn around the center to form the bow. Sew it just below the face with your yarn needle, then weave in all loose ends, hiding them inside the body. And that’s it — your handmade crochet ghost is ready for Halloween!
Tips for a Perfect Crochet Ghost
Once you have followed this crochet ghost pattern, you will have the technique memorized — it is the perfect stash-buster for leftover white yarn.
- Crochet tightly. Small, snug single crochet stitches keep the stuffing hidden and give your ghost a clean, professional finish.
- Count your increase rounds. Even increases make a perfectly round dome, so double-check your stitch counts in the first few rounds.
- Make it yours. Try a purple or black bow tie for a spookier ghost, or skip the bow entirely and add a tiny witch hat instead.
Frequently Asked Questions
Is this crochet ghost pattern beginner-friendly?
Yes! This is one of the easiest amigurumi patterns you can make. You only need the magic ring, single crochet, double crochet, and basic embroidery. If you can crochet in rounds, you can crochet this ghost.
How long does it take to crochet a ghost?
Most crocheters finish this little ghost in about an hour. It is a perfect one-evening project, and because it uses so little yarn, it is great for using up white yarn scraps.
What yarn works best for a crochet ghost?
A standard worsted-weight acrylic or cotton yarn in white gives the best result — it shows the stitches clearly and holds the ghost’s shape well. Avoid very dark yarns, since the embroidered face shows up best against a light background.
Can I make the ghost bigger?
Absolutely. Use a thicker yarn and a larger hook (for example, bulky yarn with a 6.0 mm hook) and follow the same steps — your ghost will simply come out bigger and extra cuddly. You can also make a whole family of mini ghosts with fine yarn and a smaller hook.
Your Cute Crochet Ghost Is Ready!
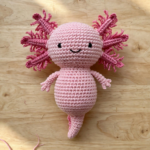
Congratulations — you just finished your own adorable crochet ghost! Display it on a shelf, hang it in a Halloween garland, or gift it to someone who loves spooky-cute things. If you enjoyed this project, you will also love our crochet axolotl pattern — another beginner-friendly amigurumi with step-by-step photos.
Happy crocheting, and have a spooky Halloween! Pin this free crochet ghost pattern for later and make a whole haunted family of ghosts.







1 thought on “How to Crochet a Ghost: Easy Crochet Ghost Pattern (Free Halloween Tutorial)”