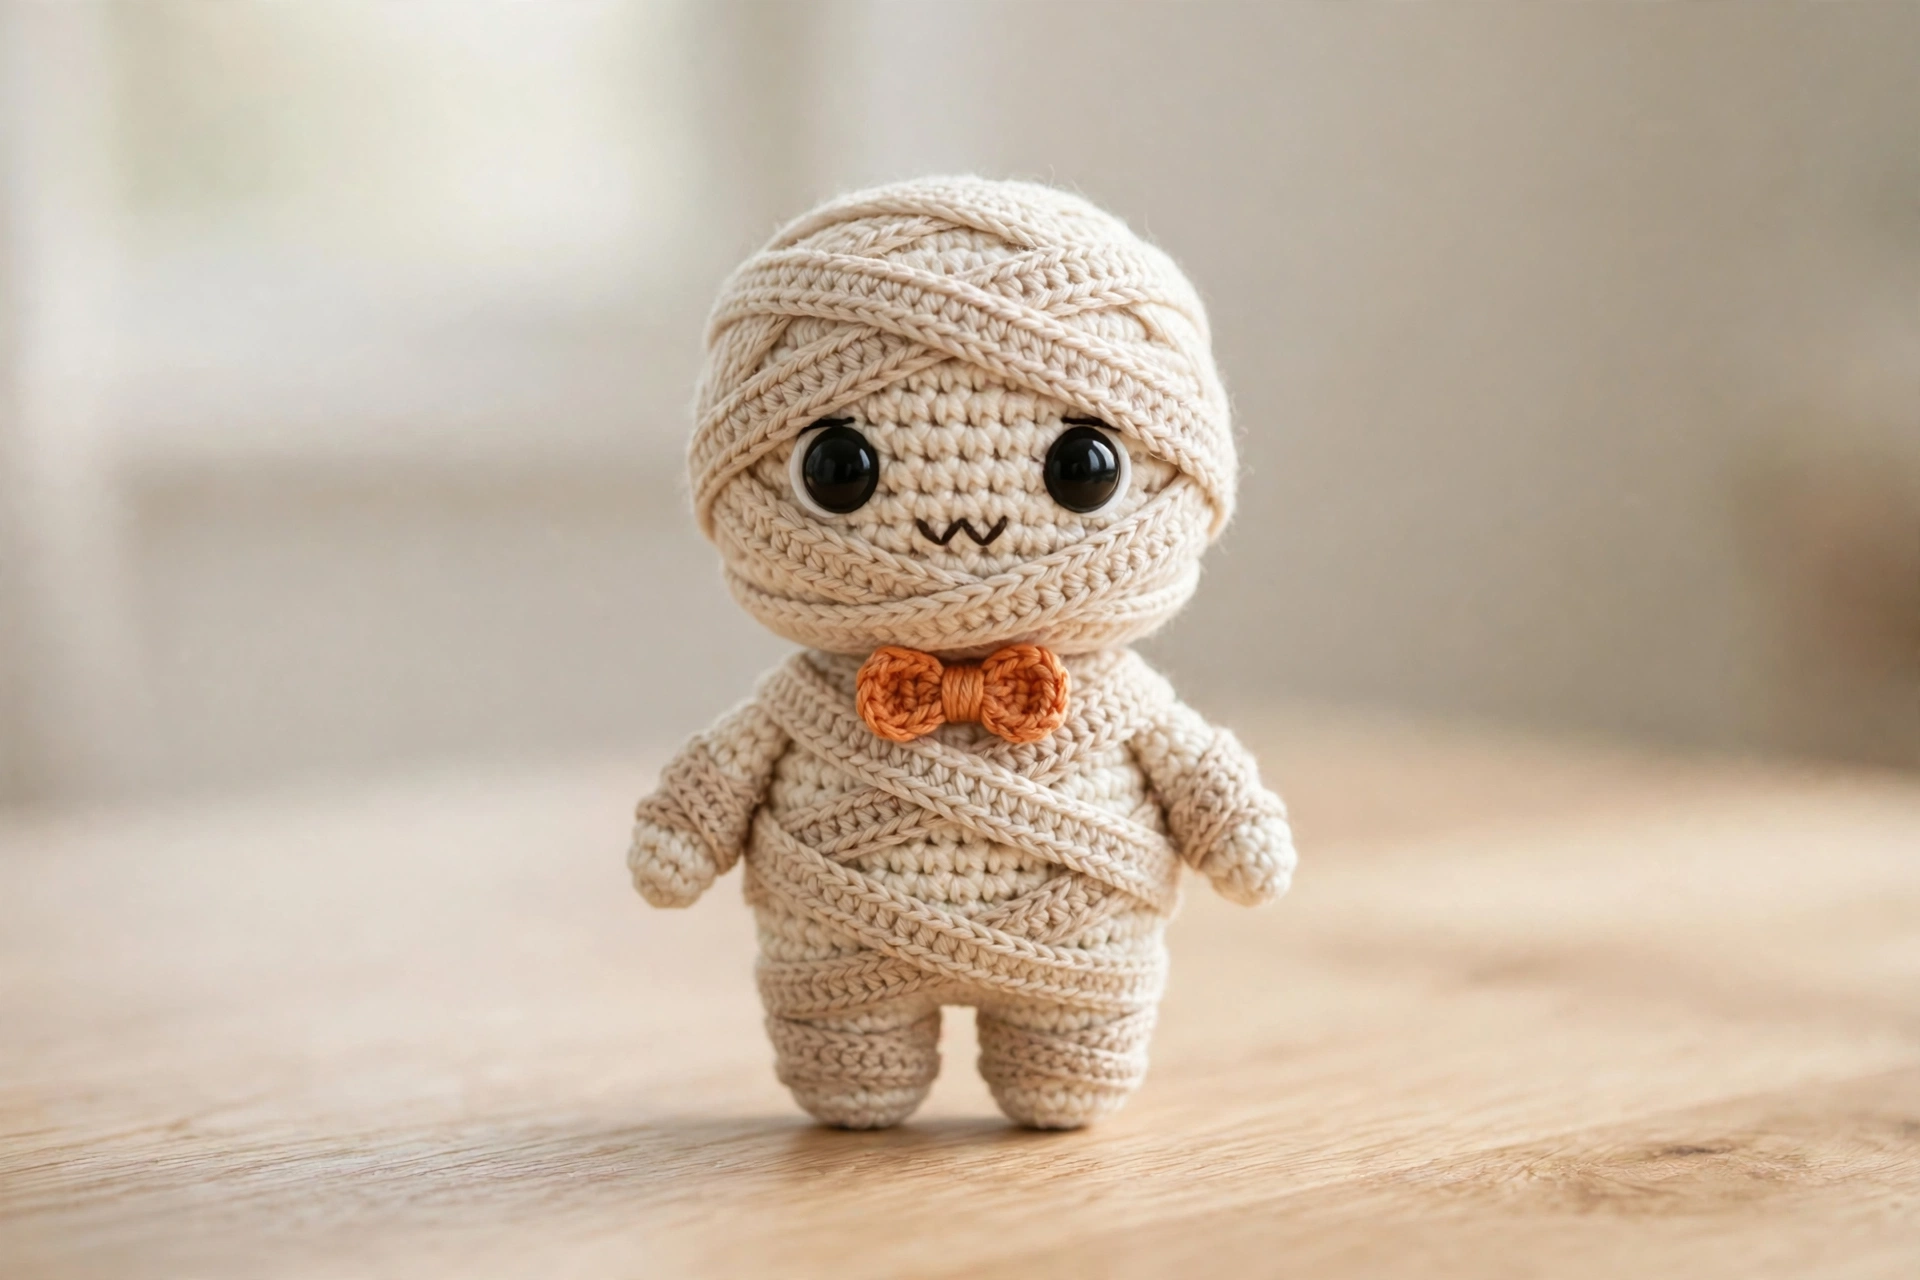
Halloween crafting season is here, and this crochet mummy pattern might be the cutest spooky project you make all October. This little mummy works up in a single evening from basic stitches. The wrapped bandage look hides a multitude of beginner sins, since uneven tension simply disappears under the crisscross wraps. Big black safety eyes peek out above a tiny orange bow tie. This mummy is more charming than creepy. It is perfect for mantels, trick-or-treat bowls, craft fair tables, and handmade gifts.
If you can crochet a magic ring and single crochet in rounds, you already have every skill this pattern needs. The body is worked in one piece, and the arms and legs are simple tubes. The “bandages” are just long beige strips wrapped around the finished doll. Let’s get started.
Materials for This Crochet Mummy Pattern
- Worsted-weight (#4) acrylic yarn in cream, beige/tan, and orange (about 50 g cream, 20 g beige, small amount of orange)
- 3.5 mm crochet hook
- Two 12 mm black safety eyes
- Polyester fiberfill stuffing
- Yarn needle and scissors
- Black embroidery thread for the mouth
- Stitch marker
Step 1: Start with the Magic Ring
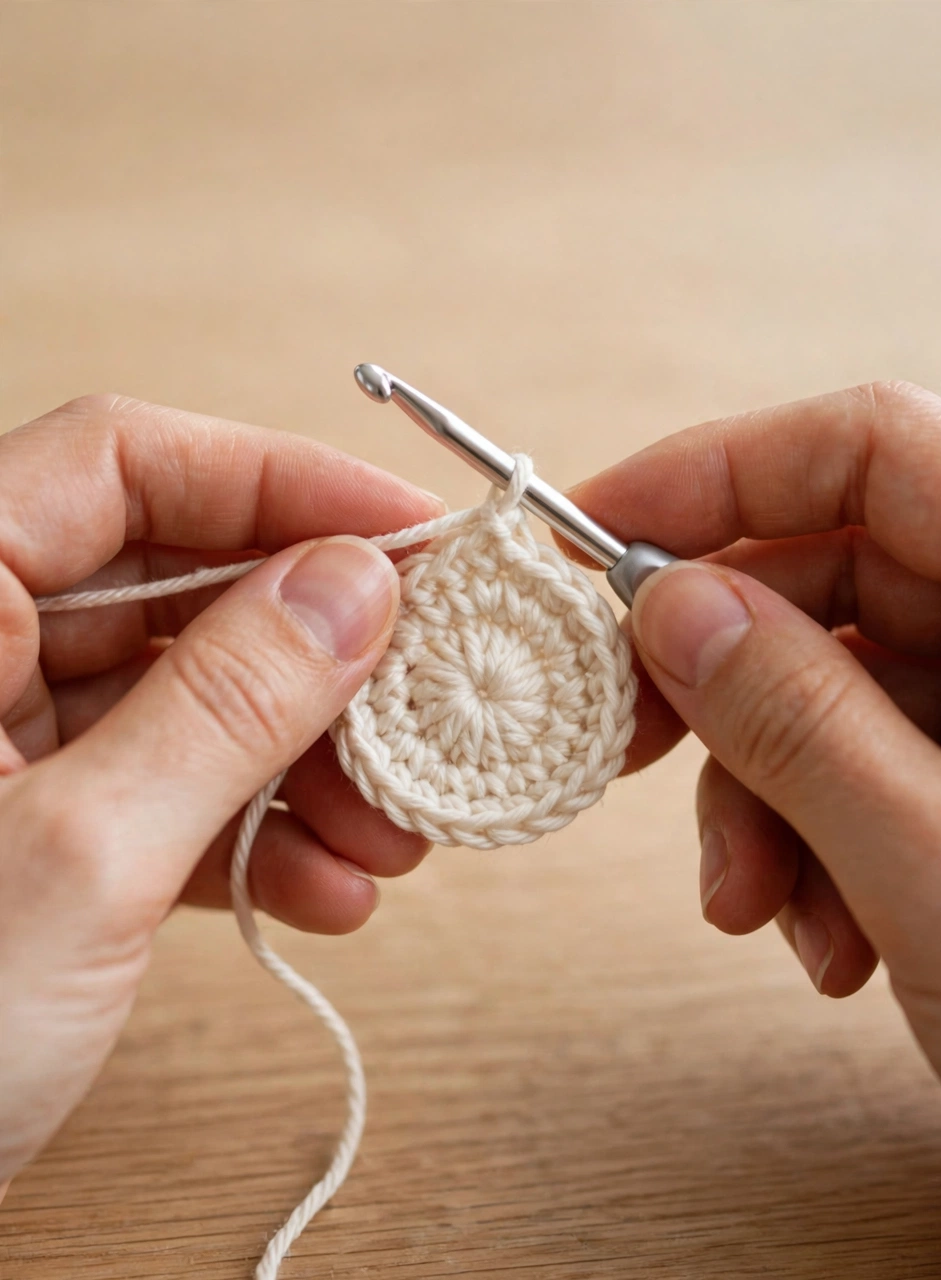
Every good amigurumi begins the same way, and this crochet mummy pattern is no exception. Make a magic ring with your cream yarn and work 6 single crochet into it, then pull the ring closed. Work your increase rounds until the base measures about 30 stitches around. This forms the bottom of the mummy’s one-piece head and body. Place your stitch marker at the start of each round so you never lose your place. Amigurumi is worked in a continuous spiral.
Step 2: Crochet the Mummy’s Body in Rounds
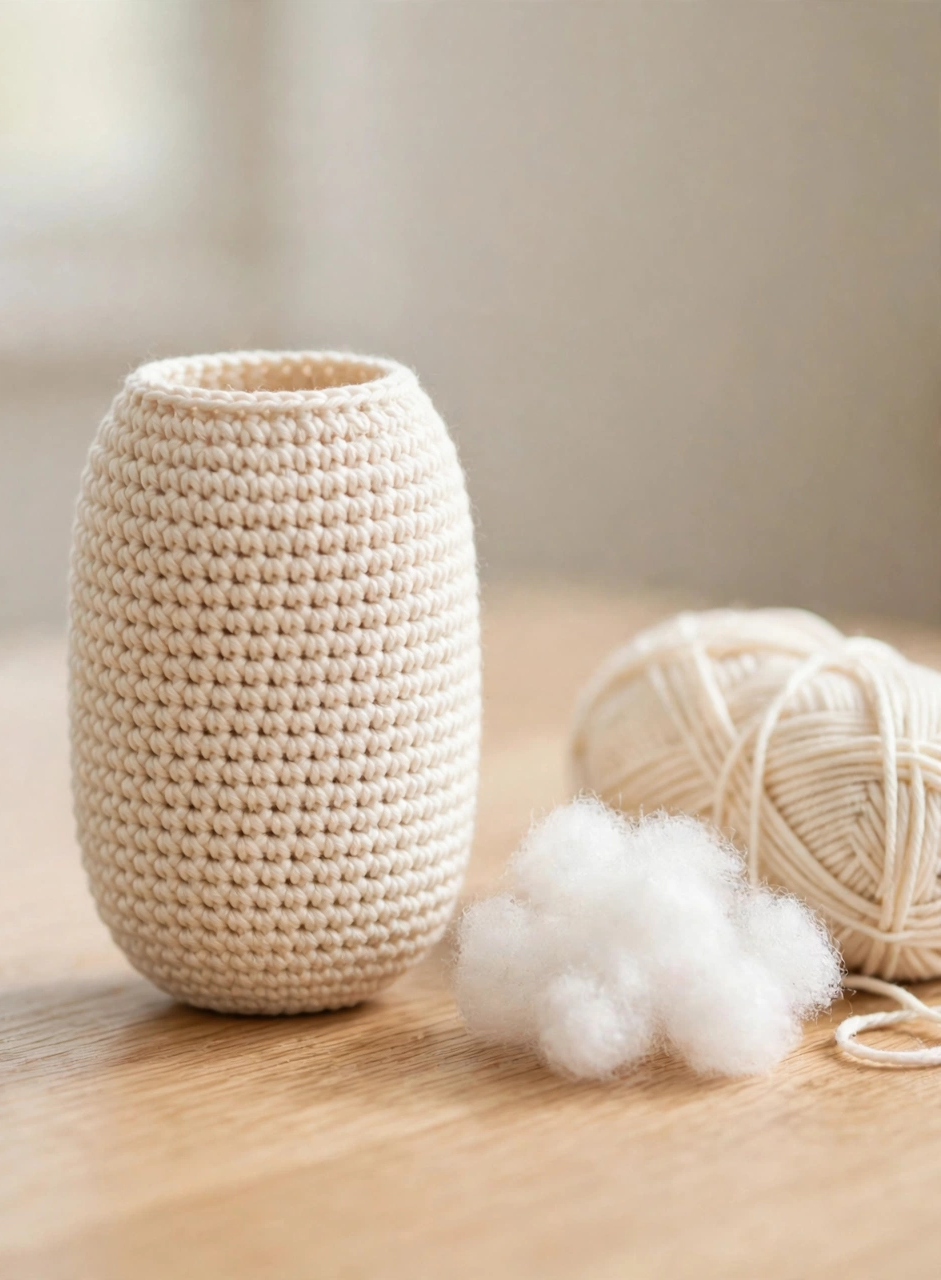
Continue working single crochet in the round. First, follow the classic increase-then-straight-then-decrease shaping. Increase up to 30 stitches, work several even rounds for the chubby middle, then decrease back down. Stuff the body firmly with fiberfill as you go — a well-stuffed mummy holds its round shape under the bandages. Meanwhile, crochet two small arms and two short legs as simple tubes. Stuff them lightly and set them aside to sew on later.
Step 3: Add the Safety Eyes and Embroidered Mouth
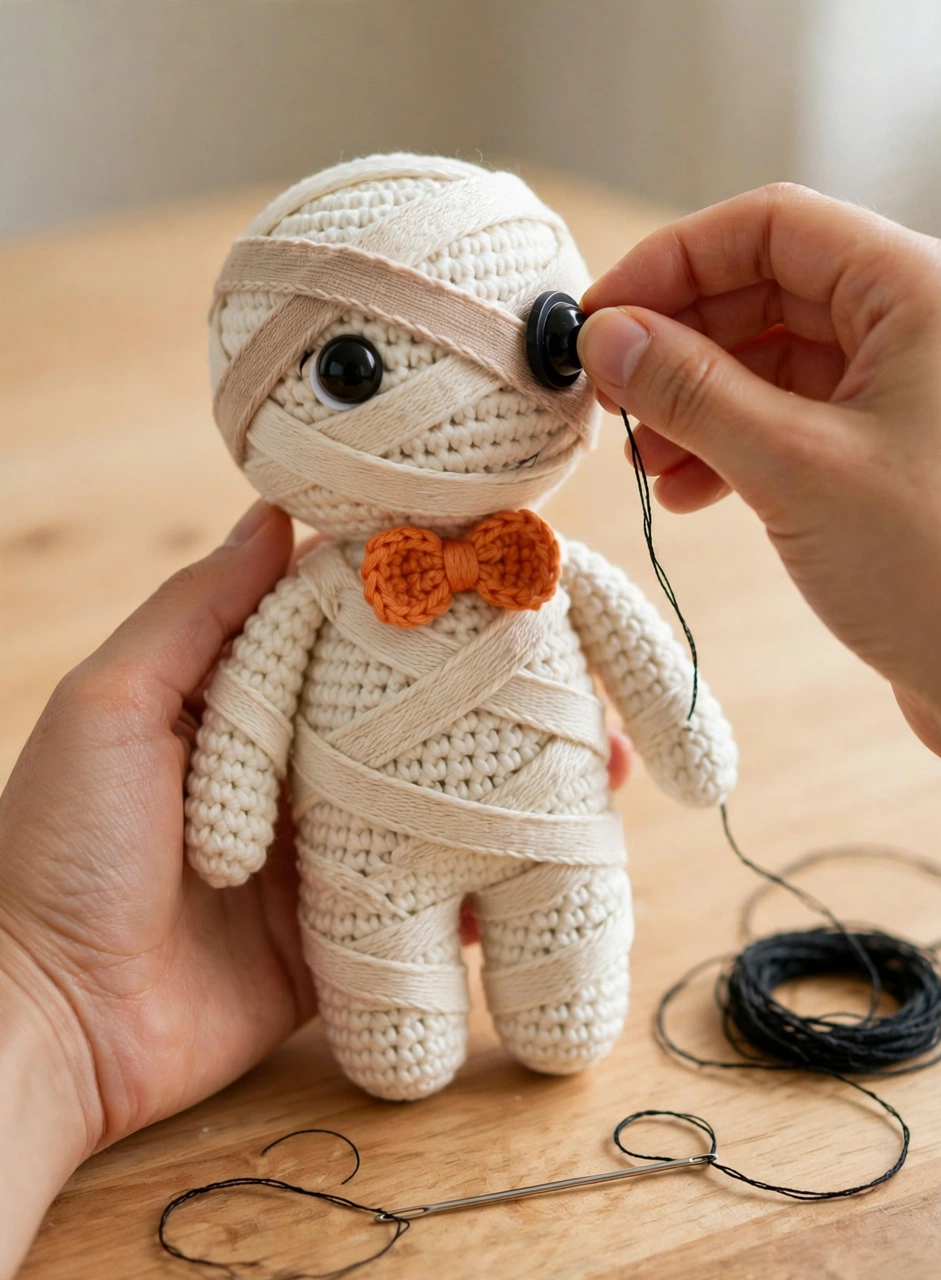
Here is where your mummy gets its personality. Insert the two black safety eyes between rounds 8 and 9 of the head, about 6 stitches apart. Press the washers on firmly from the inside. Safety eyes lock in place, so position them carefully before you commit. With black embroidery thread, stitch a small zigzag mouth — three shallow V shapes — centered below the eyes. Keep the stitches short and neat; the mouth should look like a tiny stitched grin peeking between the bandages. Finish stuffing the head, close the top, and weave in the end.
Step 4: Wrap the Bandages on Your Crochet Mummy
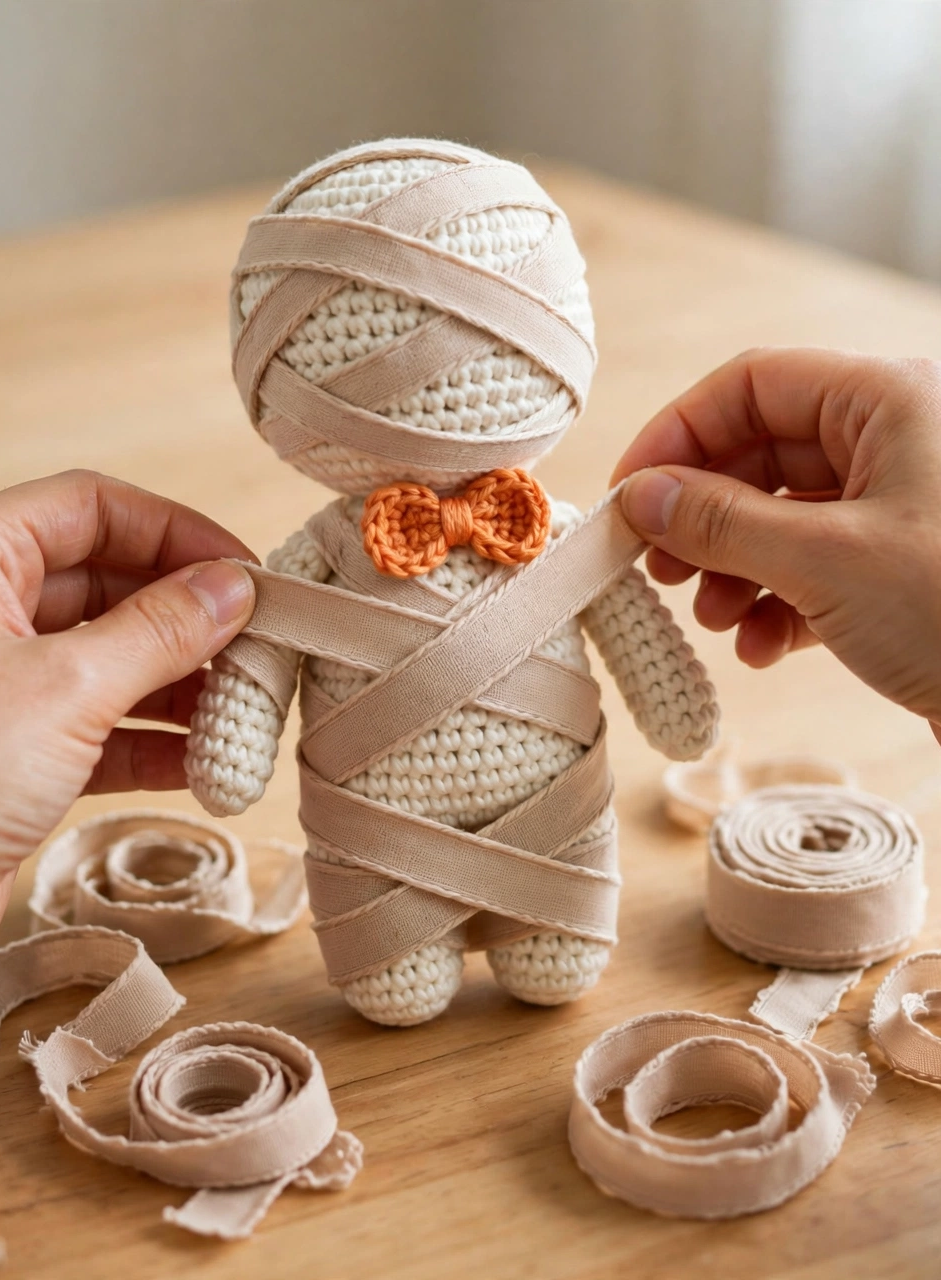
Now for the signature mummy look. Crochet four long beige strips (chain 45, single crochet back across). Or simply use long lengths of beige yarn for a rustic finish. Wrap the strips diagonally around the body and head in a crisscross pattern. Leave the eyes and the little zigzag mouth uncovered. Overlap the strips slightly for that authentic wrapped effect. Then tack the ends down with a few small stitches from your yarn needle so nothing unravels. This is the forgiving part of the pattern: there is no wrong way to wrap a mummy.
Step 5: Attach the Orange Bow Tie
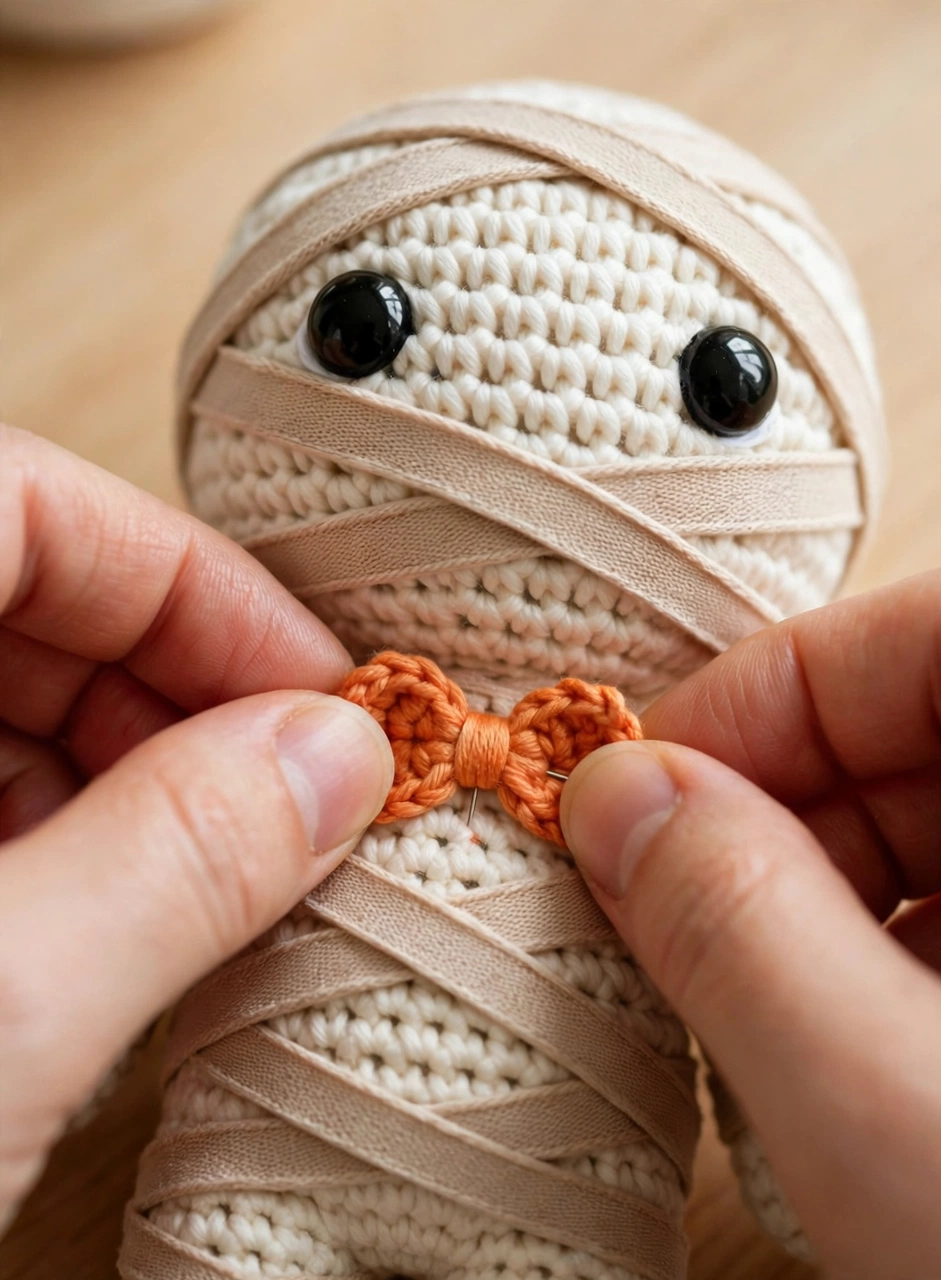
The orange bow tie is what takes this mummy from spooky to adorable. Crochet the tiny orange bow: two small loops cinched at the center. Then pin it at the neck where the head meets the body (around round 12). Sew it on with several firm stitches through the center knot. If you are making this mummy for a very small child, skip the safety eyes. Instead, embroider the eyes too, so the whole toy is soft and safe.
Step 6: Finish Your Crochet Mummy
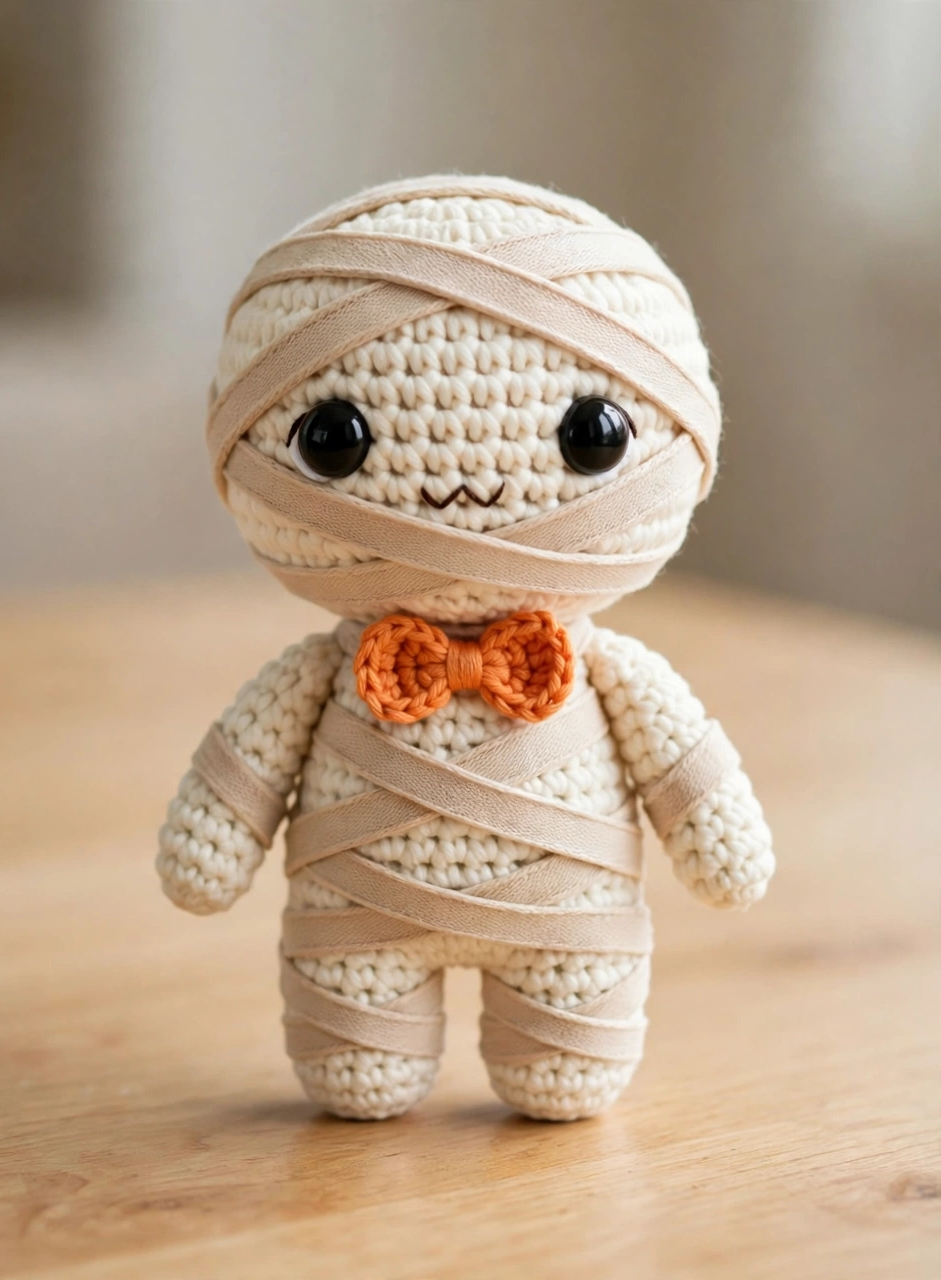
Sew the arms to the sides of the body and the legs to the bottom. Next, weave in every loose end and give your mummy a final fluff. Step back and admire your work: a chubby little mummy, wrapped head to toe. It has bright eyes and a dapper orange bow tie. Your finished crochet mummy stands about 4 inches (10 cm) tall. That is the perfect size for a Halloween tiered tray, a desk buddy, or a trick-or-treat surprise.
Tips for the Perfect Crochet Mummy
- Wrap, don’t crochet, the bandages. Long strips of beige yarn wrapped around the finished doll look far more “mummy-like”. They are also much faster than crocheting the wraps into the rounds.
- Place the eyes before you close the head. Safety eye washers must go on from the inside. So set the eyes while the top of the head is still open, with the stuffing pushed aside.
- Stuff firmly but not rock-hard. The body needs enough fiberfill to stay round under the bandage wraps. But overstuffing will stretch the stitches and show the white filling through.
Crochet Mummy Pattern FAQs
Is this crochet mummy pattern beginner friendly?
Yes. You only need the magic ring, single crochet, increases, and decreases. The bandage wrapping covers any uneven stitches. That makes this one of the most forgiving Halloween amigurumi projects you can pick.
How long does it take to crochet the mummy?
About 2 to 3 hours from the first stitch to the finished bow tie. The body works up quickly in worsted yarn, and wrapping the bandages takes just a few minutes.
How big is the finished mummy?
Approximately 4 inches (10 cm) tall when made with worsted-weight yarn and a 3.5 mm hook. Use chunkier yarn and a larger hook for a bigger plush version.
Can I make this mummy without safety eyes?
Absolutely. Embroider two round eyes with black yarn or thread instead. A French knot or a small satin-stitch circle works beautifully. It also makes the finished mummy safe for babies and toddlers.
Conclusion
This mummy pattern proves that Halloween crochet does not have to be complicated to be completely charming. One evening, a bit of cream yarn, and some creative bandage wrapping is all it takes. You will make a mummy that gets compliments all season. For the full round-by-round written pattern with stitch counts, grab the free printable PDF below. If you make one, share it: nothing beats a whole mummy family lined up on the mantel. Happy haunting, and happy crocheting!
For another quick Halloween make, try our crochet ghost pattern — it pairs perfectly with this mummy. New to choosing yarn weights? The Lion Brand yarn weight guide is a handy reference.