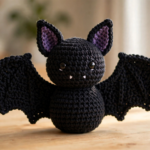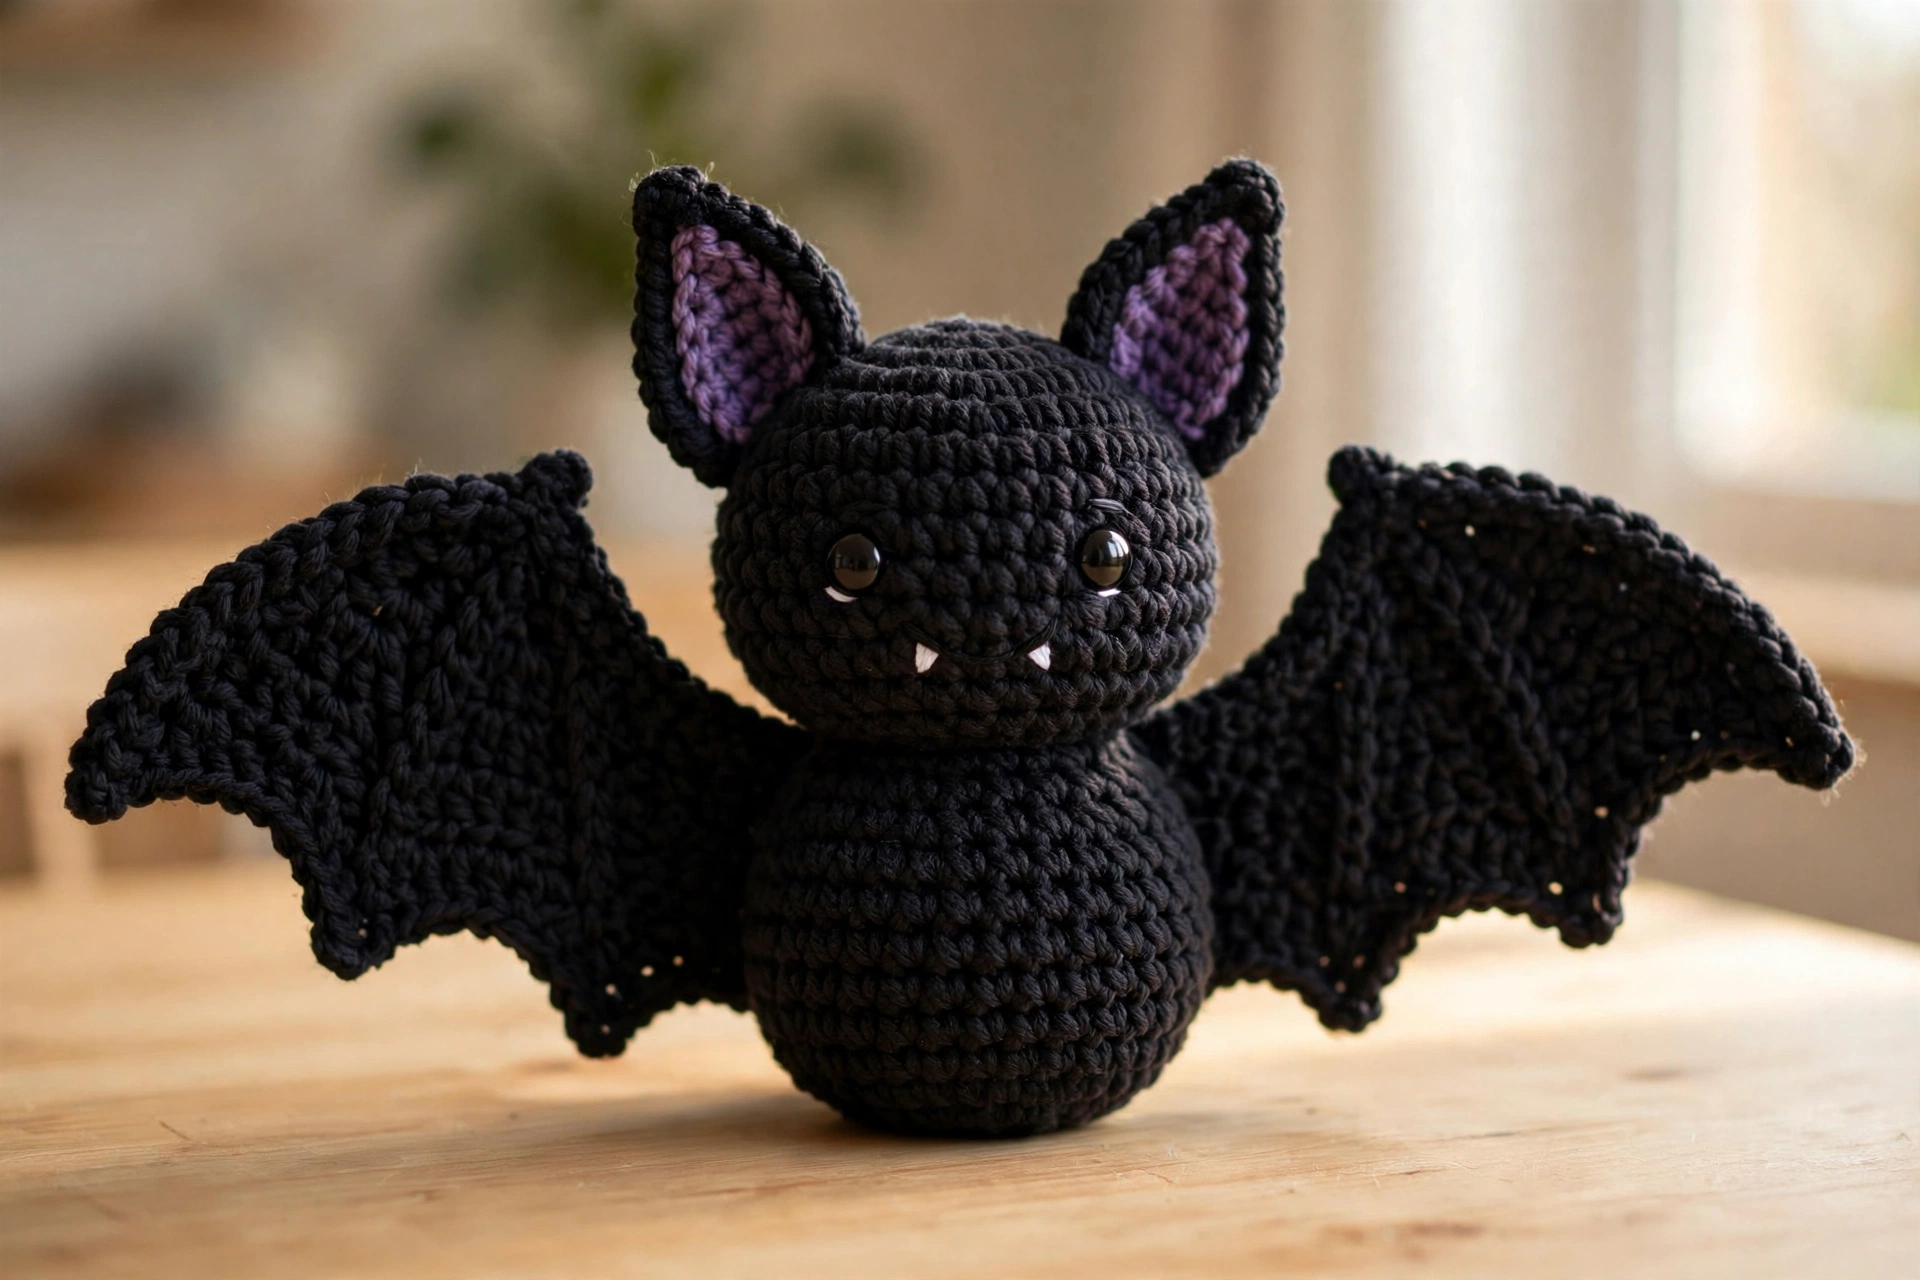
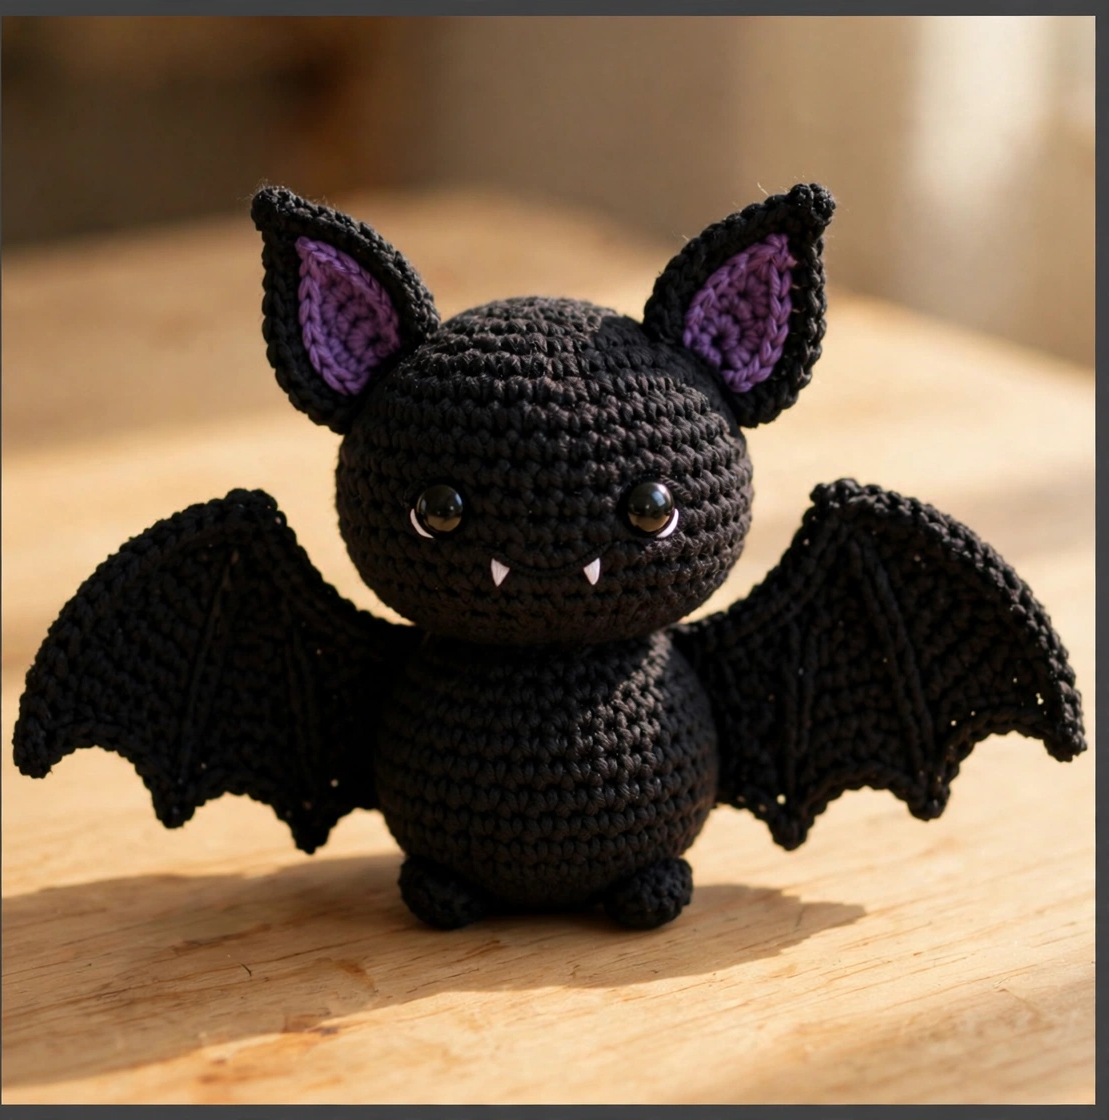
Looking for a spooky-cute crochet bat pattern to add to your Halloween lineup? This little black bat — with big scalloped wings, pointed ears with purple inner detail, and the tiniest white fangs — works up in about two hours using only basic amigurumi stitches. It is the perfect Halloween crochet project for adventurous beginners.
This free crochet bat pattern is designed to be fun, not fussy. The head and body are worked as one stuffed piece, the wings are simple flat shapes, and the ears are quick little triangles. So grab your black yarn and hook — let’s make a bat!
Materials You’ll Need
- Black worsted-weight yarn (about 60 g)
- Purple yarn, small amount (for the inner ears)
- White embroidery floss or thin white yarn (for the fangs)
- 3.5 mm crochet hook
- 10 mm safety eyes (or embroider the eyes)
- Polyester fiberfill stuffing
- Yarn needle
- Scissors
- Stitch marker (optional, but very helpful)
Step 1: Begin Your Crochet Bat with a Magic Ring
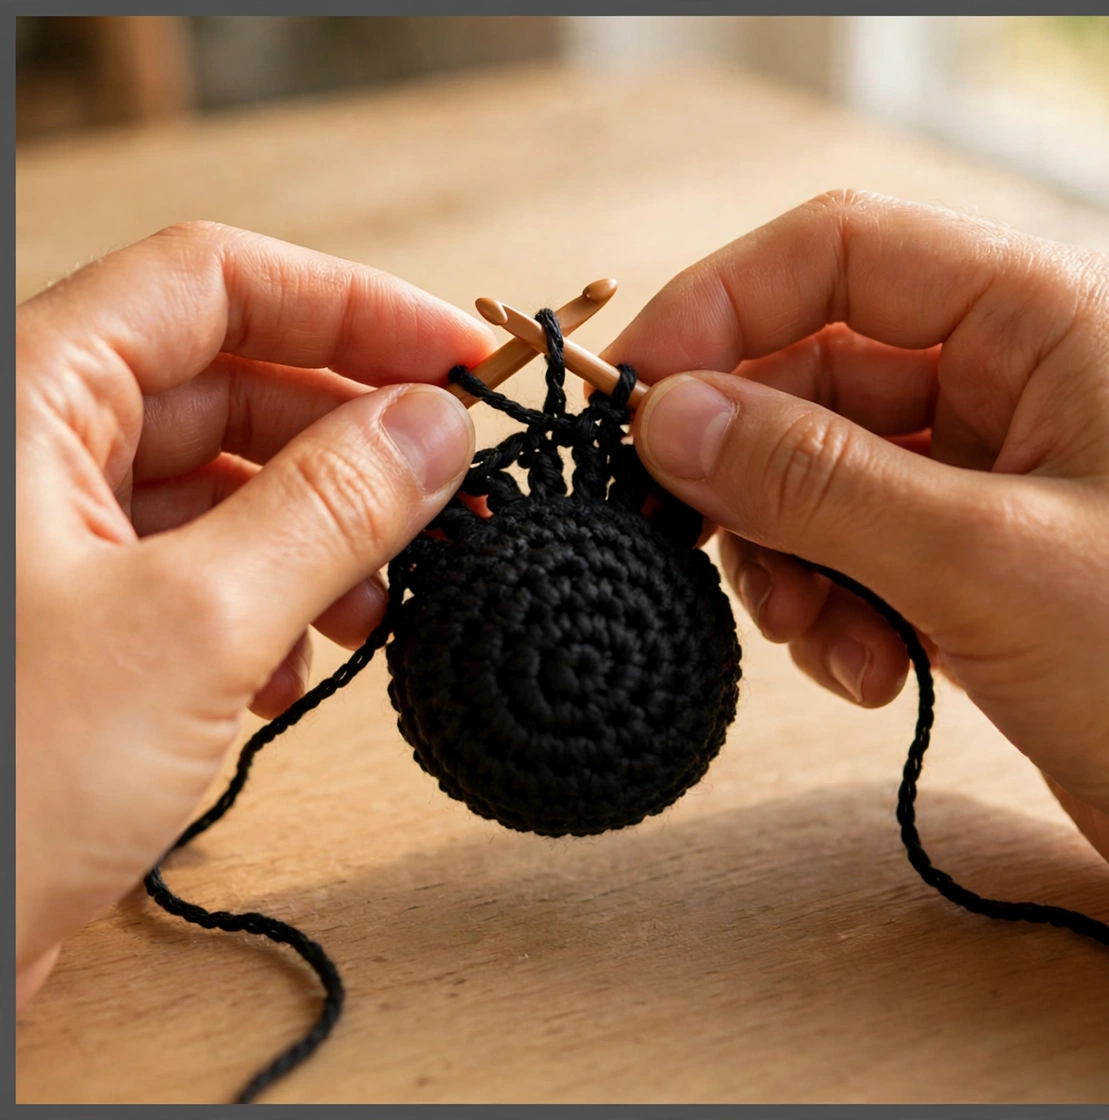
Every amigurumi starts the same way. To begin this crochet bat pattern, make a magic ring with your black yarn and work 6 single crochet stitches into it, then pull the tail tight to close the ring completely. This creates a neat, gap-free top of the bat’s head. Place a stitch marker at the start of the round — because you are working with black yarn, counting rounds is a little trickier, and the marker keeps you on track.
Step 2: Crochet the Bat’s Head and Body
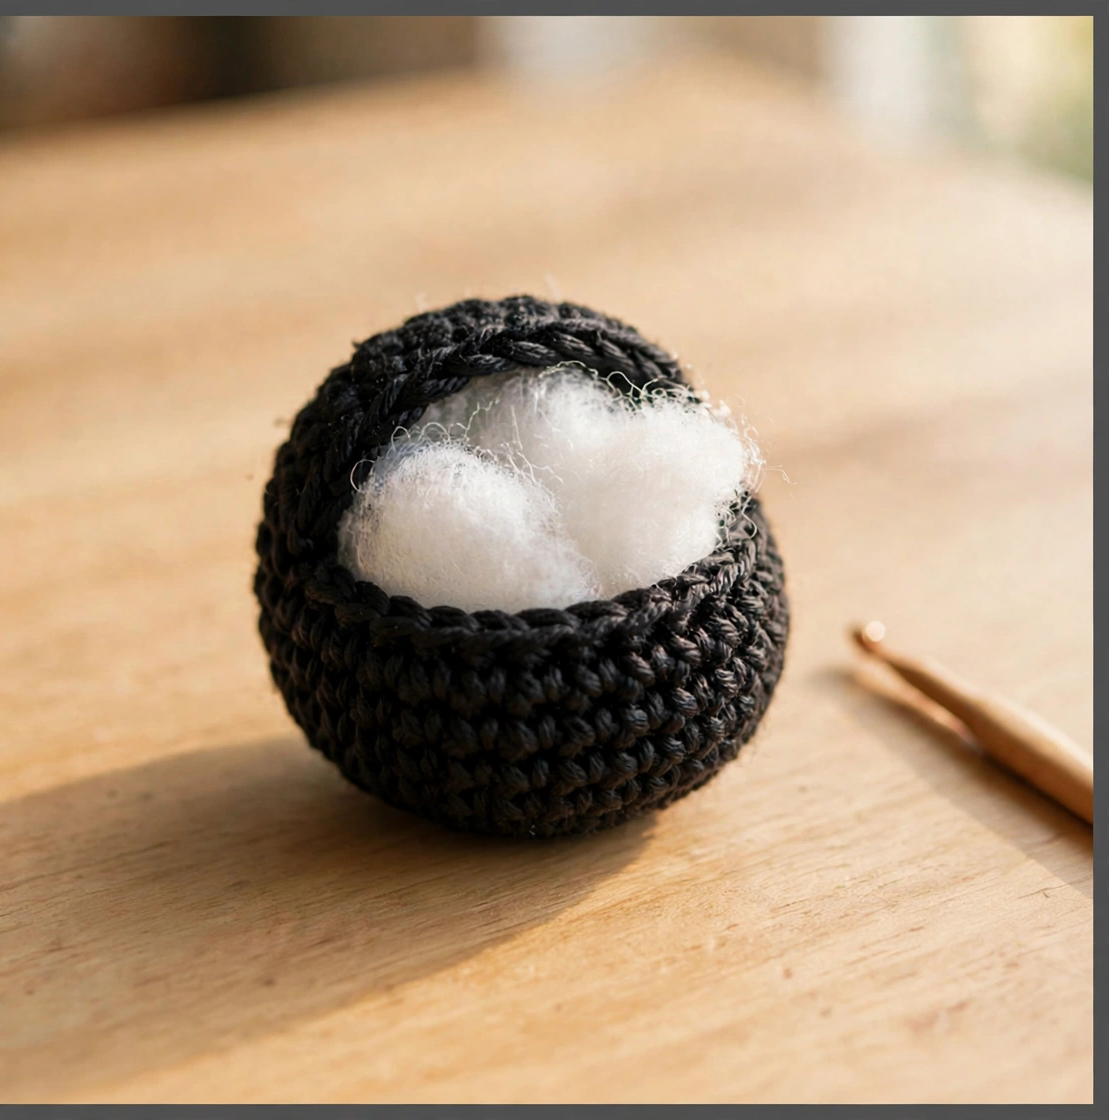
Continue working in single crochet rounds, increasing evenly to about 30 stitches to shape the round head. After a few even rounds, work a decrease round to form the neck, then increase again for the plump little body. Stuff the head firmly with fiberfill as you go — it is much easier to shape the stuffing through the open bottom than after the bat is closed. Keep your tension even so the stitches stay tight and no stuffing peeks through the black yarn.
Step 3: Crochet the Pointed Bat Ears
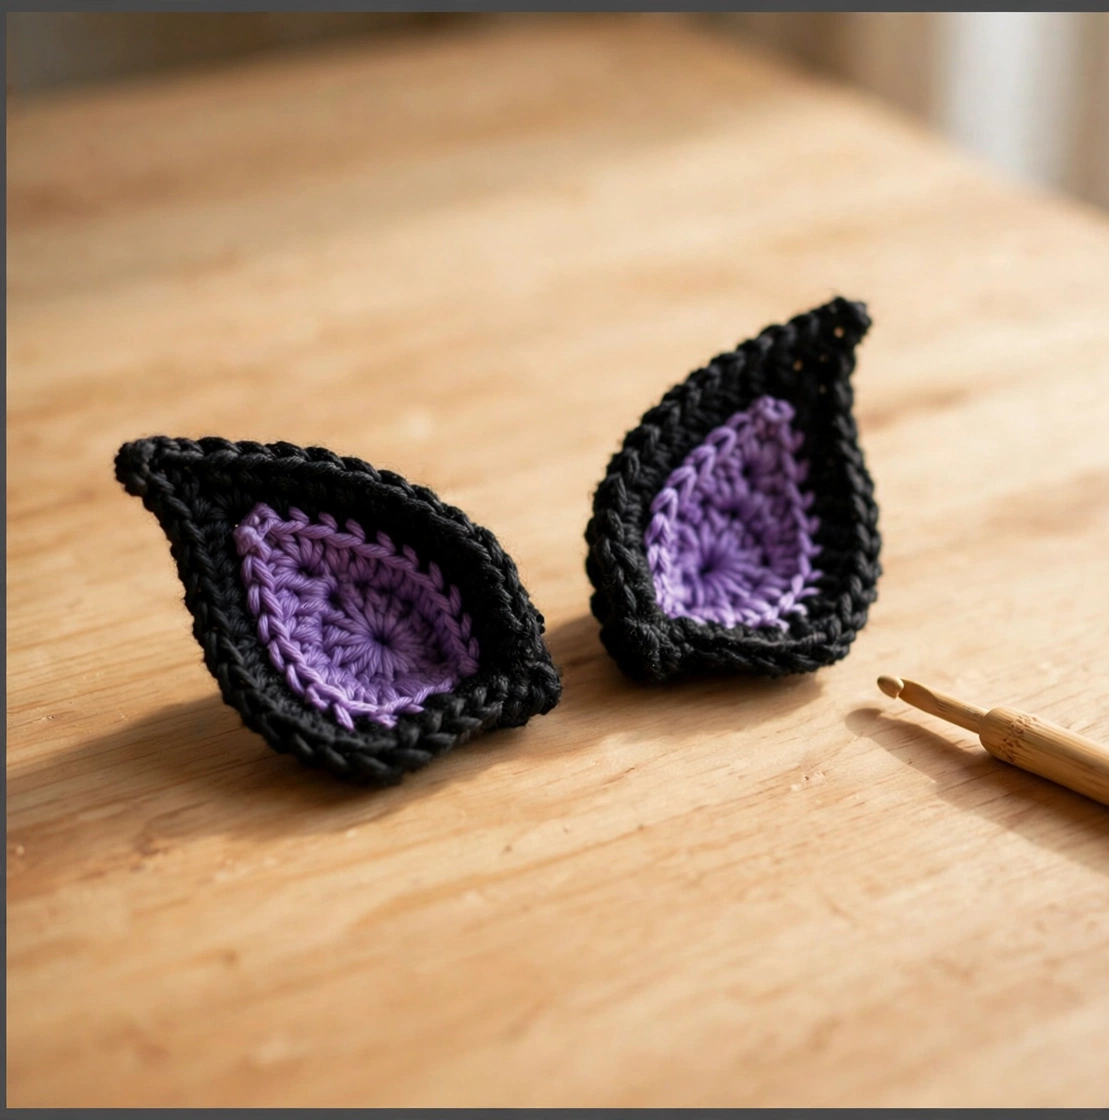
Time for the ears! Each ear is a small triangle worked in short rows of single crochet with decreases at the edges. Make two in black, then make two slightly smaller triangles in purple for the inner-ear detail and sew them onto the black pieces. These purple inner ears are what give the bat its extra charm — and a little pop of color against the black. Set the finished ears aside for now; you will attach them after the wings are ready.
Step 4: Crochet the Scalloped Bat Wings
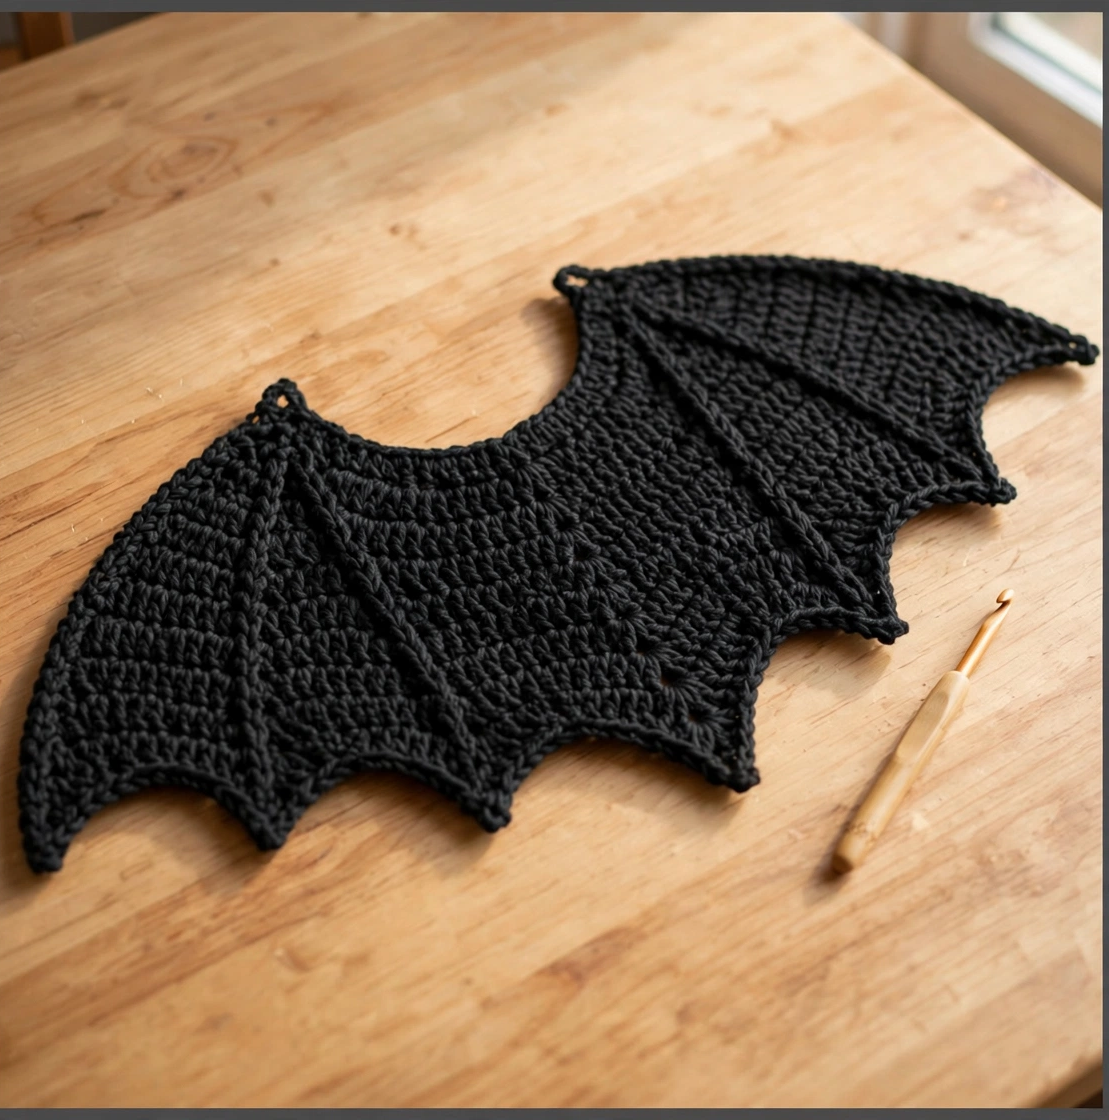
The wings are the star of this crochet bat pattern. Each wing is worked flat in rows: start with a chain, then work double crochet rows with chain-point picots along the lower edge to create the classic scalloped bat-wing silhouette. You will repeat the same short sequence three times per wing, which makes it easy to keep both wings matching. Make two wings, and do not fasten off until you have checked that they are mirror images of each other.
Step 5: Attach the Ears and Wings to Your Crochet Bat
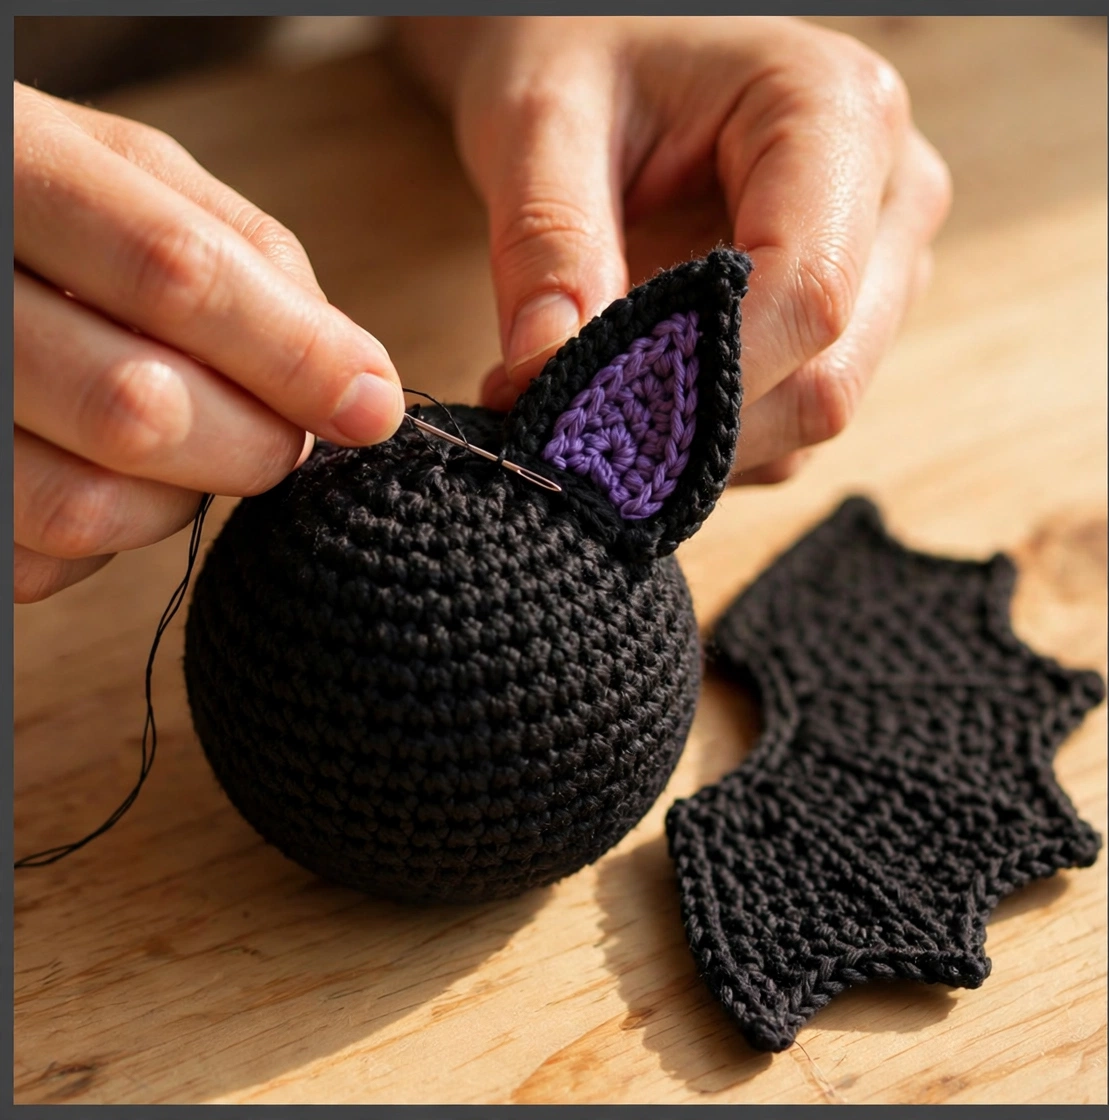
Now bring it all together. First, sew the two ears to the top of the head, positioning them evenly on either side. Then attach the wings to the back of the body: line up the top edge of each wing with the base of the head and sew along the center line. A helpful trick is to pin everything in place with the yarn needle first and step back to check the symmetry before you commit to stitching — wings that sit evenly make the whole bat look professional.
Step 6: Add the Face and Finish Your Crochet Bat
The final step is the friendly face. Insert the safety eyes between the rounds of the head, spacing them evenly, and press the washers on firmly from the inside before the body is fully closed. Then embroider a tiny curved smile and two small white fangs with white embroidery floss — the fangs are what turn this from a bat into a cute bat. Finish stuffing the body, close the bottom with a round of decreases, and weave in all loose ends. Your handmade crochet bat is ready to hang out!
Tips for the Perfect Crochet Bat
- Work in bright light. Black yarn hides your stitches, so crochet near a lamp or window — you will thank yourself when counting.
- Use invisible decreases. The invisible decrease (working through front loops only) keeps the shaping smooth and your bat looking polished.
- Stiffen the wings if you like. A light spritz of fabric stiffener on the wings helps them hold their spread shape on the shelf.
Crochet Bat Pattern FAQ
Is this crochet bat pattern beginner friendly?
Yes! If you can make a magic ring, single crochet, increase, and decrease, you can make this bat. The wings use double crochet and chain stitches, and the pattern repeats the same short sequence — perfect for an adventurous beginner.
How long does it take to crochet the bat?
About two hours for most crocheters. The head and body work up quickly, and the wings take a little longer because of the scalloped edge. It is a great one-evening Halloween crochet project.
What yarn works best for a crochet bat?
Worsted-weight acrylic yarn is ideal — it is affordable, holds its shape, and comes in every color. For a bigger, squishier bat, try a plush chenille yarn with a 5.0 mm hook. Yarnspirations has a helpful guide to choosing the right yarn weight for amigurumi.
Can I make the bat in different colors?
Absolutely. A deep purple or midnight-blue bat looks magical, and a brown bat with cream inner ears is adorable too. The pattern works in any color — just keep the inner ears a contrasting shade for that signature look.
Conclusion
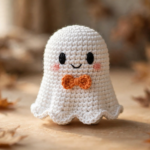
And there you have it — your very own handmade bat, ready for Halloween! This crochet bat pattern is quick, beginner friendly, and endlessly giftable. Hang it from a branch for spooky decor, turn it into a keychain, or pair it with our crochet ghost pattern for the cutest Halloween duo on the shelf.
If you make one, save this tutorial and share your bat — happy crocheting!