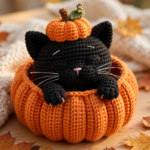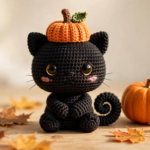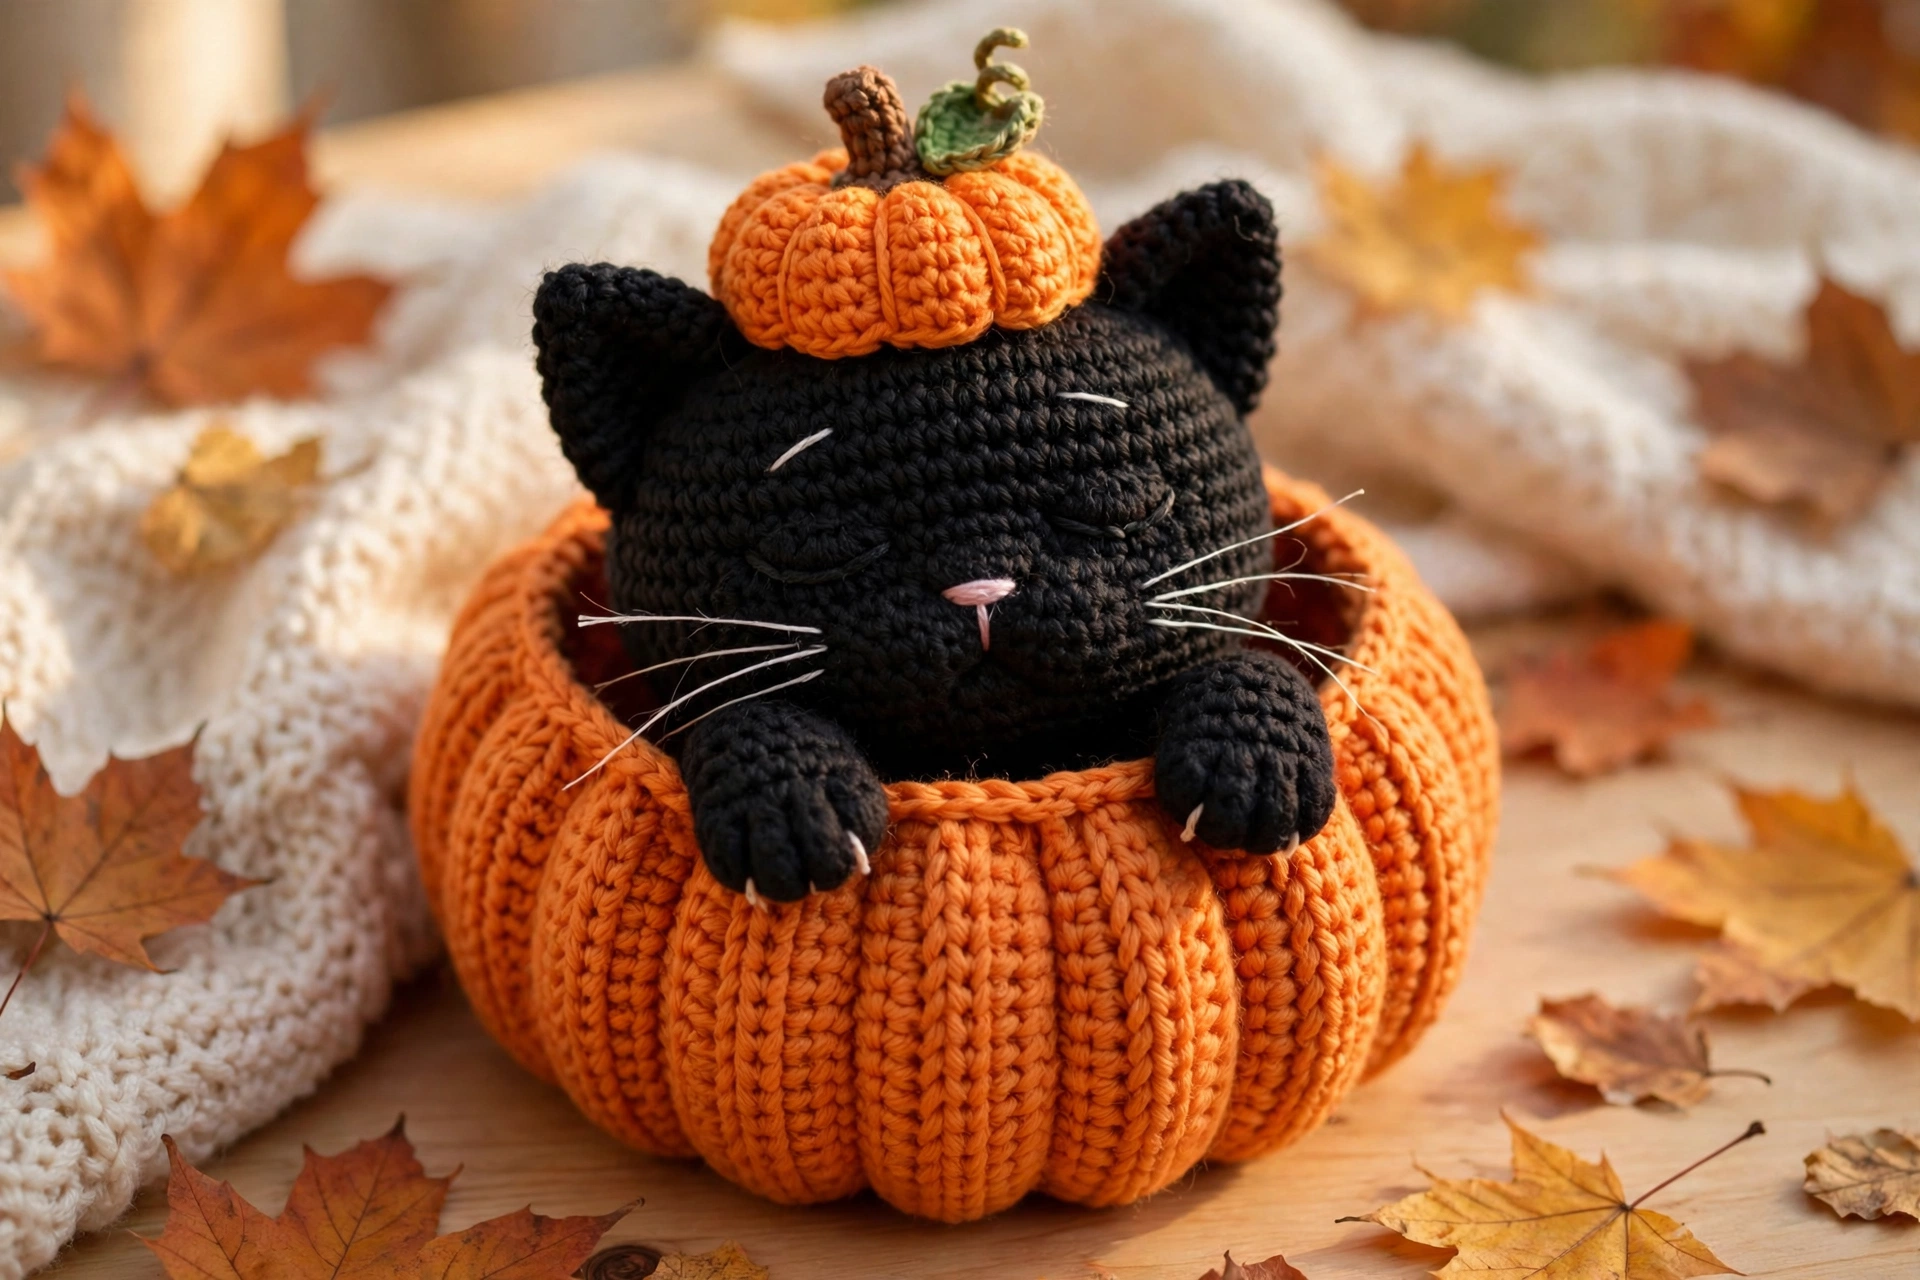
If autumn had a mascot, it would be this crochet cat in pumpkin pattern. A sleepy black kitty with an embroidered face and two little paws draped over the rim, tucked snugly inside a ribbed orange pumpkin and wearing the tiniest pumpkin cap — it is the kind of make that stops thumbs on Pinterest and starts conversations at craft fairs. The good news? It is far easier than it looks.
This crochet cat in pumpkin pattern is built from simple single crochet shapes: a hollow pumpkin, a round head, two triangle ears and two little paws. The face is embroidered, so there are no safety eyes to buy, and the whole project uses basic stitches you already know. Every step below has a clear photo, and the free printable PDF at the top of this page lets you crochet offline, curled up somewhere cosy.
Materials for Your Crochet Cat in Pumpkin Pattern
Gather these supplies before you start:
- Worsted weight (#4) yarn in orange — approx. 150 yds (pumpkin + cap)
- Worsted weight (#4) yarn in black — approx. 100 yds (kitty)
- Small amounts of brown (stem), green (leaf and vine) and white (whiskers and eyes)
- 4.0 mm (US G-6) crochet hook
- Polyester fiberfill stuffing
- Yarn needle with a large eye
- Scissors
- Stitch markers
A smooth worsted acrylic holds the pumpkin ridges crisply — Lion Brand Basic Stitch or a similar matte yarn works beautifully. Love the pumpkin-and-cat combination? Our crochet pumpkin kitty pattern pairs a sitting kitty with a pumpkin hat instead — the two make an adorable autumn set together.
Step 1: Crochet the Pumpkin Body
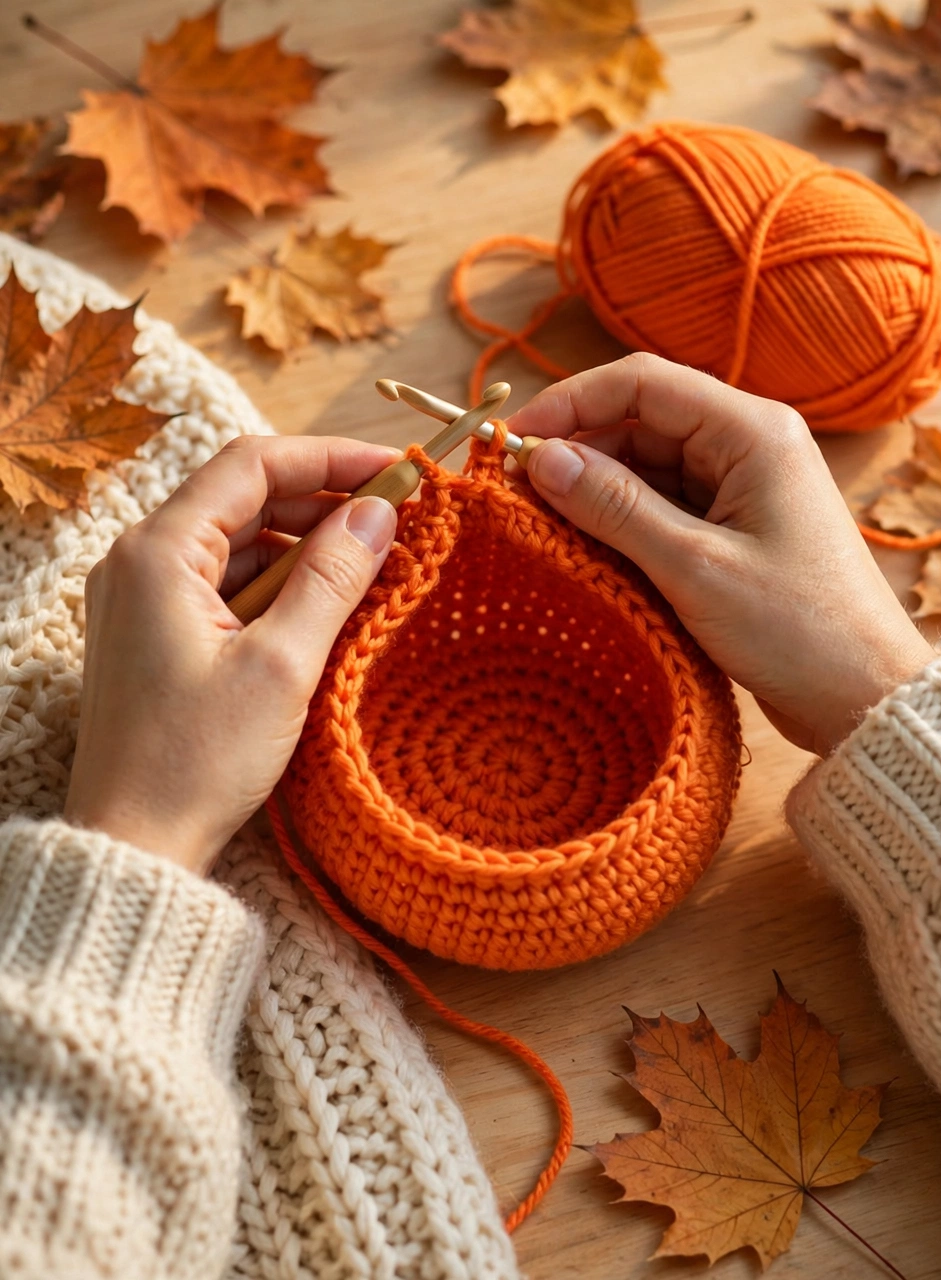
Start with orange and a magic ring. Work 6 single crochet into the ring, then increase evenly round by round — 12, 18, 24, 30, 36, 42, up to 48 stitches — so the base grows into a wide flat circle. From there, work even rounds with no increases and the sides curve upward into a bowl.
Keep going until the pumpkin wall stands about 3.5 inches tall. Do not close the top: this pumpkin stays open like a little nest, because the kitty sits inside it. Fasten off with a long tail — you will use it for the ridge shaping in the next step.
Step 2: Shape the Ridges and Stuff the Pumpkin
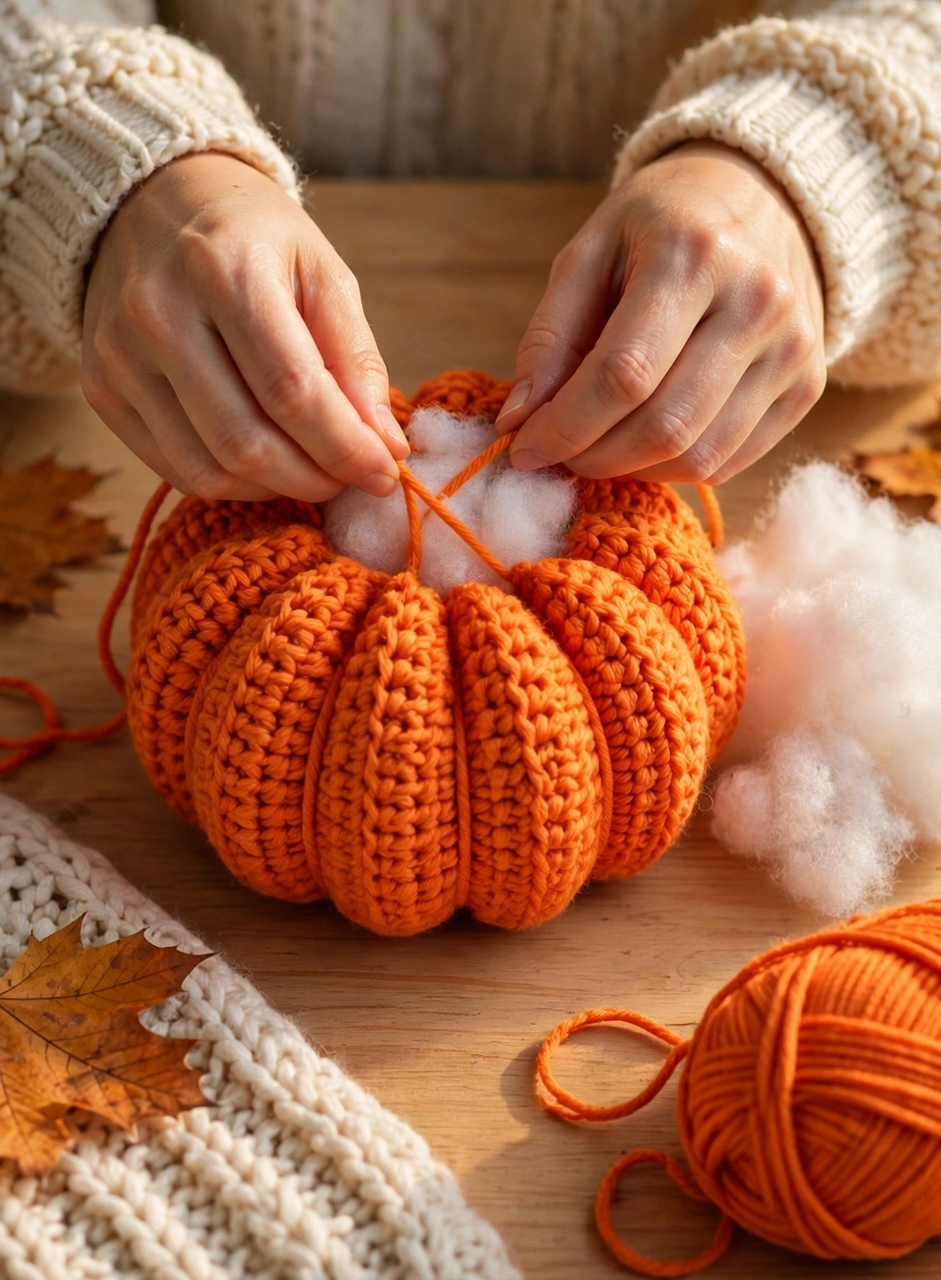
Now give the pumpkin its classic grooves. Thread the long tail (or a fresh double strand of orange) onto your yarn needle, run it from the centre bottom up over the rim and back down through the middle, and pull gently so the yarn sinks a shallow channel into the surface. Repeat around the pumpkin to make eight evenly spaced ridges.
Stuff the pumpkin as you shape it, packing the fiberfill around the sides so the centre stays slightly hollow — a soft nest where the kitty will sit. The ridges deepen as the stuffing pushes back, and by the last channel your smooth bowl looks unmistakably like a pumpkin. Tie off the shaping yarn underneath and hide the ends inside.
Step 3: Crochet the Kitty Head and Ears
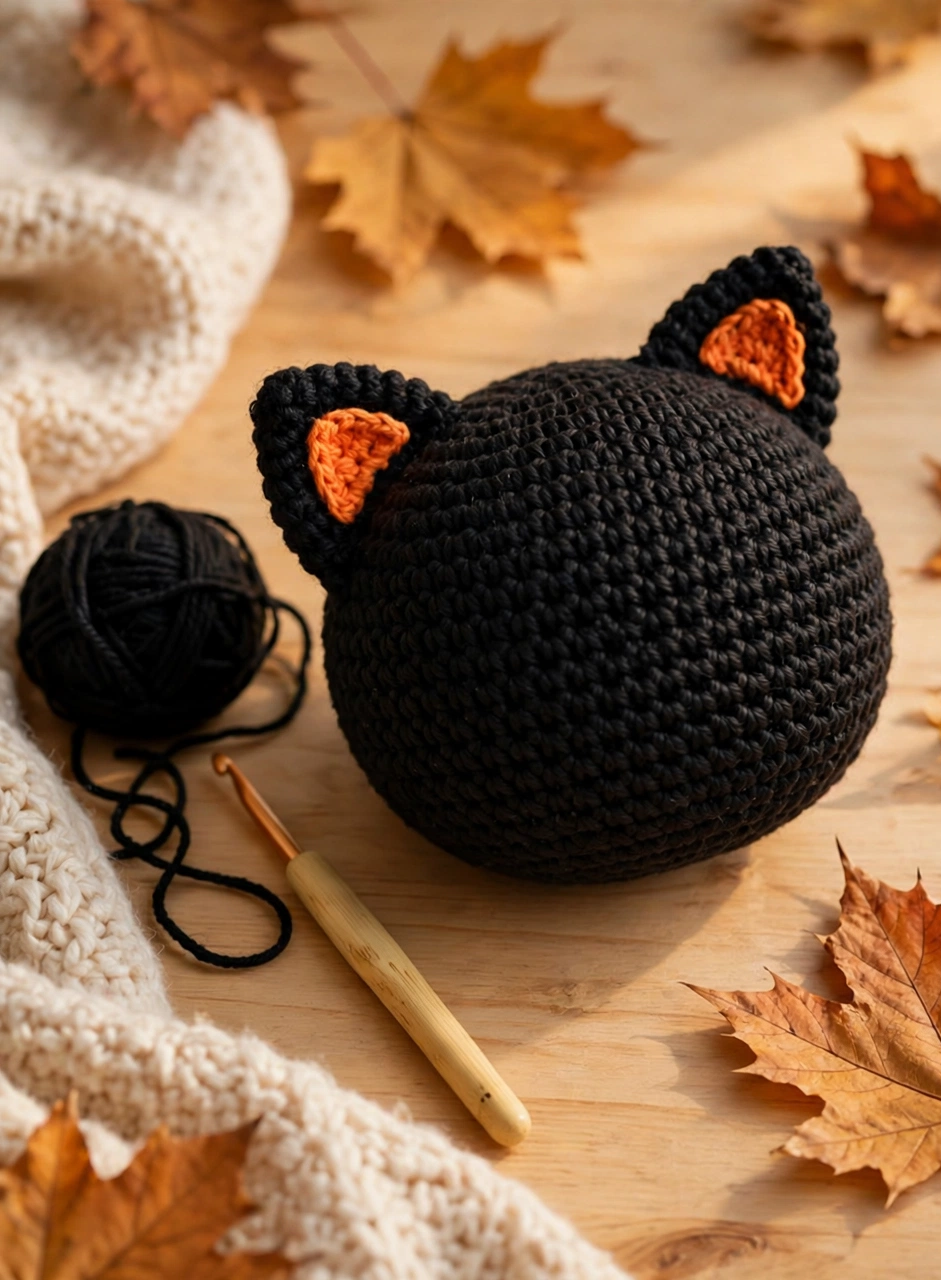
Switch to black. Crochet a classic amigurumi sphere: 6 single crochet in a magic ring, increasing to 36 stitches over five rounds, a few even rounds, then gentle decreases at the base. Stuff the head firmly as you close it — it should feel plump, because a soft head slumps into the pumpkin and loses the cute “peeking out” look.
For each ear, crochet a small flat triangle and back it with a smaller orange triangle for the inner ear, then sew the pair to the top of the head. Angle them slightly outward; that tiny tilt is what makes the kitty look curious instead of sleepy-flat.
Step 4: Embroider the Sleepy Face
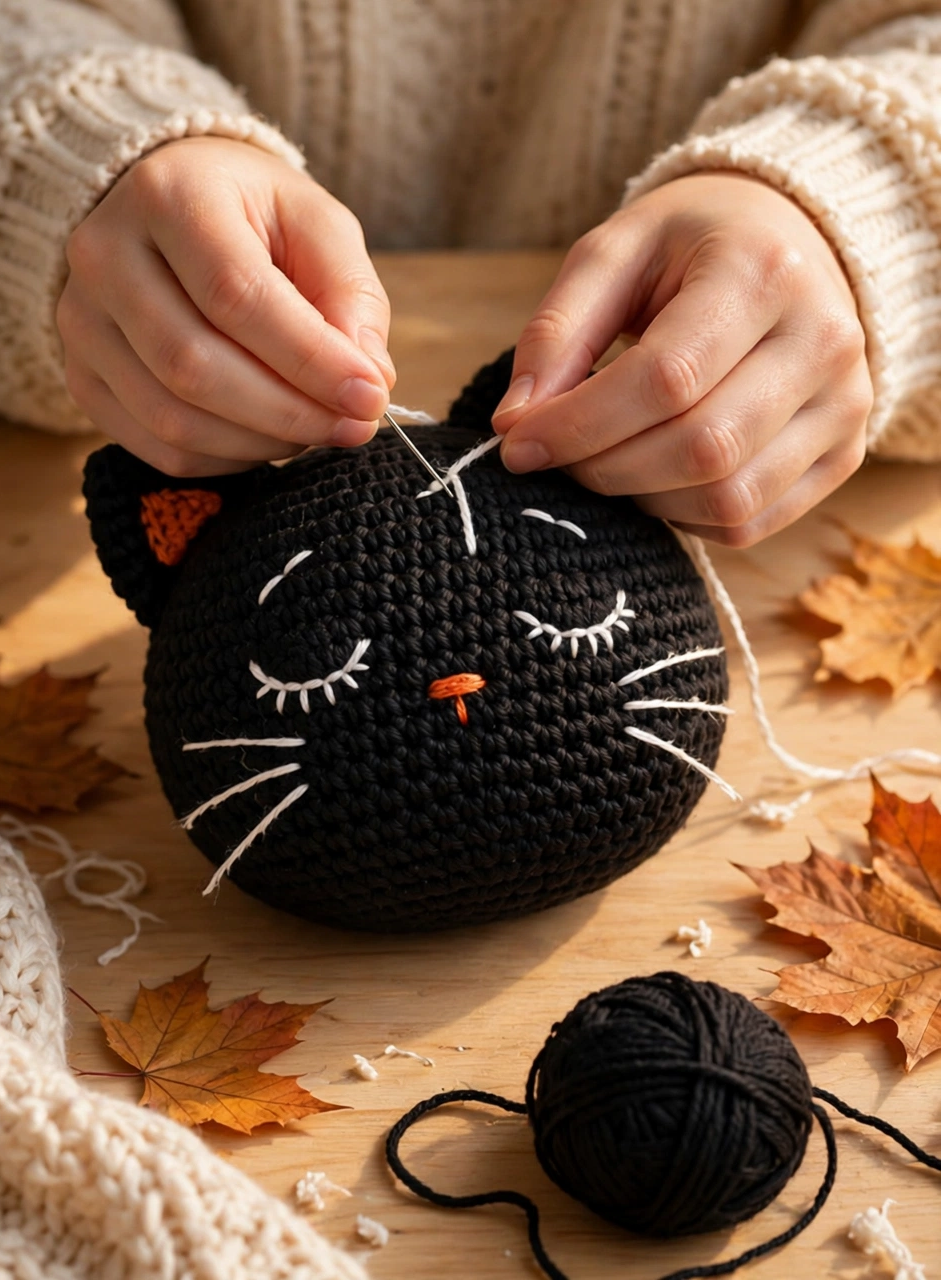
This crochet cat in pumpkin pattern skips safety eyes entirely — the face is all embroidery, which keeps the finished piece soft, child-friendly and full of character. With white yarn, stitch two curved closed eyes with little lashes: three or four short stitches fanning from one point make each lash line.
Add a tiny orange triangle nose in the centre, a short vertical line beneath it, and three long whiskers on each cheek in white. Knot every end inside the head so nothing pokes out. Embroider the face before assembly, while the head is easy to hold and turn.
Step 5: Add the Paws and Set the Kitty In
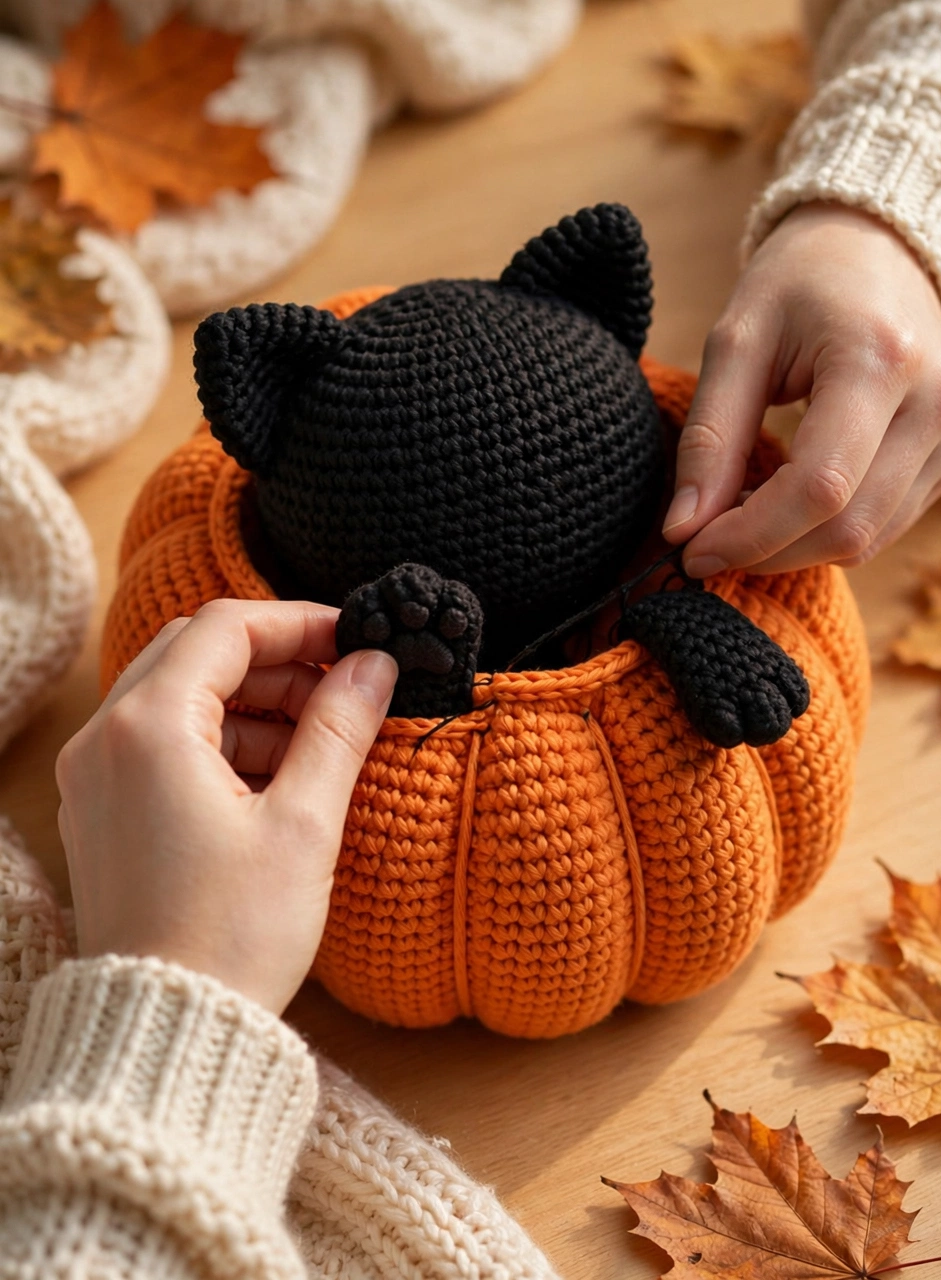
Each paw is a tiny black oval: 6 single crochet in a magic ring, increased to 12, then two even rounds. Flatten it slightly and leave a long tail for sewing.
Set the kitty head into the pumpkin’s hollow, tilting it a fraction forward so the face greets you. Push a little extra stuffing behind the head if it wobbles. Then pin the two paws to the front rim, spaced evenly either side of the face, and sew them down firmly — paws draped over the edge are the signature of this design, the moment the kitty looks “caught” mid-nap inside its pumpkin.
Step 6: Make the Pumpkin Cap and Assemble
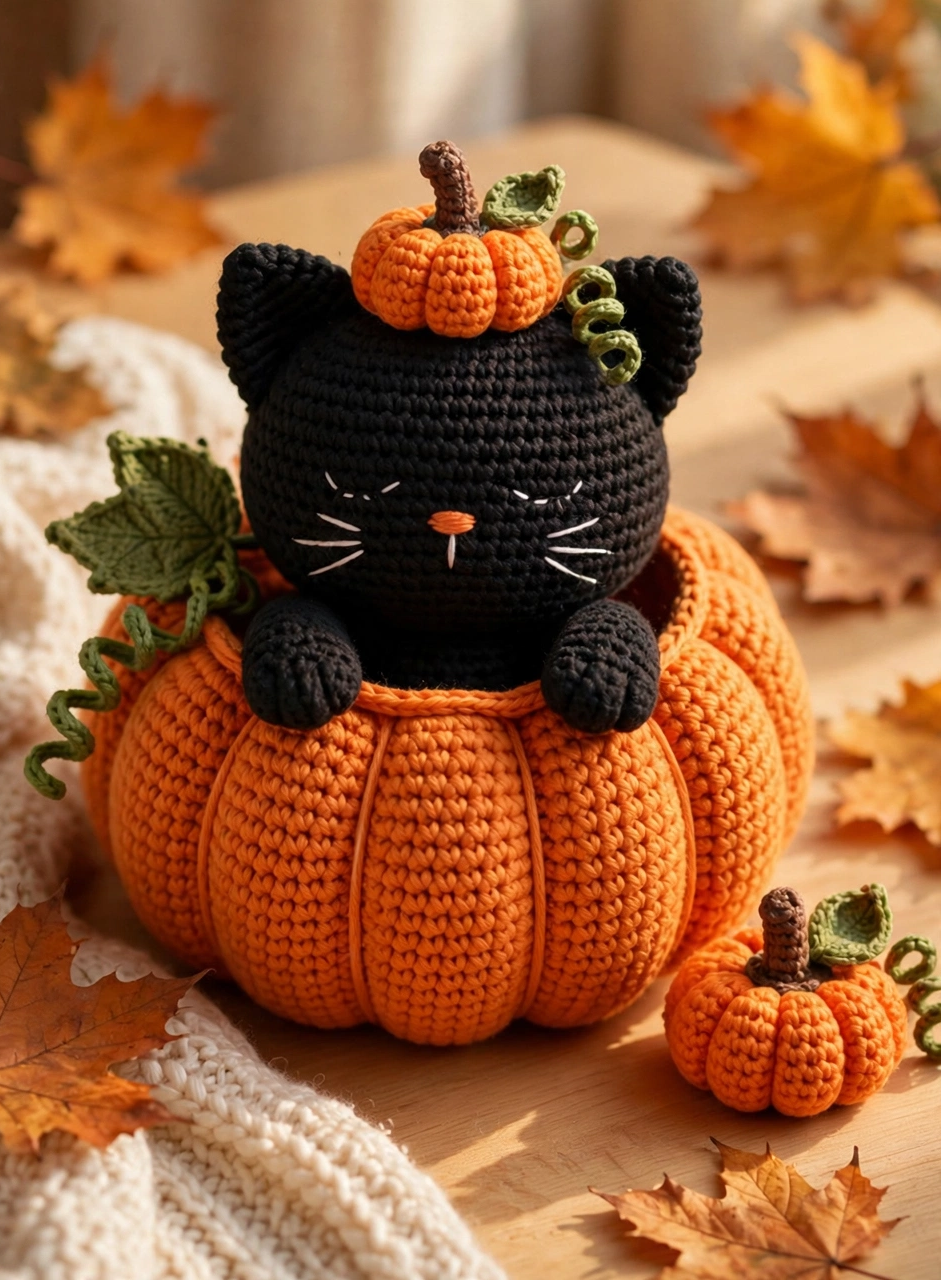
The cap is a miniature of the pumpkin: orange single crochet increased to 24 stitches, one even round, and the same yarn-cinch trick to hint at ridges. Crochet a stubby brown stem, a simple green leaf, and a curly vine — a chain of about 20 stitches with 2 single crochet in each one curls by itself as you work.
Sew the stem, leaf and vine to the cap, then perch the cap on the kitty’s head between the ears, tilted just a little. A few stitches through the head keep it in place. Weave in every last end, fluff the pumpkin ridges with your fingers, and your crochet cat in pumpkin pattern is ready for the mantel, the market stall or the gift box.
3 Tips for a Perfect Crochet Cat in Pumpkin Pattern
- Shape the ridges before the final stuffing. Cinching the channels is twice as easy while you can still reach the centre, and the stuffing you add afterwards locks the grooves in place.
- Stuff the head firmer than feels natural. Black yarn hides a multitude of sins except a sagging head. A plump head keeps the kitty peeking proudly out of the pumpkin for years.
- Pin the paws and cap before sewing. Symmetry sells this design. Two minutes with pins lets you check the face, paws and cap line up before a single stitch commits you.
Frequently Asked Questions About This Crochet Cat in Pumpkin Pattern
How big is the finished cat in pumpkin?
Made with worsted weight yarn and a 4.0 mm hook, the pumpkin measures about 4.5 inches across and the finished piece stands roughly 5 inches tall including the cap. Use chunkier yarn and a bigger hook for a statement centrepiece.
How long does this crochet cat in pumpkin pattern take?
Most crocheters finish in one evening — about 3 hours. The pumpkin works up quickly, the head is a simple sphere, and the embroidery takes ten unhurried minutes.
Can a beginner make this cat in pumpkin?
Yes. If you can work a magic ring, single crochet, increases and decreases, you have every skill this pattern needs. The ridge shaping is just yarn and a needle — no new stitches at all.
Can I sell cats made from this pattern?
Absolutely. Finished pieces made from this free pattern may be sold at craft fairs and in your shop — a handmade cat in a pumpkin is a proven autumn bestseller. A credit back to this tutorial is always appreciated.
Conclusion
This free crochet cat in pumpkin pattern pairs the two best things about autumn — pumpkins and black cats — in one sleepy, paw-draped package. Download the free printable PDF above, save this tutorial to your fall crochet board, and start tonight while the leaves are turning. Happy crocheting!