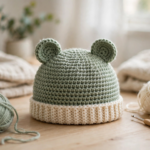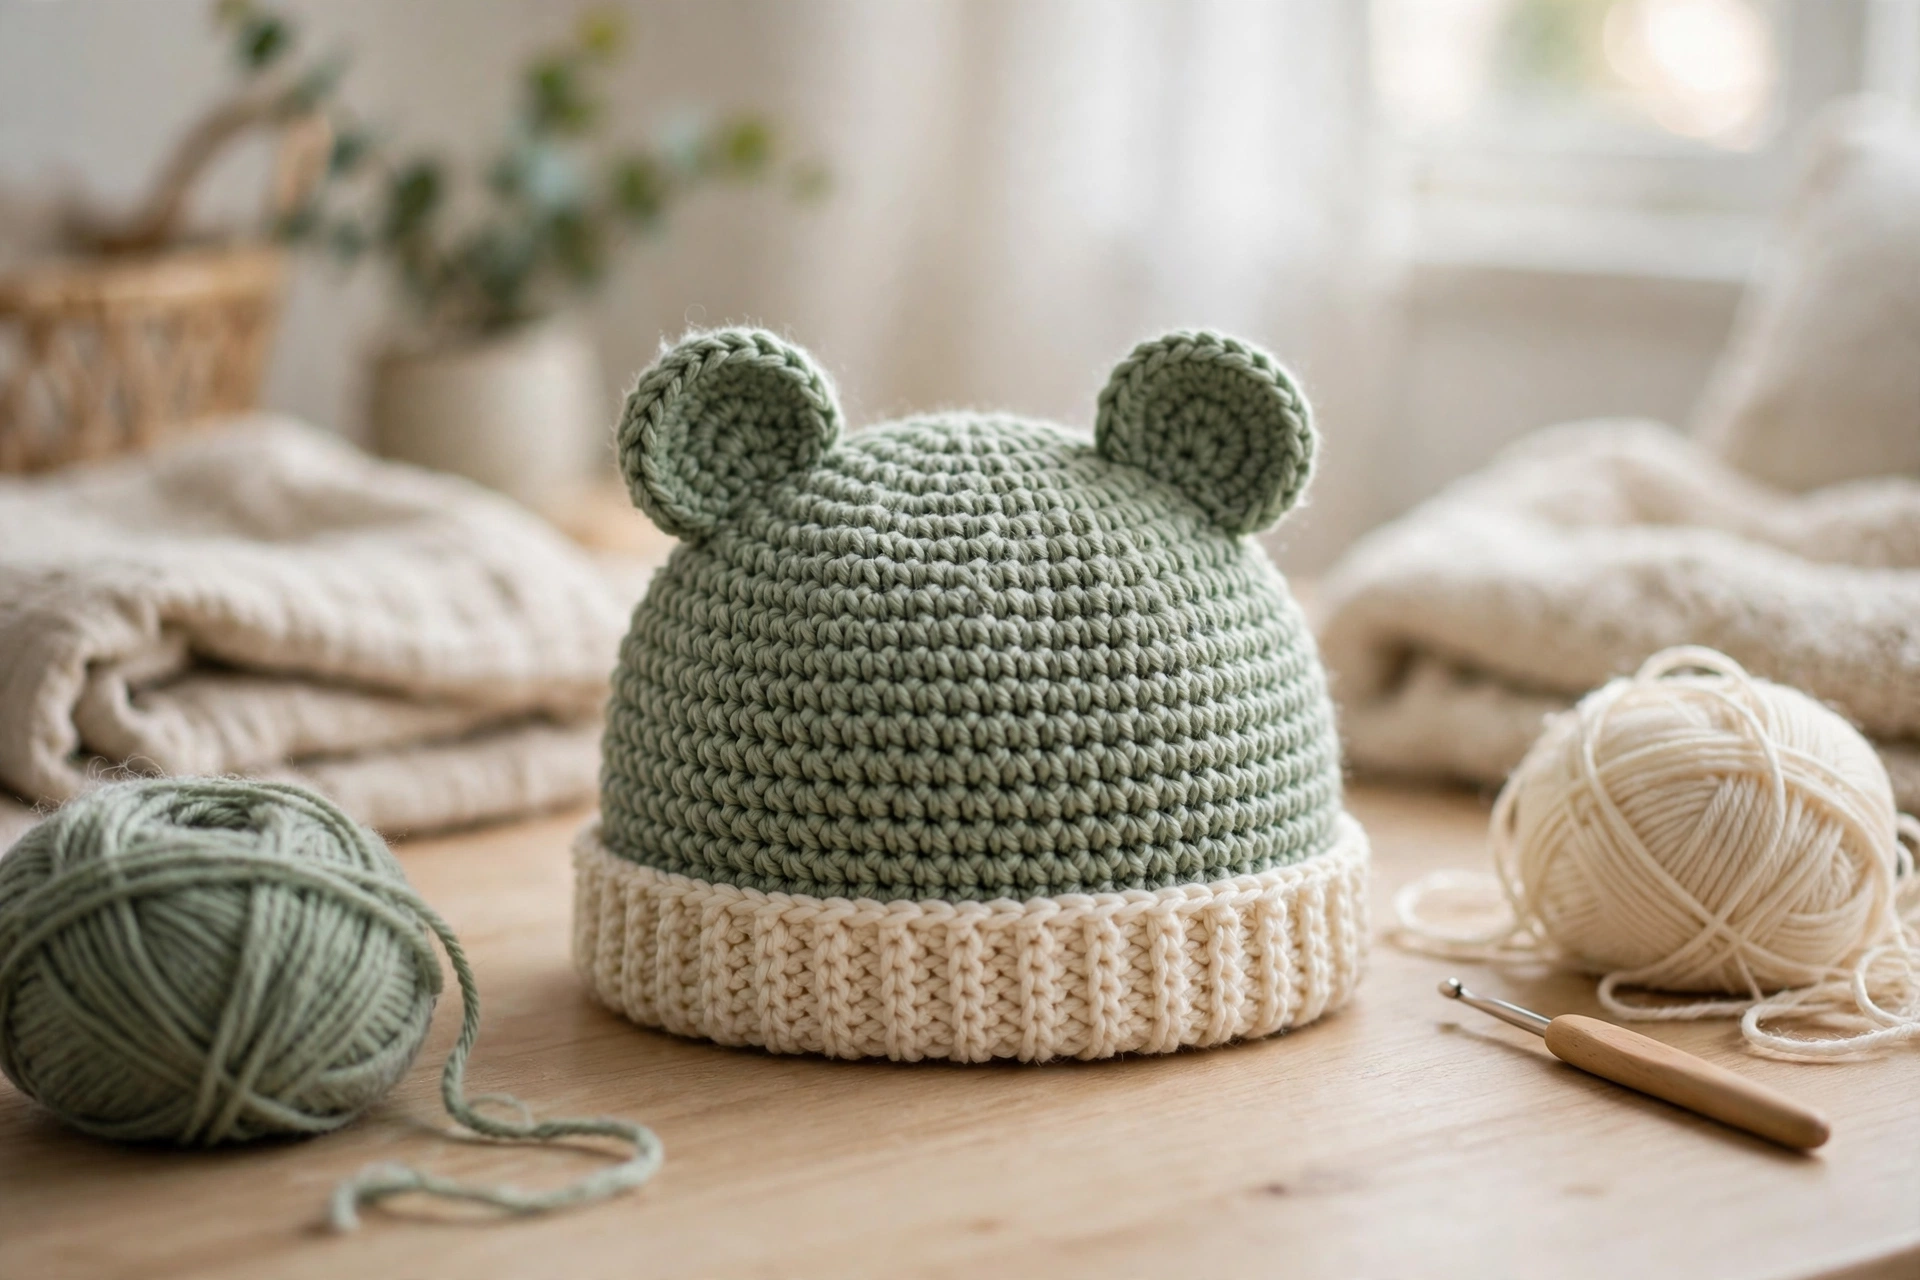
Some hats are practical. This crochet bear ears hat pattern is pure joy. Worked in a soft sage green with a contrasting cream brim, it turns an everyday baby hat into the sweetest little bear — two round ears, a snug ribbed edge, and a calm, gender-neutral colour that photographs beautifully. The pattern comes in baby and toddler sizes, works up in simple half double crochet, and uses worsted weight yarn you probably already have in your stash.
If you can make a magic ring and a half double crochet, you can finish this hat in one relaxed afternoon. Every step below has a clear photo, and the free printable PDF at the top of this page lets you crochet offline.
Materials for Your Crochet Bear Ears Hat Pattern
Gather these supplies before you start:
- Worsted weight (#4) yarn in sage green — approx. 120 (baby) to 160 (toddler) yds
- Worsted weight (#4) yarn in cream for the brim — approx. 40 yds
- 5.0 mm (US H-8) crochet hook
- Yarn needle with a large eye
- Scissors
- Stitch markers
- Flexible tape measure
Choose a soft acrylic or cotton-blend worsted that feels gentle against young skin and holds its stitch definition — Lion Brand and similar baby-friendly ranges carry beautiful sage shades. Prefer a classic single-colour version? Our crochet baby bear hat pattern uses the same bear-ear idea in caramel tan with a sewn-on brim band.
Sizes and Gauge
This crochet bear ears hat pattern is written in two sizes. Measure the head around the forehead and choose by head circumference, not by age — babies grow at their own pace.
- Baby: head 14–16 in (35.5–40.5 cm); finished hat about 13 in around, 6 in tall
- Toddler: head 16–18 in (40.5–46 cm); finished hat about 15 in around, 7 in tall
Gauge: 16 half double crochet × 12 rows = 4 in (10 cm). A quick swatch matters here, because a hat that is even an inch too big will slide over little eyes.
Step 1: Crochet the Crown of Your Bear Ears Hat
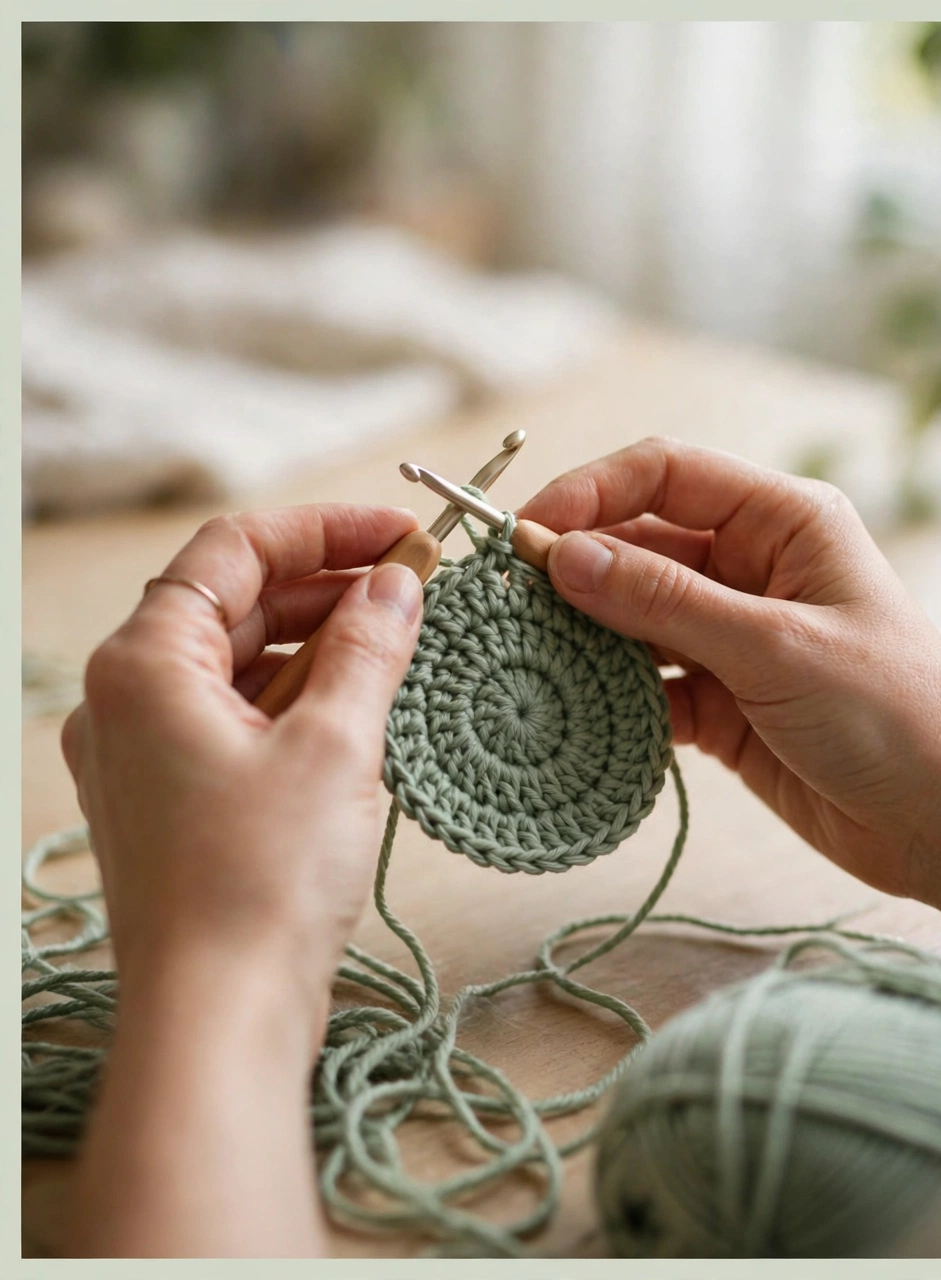
Start with sage green and a magic ring. Chain 2 (it never counts as a stitch), then work 10 half double crochet into the ring and join with a slip stitch. From there, the crown grows with one increase round after another: 20, 30, 40, then 50 stitches. Each increase round spreads ten evenly spaced increases around the circle, so the crown stays flat and smooth instead of wavy.
Baby size stops at 50 stitches. For the toddler size, work one more increase round to reach 60 stitches. Lay the circle flat and measure it: about 4 in across for baby, 4.75 in for toddler. This two-minute check is the secret to a bear ears hat that actually fits.
Step 2: Work the Hat Body
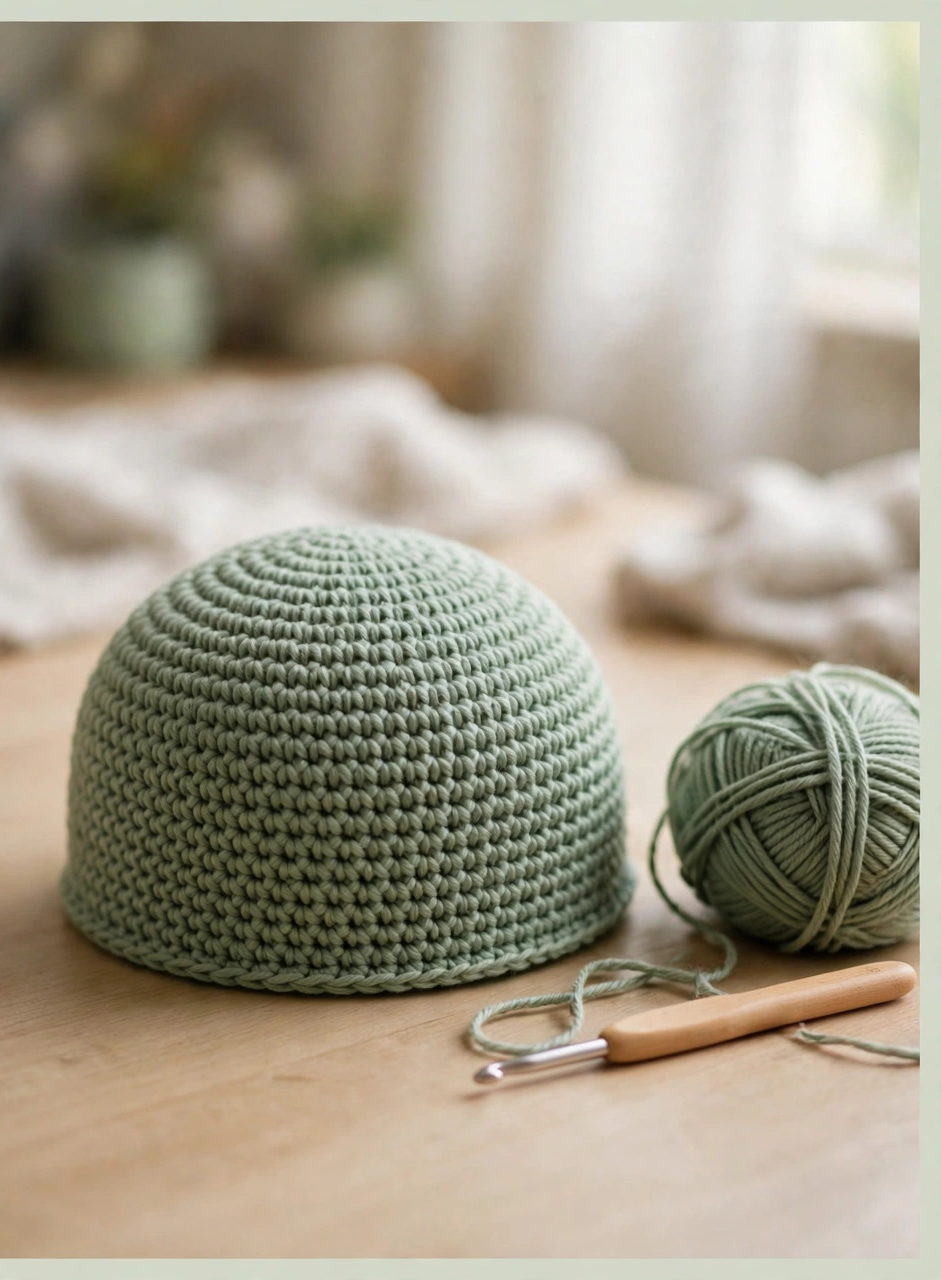
With the crown complete, simply work even rounds of half double crochet — one stitch in every stitch, no increases — and the flat circle curves into a neat dome. Keep your tension relaxed and even, and mark the first stitch of each round so the seam stays invisible.
Continue until the hat measures about 5 in (baby) or 6 in (toddler) from the centre of the crown down the side of the dome. Do not fasten off: the cream brim is worked straight onto the hat in the next step, so there is nothing to sew later.
Step 3: Add the Cream Ribbed Brim
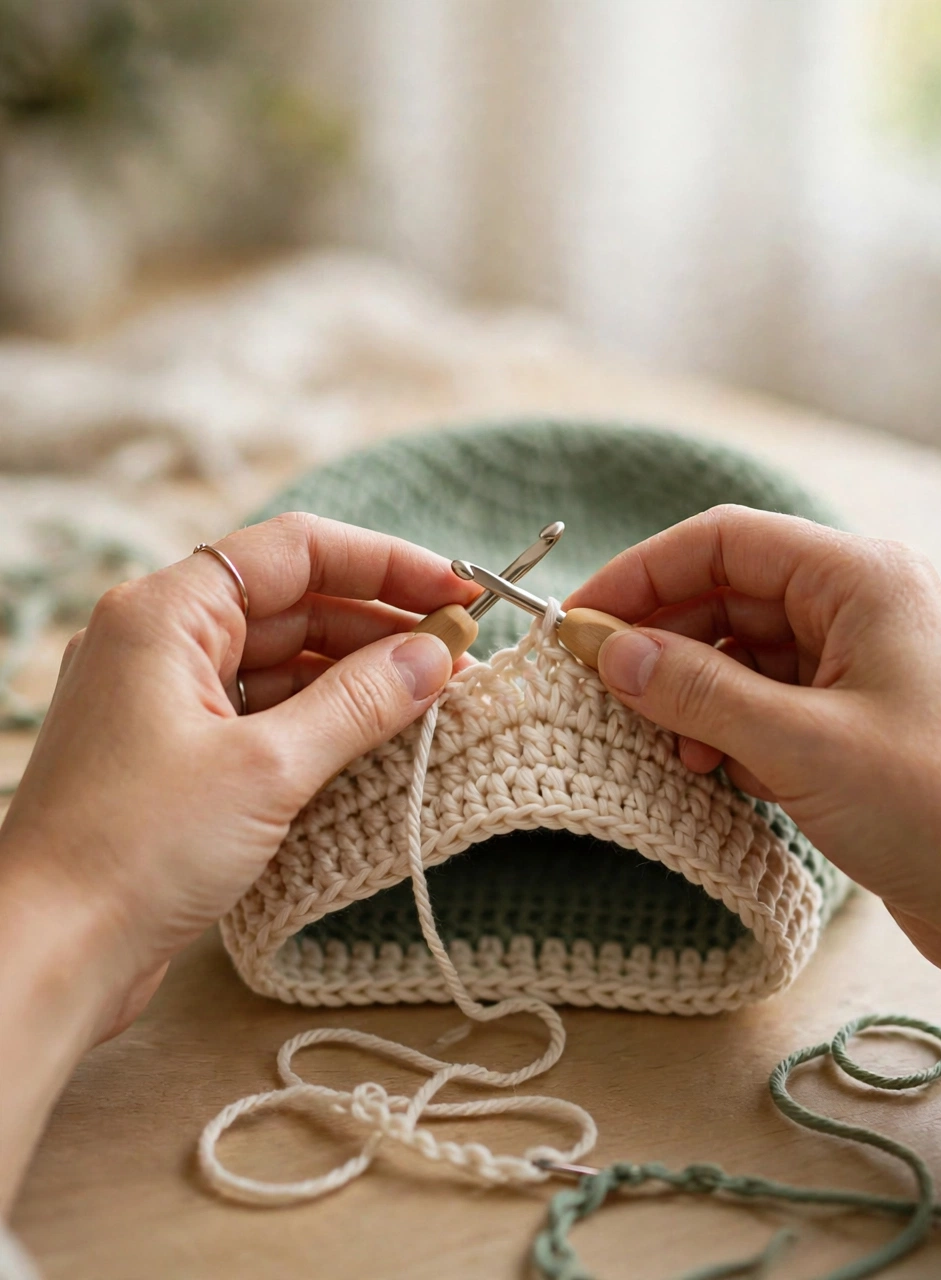
Join the cream yarn and work four rounds of alternating front-post and back-post half double crochet. The post stitches push the fabric into deep, stretchy ribs that hug a little head gently and spring back after every wear. This contrast brim is the detail that makes the sage green pop — and it is much easier than it looks.
When the fourth round is done, fasten off and weave in the end. Fold the brim up once for the classic cuffed look, or leave it down for a longer, slouchier fit. The hat itself is now finished; only the ears remain.
Step 4: Make Two Round Bear Ears
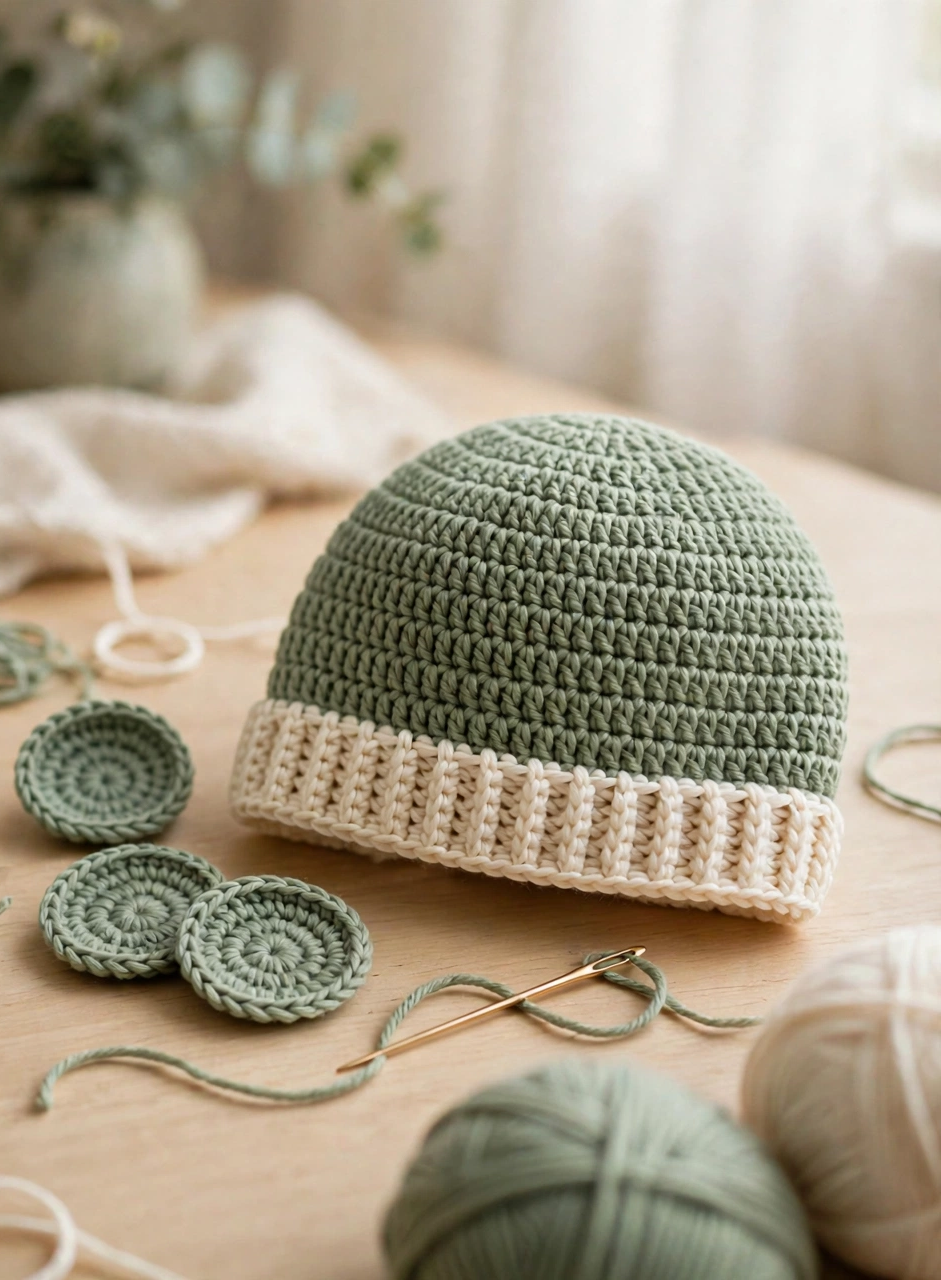
Each ear is a small flat circle in sage green single crochet. Start with 6 single crochet in a magic ring, double them to 12 on the second round, then increase evenly to 18 on the third. That is all — three quick rounds per ear.
Fasten off with a long tail of at least 12 inches, because that tail becomes your sewing thread. Make the second ear exactly the same way, and resist the urge to stuff them: flat ears sit neatly against the crown and keep their round shape wash after wash.
Step 5: Sew the Ears Securely to the Crown
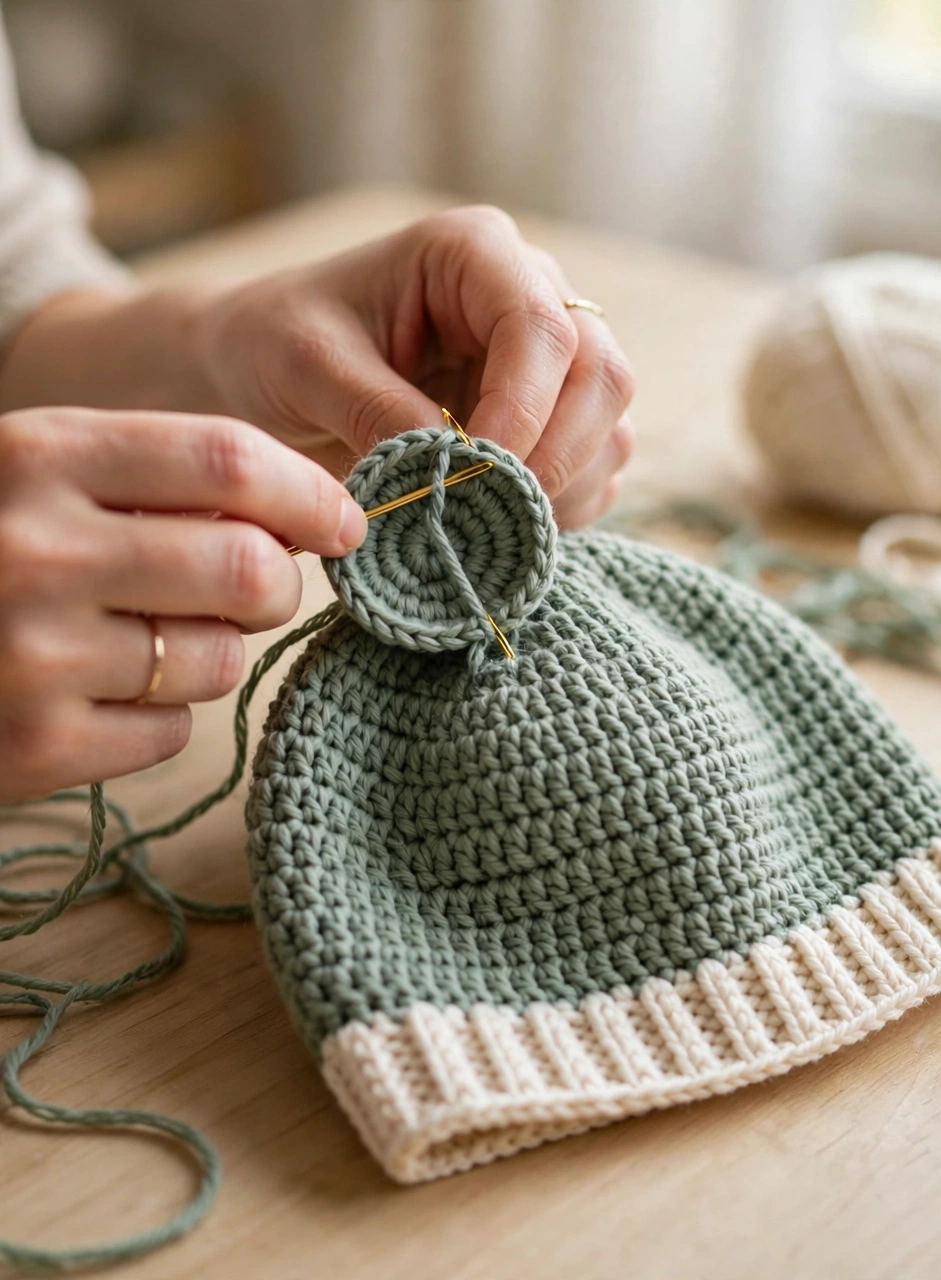
Pin the first ear to one side of the crown, centred over roughly rounds three to five. Pin the second ear as its mirror image — the pair should sit at about the ten o’clock and two o’clock positions when you look at the hat from the front.
Hold the hat at arm’s length and check the symmetry before you sew; ears drift surprisingly easily. Then whipstitch each ear firmly through its edge and the crown stitches, sewing around the bottom two-thirds of the circle so the top of the ear stays free, round and perky. For a hat that will be worn by an active toddler, sew around the full circle instead — security beats style at the playground.
Step 6: Finish and Check the Fit
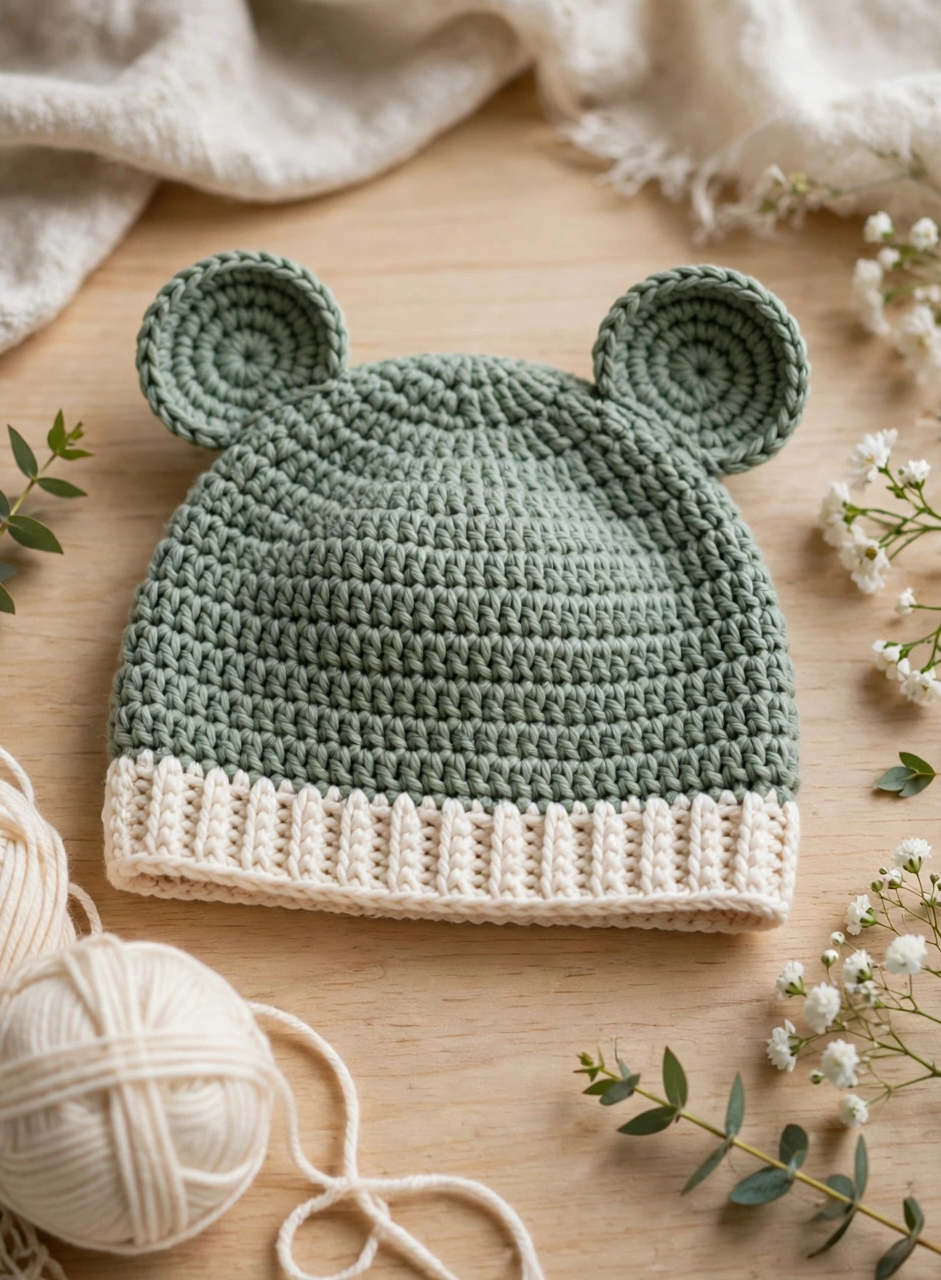
Weave in every remaining end, fold the cream brim up, and give the stitches a gentle steam or a smoothing press with your hands. Try the hat on its new owner if you can: it should sit snugly above the eyebrows with the brim covering the tops of the ears, and you should be able to slip one finger between the hat and the head.
Your crochet bear ears hat pattern is complete. Make the baby size for a newborn photo session and the toddler size for a first trip to the pumpkin patch — and expect compliments everywhere in between.
3 Tips for a Perfect Crochet Bear Ears Hat Pattern
- Measure the head, not the calendar. Ages are only a guide. Two minutes with a tape measure chooses the right size far better than a birthday does, and this pattern’s stretchy brim forgives the rest.
- Count your crown rounds against the size table. Baby ends at 50 stitches, toddler at 60. A marker in the first stitch of every round keeps the increases honest and the seam invisible.
- Pin both ears before sewing either. Symmetry is everything on a bear hat. Pin the pair, step back, adjust, and only then pick up your needle.
Frequently Asked Questions About This Crochet Bear Ears Hat Pattern
How long does this bear ears hat take to crochet?
Most crocheters finish the baby size in about two hours and the toddler size in two and a half. The hat is one piece with no seaming, and the two ears take about ten minutes each.
What yarn works best for a crochet bear ears hat?
A soft worsted weight acrylic or cotton blend is ideal — gentle on skin, washable, and firm enough to hold the ribbed brim. This pattern uses sage green with a cream brim, but mustard, rust or dusty blue all look lovely too.
Can a beginner make this crochet bear ears hat pattern?
Yes. If you know the magic ring, half double crochet and single crochet, you already have every skill this hat needs. The front-post and back-post brim stitches are explained in Step 3 and are easier than they sound.
How do I wash the finished hat?
Follow the yarn label. Most worsted acrylics and cotton blends machine wash on a gentle cycle; dry the hat flat with the brim folded so the ears keep their shape.
Conclusion
This free crochet bear ears hat pattern pairs the calmest sage green with a cosy cream brim and two irresistible round ears — a beginner-friendly project with a boutique finish. Download the free printable PDF above, save this tutorial to your baby crochet board, and cast on this afternoon. Happy crocheting!