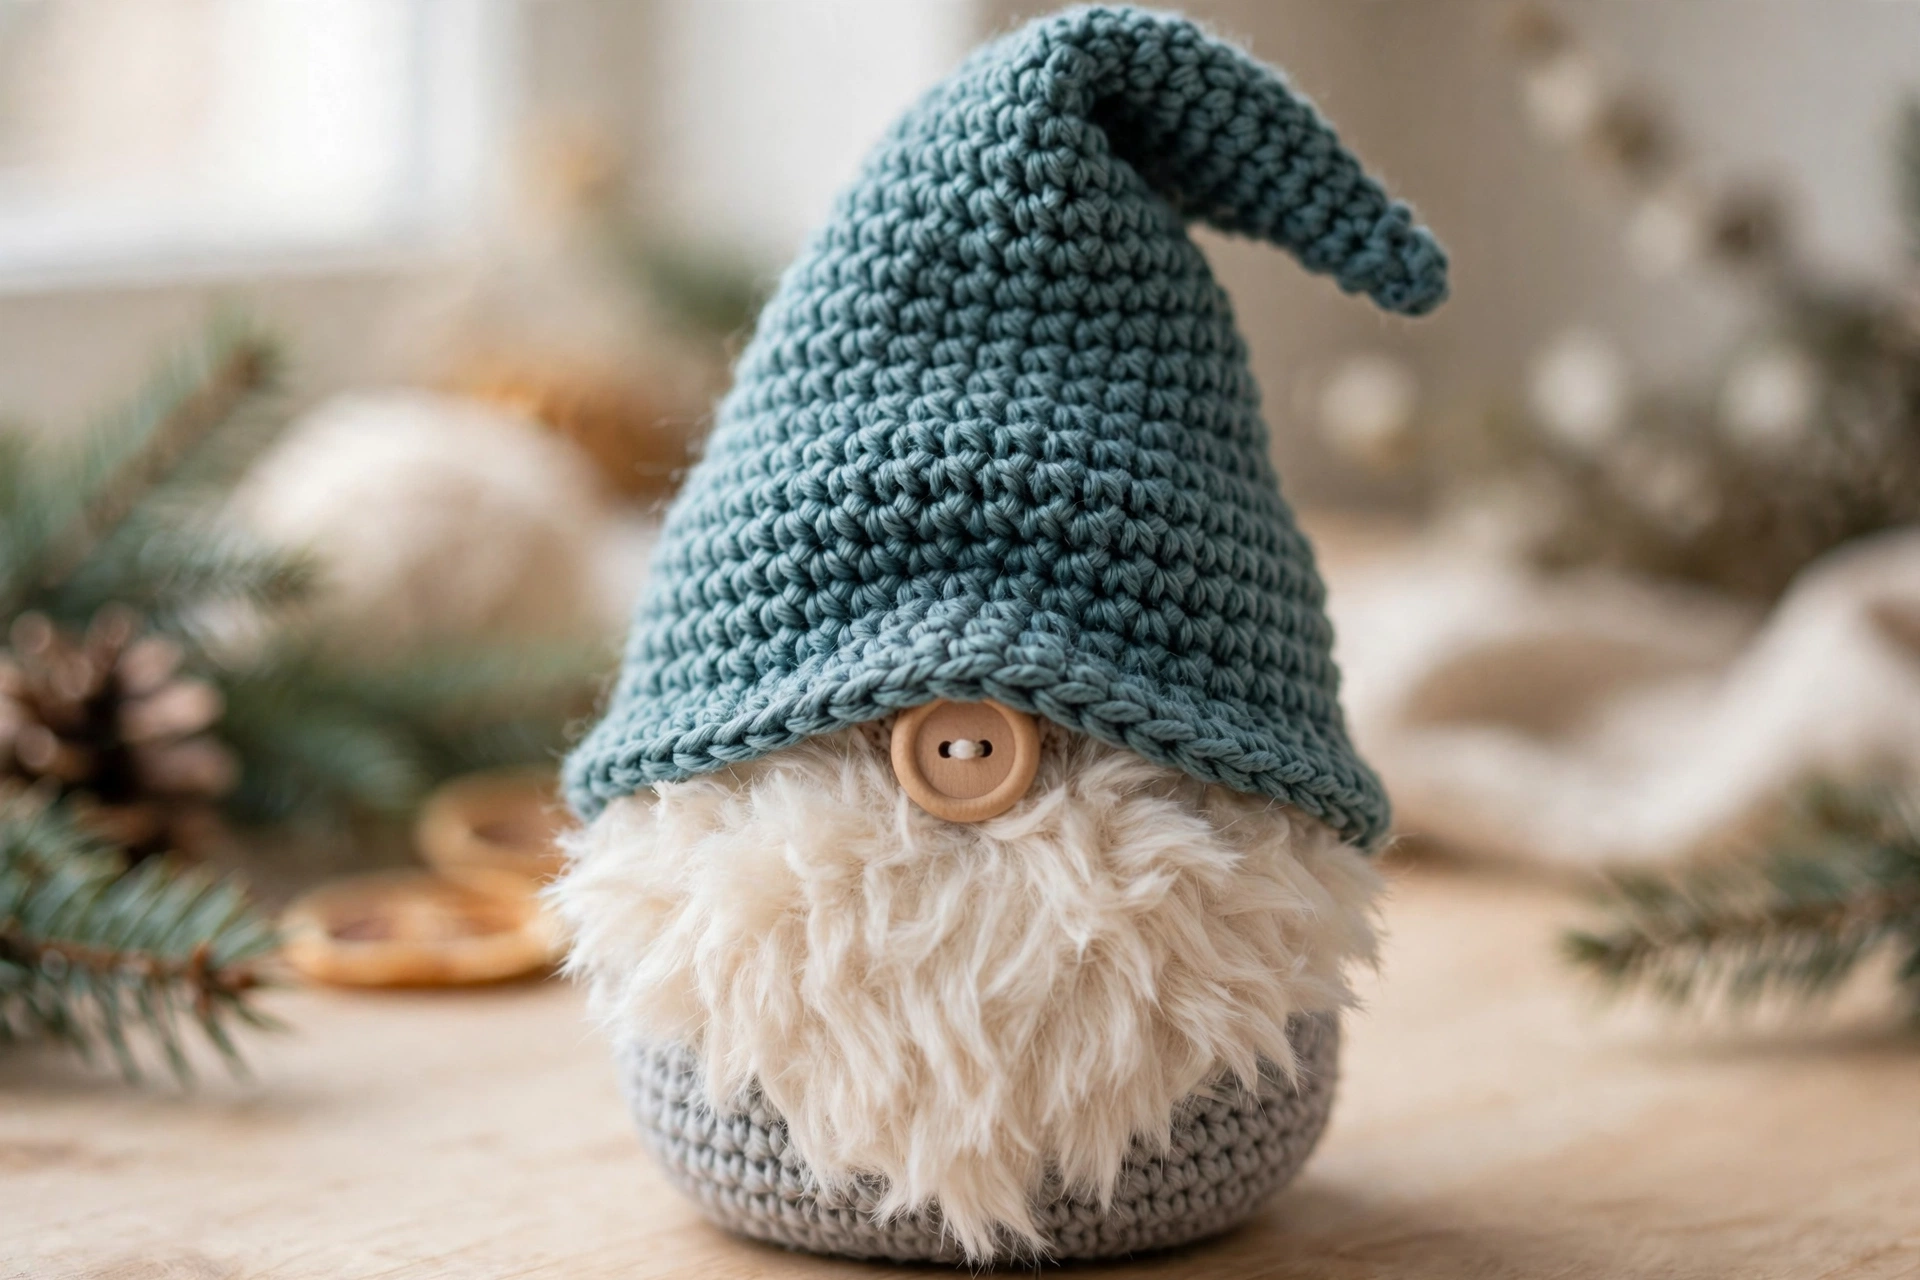
There is something magical about a Christmas gnome. With its tall cone hat pulled low, a fluffy cream beard, and a cozy round body, this Scandinavian-inspired little fellow brings instant holiday charm to mantels, shelves, and Christmas trees. In this free crochet Christmas gnome pattern, you will learn how to make your own adorable gnome in one relaxing afternoon — no advanced skills required.
This beginner-friendly amigurumi tutorial walks you through every stage with clear photos: the plump round body, the tapering dusty-teal cone hat, the fluffy faux-fur beard, and the final assembly with a round wooden button nose. If you can work single crochet in rounds, you can make this gnome. Grab your hook and let’s get started.
Materials You Will Need for This Crochet Christmas Gnome Pattern
- Worsted-weight (#4) yarn in dusty teal, light grey, and cream faux-fur yarn
- 4.0 mm (G-6) crochet hook
- Round wooden button nose (about 2 cm across)
- Polyester fiberfill stuffing
- Yarn needle and sharp scissors
- Stitch marker (optional, but helpful for counting rounds)
For this Christmas gnome, worsted-weight acrylic yarn gives crisp stitch definition and holds the plump shape beautifully. Brands like Lion Brand carry the dusty teal and grey shades used here. The cream faux-fur yarn does the heavy lifting for the beard — it hides every stitch, so your gnome looks professional even on a first try.
Step 1: Make the Round Body
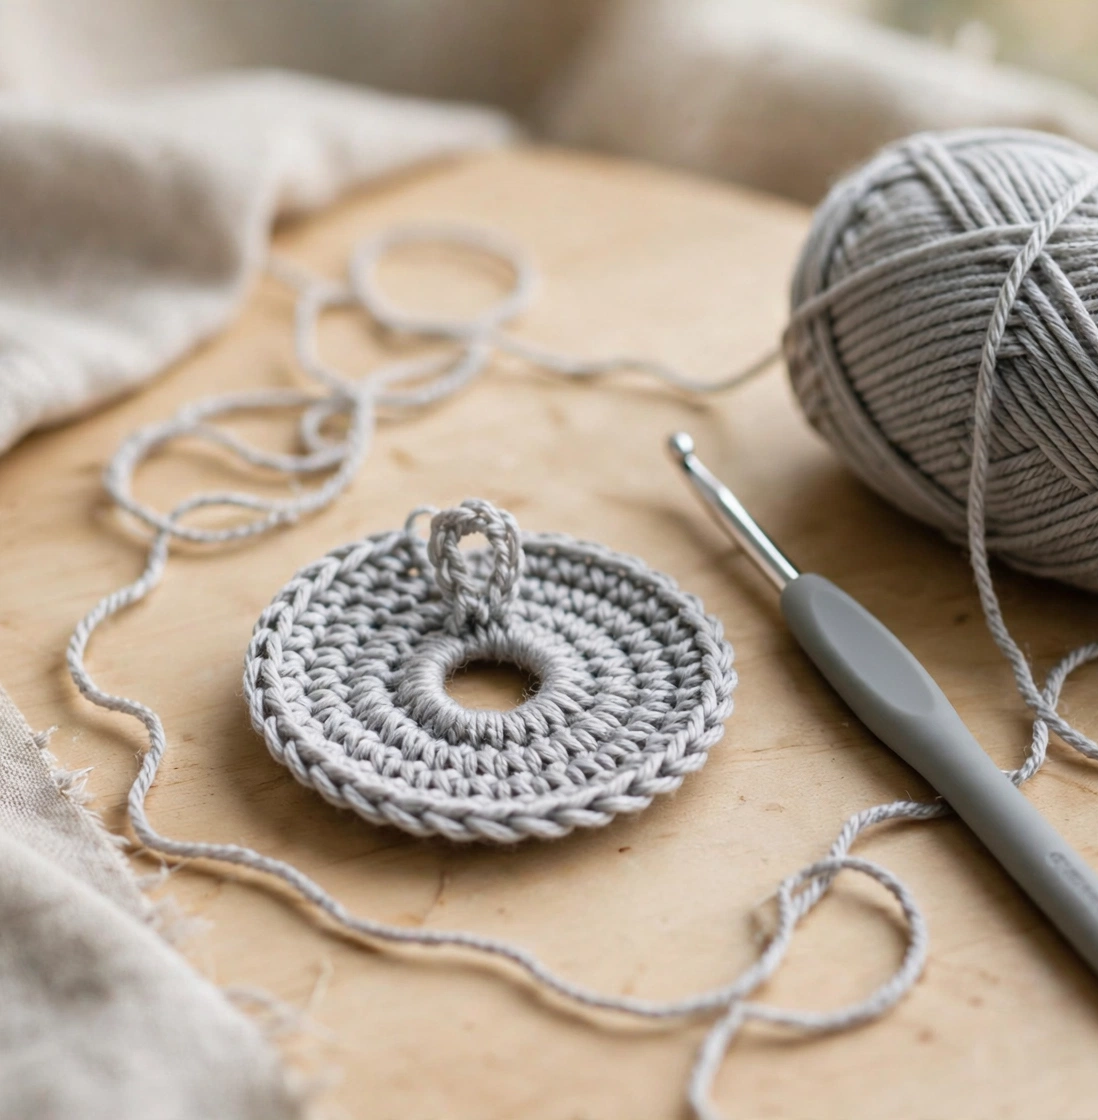
Start your gnome with a magic ring in light grey yarn. Work 6 single crochet into the ring, then increase evenly over the next rounds until the base measures about 8 cm across. Continue working even rounds to build the plump, egg-shaped body of your Christmas gnome. A neat, tight tension here keeps the stuffing from peeking through later.
Step 2: Stuff and Close the Body
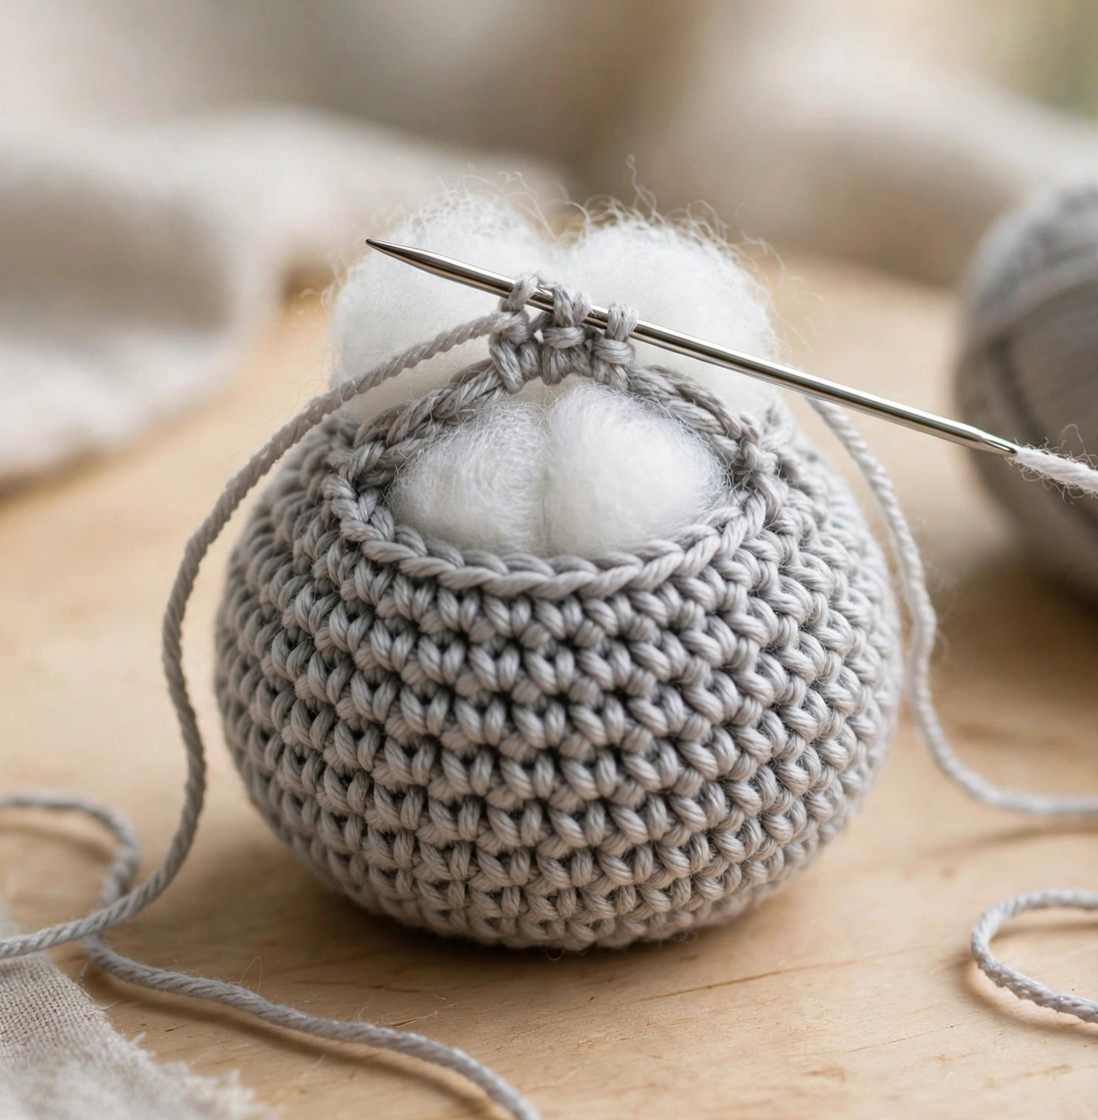
Fill the body firmly with polyester fiberfill, adding a little at a time so the stuffing stays smooth and even. A firmly stuffed body helps your crochet Christmas gnome sit upright on the shelf without tipping over. Thread a yarn needle through the remaining stitches of the last round and pull to cinch the top closed, then knot it securely.
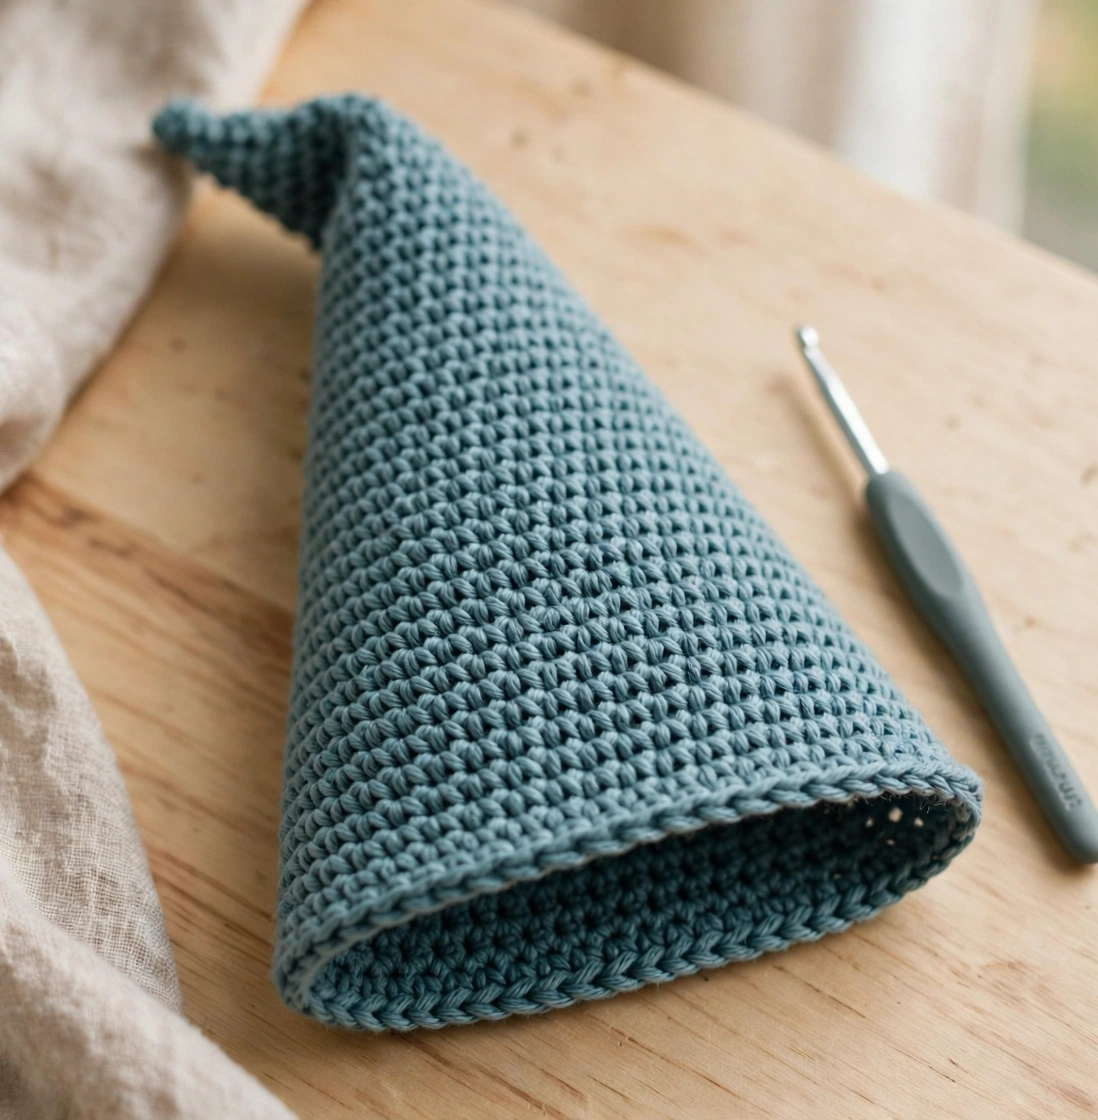
Step 3: Crochet the Cone Hat
Switch to dusty teal yarn and start another magic ring — this time with just 4 stitches. Increase slowly over many rounds to shape the tall, tapering cone hat that gives the Scandinavian Christmas gnome its signature silhouette. Keep working until the hat is about 14 cm tall and wide enough to sit comfortably over the top of the body. The gentle taper is what makes this hat look so charming.
Step 4: Add the Fluffy Beard
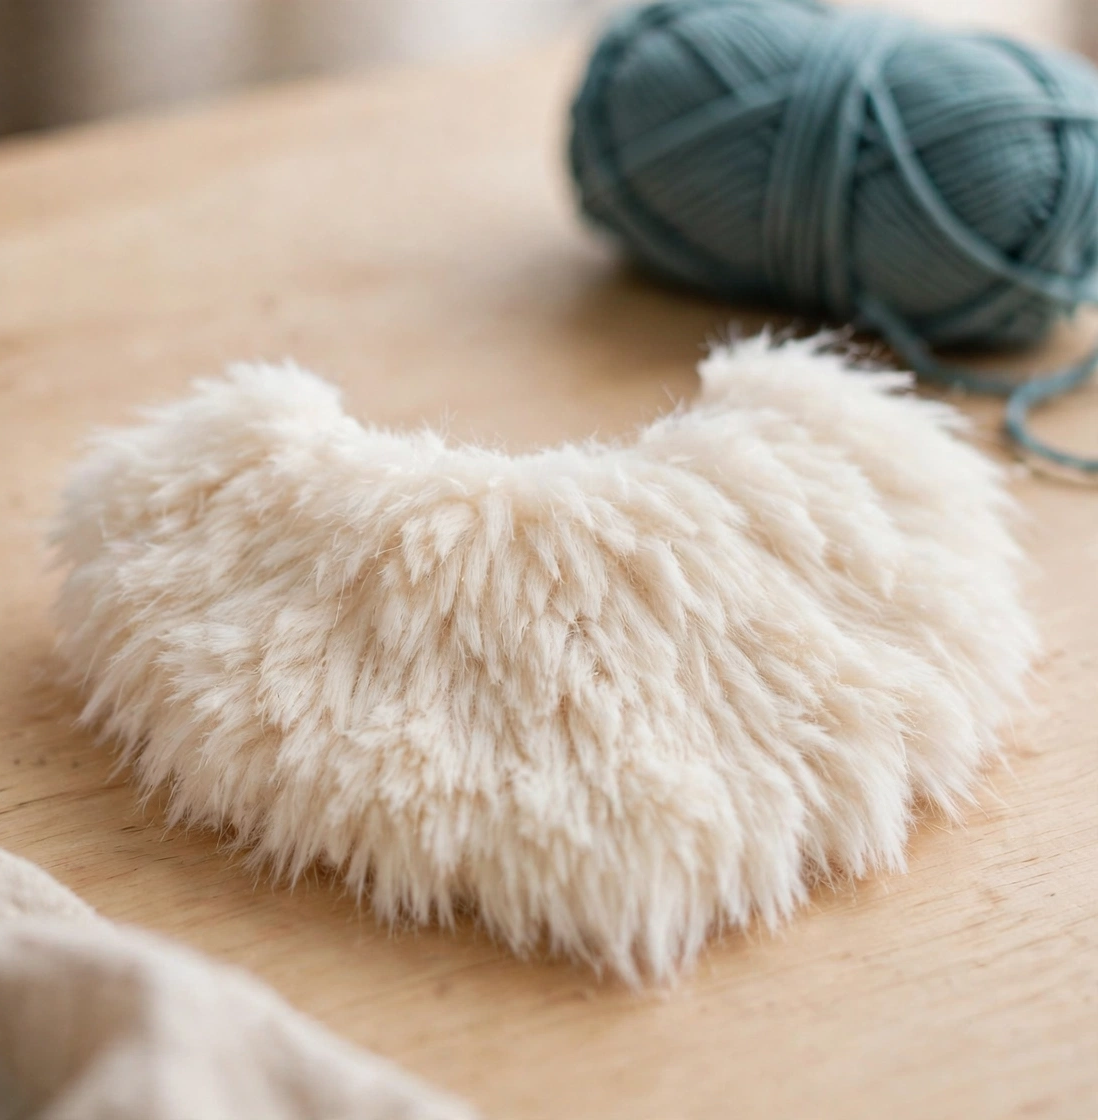
Now for the best part: the beard. Using cream faux-fur yarn, work a fan-shaped piece in rows, increasing at both edges so it flares outward. Faux-fur yarn hides every stitch completely, which makes this a wonderfully forgiving step for beginners. Your gnome’s beard should be long enough to cover most of the front of the body for that classic tomte look.
Step 5: Attach the Hat, Beard, and Nose
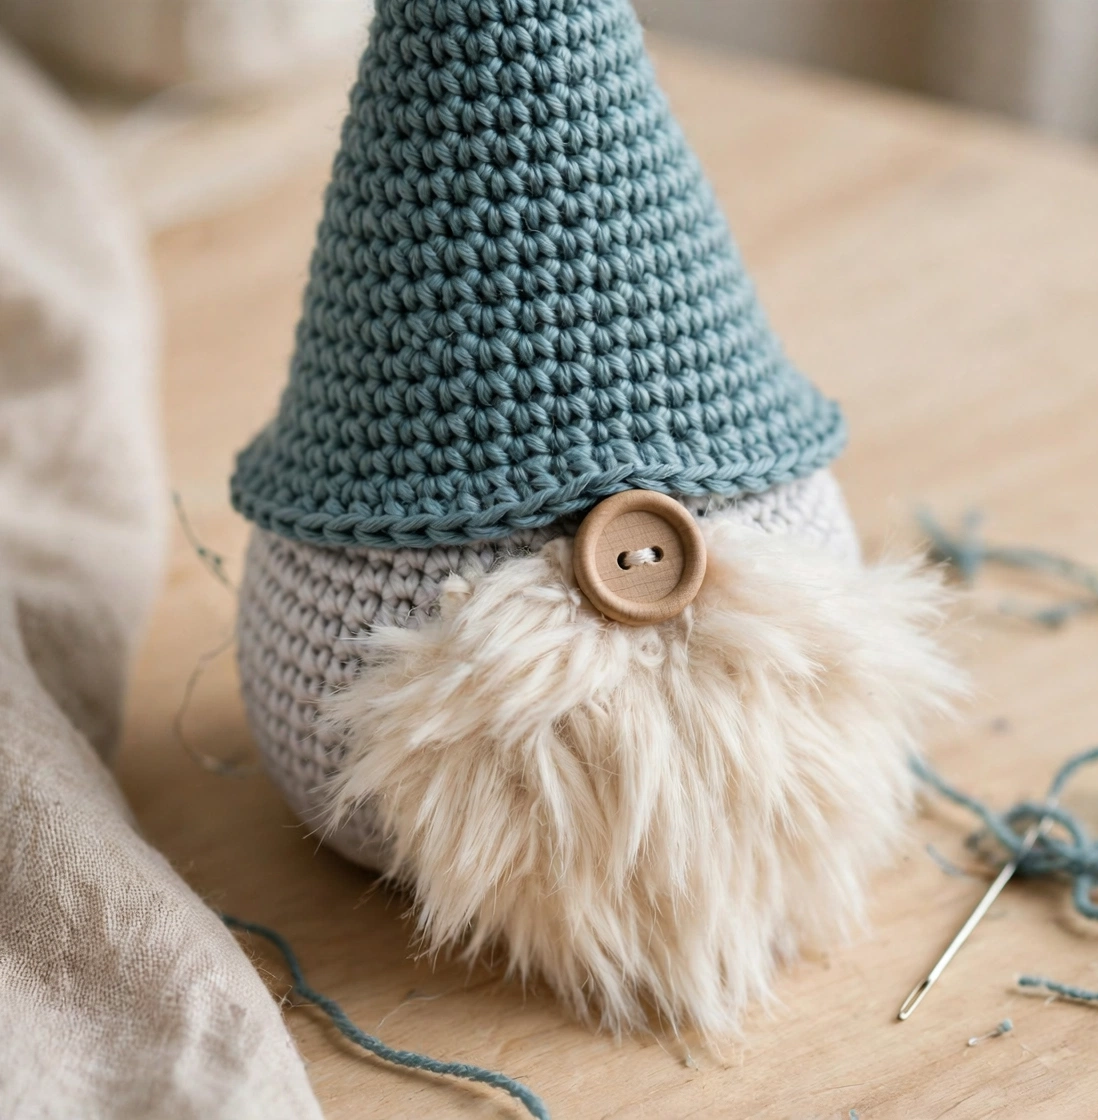
Pin the beard onto the front of the body, then pull the cone hat down low over the top so the brim overlaps the beard’s upper edge. Sew both pieces securely in place with the yarn needle. Finally, stitch the round wooden button nose right between the hat brim and the beard — this small detail is what gives every Christmas gnome its unmistakable charm.
Step 6: Finish and Weave In the Ends
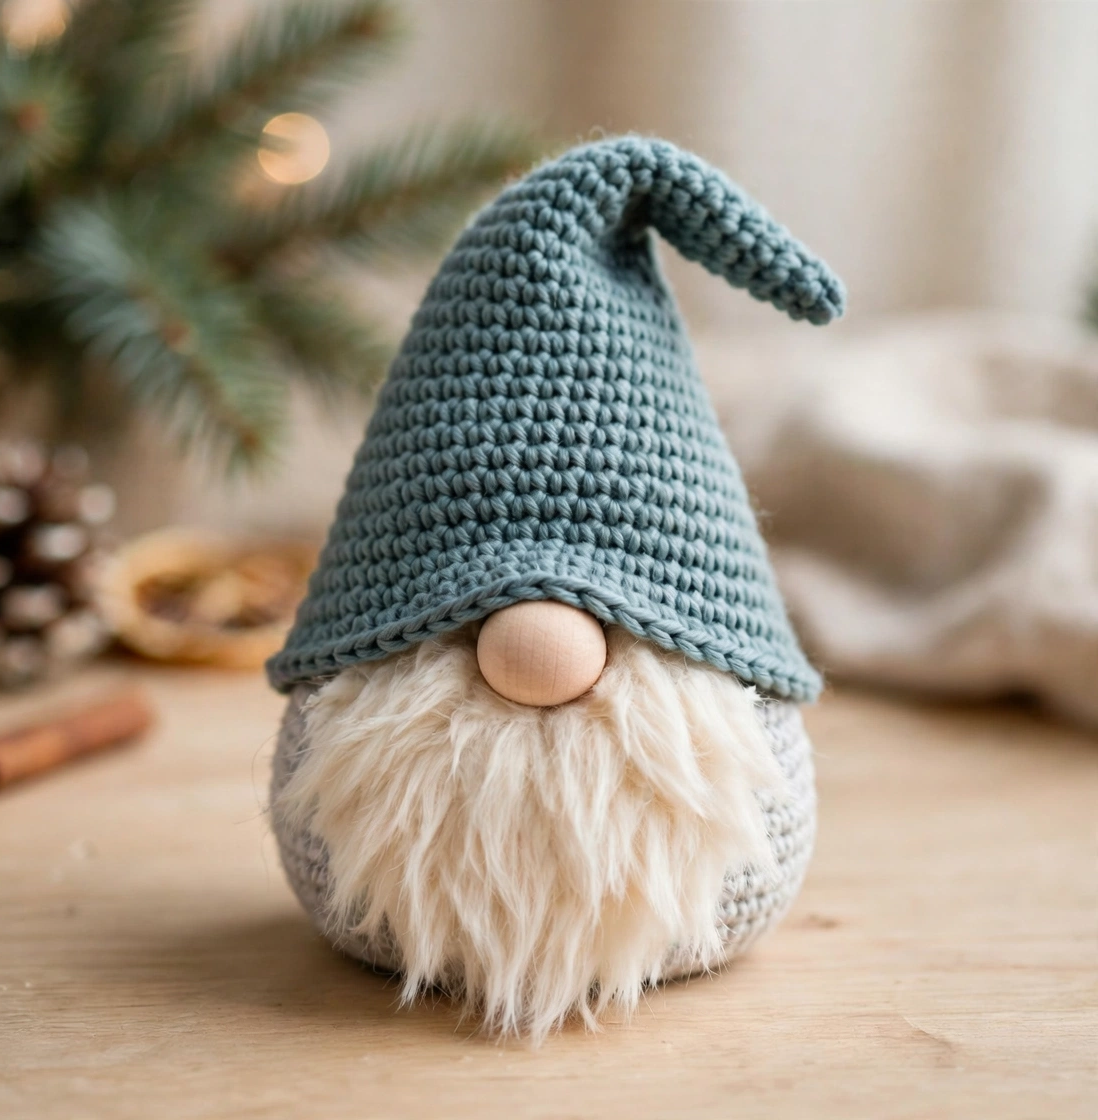
Weave in all loose yarn ends on the inside of the body where they will never show. Give the hat a playful tilt to one side for extra personality. And just like that, your handmade Christmas gnome is ready to take pride of place in your holiday decor.
Tips for the Perfect Crochet Christmas Gnome
- Fluff the beard. After attaching it, gently brush the faux-fur beard with a pet slicker brush to make it extra full and fluffy.
- Stuff firmly. Christmas gnome amigurumi should feel solid rather than squishy, so add a little more fiberfill than you think you need.
- Make a whole family. Change the hat color for endless variety — burgundy, forest green, or mustard yellow all look wonderful as gnome hats.
Frequently Asked Questions About This Crochet Christmas Gnome Pattern
How long does it take to crochet a Christmas gnome?
Most beginners finish this crochet Christmas gnome pattern in about 2–3 hours. The body and hat work up quickly, and the beard is fast because faux-fur yarn hides every stitch.
What yarn works best for a crochet gnome?
Worsted-weight (#4) acrylic or cotton yarn is ideal for the body and hat because it holds its shape. For the beard, a cream faux-fur or eyelash yarn gives the fluffiest, most professional-looking result.
Can I make this gnome without faux-fur yarn?
Yes. Substitute a brushed cream yarn, or work the beard in loop stitch with regular yarn for a fluffy handmade look. The pattern stays exactly the same either way.
Is this a good beginner crochet pattern?
Absolutely. If you can single crochet in rounds, make a magic ring, and sew pieces together with a yarn needle, you have every skill this Christmas gnome pattern requires.
Conclusion: Enjoy Your Crochet Christmas Gnome
This easy crochet Christmas gnome pattern proves that the cutest holiday decor is the kind you make yourself. In one afternoon, you will have a charming Scandinavian gnome ready for your mantel, your tree, or a gift box. If you enjoyed this Christmas project, try our crochet snowman pattern for another quick holiday make. Happy crocheting!