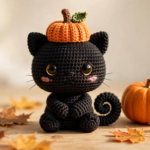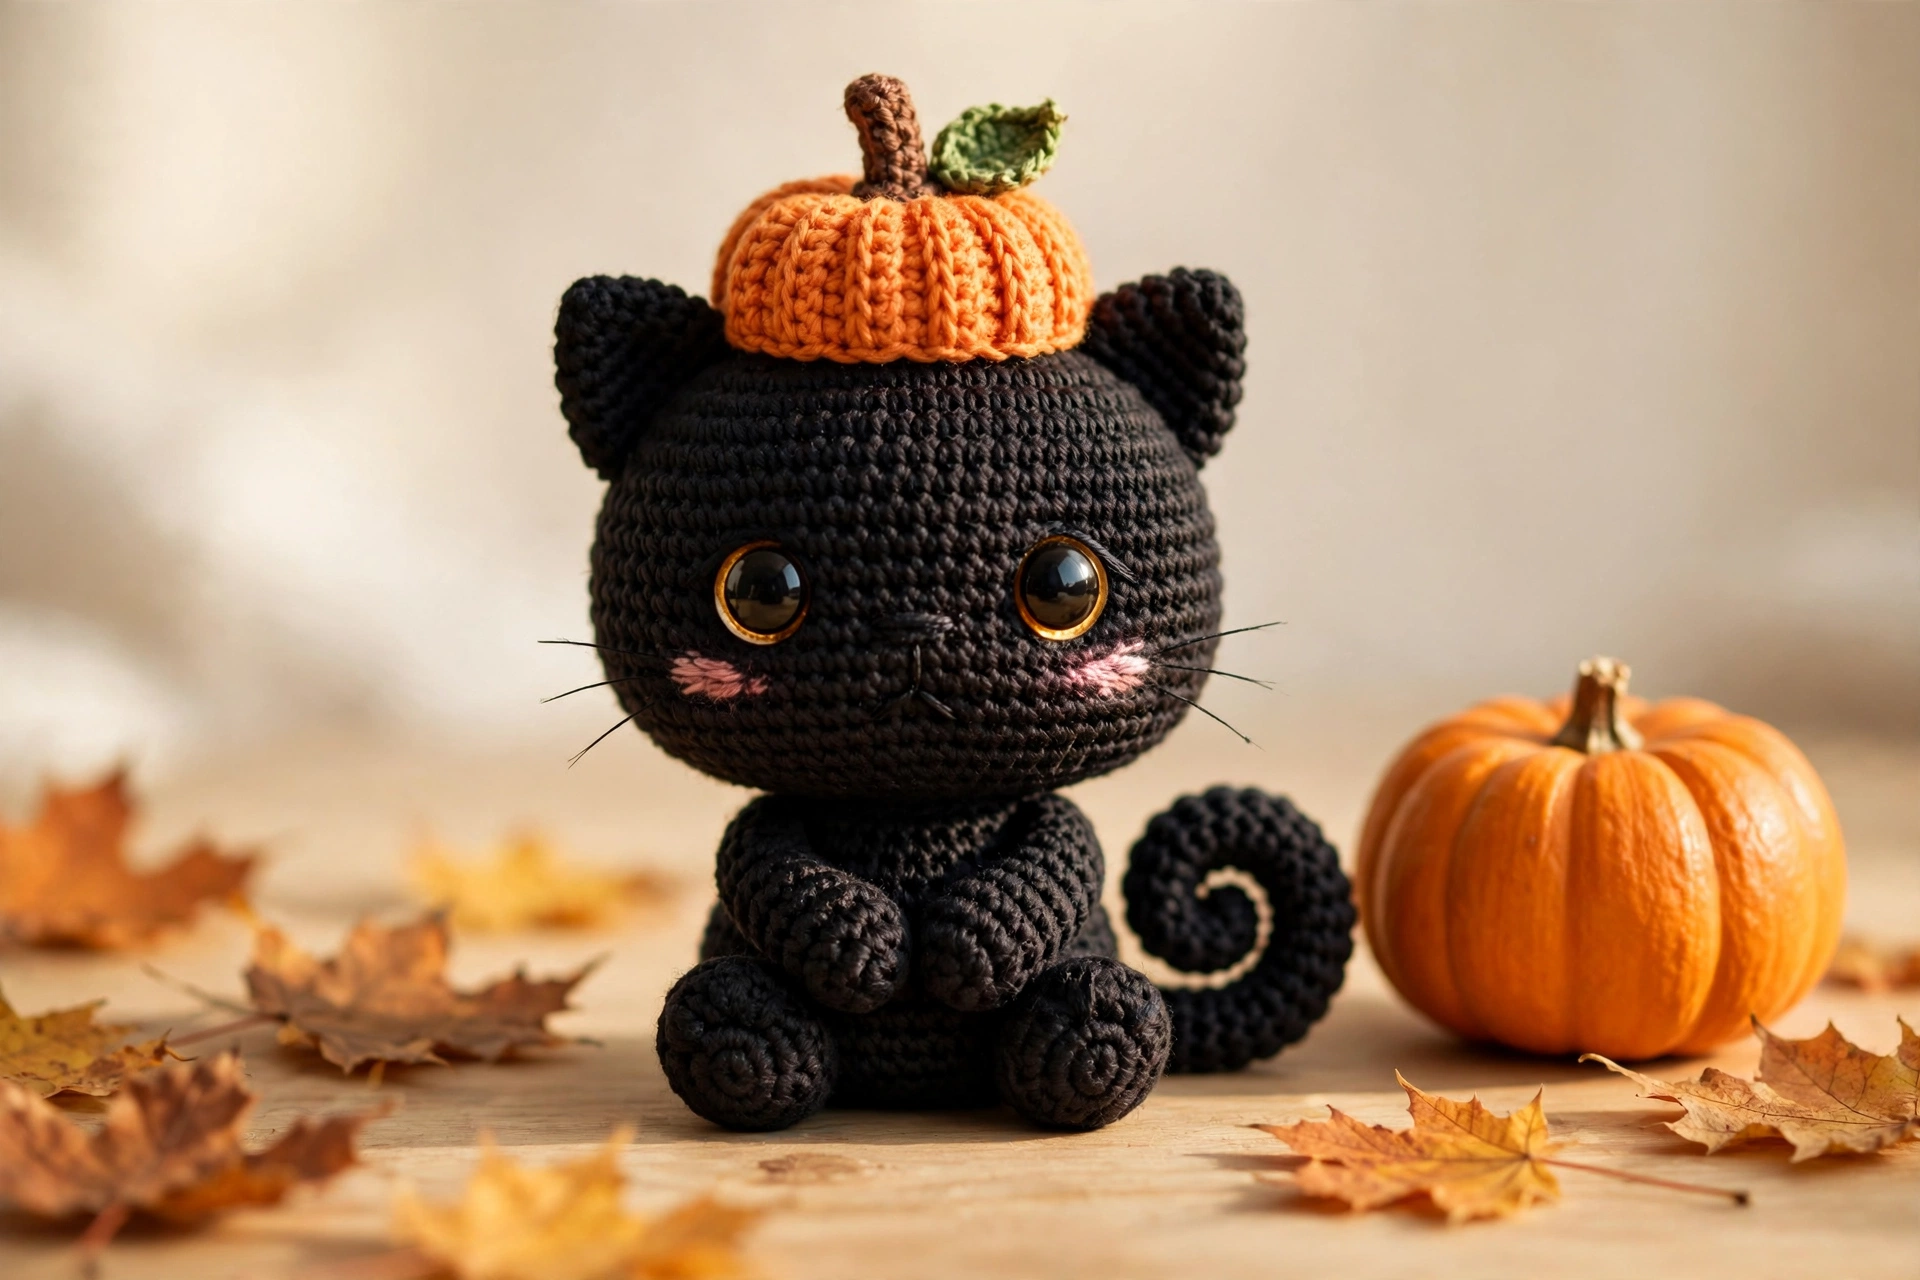
This crochet pumpkin kitty pattern might be the cutest Halloween make of the season: a round little black cat with big amber-rimmed eyes, rosy pink cheeks, and an orange pumpkin hat perched between its ears. The whole kitty is worked in simple stitches with a full materials list and six photo steps, so even confident beginners can finish this sweet amigurumi in one cozy weekend.
Materials for Your Crochet Pumpkin Kitty Pattern
Gather these supplies before you start your crochet pumpkin kitty pattern:
If you are restocking your stash, Lion Brand carries dependable worsted-weight yarns in true black and pumpkin orange. Pairing this kitty with a pumpkin buddy? See our halloween pumpkin crochet pattern next.
Step 1: Start the Kitty Head With a Magic Ring
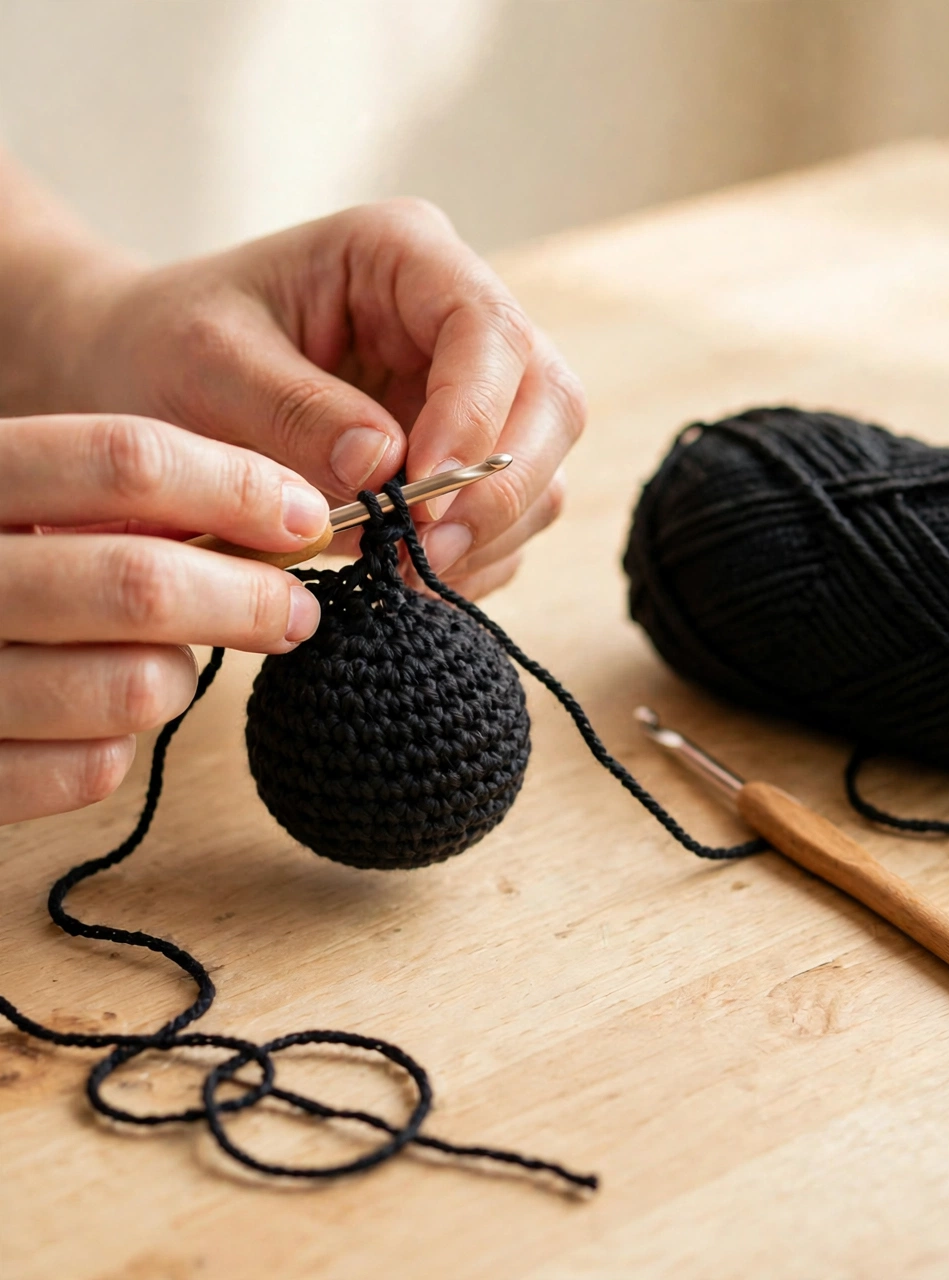
Start the head of your pumpkin kitty with a magic ring and six single crochet stitches in black yarn. Increase evenly over the next rounds until the circle measures about 9 cm across, then work straight rounds to build a round, plump sphere. Place a stitch marker at the start of every round — black yarn hides its own stitches, and the marker keeps your counts honest. Keep your tension tight and even, because this smooth round head is what gives the finished kitty its adorable cartoon look.
Step 2: Crochet the Body and Stuff It Plump
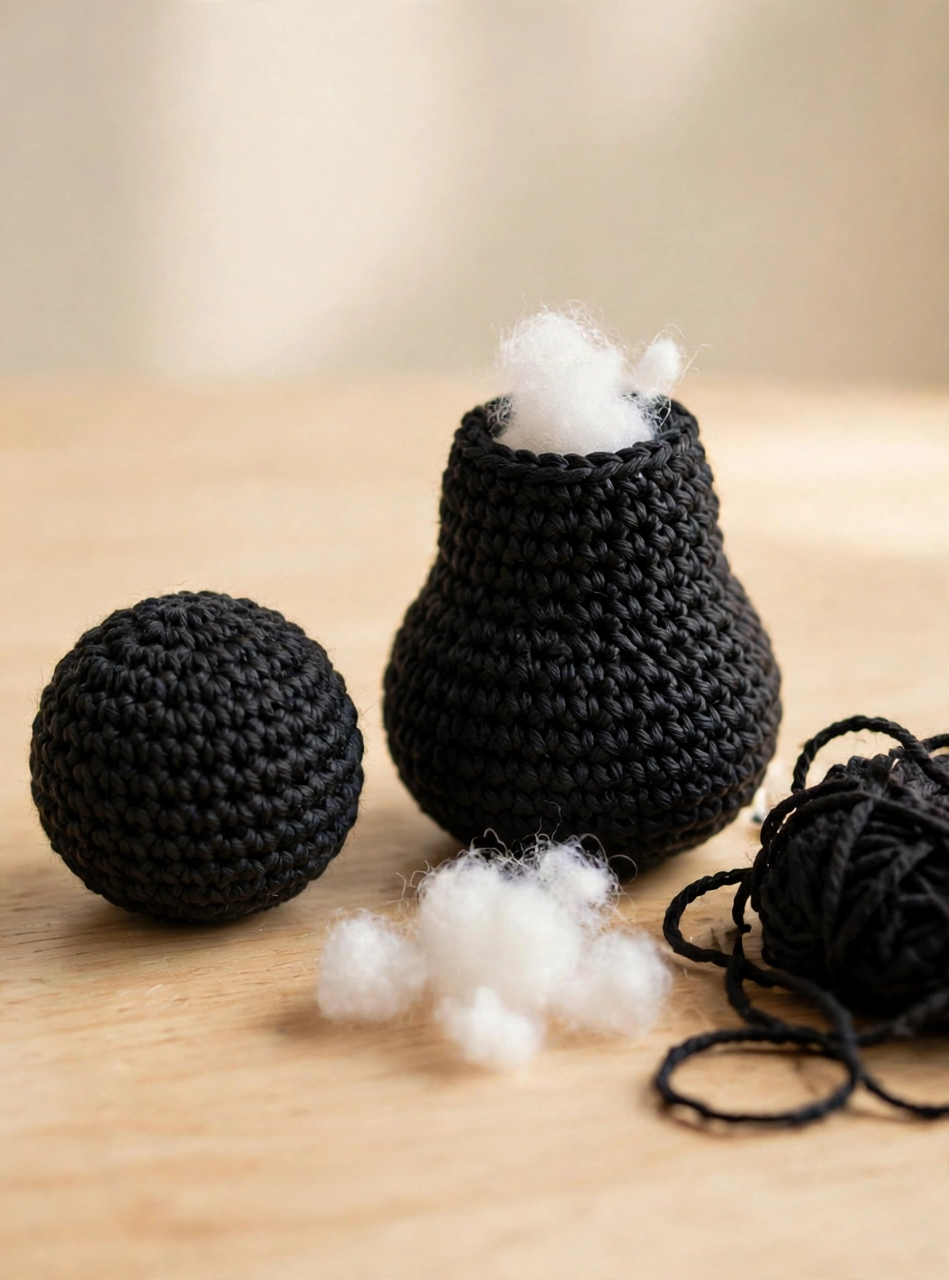
The body is a simple pear shape: another magic ring, steady increases to about 8 cm wide, then straight rounds that taper slightly toward the top. Stuff the body firmly with fiberfill as you go — a plump body is what lets your crochet pumpkin kitty sit upright without wobbling. Stuff the head firmly too, then set both pieces aside. Do not close the body completely yet; a small opening makes the final sewing in step 6 much easier.
Step 3: Make the Ears and Paws
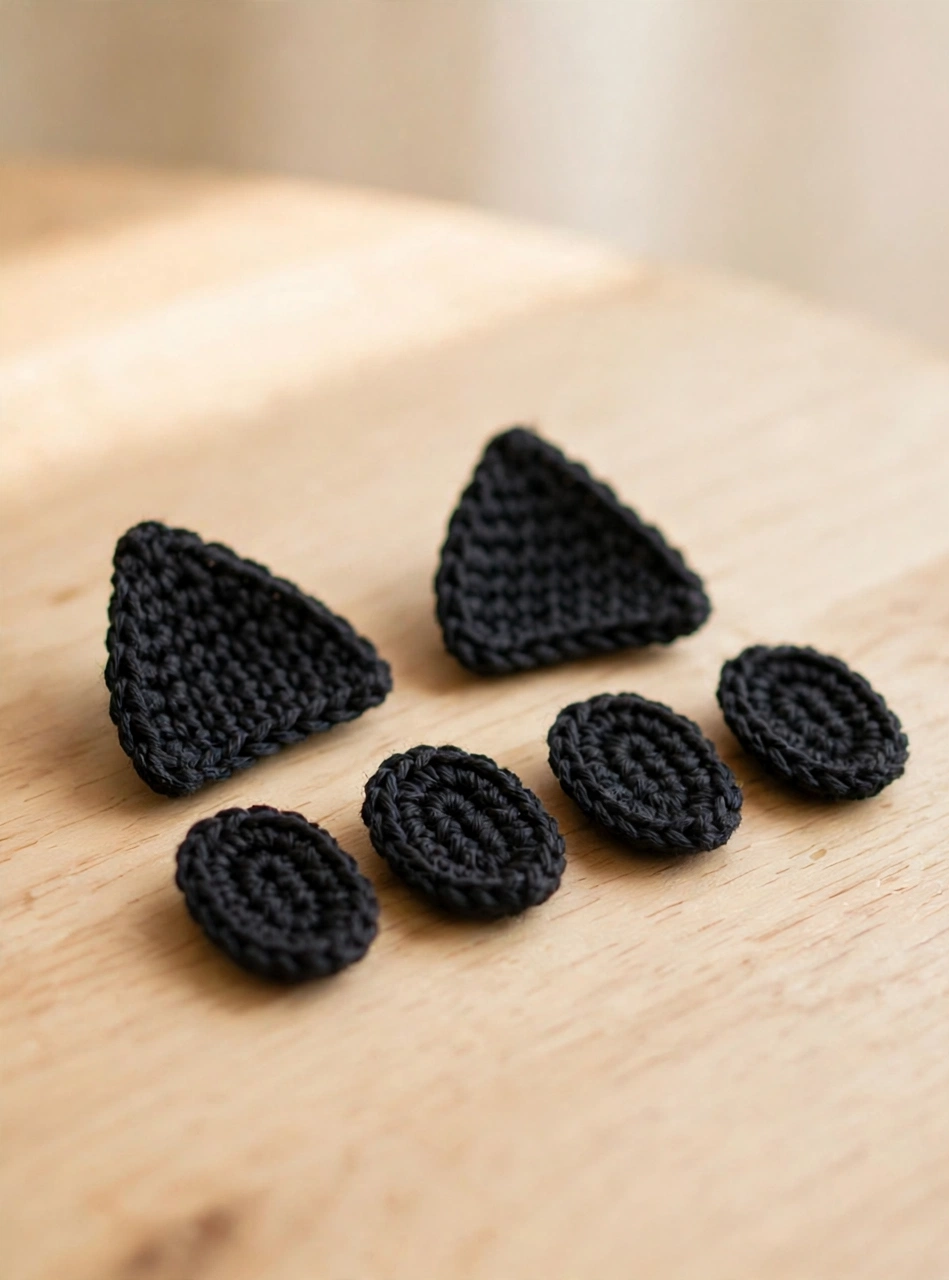
For the ears, crochet two small flat triangles: chain a short foundation, then decrease at the edges as you work up in rows until you reach a point. The paws are four small ovals worked in the round — two sit at the front of the body and two form the little feet at the base. Each piece takes only a few minutes, and they use up the last of your black yarn scraps. Lightly stuff the paw pieces, or leave the two front paws flat for a appliquéd look against the belly.
Step 4: Crochet the Curved Tail
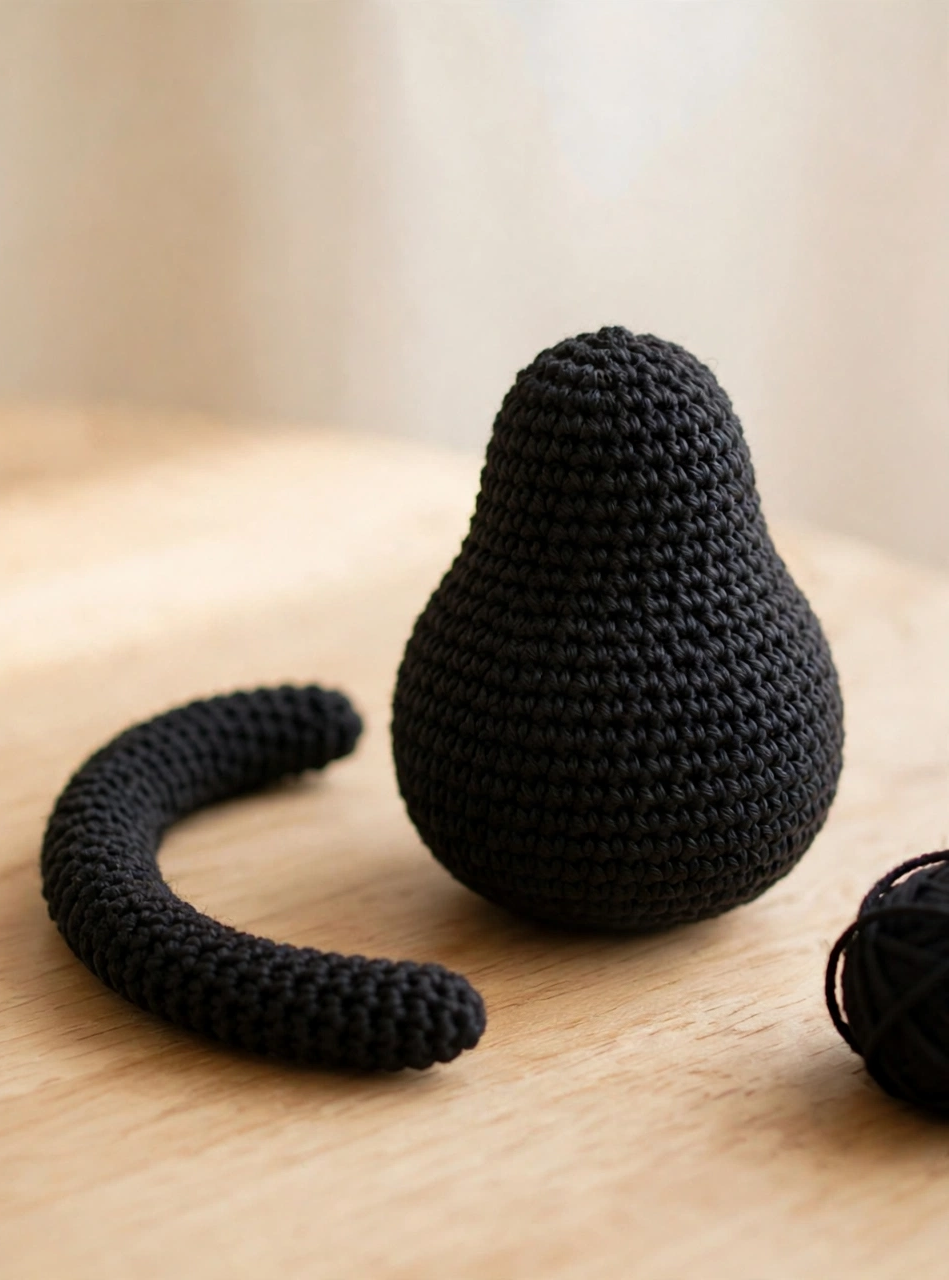
The tail is a long, thin tube worked in the round — only about six stitches around — until it measures roughly 12 cm. Stuff it very lightly, or slip a short piece of craft wire inside if you want a tail you can pose. A gentle curve is the goal: as you sew it on in the final step, stitch it against the side of the body so it curls upward like a happy cat’s tail. This little curve gives the finished pumpkin kitty its playful silhouette.
Step 5: Crochet the Pumpkin Hat, Stem and Leaf
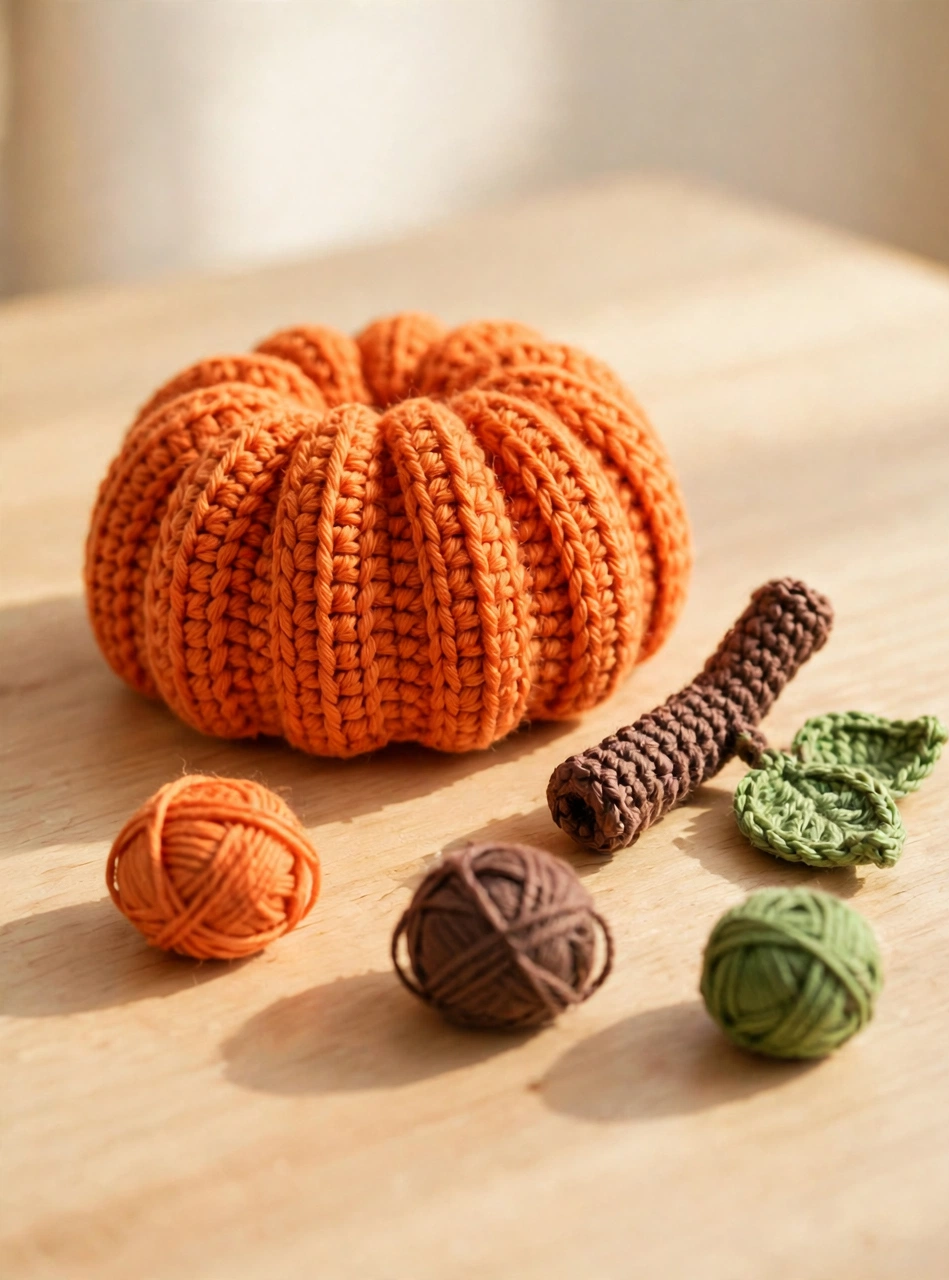
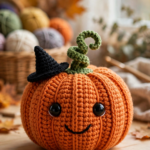
Now the signature piece of this crochet pumpkin kitty pattern. Work the hat in orange yarn as a shallow cap, using front-post stitches or back-loop rows to form the vertical pumpkin ridges. The cap should sit on top of the head like a little beret, leaving room for the ears to peek out on both sides. Crochet a short brown tube for the stem and one small green leaf, then sew both to the top center of the cap. Try the hat on the head before you sew anything — a slight tilt looks extra charming.
Step 6: Add the Face and Assemble Your Pumpkin Kitty
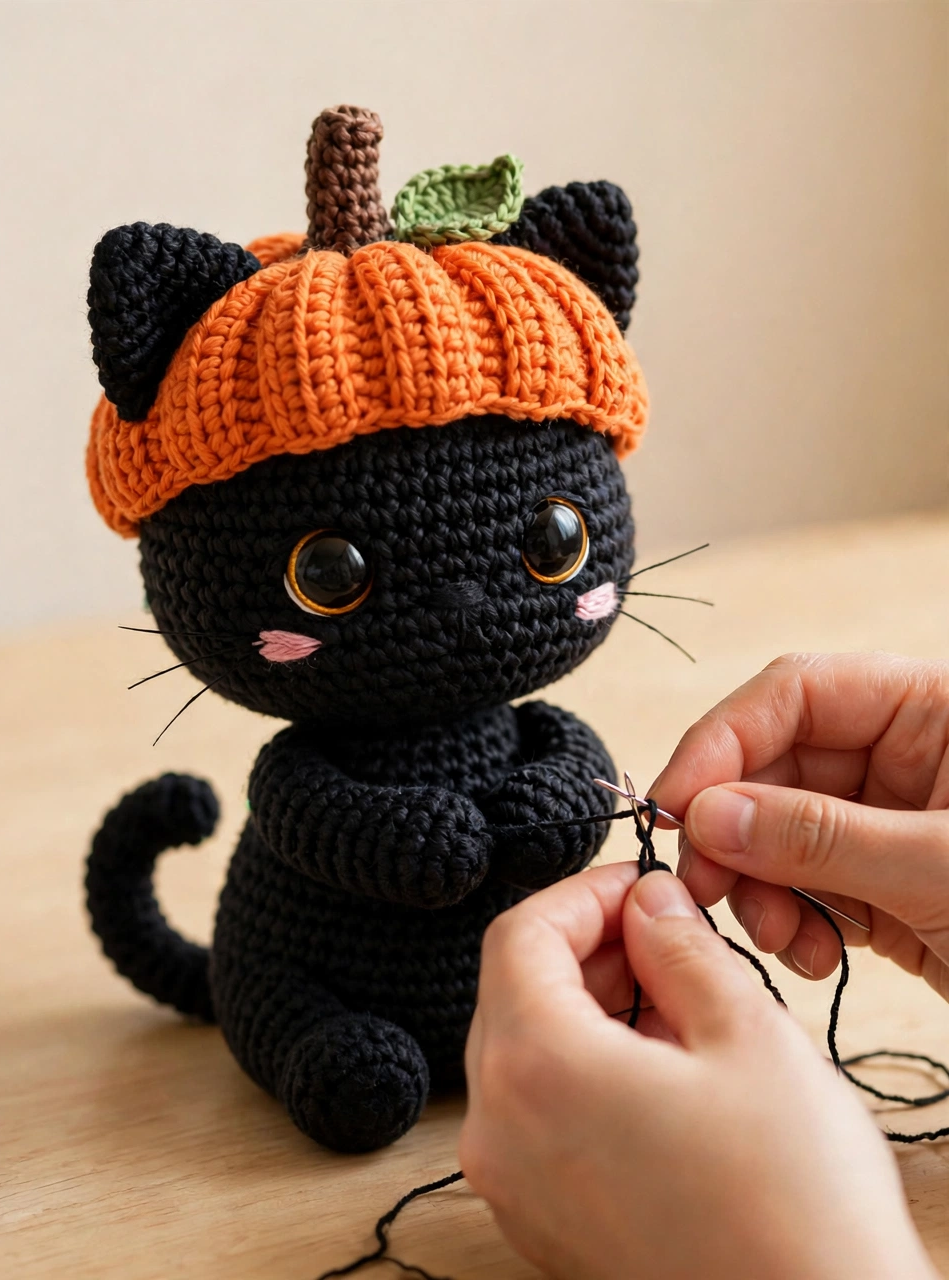
Push the two safety eyes into the head about 4 cm apart, then embroider a tiny nose and mouth with black thread and add the rosy pink cheeks with a few loose stitches of pink yarn. Thread three short strands through each cheek for the whiskers. Pin the head to the body, the ears at the top of the head, the paws in place, and the tail curving up at the back, then whipstitch everything with black yarn. Set the pumpkin hat on top, sew it down with a few hidden stitches, and your kitty is complete — the whole project takes about 3 to 4 hours.
3 Tips for a Perfect Crochet Pumpkin Kitty
1. **Count out loud with black yarn.** Dark stitches are famously hard to see. Work under a bright lamp, use a light-colored stitch marker in every round, and count each round out loud so your sphere stays perfectly even.
2. **Finish the face before the hat.** Eyes, cheeks, and whiskers are far easier to place while the head is still open and the hat is off. Pin the hat on only after the face looks right from a distance.
3. **Pin everything before sewing.** Ears, paws, tail, and hat all shift as you stitch. Pin the full assembly first, check the symmetry from the front, and only then pick up your needle.
Frequently Asked Questions
Is this crochet pumpkin kitty pattern good for beginners?
Yes. Every piece is a simple sphere, tube, or flat shape worked with single crochet, increases, and decreases. The only new techniques are the ribbed hat and a few embroidery stitches for the face.
How big is the finished pumpkin kitty?
With worsted-weight yarn and a 3.5 mm hook, the finished kitty stands about 15 cm (6 inches) tall including the pumpkin hat — a perfect size for a Halloween shelf, desk, or trick-or-treat gift.
How long does it take to crochet a pumpkin kitty?
Most crocheters finish in 3 to 4 hours. The head and body take the longest; the ears, paws, tail, and hat come together quickly in the last hour.
Can I make this kitty in other colors?
Absolutely. A grey or cream kitty looks lovely under the orange hat, and a white ghost kitty with a black witch-style hat is a fun twist. Keep the amber eyes and pink cheeks for the same sweet expression.
Conclusion
This crochet pumpkin kitty pattern brings together everything we love about autumn crafting: a plump black cat, a ribbed little pumpkin hat, and a face that makes everyone smile. Make one for your Halloween mantel, gift one to your favorite cat lover, and save this tutorial so your next pumpkin kitty is never more than an afternoon away. Happy crocheting!