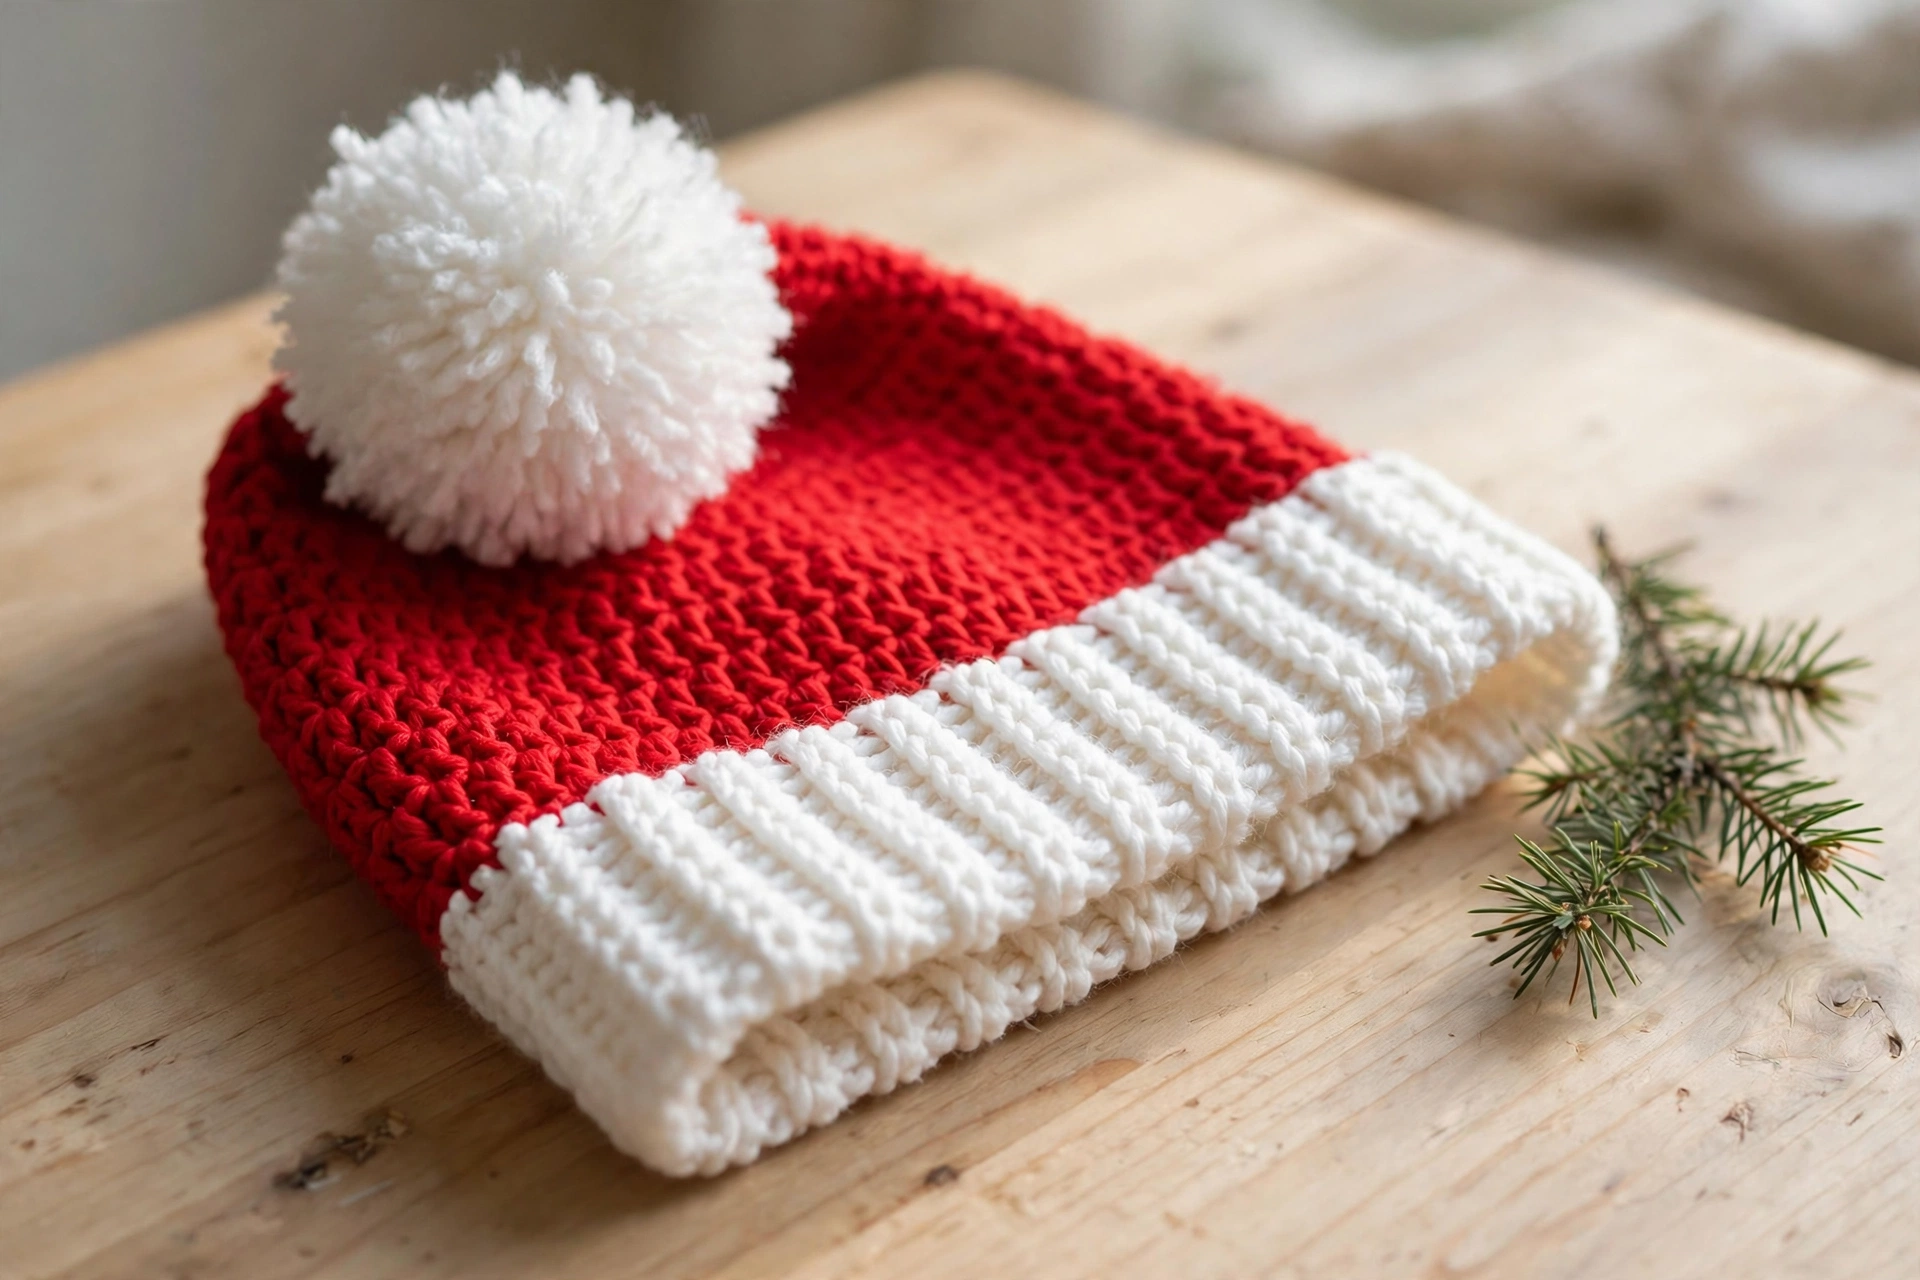
There’s nothing that says “holiday season” quite like a classic red Santa hat. This free crochet Santa hat pattern is a quick, beginner-friendly project you can finish in a single cozy evening — and it makes a wonderful handmade gift for kids and adults alike.
Worked from the brim up in simple stitches, this crochet Santa hat pattern features a stretchy white ribbed brim, a smooth tapered red crown, and a big fluffy pom pom on the tip. No complicated shaping, no pieces to sew together — just round after round of relaxing crochet. Wear it to a Christmas party, give it as a stocking stuffer, or style it for festive photos — you’ll reach for this pattern every December.
Let’s grab our hooks and get started!
Materials You’ll Need for This Crochet Santa Hat Pattern
- Worsted-weight (#4) yarn in red (approx. 120 g / 230 m) — a soft acrylic works beautifully
- Worsted-weight (#4) yarn in white (approx. 60 g / 110 m)
- 5.0 mm (US H-8) crochet hook
- Yarn needle for weaving in ends
- Scissors
- 2 stitch markers
- A small piece of cardboard (about 10 cm wide) for making the pom pom
Finished size: fits an average adult head (approx. 53–58 cm / 21–23 in around). The ribbed brim stretches, so one size truly fits most.
Step 1: Crochet the White Ribbed Brim
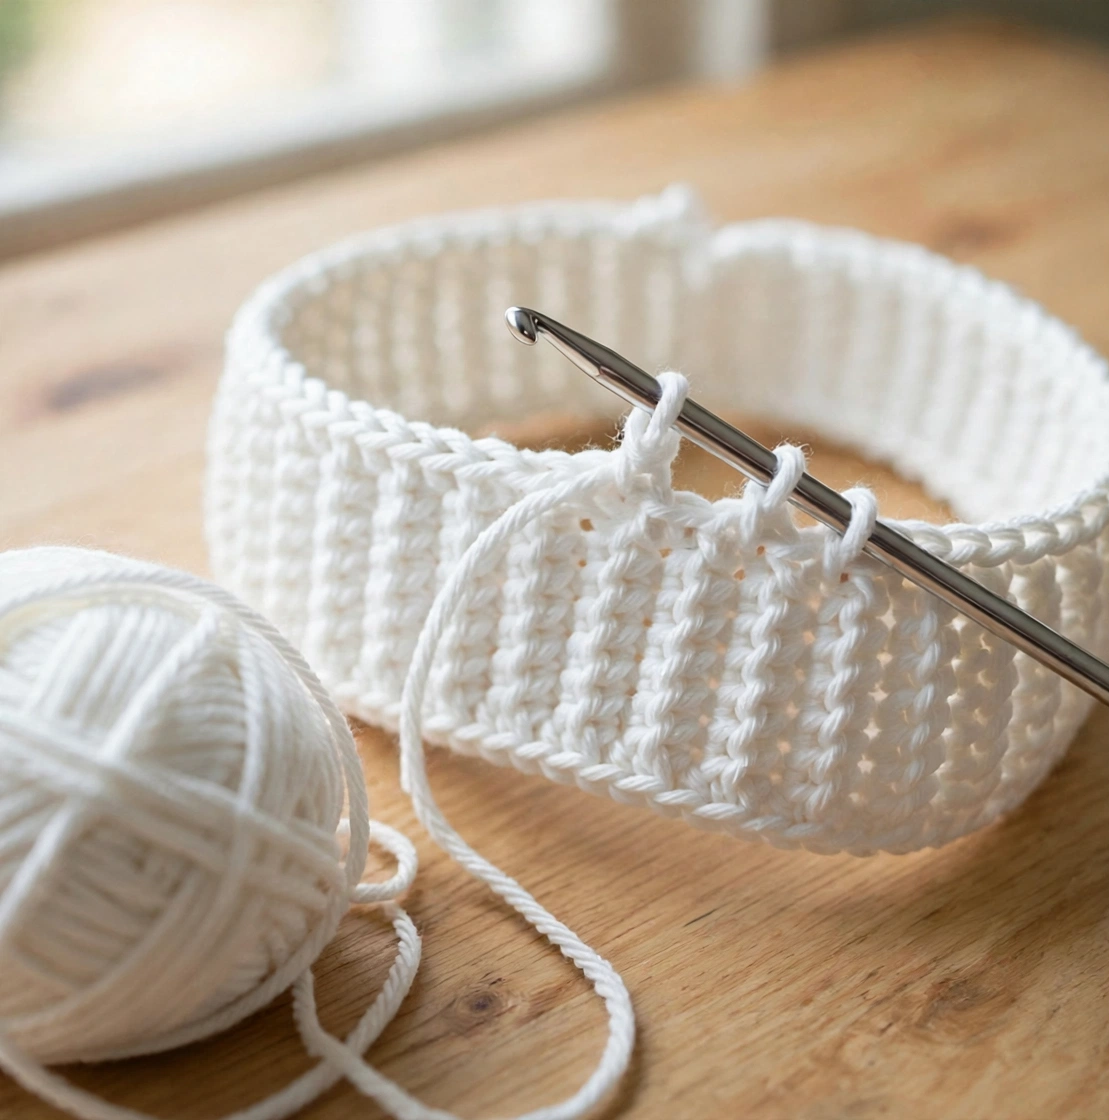
Every good Santa hat starts with the iconic fluffy-white brim. Chain 12, then work single crochet in the back loop only (BLO) for 60 rows — or until the band stretches comfortably around your head. This creates the stretchy, ribbed texture of the classic hat trim.
Join the band into a ring with a slip stitch, taking care not to twist it. This ring is the foundation of your crochet Santa hat pattern, and everything else builds upward from here.
Step 2: Work the Red Body of the Santa Hat
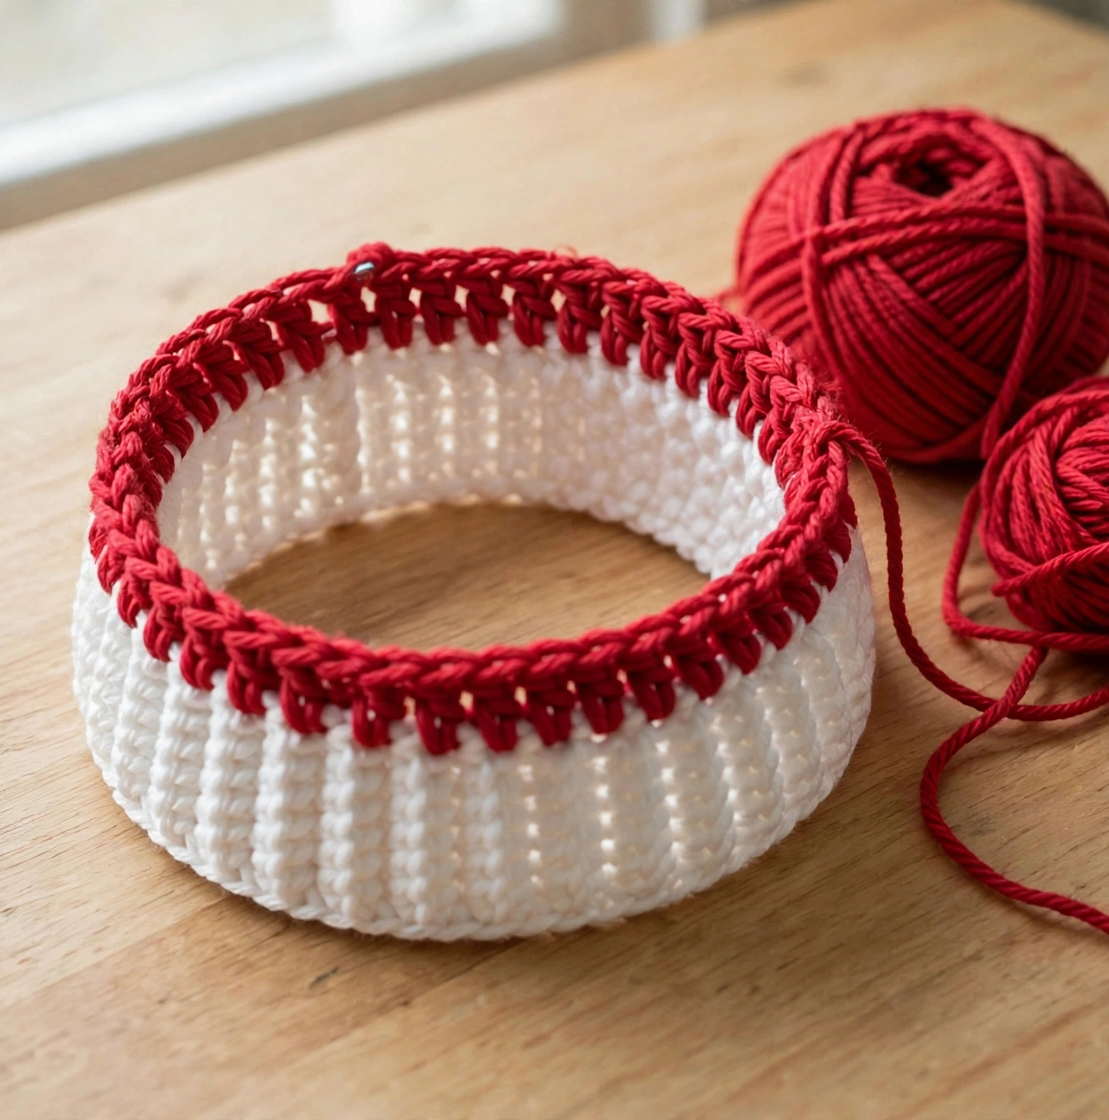
With red yarn, work one round of single crochet evenly around the top edge of the white brim (about 60 stitches). Then switch to double crochet and work even rounds with no increases or decreases for about 10 cm. This straight section forms the crown of the hat that sits on the head.
Keep your tension relaxed and consistent — double crochet stitches are tall, so this part grows fast. Place a stitch marker at the round’s start.
Step 3: Shape the Tapering Santa Hat Crown
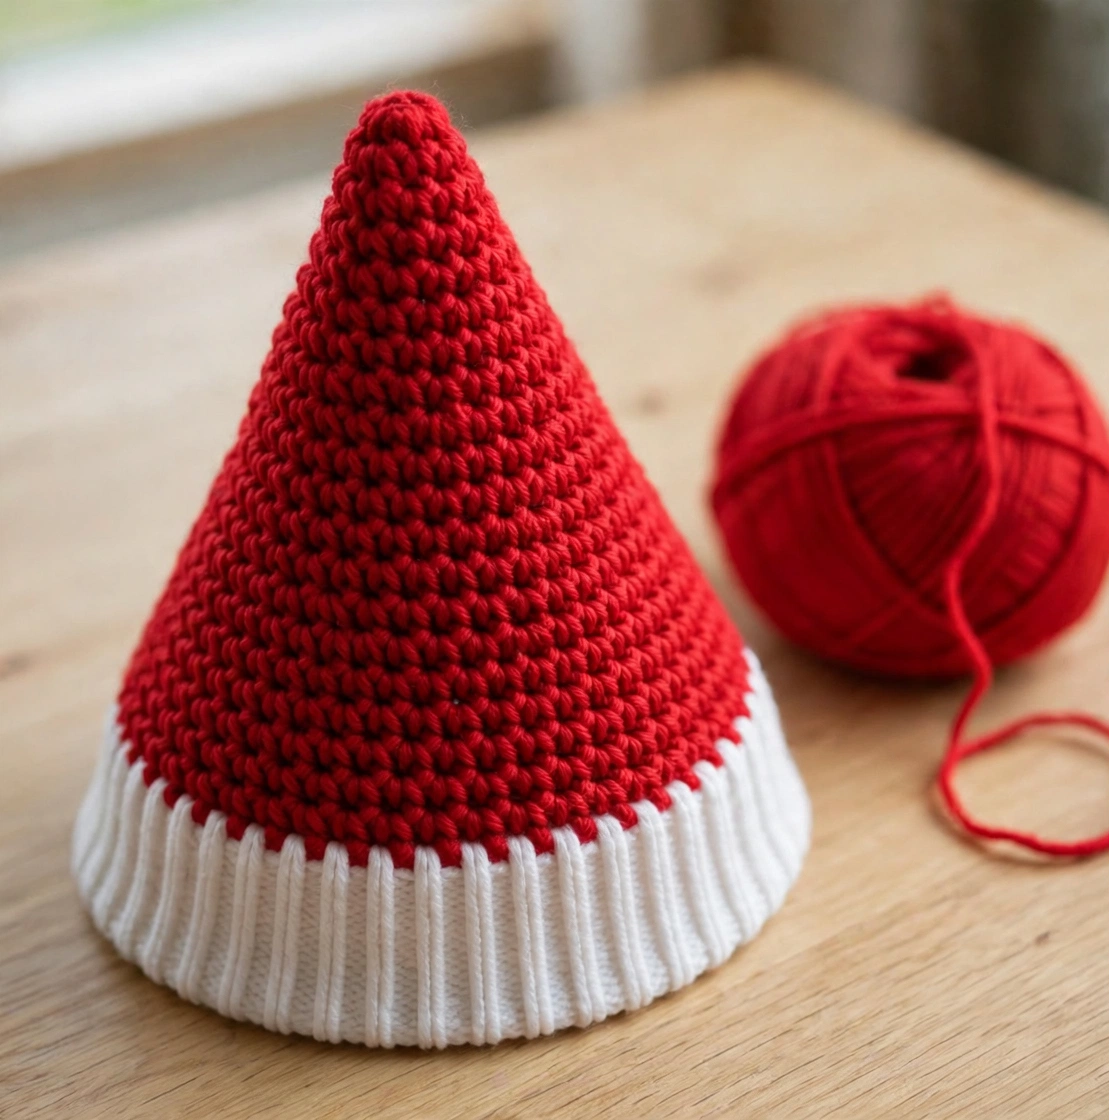
Now comes the shaping that gives a Santa hat its unmistakable silhouette. Work a decrease round (dc2tog, dc in each of the next 8 stitches around), then work one even round. On the next decrease round, work (dc2tog, dc in each of the next 7 stitches), followed by another even round.
Keep reducing one stitch between decreases every other round until the hat narrows into a long, gentle cone. The taper should be gradual — a Santa hat slopes slowly, unlike a beanie that closes quickly.
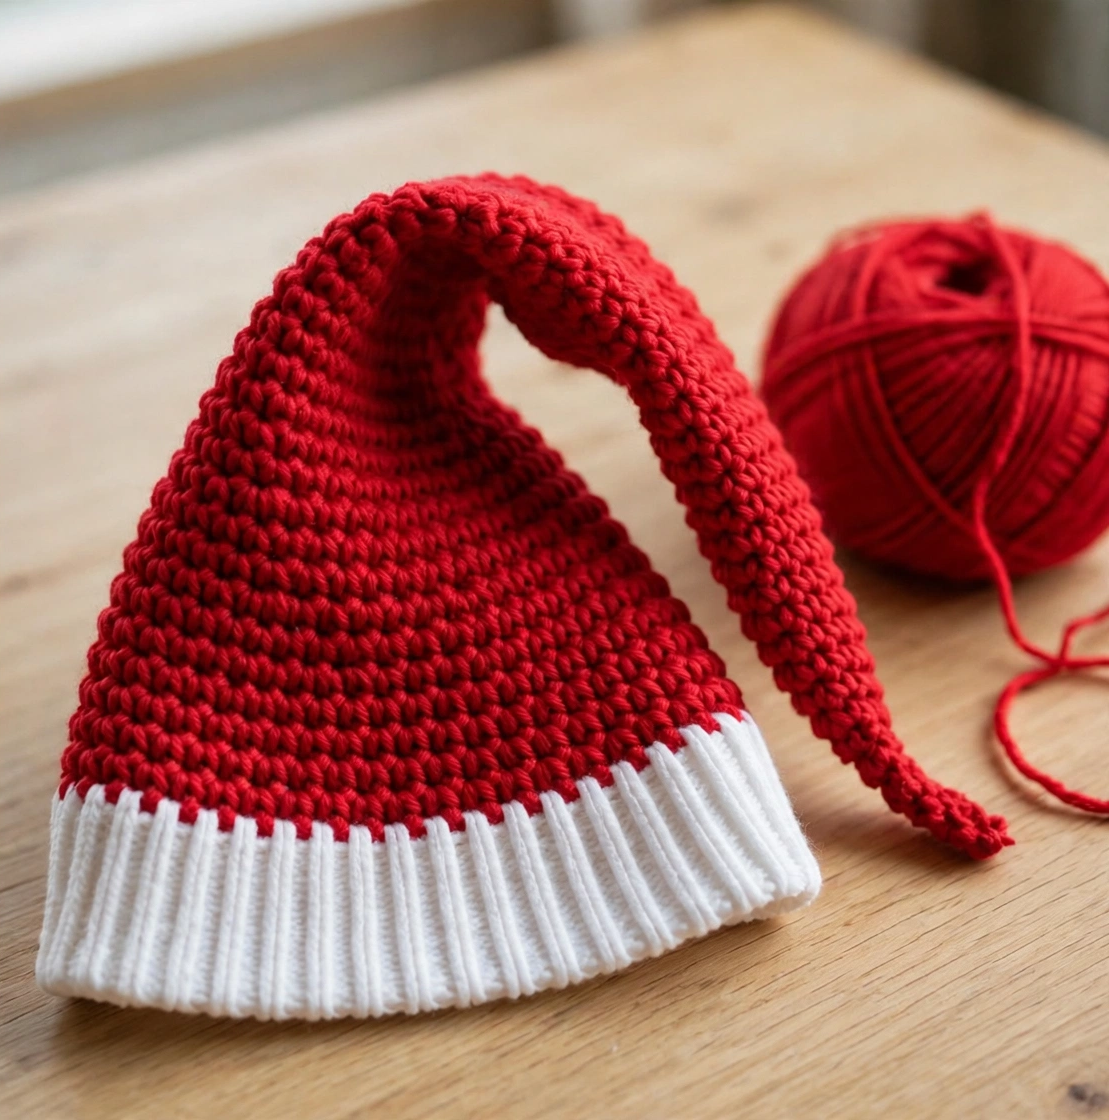
Step 4: Crochet the Floppy Tip
Once the cone measures about 18 cm from the brim, continue with narrow even rounds — no more decreases — so the tip grows long and floppy instead of pointed. This is what makes the hat droop over adorably instead of standing straight up.
When the tip reaches your desired length (another 8–10 cm is classic), fasten off, leaving a long tail for the pom pom. Don’t worry if the tip flops to one side — that droop is exactly the charm of this crochet Santa hat pattern at this stage.
Step 5: Add the Fluffy White Pom Pom
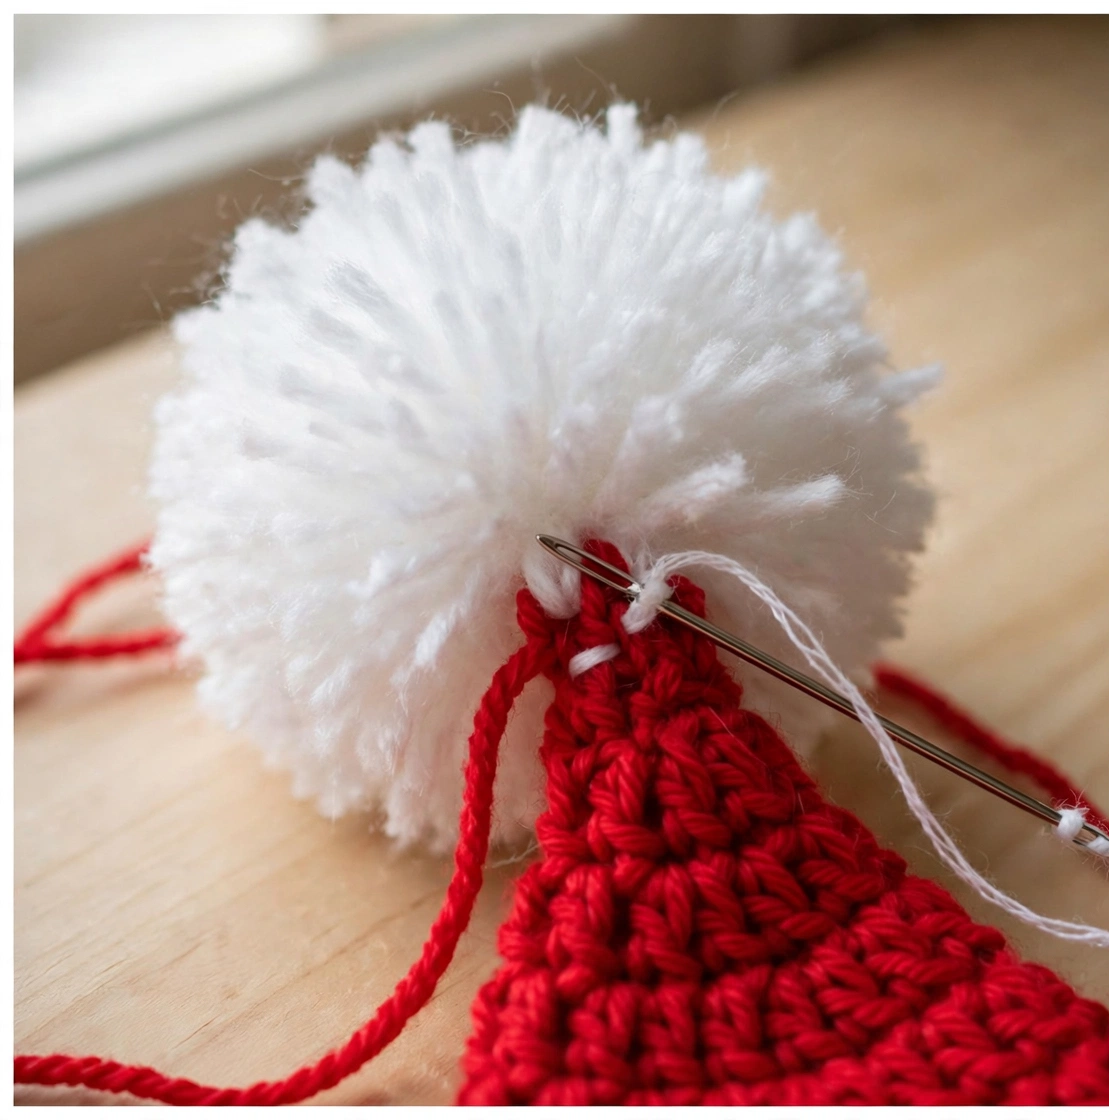
A Santa hat is not complete without its pom pom. Wrap white yarn around your cardboard piece about 120 times, tie it tightly in the middle, cut the loops, and trim the ball into a perfect sphere. The fuller the better — don’t be shy with the yarn.
Sew the pom pom firmly to the hat tip with the long tail, weaving through its center several times. Give it a good tug to make sure it’s secure.
Step 6: Weave In the Ends & Wear Your Santa Hat
Weave in every yarn tail with your yarn needle, working each tail through several stitches so it stays put through washing. Fold the white brim up once if you like the classic cuffed look, or leave it long for a slouchy style.
Pop the hat on, fluff the pom pom, and this crochet Santa hat pattern is officially done! Most crocheters finish the whole project in just 2–3 hours from start to finish.
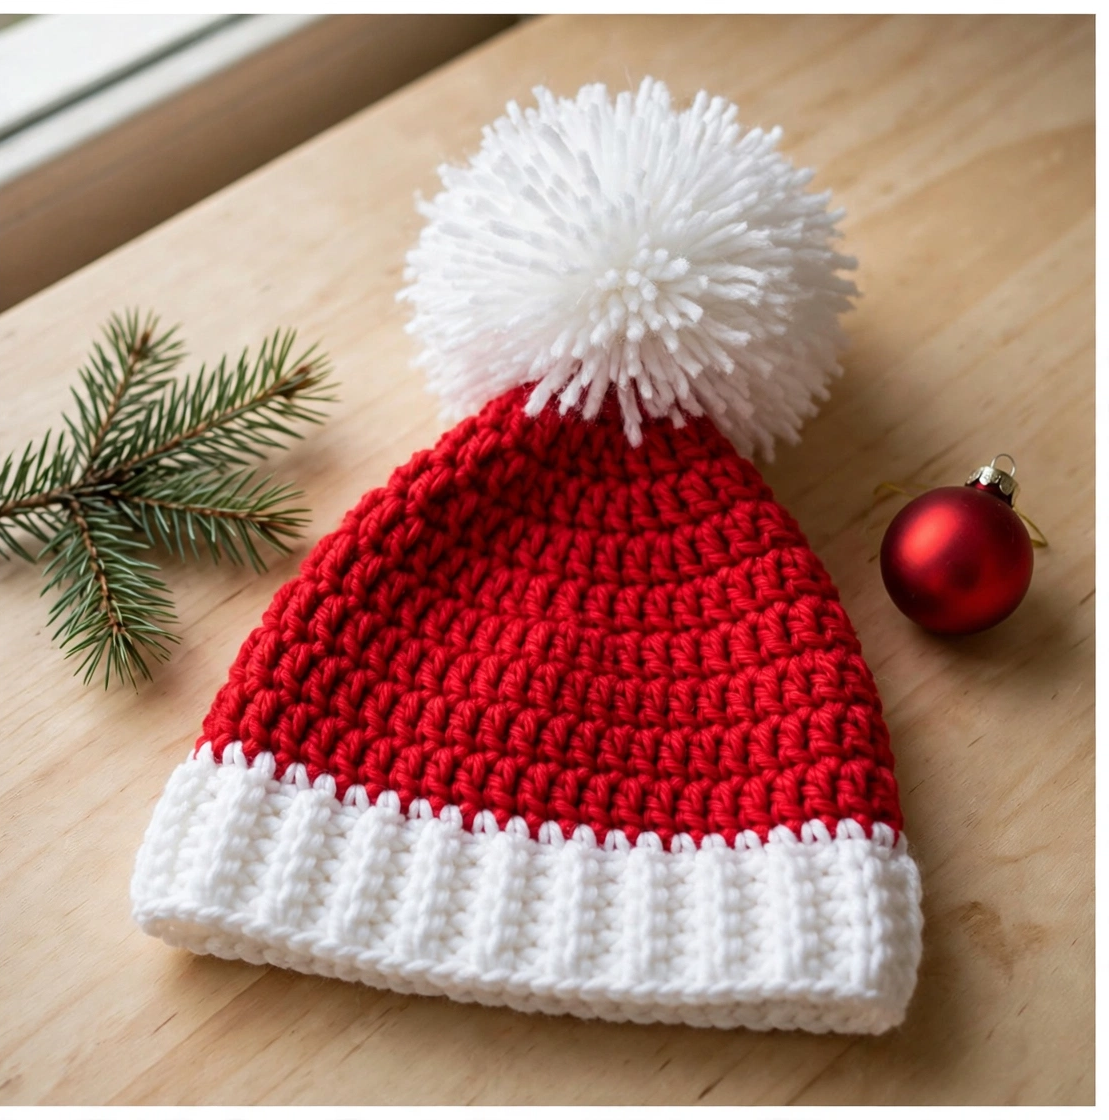
3 Tips for a Perfect Crochet Santa Hat Pattern
- Measure as you go. Try the brim around your head before joining it into a ring, and try the hat on again before the final decreases. The ribbed brim should stretch slightly — snug but never tight.
- Keep the decreases gradual. Rushing the taper makes a pointy elf hat instead of a droopy Santa hat. One decrease round, one even round — slow and steady wins the silhouette.
- Make the pom pom huge. A small, sad pom pom ruins the effect. Wrap at least 120 times around your cardboard, and trim patiently until it’s a perfect fluffy sphere.
Frequently Asked Questions About This Crochet Santa Hat Pattern
How long does this crochet Santa hat pattern take?
Most beginners finish in 2–3 hours. The double crochet body works up quickly, and the pom pom takes about 15 minutes.
What yarn is best for a crochet Santa hat?
A soft worsted-weight acrylic is ideal — warm, washable, and holds the ribbed brim’s stretch. Wool blends work beautifully too. Unsure about yarn labels? The Craft Yarn Council’s yarn weight guide explains the standard 0–7 system — this pattern uses #4 medium worsted yarn.
Can I make this Santa hat for a child?
Absolutely. Work fewer brim rows (about 50 instead of 60) and shorten the body section by a couple of centimeters. The stretchy ribbed brim forgives small sizing differences.
Can I sell hats made from this pattern?
Yes! You’re welcome to sell finished hats made from this free pattern — a handmade Santa hat is a lovely craft-fair item in December. Pair it with our crochet reindeer pattern for a full holiday gift set!
Conclusion
This easy crochet Santa hat pattern proves that the most iconic Christmas makes are also the simplest: a stretchy ribbed brim, a tapered red crown, and one glorious pom pom.
Pin this tutorial for later, share it with a fellow crocheter, and don’t forget to download the free printable PDF pattern below so you can crochet offline. Happy holidays, and happy crocheting!


1 thought on “Crochet Santa Hat Pattern – Free Easy Tutorial for Christmas”