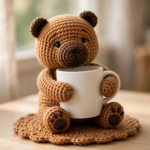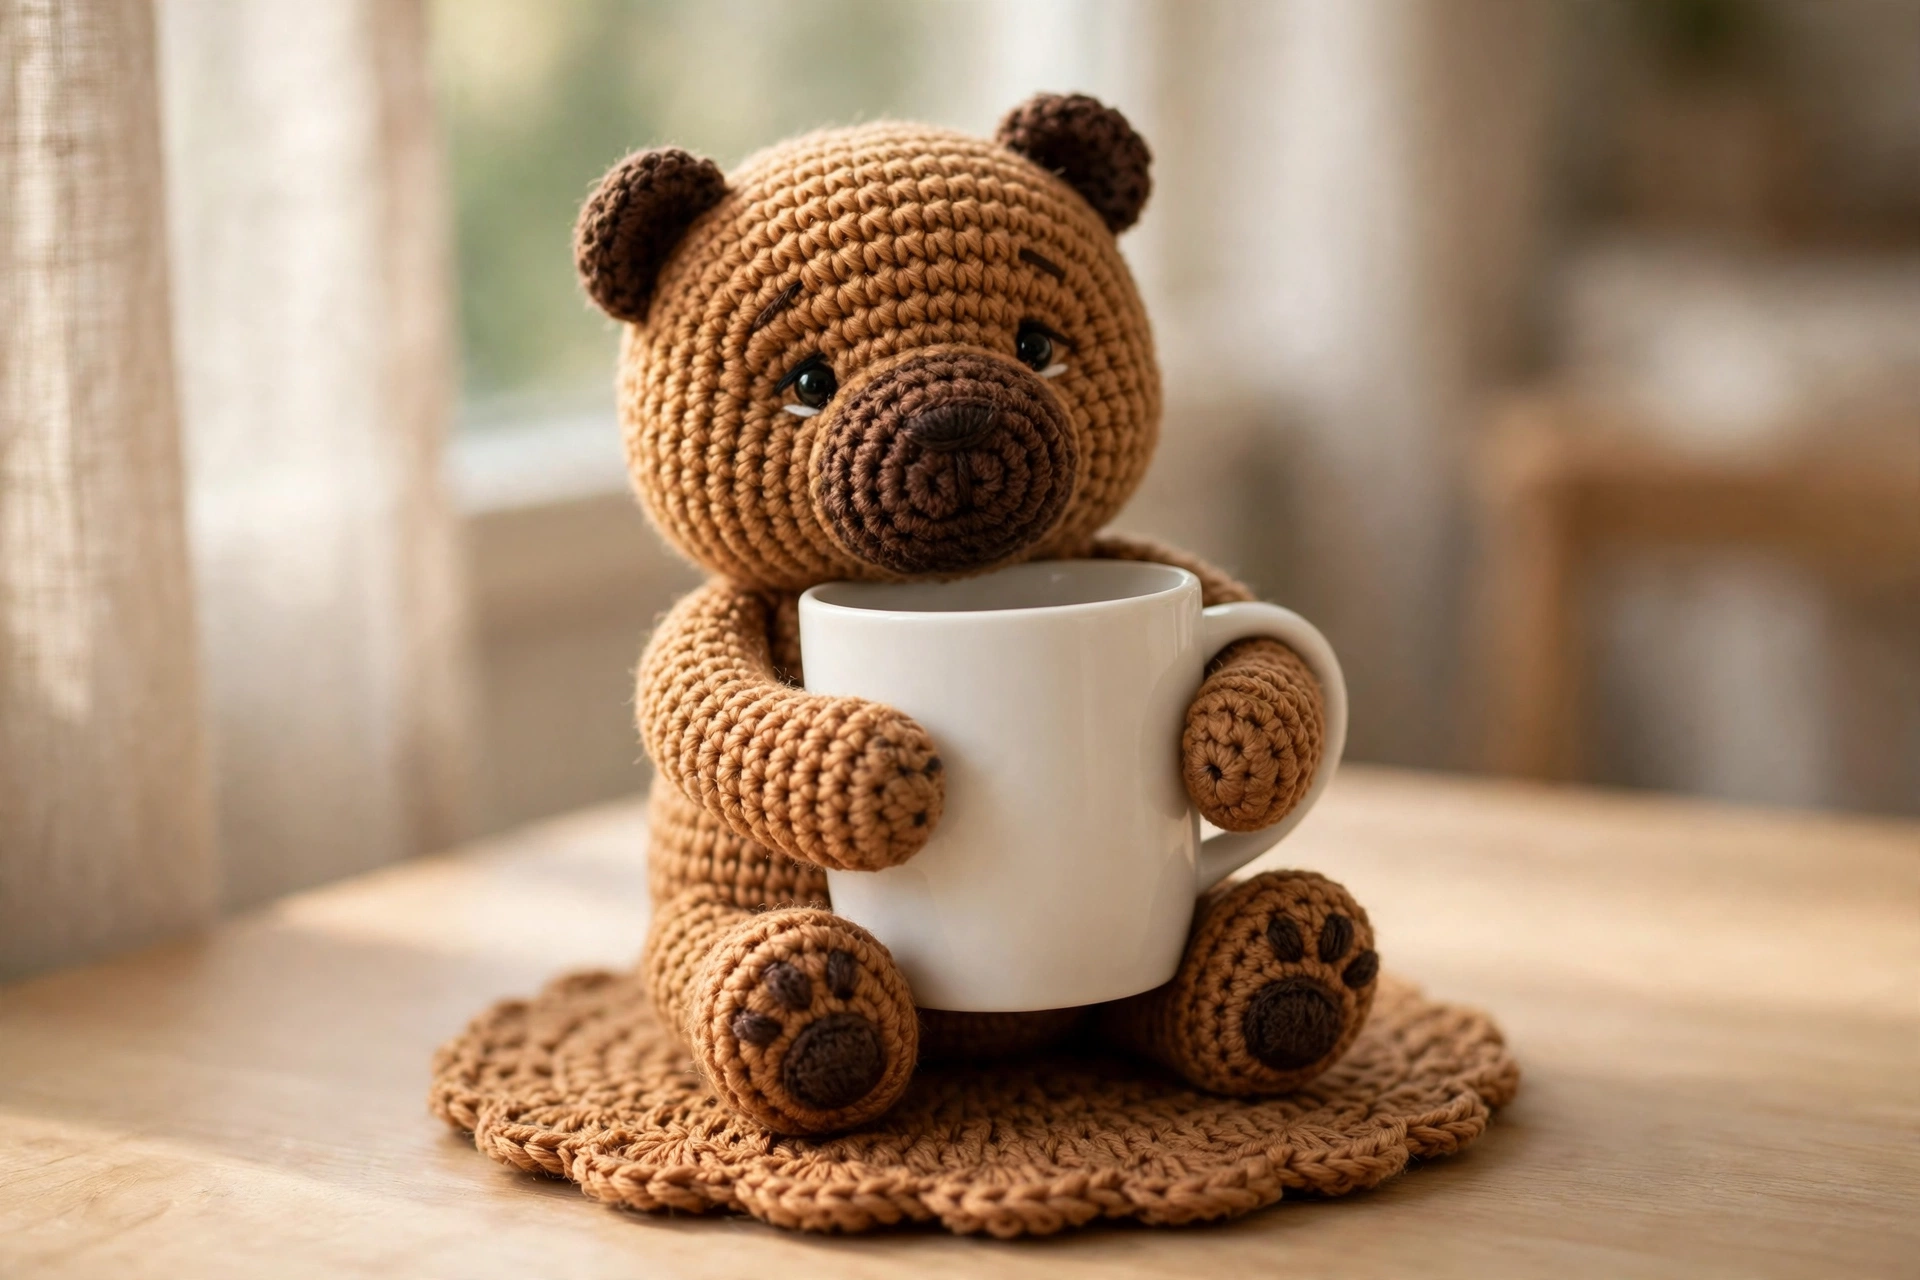
If your morning coffee could use a little company, this crochet bear mug buddy pattern is the project to make. A sweet caramel-brown amigurumi bear sits on its own round crochet coaster and wraps both arms around your mug, keeping your drink warm and your desk adorable at the same time. It works up in an evening or two with basic stitches, and it makes a thoughtful handmade gift for coffee lovers, teachers and coworkers. In this tutorial you will crochet the coaster, head, ears, body and arms separately, then sew everything together — no complicated shaping anywhere.
New to amigurumi animals? Try our crochet capybara pattern next — it uses the same simple sphere shaping you will practice here.
Materials
- Cotton or acrylic yarn in caramel brown (main color), dark brown (muzzle, ears and paws) and a little beige (optional accents) — any worsted or DK weight works; check the Craft Yarn Council yarn weight system if you are unsure what you have
- Safety eyes, 6–8 mm (or embroider the eyes instead)
- Crochet hook, 2.5–4.0 mm (use the smaller end for tighter stitches)
- Stuffing (fiberfill)
- Yarn needle
- Scissors
- Felt for the face (optional)
Finished size: the bear is about 10–12 cm (4–5 inches) tall, and the coaster measures about 12 cm (4.7 inches) across — big enough for a standard coffee mug.
Step 1: The Coaster Base
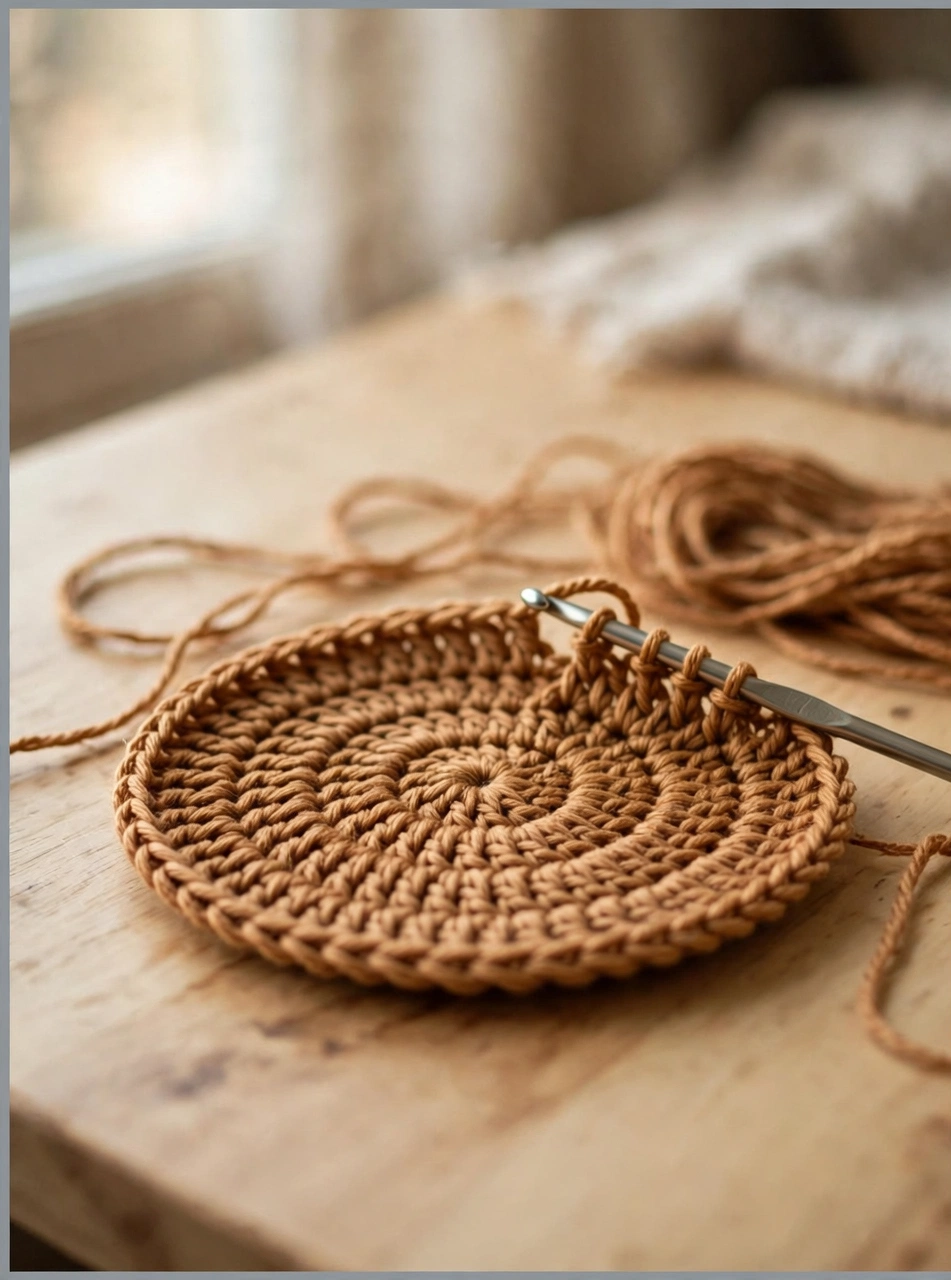
Every crochet bear mug buddy pattern starts with the coaster, because the bear is sewn right onto it. Make a magic ring in caramel brown and work 6 single crochet into it, then increase evenly in each round (12, 18, 24, 30 and 36 stitches) until the circle measures about 12 cm across. Working in continuous rounds keeps the spiral smooth, so use a stitch marker to track the first stitch. Fasten off and weave in the end — a flat, firm coaster is the foundation that keeps your bear standing upright.
Step 2: The Head and Muzzle
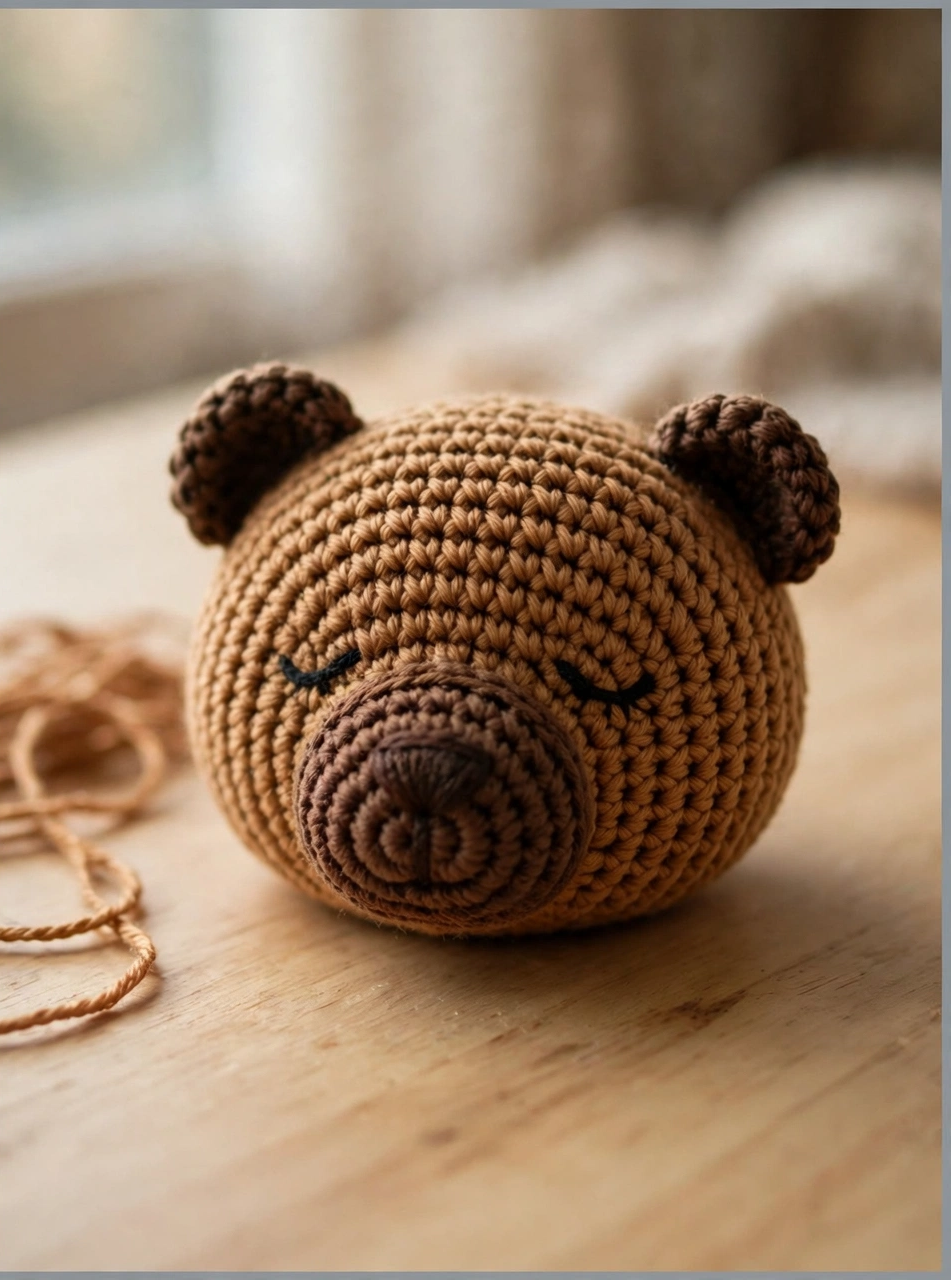
The head is a classic amigurumi sphere: start with a magic ring of 6, increase to 36 stitches over six rounds, work several even rounds, then decrease back down, stuffing firmly before you close. For the muzzle, crochet a small dark brown oval and sew it low on the front of the head. Add the safety eyes just above the muzzle — or embroider sleepy closed eyes with black yarn for a softer, baby-safe finish. Positioning the face before you stuff the head fully makes it much easier to get a sweet expression.
Step 3: The Ears
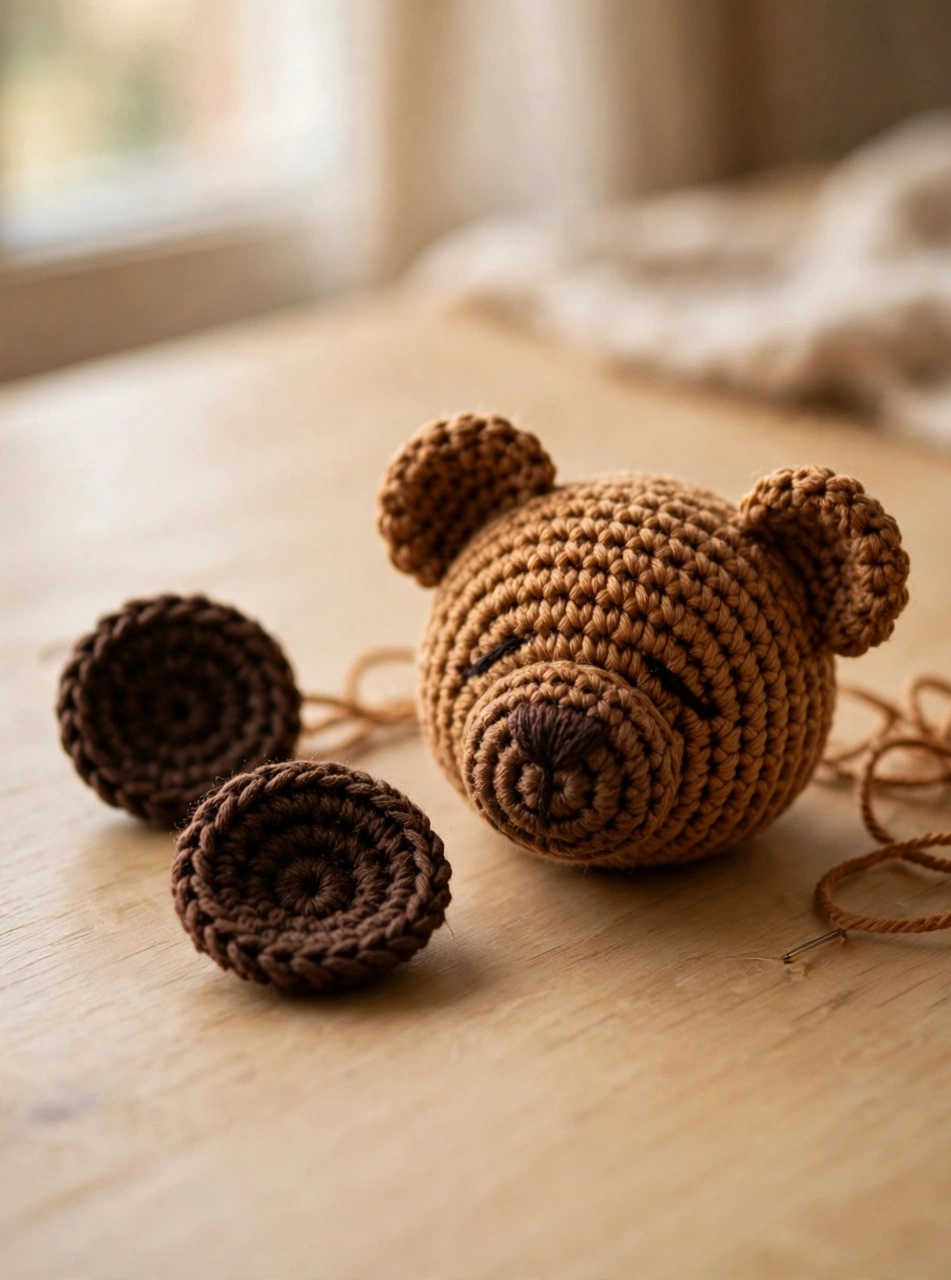
The ears are the quickest part of the whole project. Make two small dark brown circles: a magic ring of 6, one increase round to 12 stitches, and one or two even rounds. Pinch each circle flat and leave a long tail for sewing. Slightly cupped ears give the bear its curious look, so do not stuff them — flat ears sit better on the round head.
Step 4: The Body
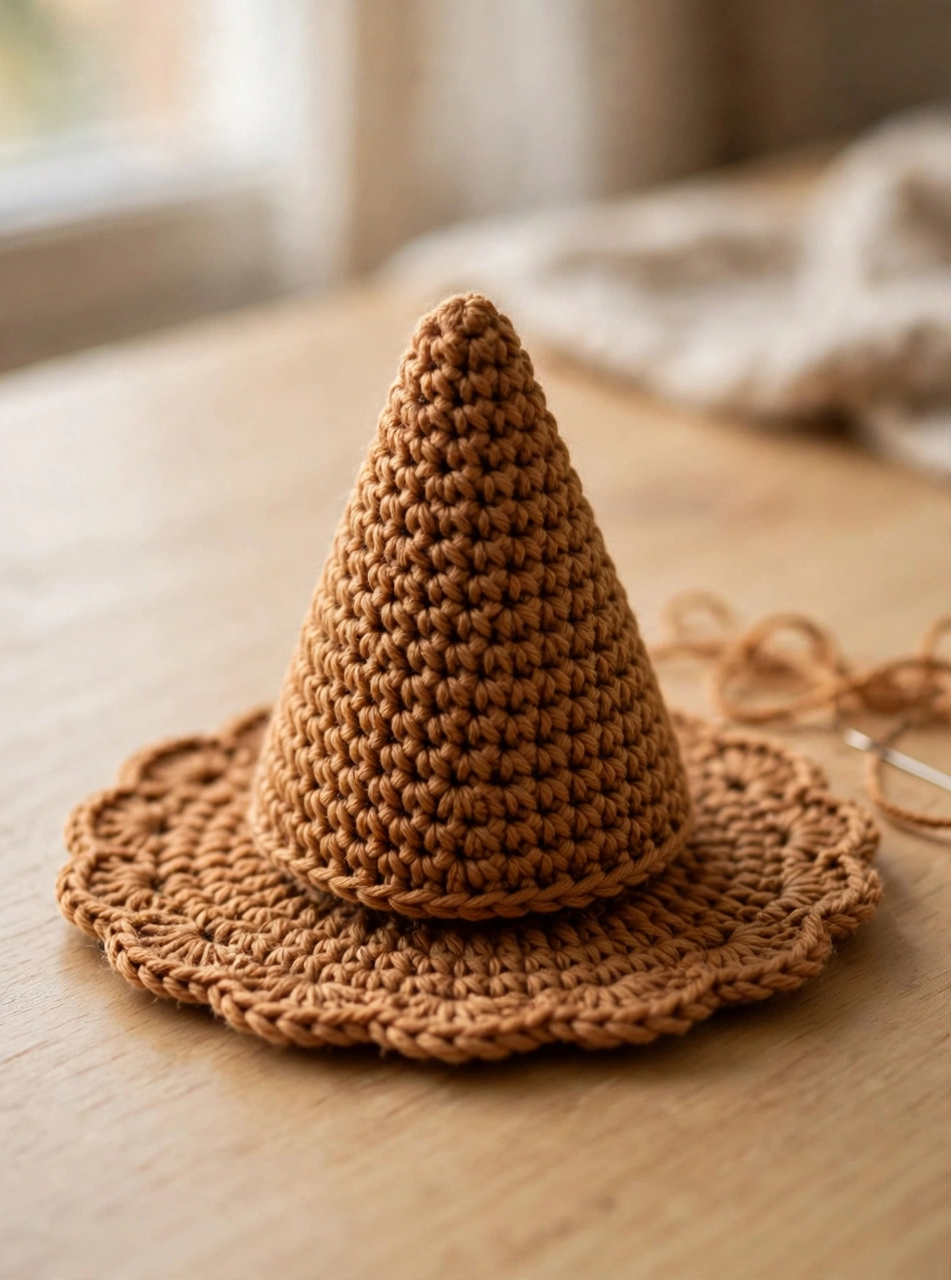
The body is a gentle cone that widens toward the base, which is what lets the bear sit stably on the coaster. Begin with a magic ring and increase gradually — fewer increase rounds than the head, spread further apart — until the base is about 6 cm wide. Stuff the body lightly, then sew it firmly to the center of the coaster with the long tail, stitching through both layers all the way around. This solid join matters: the body carries the head, the arms and the weight of the hug.
Step 5: Arms and Paws
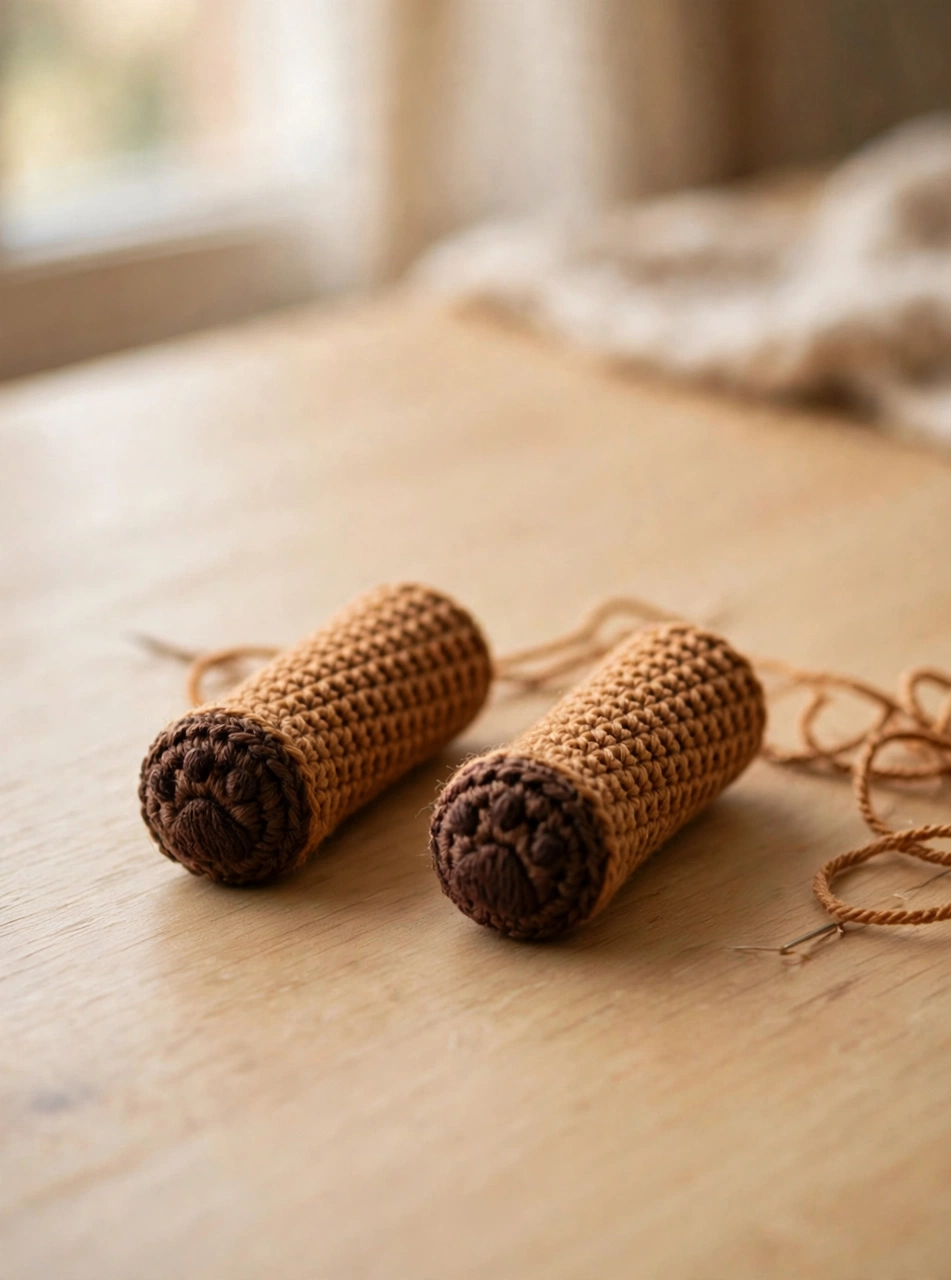
The arms are simple tubes with a color change that creates the paw. Start each arm in dark brown: a magic ring of 6 increased to 12 stitches forms the paw, then switch to caramel brown and work even rounds until the arm is about 5 cm long. Stuff only the paw end lightly — the arms need to bend forward around the mug. Make two, and keep them as a matched pair by counting your rounds. This is the signature detail of the crochet bear mug buddy pattern: the dark paws show exactly where the bear is holding on.
Step 6: Assembly and Finishing Details
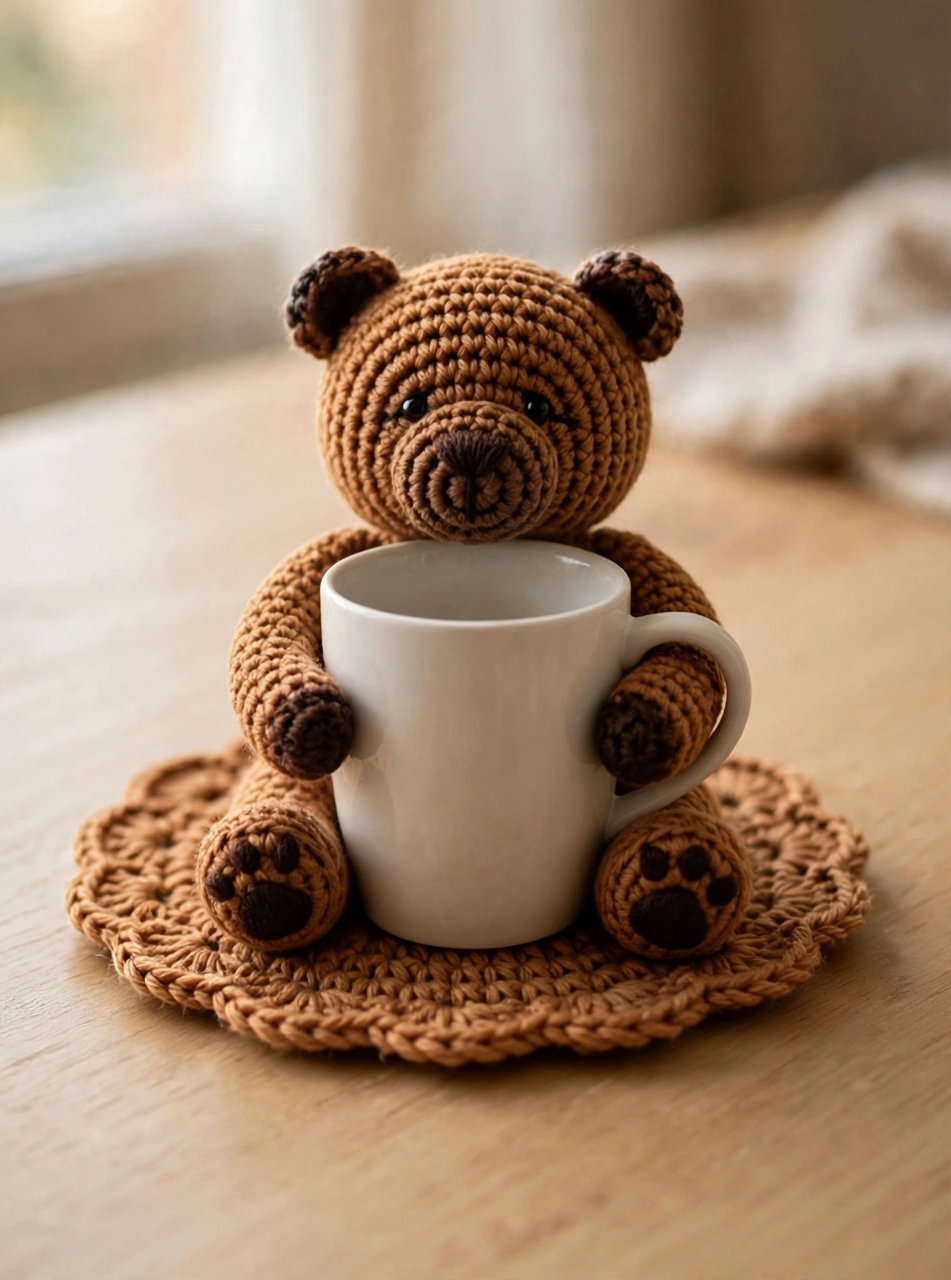
Now bring your bear to life. Sew the head onto the body, attach the ears symmetrically on top, then sew the arms to the sides of the body angled forward, paws facing in, so they land on the sides of a mug. Embroider a small nose and mouth on the muzzle with dark yarn, and add any final details — a tiny beige belly patch or felt cheeks are both cute. Finally, sit the bear on its coaster, slide your favorite mug between its arms and adjust the paws until the hug looks snug.
Tips for a Perfect Bear Mug Buddy
- Size the coaster to your mug. Mugs vary — hold your mug against the coaster as you crochet and add or skip one increase round so the base is slightly wider than the mug’s footprint.
- Angle the arms before you sew. Pin the arms in place with the mug in position, check the hug from the front, and only then stitch. Two minutes of pinning saves a lopsided bear.
- Keep stitches tight. Amigurumi looks best worked firmly so no stuffing peeks through; if you see gaps, drop down a hook size.
Frequently Asked Questions
Is this crochet bear mug buddy pattern good for beginners?
Yes. It uses only single crochet, increases and decreases, and every piece is a simple shape — circle, sphere, cone and tube. If you can work in the round, you can make this bear.
What yarn works best for a mug buddy?
Cotton or cotton-blend yarn is ideal because it handles warmth and the odd coffee splash better than acrylic, and it washes well. Worsted or DK weight in caramel brown gives the size listed above.
Can I wash the finished bear and coaster?
Yes — hand wash in cool water with mild soap, reshape and dry flat. If you used safety eyes, avoid the washing machine so the eyes stay secure.
How do I make the bear fit a bigger mug?
Add one or two increase rounds to the coaster, make the body one round wider, and lengthen the arms by two rounds. The proportions scale up easily.
Conclusion
This little project turns a ball of caramel yarn into the coziest little desk companion — part coaster, part mug hugger, all charm. It is quick, beginner friendly and endlessly giftable. Ready to start? Grab your hook and yarn, work through the six steps above, and do not forget to save this pattern and share your finished bear — we would love to see the mug yours ends up hugging!