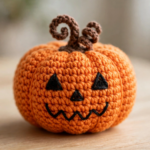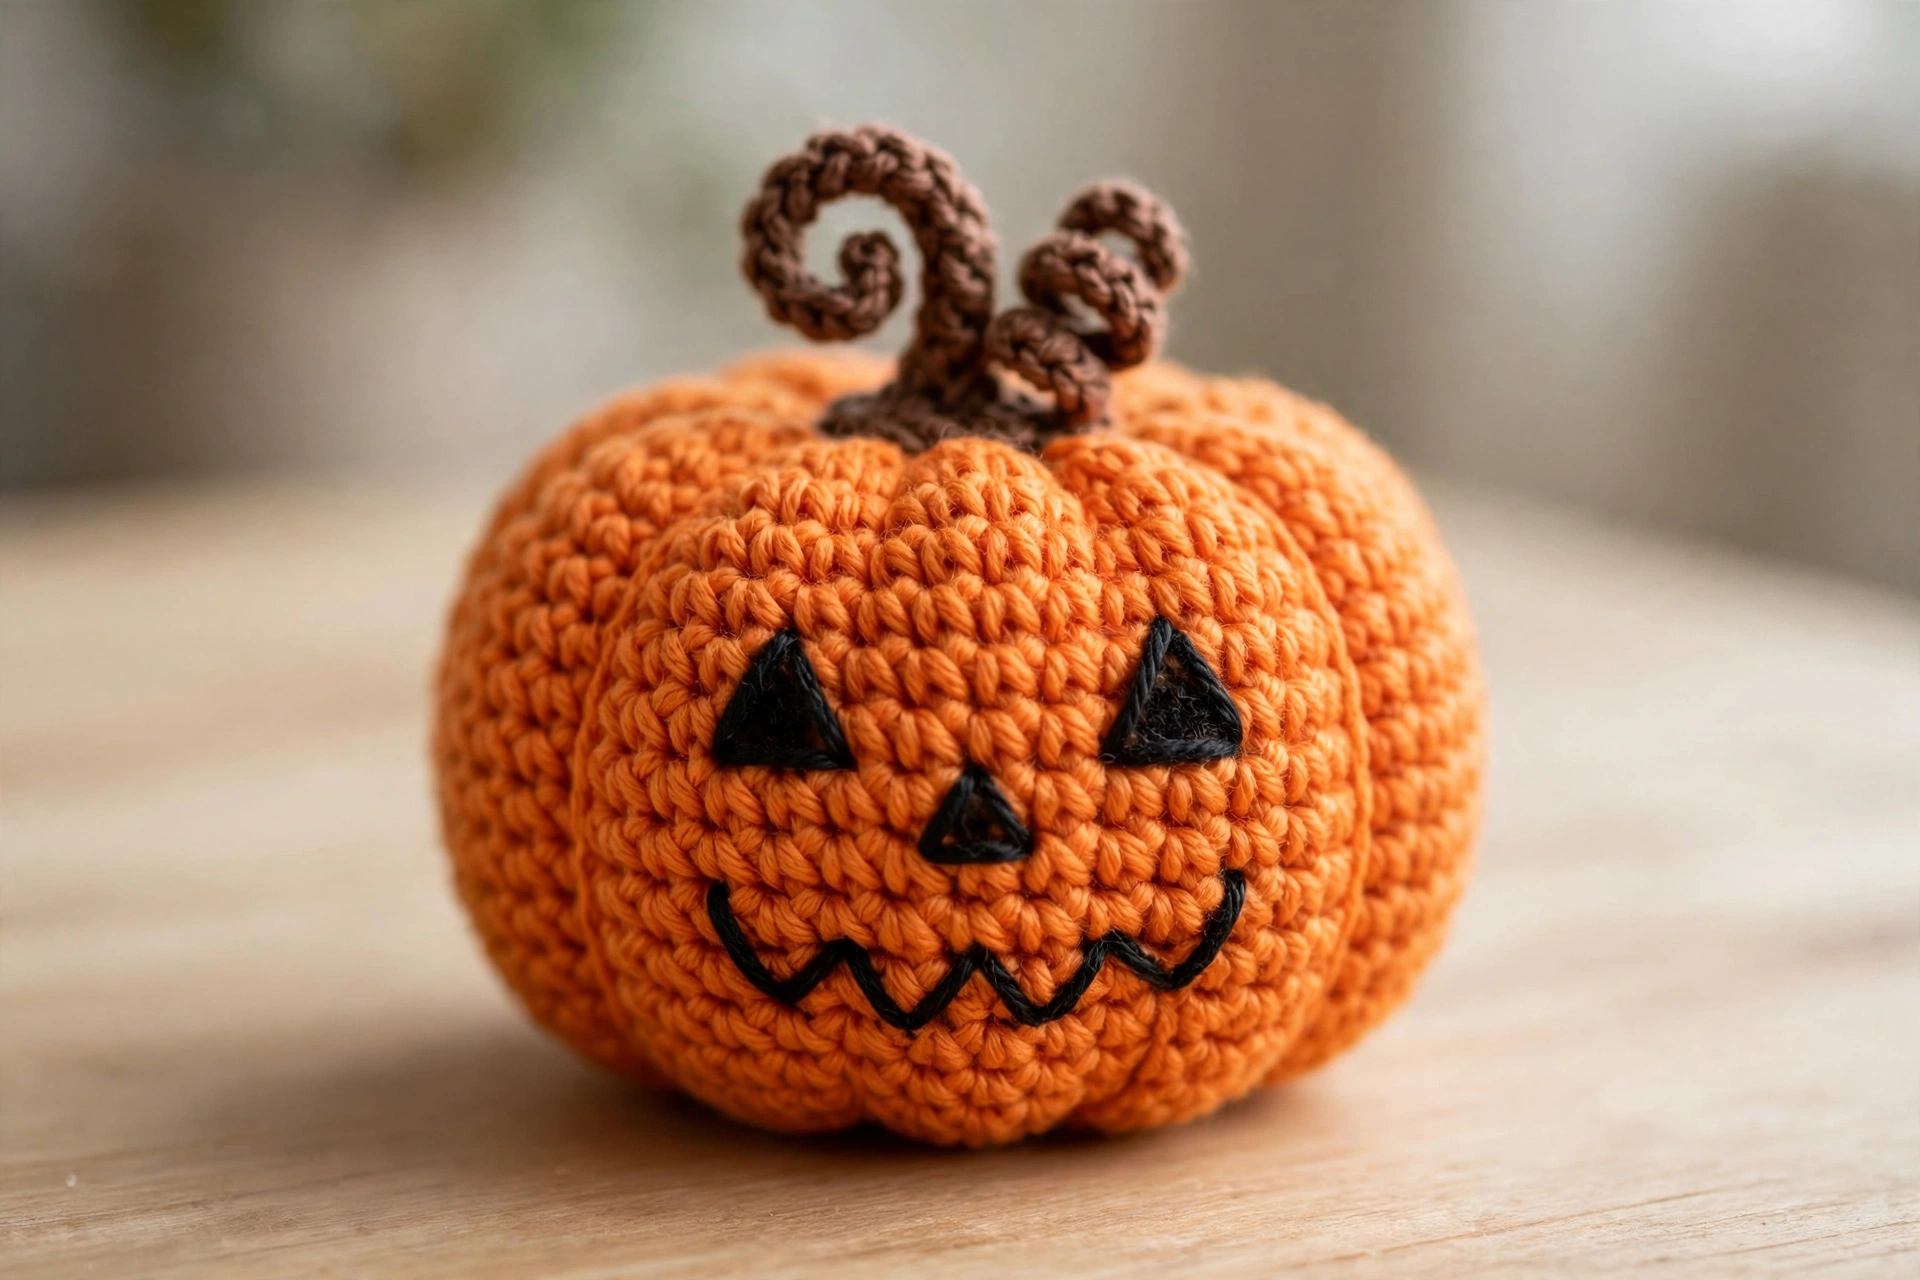
Looking for a Halloween crochet project you can finish in one evening? This crochet jack-o-lantern pattern is exactly that. It is a cute, chubby orange pumpkin with the classic carved face — two black triangle eyes, a tiny triangle nose, and that mischievous zigzag grin — finished with a curly brown stem on top. No carving tools, no mess, just yarn and a hook.
I designed this jack-o’-lantern amigurumi to be genuinely beginner-friendly. The body is a simple sphere worked in continuous rounds, the face pieces are quick to whip up, and the whole thing comes together in about two hours. It looks adorable on a Halloween mantel, makes a sweet handmade gift, and is one of those craft-fair makes that always sells out in October. If you have already made a plain pumpkin, this crochet jack-o-lantern pattern is the perfect next step — same easy base, twice the personality.
Materials
- Worsted weight (#4) yarn in orange (main color, about 50 g), black (face, small amount), and brown (stem, small amount). Any worsted weight yarn works — check the Craft Yarn Council’s yarn weight system if you are not sure what you have.
- 4.0 mm crochet hook
- Polyfill stuffing
- Yarn needle
- Scissors
- Stitch marker (optional but helpful)
- Alternative: black felt + fabric glue if you prefer to cut the face instead of crocheting it
Step 1: Start with a Magic Ring
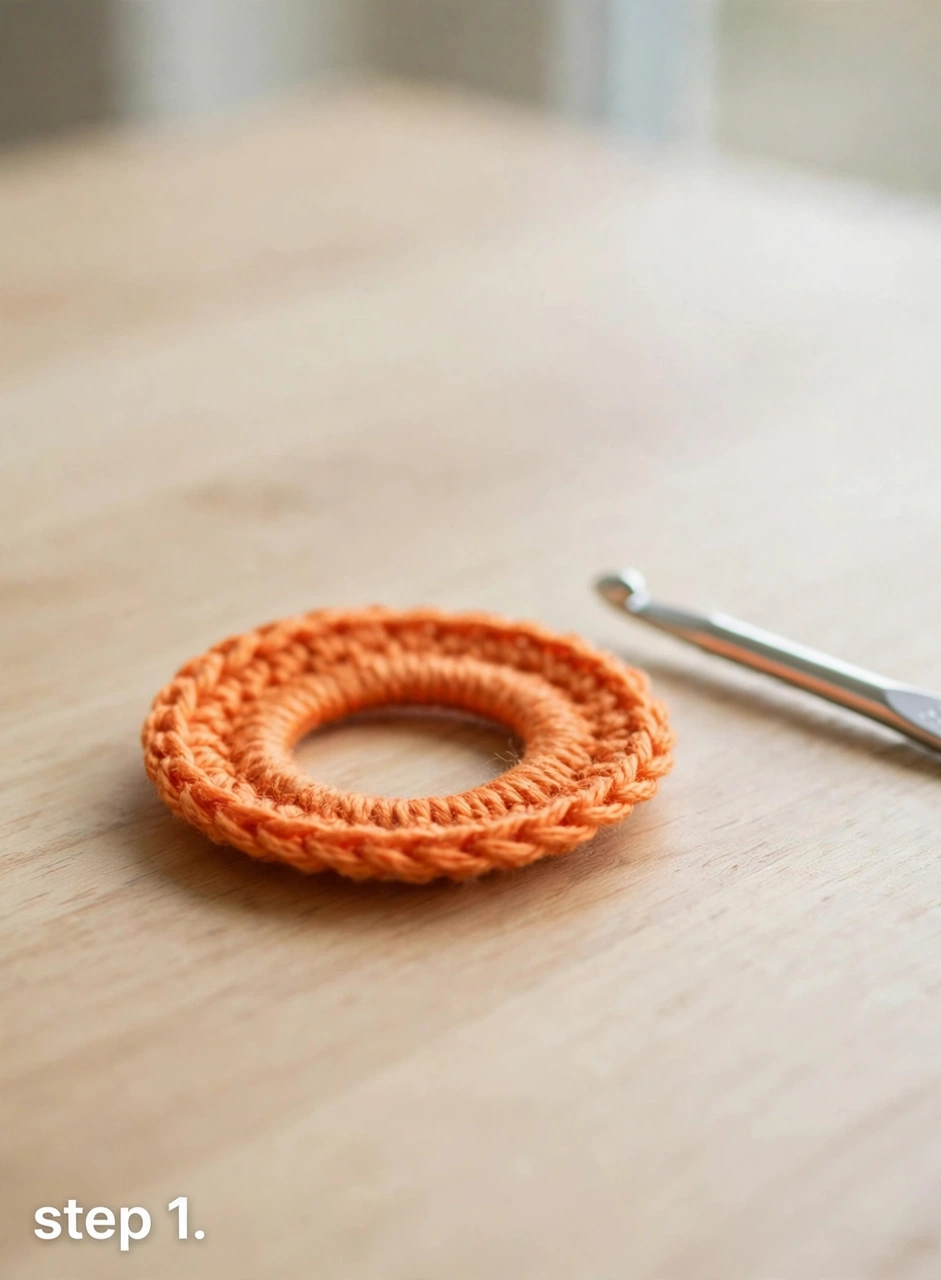
Every round amigurumi starts the same way, and this crochet jack-o-lantern pattern is no exception. Make a magic ring with your orange yarn and work 8 single crochet stitches into it, then pull the tail to close the ring snugly. This closed center becomes the bottom of the pumpkin. Place your stitch marker in the first stitch of the round so you always know where a new round begins. Work tightly here — a gapless start keeps the stuffing hidden later.
Step 2: Crochet the Round Pumpkin Body
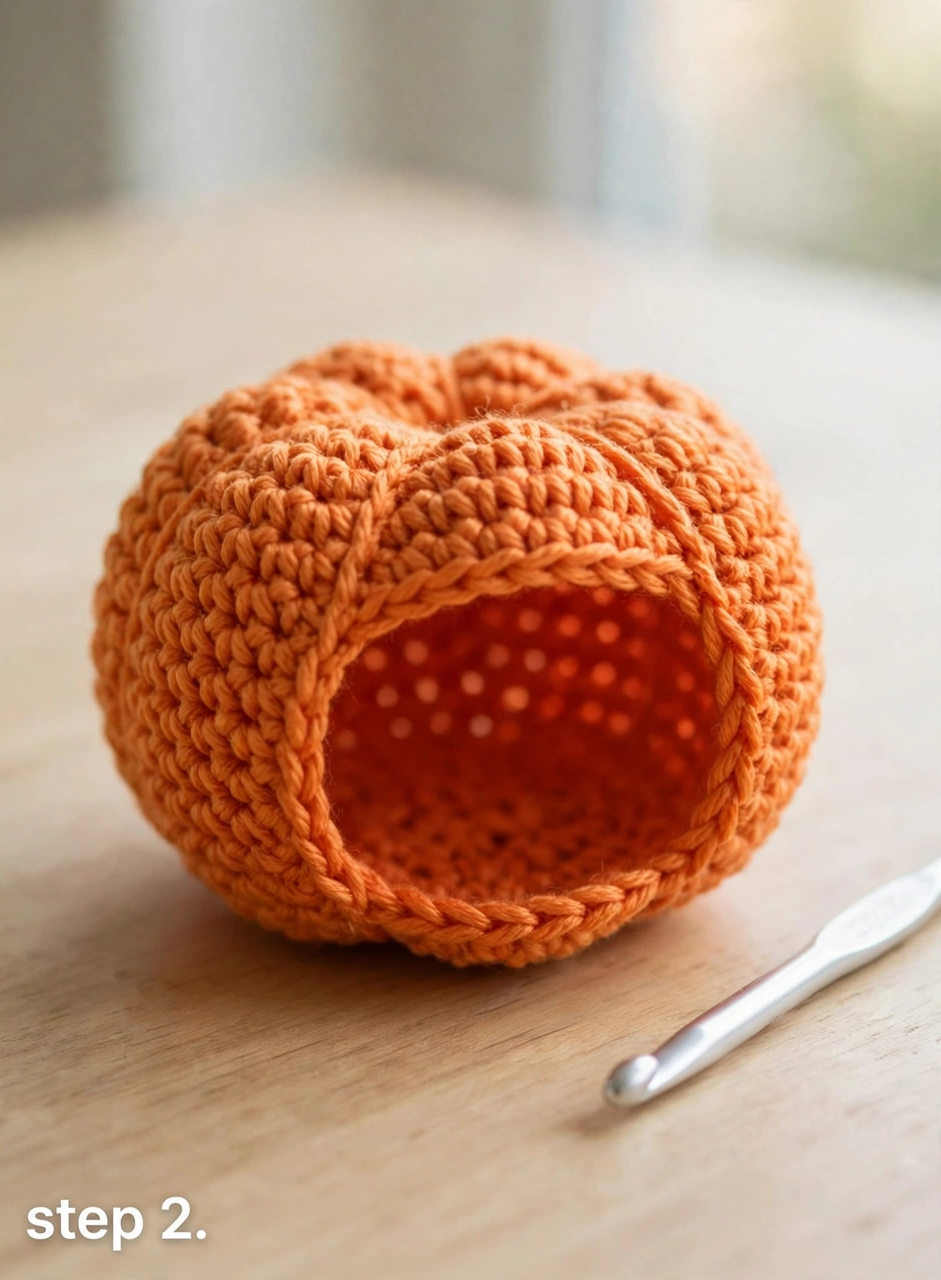
Now build the body of the jack-o’-lantern with simple increase rounds. Work 2 single crochet in each stitch around to double your stitch count, then continue increasing evenly (one round adding 8 stitches at a time) until the circle measures about 3 inches across. Then work several rounds with no increases at all to grow the sides of the sphere. Keep your tension even and your stitches snug; tight stitches are what give amigurumi that clean, professional look and stop the white stuffing from peeking through the orange yarn.
Step 3: Crochet the Curly Brown Stem
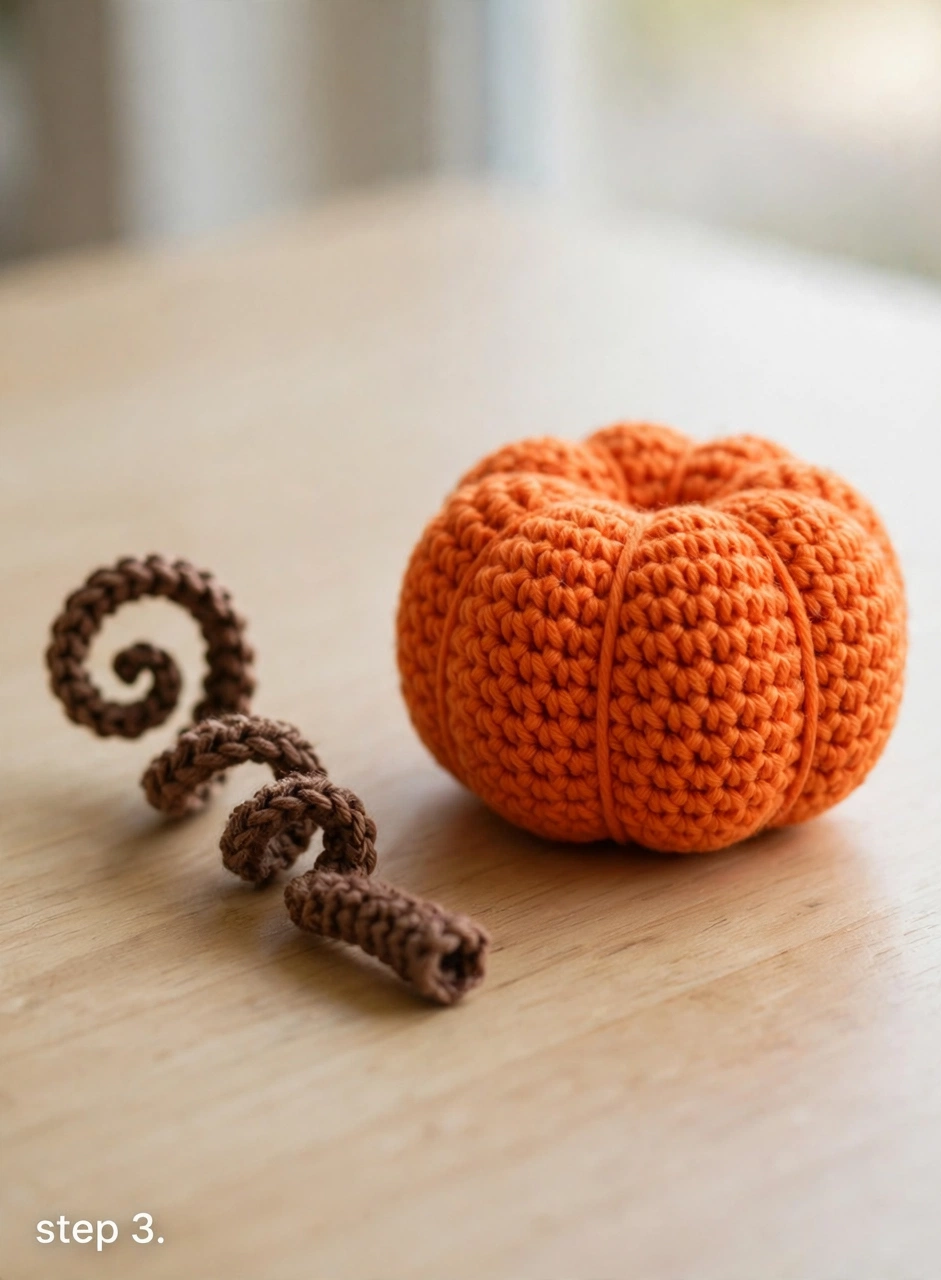
The curly stem is what makes this little pumpkin look like a proper jack-o’-lantern. With brown yarn, chain 12. Then work 2 single crochet into each chain stitch — the extra stitches force the chain to twist into a springy curl. Make two curls of different lengths if you like the look (a tall curl and a short curl side by side looks especially cute). Set the stems aside for now; you will sew them to the top of the pumpkin once the body is stuffed and the face is on.
Step 4: Make the Jack-O’-Lantern Face Pieces
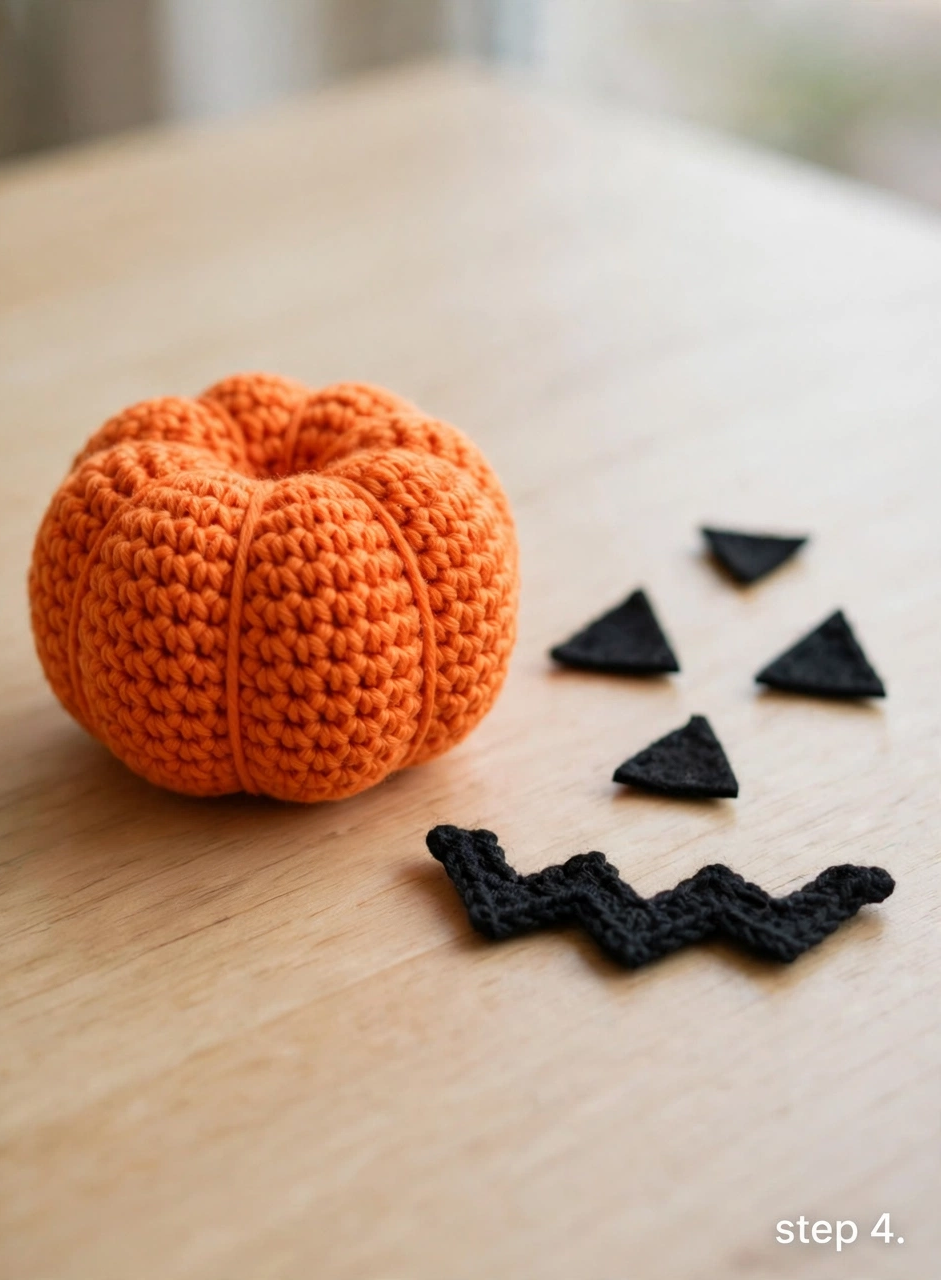
The classic jack-o’-lantern face needs five small black pieces: two triangle eyes, one small triangle nose, and a zigzag smile. Crochet each triangle in rows, decreasing one stitch at each end of every row until you reach a point — two rounds of decreasing gives you a neat little triangle. For the smile, work a zigzag: chain a short foundation, then work alternating single crochet increases and decreases to make the jagged “carved” grin. Keep all five pieces flat and even; they will sit much better on the curved pumpkin that way. Prefer scissors over a hook here? Black felt cut into the same shapes works beautifully too.
Step 5: Stuff the Body and Attach the Face
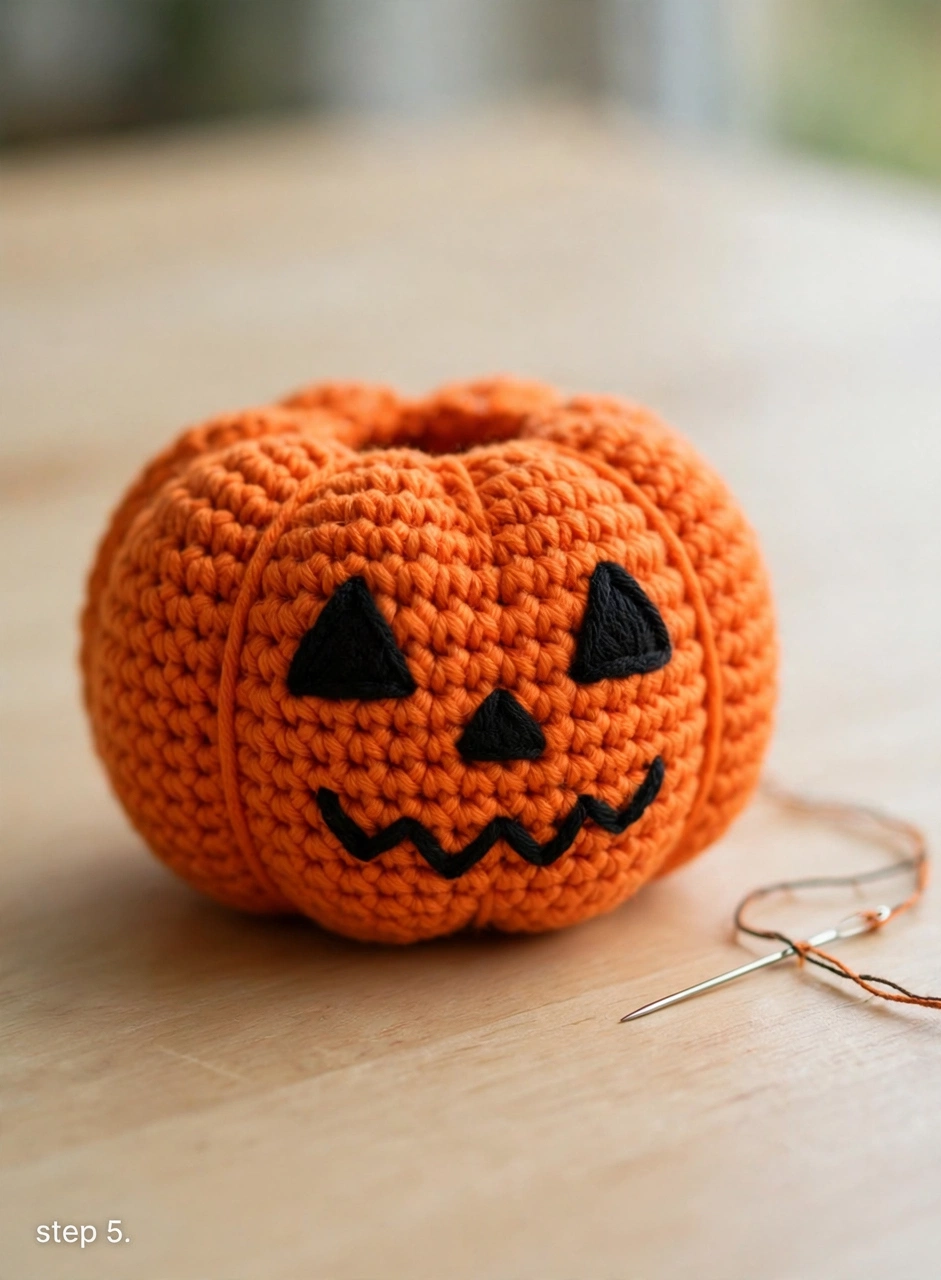
Decrease to close the top of the sphere, pausing when the opening is about an inch wide. Stuff the pumpkin firmly with polyfill — firm stuffing gives the jack-o’-lantern its satisfying round shape. Finish closing the top. Now lay out the face pieces on the front of the pumpkin before you sew anything: position the two triangle eyes first, then the nose below and between them, then the zigzag smile underneath. Pin them or hold them in place and check the look from a distance — a classic jack-o’-lantern grin sits wide and slightly crooked, which is part of its charm. Sew each piece on securely with black yarn.
Step 6: Sew on the Stem and Finish
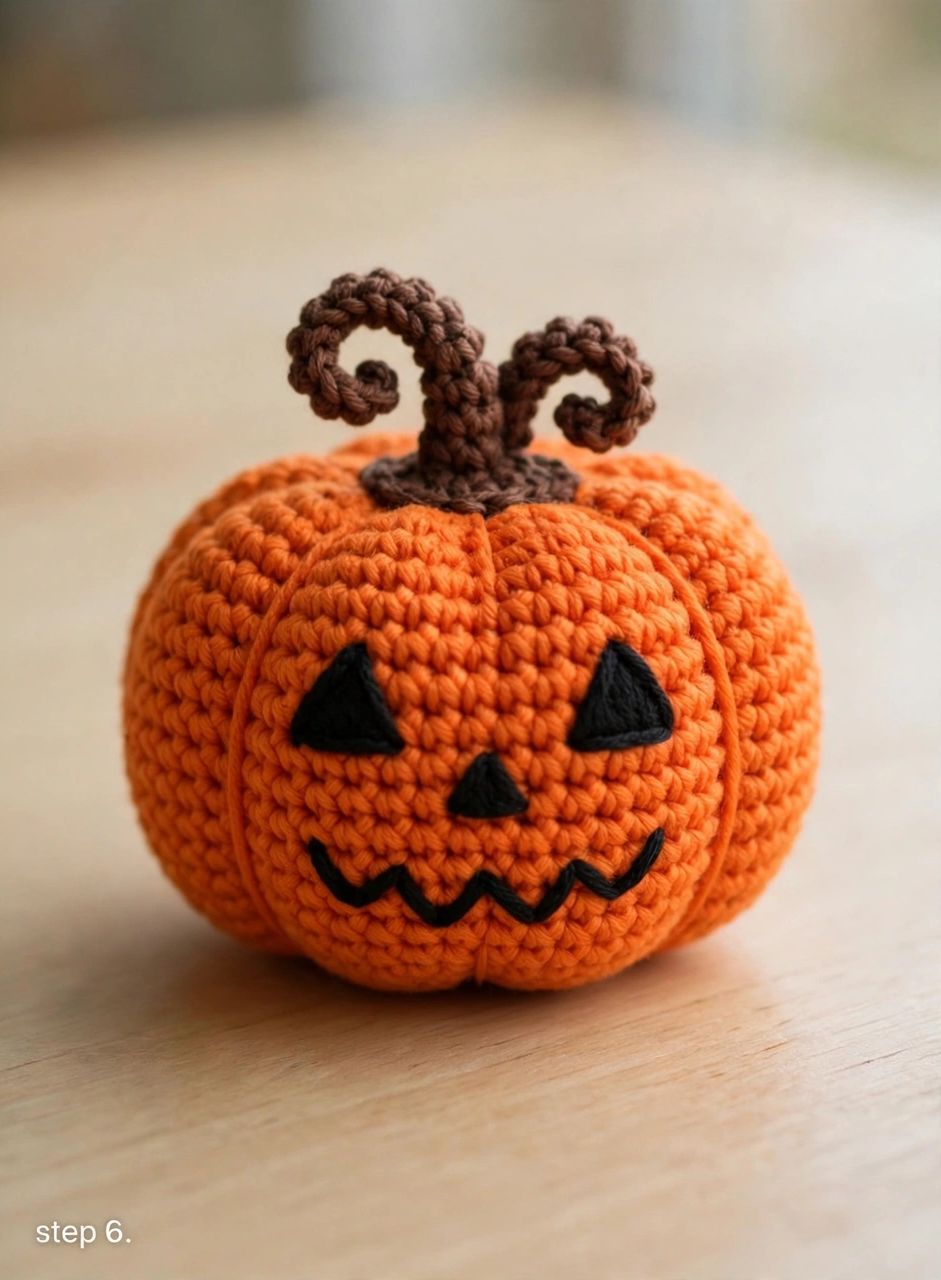
Sew the curly brown stem (or stems) firmly to the top center of the pumpkin with brown yarn, anchoring it through several stitches so it stands upright. Weave in all loose ends with your yarn needle, trimming the tails close to the work. Give your jack-o’-lantern a final fluff and shape check — roll it gently in your hands to even out the stuffing. That is it: your crochet jack-o’-lantern is ready to glow on the mantel (add a battery tea light behind it for extra spookiness, or just let it grin on its own).
Tips for a Perfect Jack-O’-Lantern
- Keep your stitches tight. Snug single crochet is the whole secret of neat amigurumi — it hides the stuffing and makes the orange surface look smooth.
- Lay out the face before sewing. The difference between a cute jack-o’-lantern and a lopsided one is two minutes of arranging. Big eyes set wide apart read as friendly; close-set eyes read as mischievous.
- Vary the grin. Make the zigzag smile symmetrical for the classic look, or shift it to one side for a goofy, tipsy grin. No two jack-o’-lanterns need to match.
FAQ
How long does this crochet jack-o-lantern pattern take?
About two hours for most crocheters, and under 90 minutes once you have made one — a genuine one-evening project, perfect for last-minute Halloween decorating or a quick craft-fair restock.
Is this jack-o’-lantern pattern beginner friendly?
Yes — it uses only single crochet, increases, decreases, and chains. If you have finished even one simple amigurumi, you can make this crochet jack-o-lantern pattern.
Can I use black felt for the face instead of crocheting it?
Absolutely — cut the five face pieces from black felt and attach them with fabric glue or whipstitches. The felt version looks sharp and is great when you are making several for a garland.
What size is the finished jack-o’-lantern?
In worsted weight yarn with a 4.0 mm hook, the finished pumpkin is about 4 inches wide and 4.5 inches tall including the stem. Use bulky yarn and a 5.5 mm hook for a bigger statement piece, or DK yarn and a 3.0 mm hook for a mini.
Grab your orange yarn and make this crochet jack-o-lantern pattern tonight — by tomorrow you will have a grinning little pumpkin for the mantel, the porch, or a Halloween gift bag. If you enjoyed this make, you will also love our Halloween pumpkin crochet pattern for a ribbed pumpkin to pair with it. And do not forget the free printable PDF below so you can take this project anywhere. Happy Halloween crocheting!