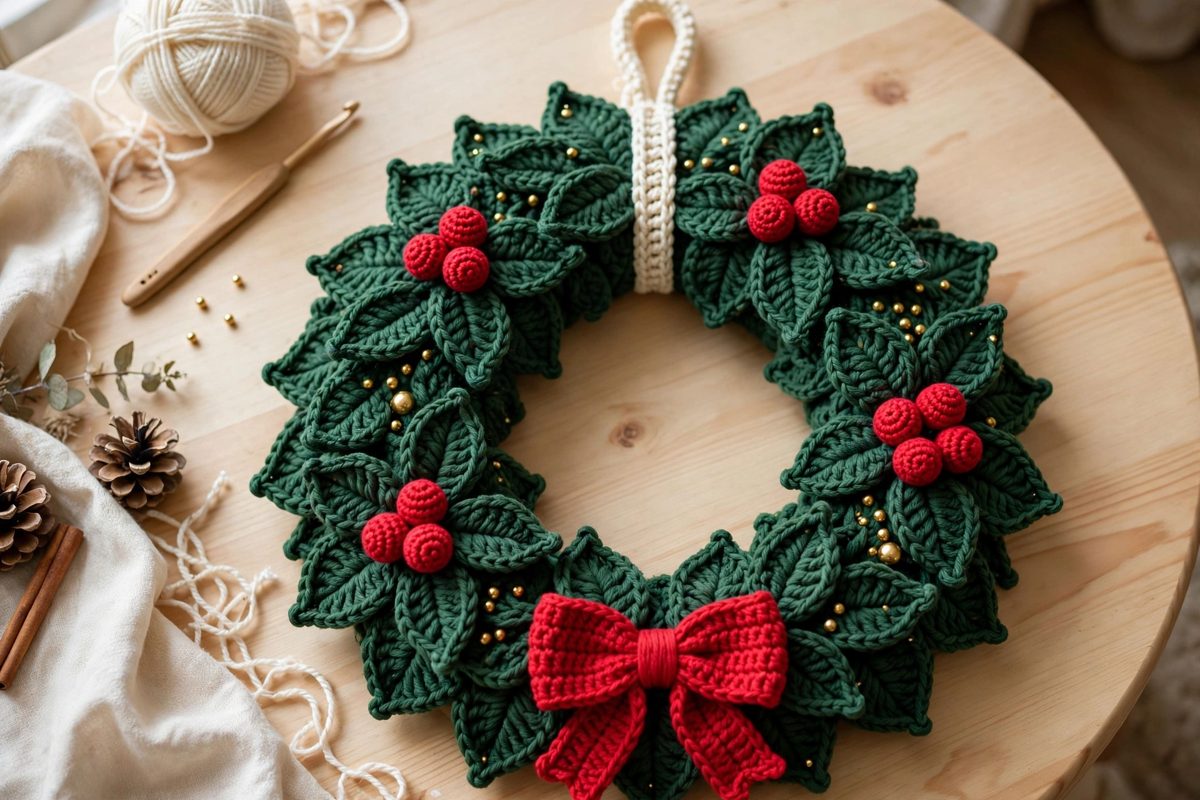
Nothing says “welcome in” quite like a wreath on the door, and this free crochet Christmas wreath pattern lets you make one that never drops a needle. Worked around a simple ring base, this leafy deep-green wreath builds up in six satisfying stages — a wrapped base, two layers of crochet leaves, clusters of red berries, a classic red bow and a cream hanging loop — then gets a scatter of gold beads for a festive sparkle. It is sturdy enough for the front door, pretty enough for the mantel, and quick enough to finish in a weekend.
Each of the six steps below includes a clear photo so you always know what your work should look like. The full printable round-by-round pattern is also available as a free PDF (see the download button at the top of this article).
Materials
- Deep forest-green worsted weight yarn (about 120 g)
- Red worsted weight yarn (about 30 g)
- Cream worsted weight yarn (about 10 g, for the hanging loop)
- 5.0 mm crochet hook
- 25 cm (10 inch) metal or foam wreath ring
- Tapestry needle
- About 20 small gold beads
- Scissors
For a full, leafy result, a smooth worsted yarn works best — it holds the leaf shapes crisply and covers the ring evenly. You can browse yarn weights and colours at LoveCrafts (https://www.lovecrafts.com). If you enjoy quick holiday makes, you may also like our crochet Christmas tree pattern (https://topnoted.com/crochet-christmas-tree-pattern/) for a matching set of Christmas decorations.
Step 1: Wrap the Ring Base
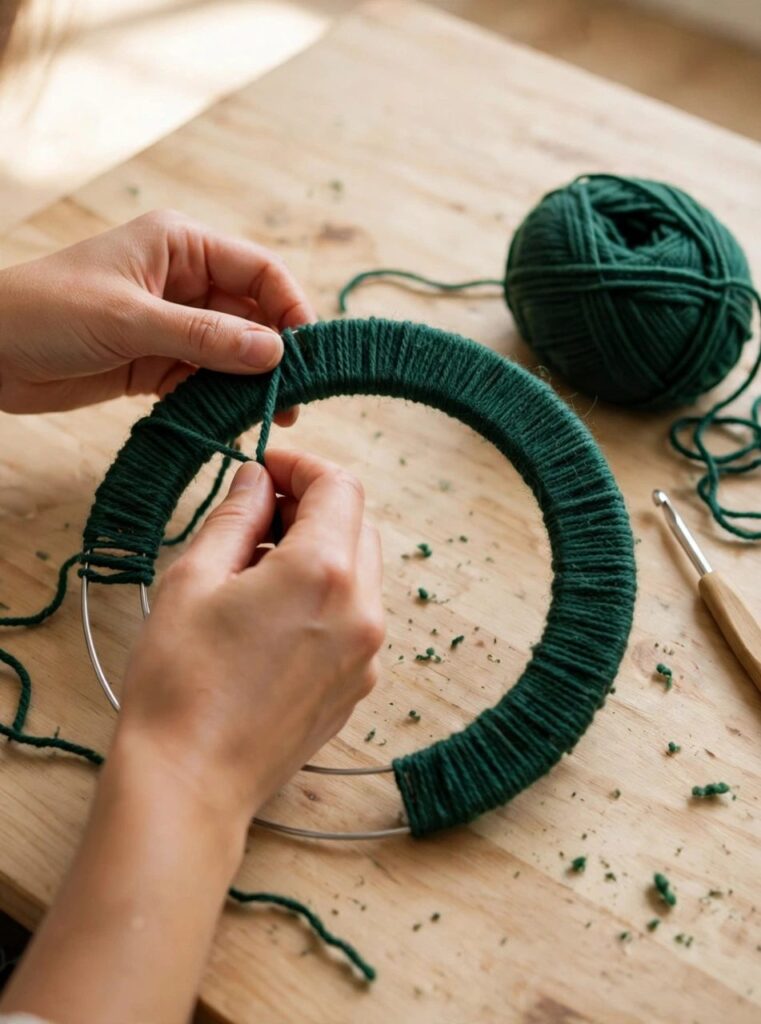
Start your crochet Christmas wreath by covering the ring. Join the green yarn to the ring and work single crochet stitches tightly around it, pushing each stitch snug against the last, until the whole ring is covered — about 120 stitches for a 25 cm ring. Keep your tension firm and even here: a neat, fully covered base stops the ring peeking through later and gives the leaves something solid to sit on.
Step 2: Work the First Round of Leaves
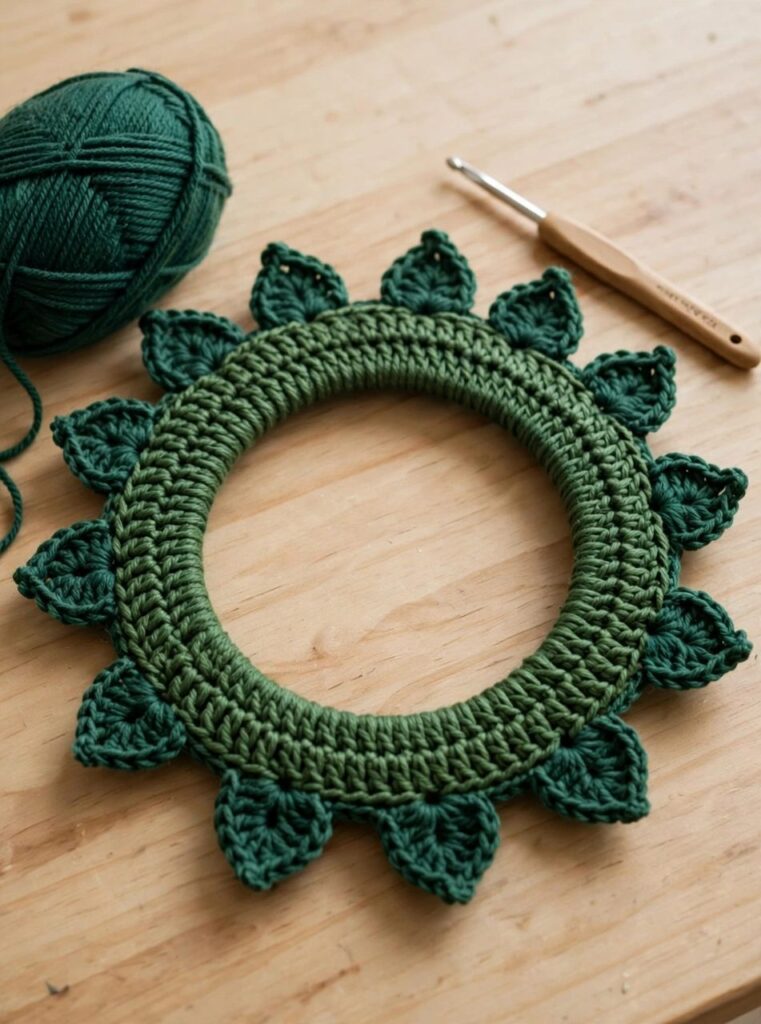
Now give the wreath its foliage. Make 16 leaves (each one is a short chain worked back with single, half-double, double and treble crochet for a pointed leaf shape) and sew them evenly around the outer edge of the covered ring, points facing outwards. Space them evenly — 16 leaves around the ring means one roughly every two finger-widths — so the wreath looks balanced from every angle.
Step 3: Add the Second Layer of Leaves
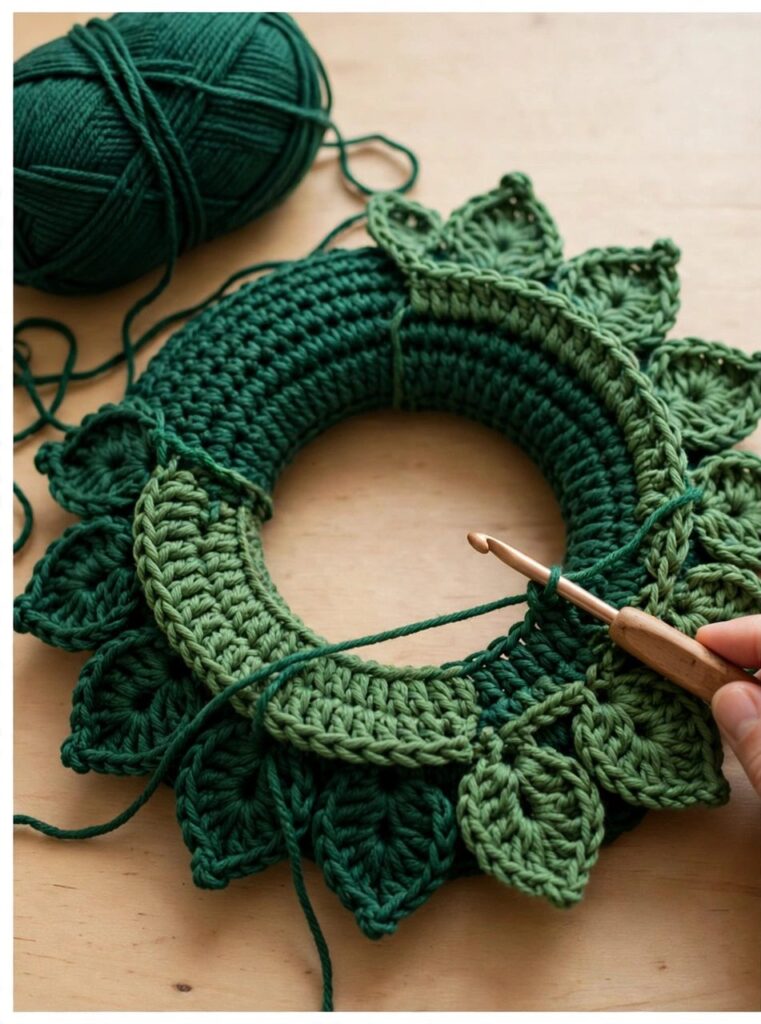
A single layer of leaves can look a little thin, so add a second one. Make 16 more leaves and sew them in the gaps between the first layer, slightly overlapping, so the wreath looks full and fluffy rather than flat. Using a slightly lighter green for this layer, as shown in the photo, adds depth and makes the wreath read as real foliage.
Step 4: Crochet the Red Berries
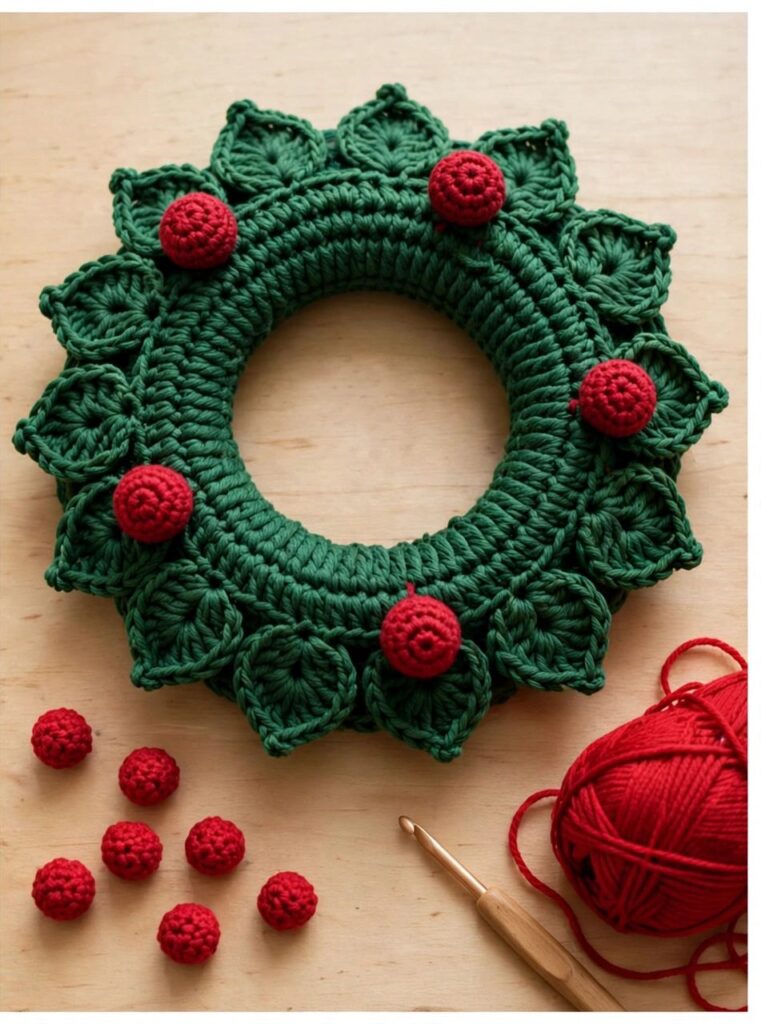
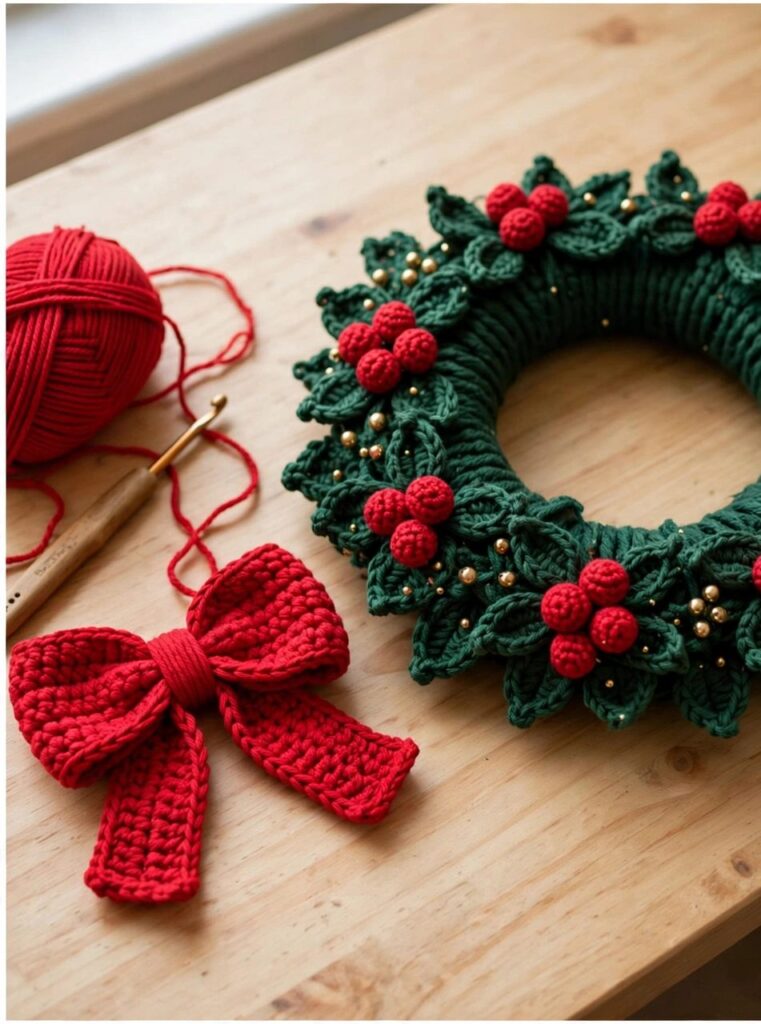
Berries are the pop of colour this wreath needs. Each berry starts with a magic ring of 6 stitches, increases to 12, works two plain rounds, then decreases back to 6 and closes with a pinch of stuffing inside. Make 12 berries in total, then sew them onto the wreath in four clusters of three, spaced evenly around the ring. Three berries per cluster looks natural — like a little sprig of holly.
Step 5: Crochet the Red Bow
No Christmas wreath is complete without a bow. Crochet two rectangular loops (20 stitches wide, four rows tall), fold each one into a loop and sew the ends together, then wrap a small knot piece around the middle of both loops and sew it firmly at the back. Add two short tails, each 12 stitches wide and four rows tall, and trim their ends into a V shape. Set the finished bow aside — it goes on last, at the bottom centre of the wreath.
Step 6: Assemble, Add Gold Beads and Hang
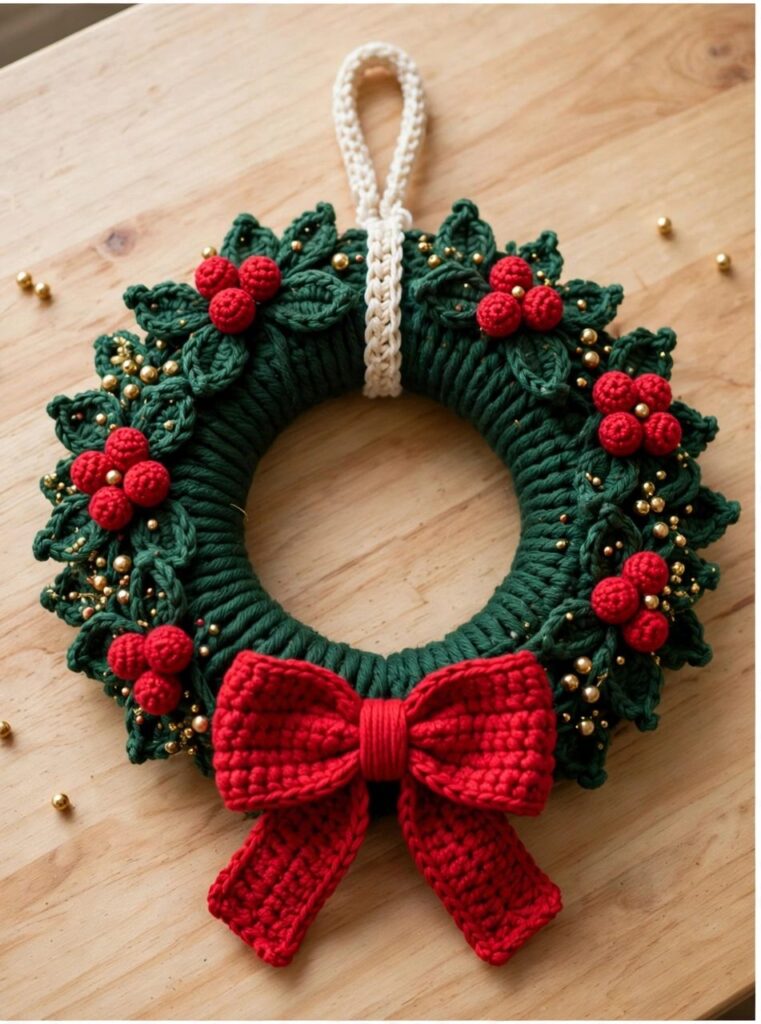
Now bring it all together. Sew the red bow to the bottom centre of the wreath, then scatter the gold beads between the berry clusters and sew each one on with a couple of firm stitches. Finally, crochet a cream chain of 30, work single crochet back along it (29 stitches), and sew both ends to the top of the wreath to form a hanging loop. Weave in all ends, fluff the leaves outwards, and your crochet Christmas wreath is ready for the door, the mantel, or a Christmas gift.
Tips
- Cover the ring completely: any bare patch will show once the leaves are on, so work the base stitches tightly together and double back over thin spots before moving on.
- Stagger the second leaf layer: leaves sewn directly on top of the first layer add bulk but not fullness; offsetting them into the gaps is what makes the wreath look lush.
- Sew, don’t glue: berries, beads and the bow all survive storage far better when sewn on with yarn or thread — glue tends to pop off when the wreath is squashed in a box.
FAQ
Is this crochet Christmas wreath pattern beginner-friendly?
Yes. It uses only single crochet, half-double crochet, double crochet, treble crochet, chain and slip stitch, plus simple sewing. There are no separate pieces to shape beyond the leaves, berries and bow, and the stitch counts are small and easy to track.
How long does it take to crochet a Christmas wreath?
About a weekend of relaxed stitching: an evening for the base and leaves, and a second session for the berries, bow and assembly. Because the pieces are small, it is also a great project for using up green and red yarn from other Christmas makes.
How big is the finished wreath?
About 30 cm (12 inches) across, including the leaves, when worked on a 25 cm ring with worsted weight yarn and a 5.0 mm hook. For a smaller door wreath, use a 20 cm ring and fewer leaves; for a statement piece, use a 30 cm ring and add a third leaf layer.
Can the wreath hang outdoors?
It can hang on a sheltered porch or under a covered entryway, but it is best kept out of rain — wet yarn gets heavy and the gold beads can tarnish. For a front door fully exposed to the weather, hang it inside the door instead, or on an interior wall or mantel.
Conclusion
This crochet Christmas wreath is one of those makes that looks far more impressive than the effort it takes — a covered ring, two layers of leaves, a handful of berries and a bow, and you have a decoration that comes back out year after year. Grab the free printable PDF above, pick your greens and reds, and start wrapping that ring. Happy crocheting, and happy Christmas!