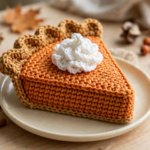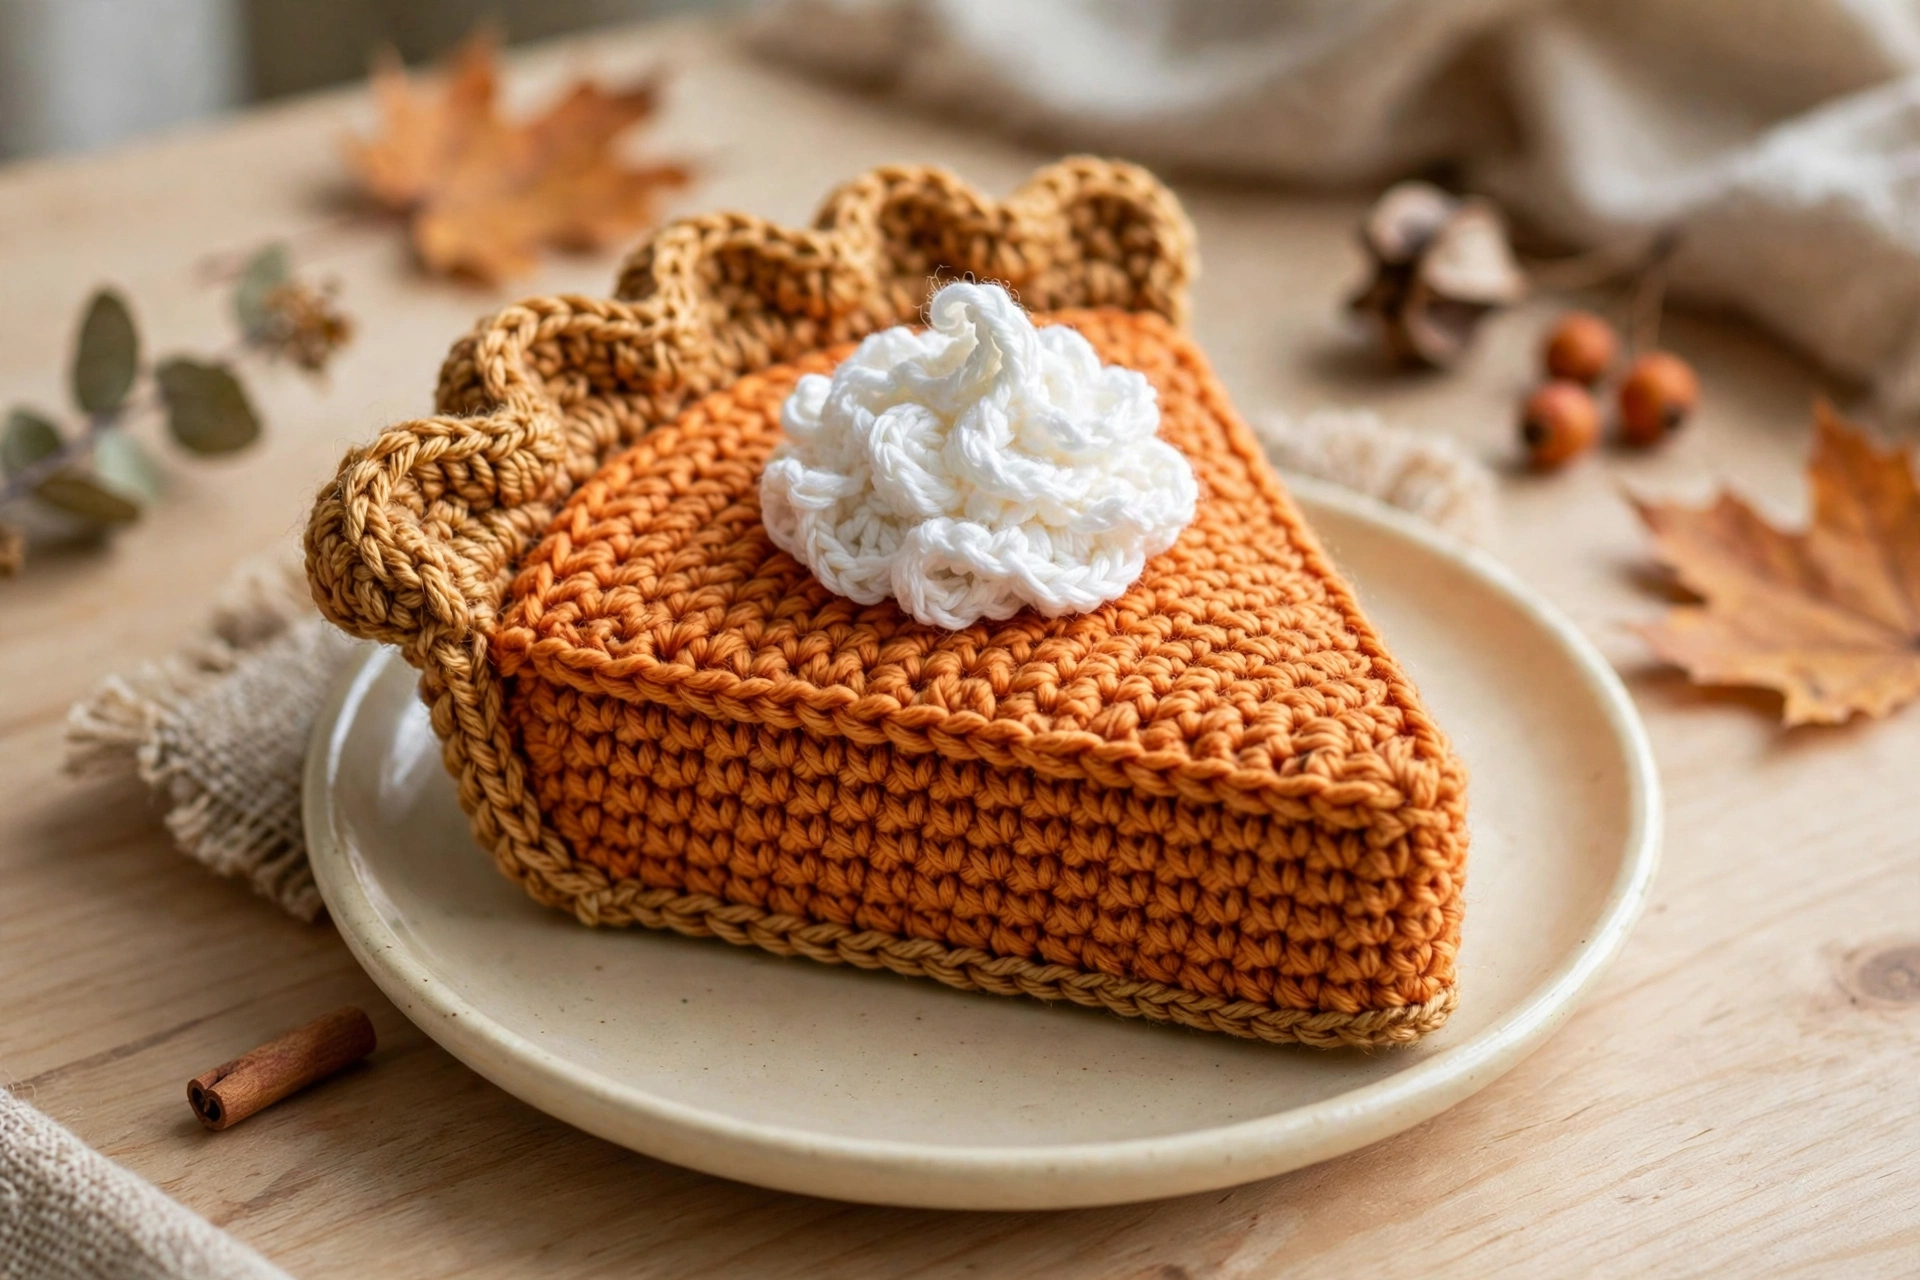
This crochet pumpkin pie pattern makes a sweet slice for Thanksgiving. It has a golden crust, a soft orange filling, and a fluffy cream dollop. You can finish it in one cozy evening. It also looks lovely on a table, a shelf, or a tiered tray.
This free tutorial uses simple stitches. So beginners can follow each step with ease. First, you will crochet the crust base. Then you will add the filling panel. Next, you will stuff the slice lightly. Finally, you will add the crimped edge and the cream swirl.
What You Will Need for This Crochet Pumpkin Pie Pattern
Gather your supplies before you start. This helps you work without stops. Also, check your yarn labels for care notes. In addition, keep a small dish for loose ends.
- Worsted weight yarn in golden yellow, pumpkin orange, cream white, and light brown
- 4.0 mm crochet hook
- Fiberfill stuffing
- Yarn needle and sharp scissors
- Stitch markers
- A small plate for display (optional)
Crochet Abbreviations
Use US crochet terms for this pattern. Keep this short list close by. Then you can work each row with confidence.
- ch = chain
- sc = single crochet
- inc = increase
- dec = decrease
- sl st = slip stitch
- st = stitch
Step 1: Crochet the Golden Crust Base
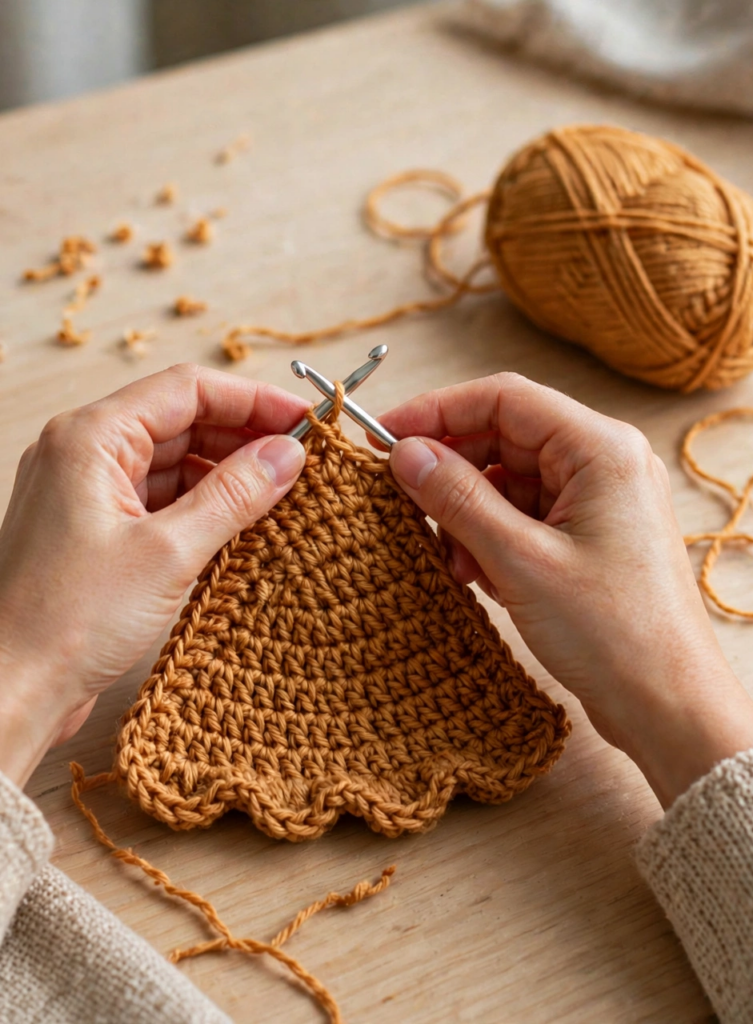
Start with golden yellow yarn. This base gives the slice its shape. Work in rows, and turn at the end of each row. Also, keep your tension even.
- Row 1: Chain 16. Then single crochet in the second chain from the hook and across. (15 stitches)
- Row 2: Chain 1 and turn. Then single crochet across the row.
- Rows 3-10: Repeat Row 2 until the base feels firm.
Count your stitches after each row. This keeps the edges straight. If a row feels tight, switch to a slightly larger hook.
Step 2: Crochet the Orange Pumpkin Filling Panel
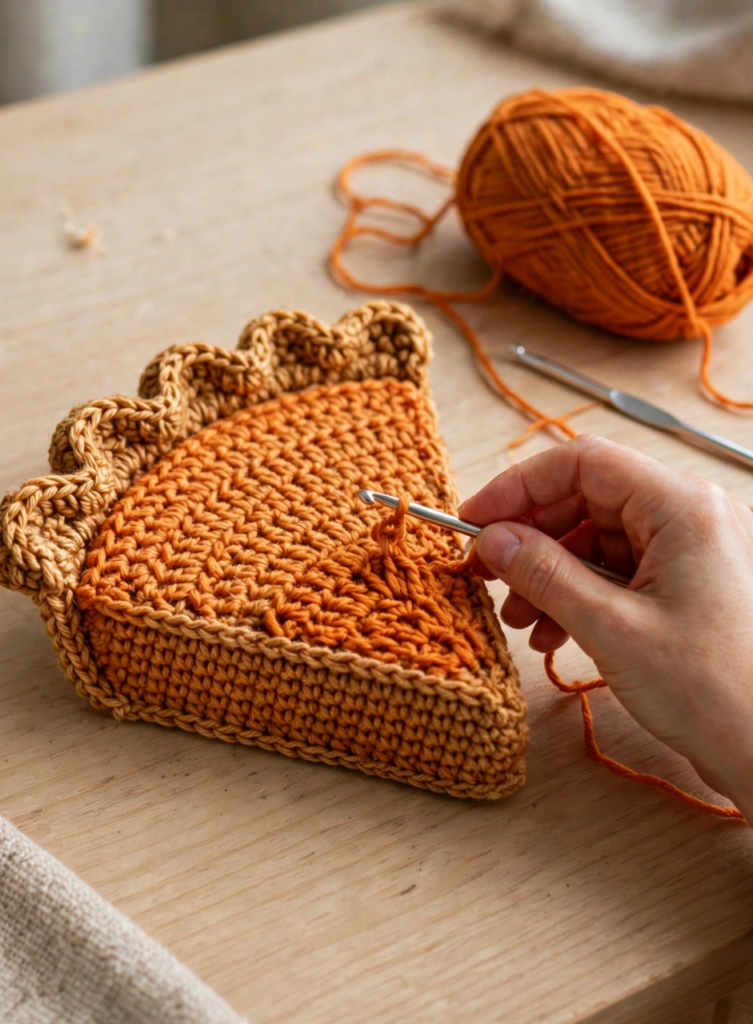
Now switch to pumpkin orange yarn. This panel sits on top of the crust. Make it slightly smaller than the crust base. Then the golden edge will show around it.
- Row 1: Chain 14. Then single crochet in the second chain from the hook and across. (13 stitches)
- Row 2: Chain 1 and turn. Then single crochet across the row.
- Rows 3-9: Repeat Row 2 until the panel matches the crust length.
Fasten off, and leave a long tail for sewing. Then place the panel on the crust base. Next, check the fit before you sew.
Step 3: Stuff the Slice Lightly
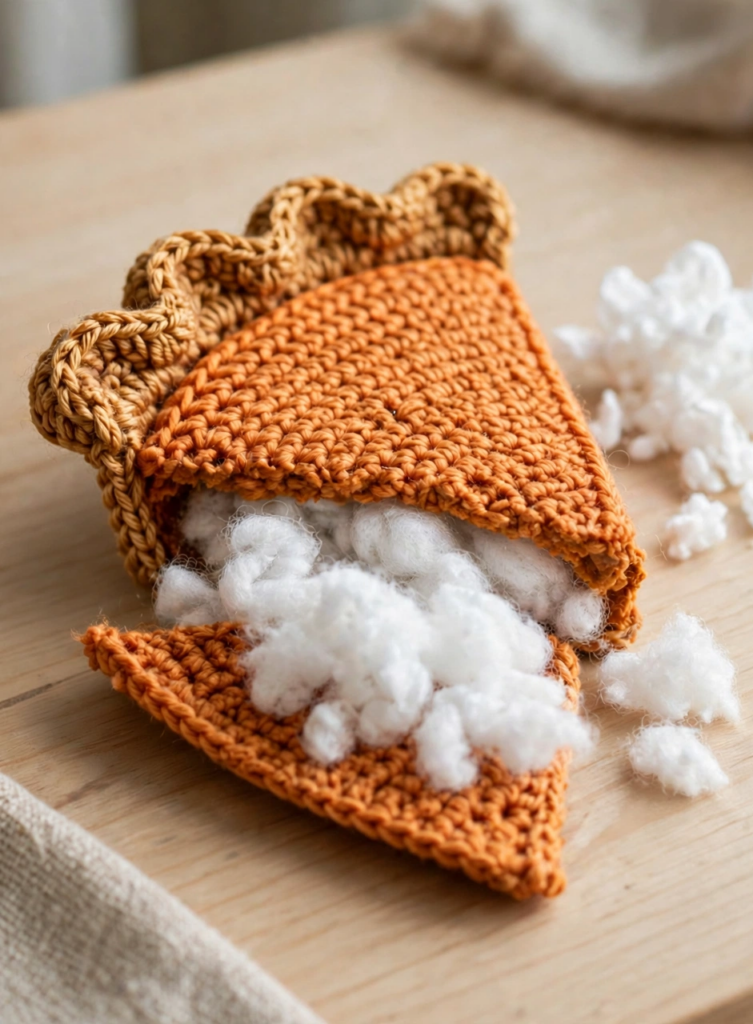
Sew the filling panel to the crust base. Start at one short edge. Then sew along the long edge. Next, sew the second short edge.
- Add a small amount of fiberfill through the open edge.
- Spread the fiberfill flat with your fingers.
- Do not overstuff the slice, or it will bulge.
- Sew the last edge closed with neat, even stitches.
Press the slice flat on a table. This gives it a clean pie shape. Also, smooth any lumps before you move on.
Step 4: Add the Scalloped Crimped Crust Edge
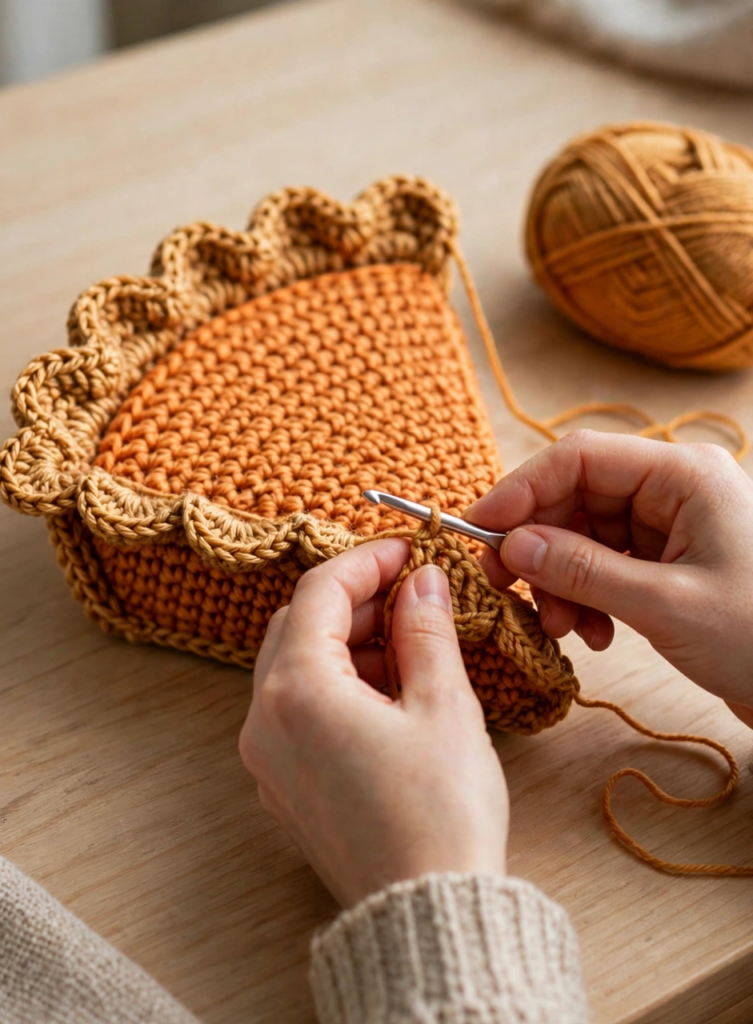
Join golden yellow yarn at a crust corner. Work around the outer edge of the slice. This scalloped edge looks like a real pie crust. Also, it hides the seam.
- Work a slip stitch in the first edge stitch.
- Skip one stitch, then work 5 double crochet stitches in the next stitch.
- Skip one stitch, then slip stitch in the next stitch.
- Repeat this scallop pattern around the crust edge.
Keep the scallops even in size. This gives a tidy, bakery-style finish. Then fasten off and weave in the end.
Step 5: Crochet the Cream Dollop Swirl
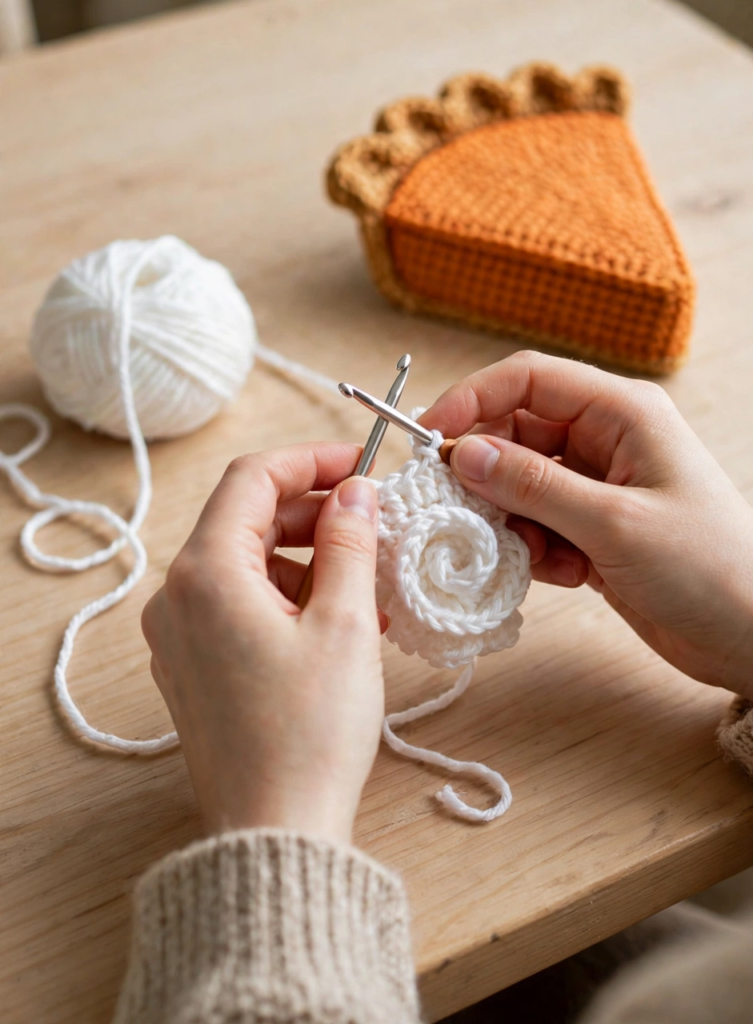
Use cream white yarn for this soft swirl. Work in rounds, and do not join the rounds. Then use a stitch marker to track the start.
- Round 1: Make a magic ring, then work 6 single crochet stitches in the ring.
- Round 2: Work 2 single crochet stitches in each stitch around. (12 stitches)
- Round 3: Work 1 single crochet, then an increase, and repeat around. (18 stitches)
- Rounds 4-5: Single crochet around without increases.
- Round 6: Work 1 single crochet, then a decrease, and repeat around.
- Round 7: Decrease around until the top closes into a soft tip.
Stuff the dollop very lightly. Then sew it near the wide end of the slice. Also, pull it into a gentle swirl shape as you sew.
Step 6: Finish Your Crochet Pumpkin Pie Pattern Slice
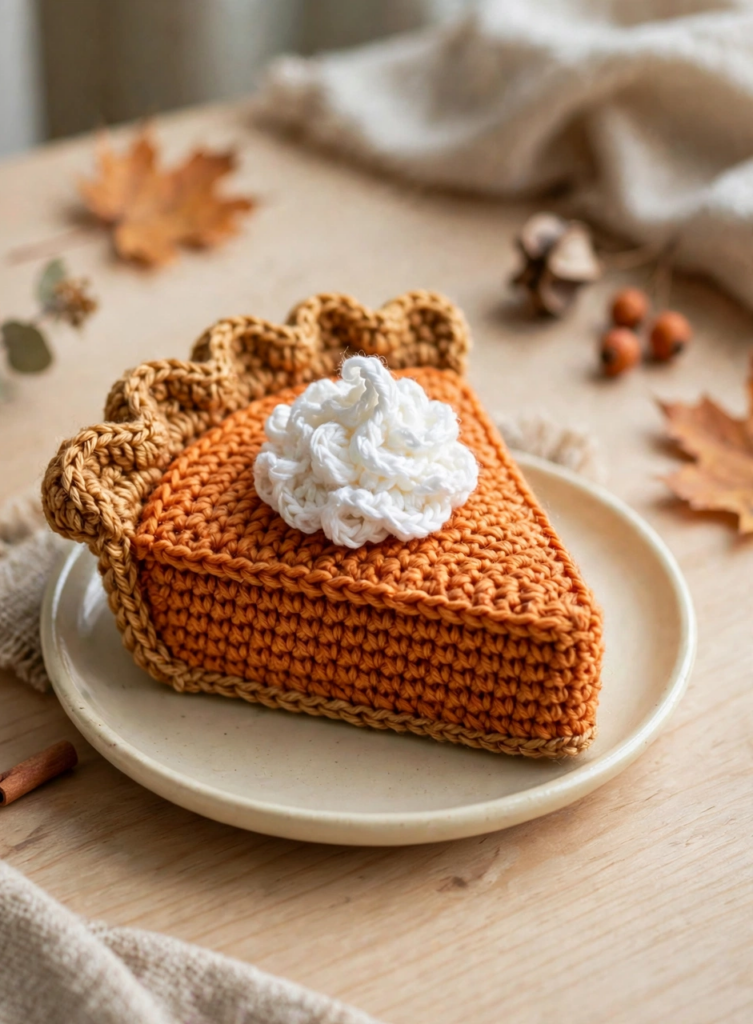
Weave in all loose ends with a yarn needle. Then trim the ends close to the work. Next, place the slice on a small plate. Finally, fluff the cream dollop with your fingers.
Check the slice from all sides. Fix any loose stitches at once. Then your pie slice is ready for display.
Tips for a Neat Finish
Small habits make a big difference here. Follow these tips for a clean result. Then your slice will look neat from every angle.
- Use stitch markers at the start of each round.
- Count stitches at the end of each row.
- Stuff lightly, and add fiberfill in small bits.
- Block the slice flat if the edges curl.
- Use the same yarn brand for the crust and filling.
More Crochet Patterns to Try
If you love fall makes, try this Halloween pumpkin crochet pattern next. It pairs well with this pie slice. Also, it makes a fun autumn display.
For yarn weight help, check the Craft Yarn Council standards. This guide explains yarn weights in simple terms. So you can swap yarn with confidence.
Now your crochet pumpkin pie pattern slice is ready. Place it on a plate. Then enjoy it all season long. It will not melt, and it will not spoil. Finally, share your finished slice with friends.