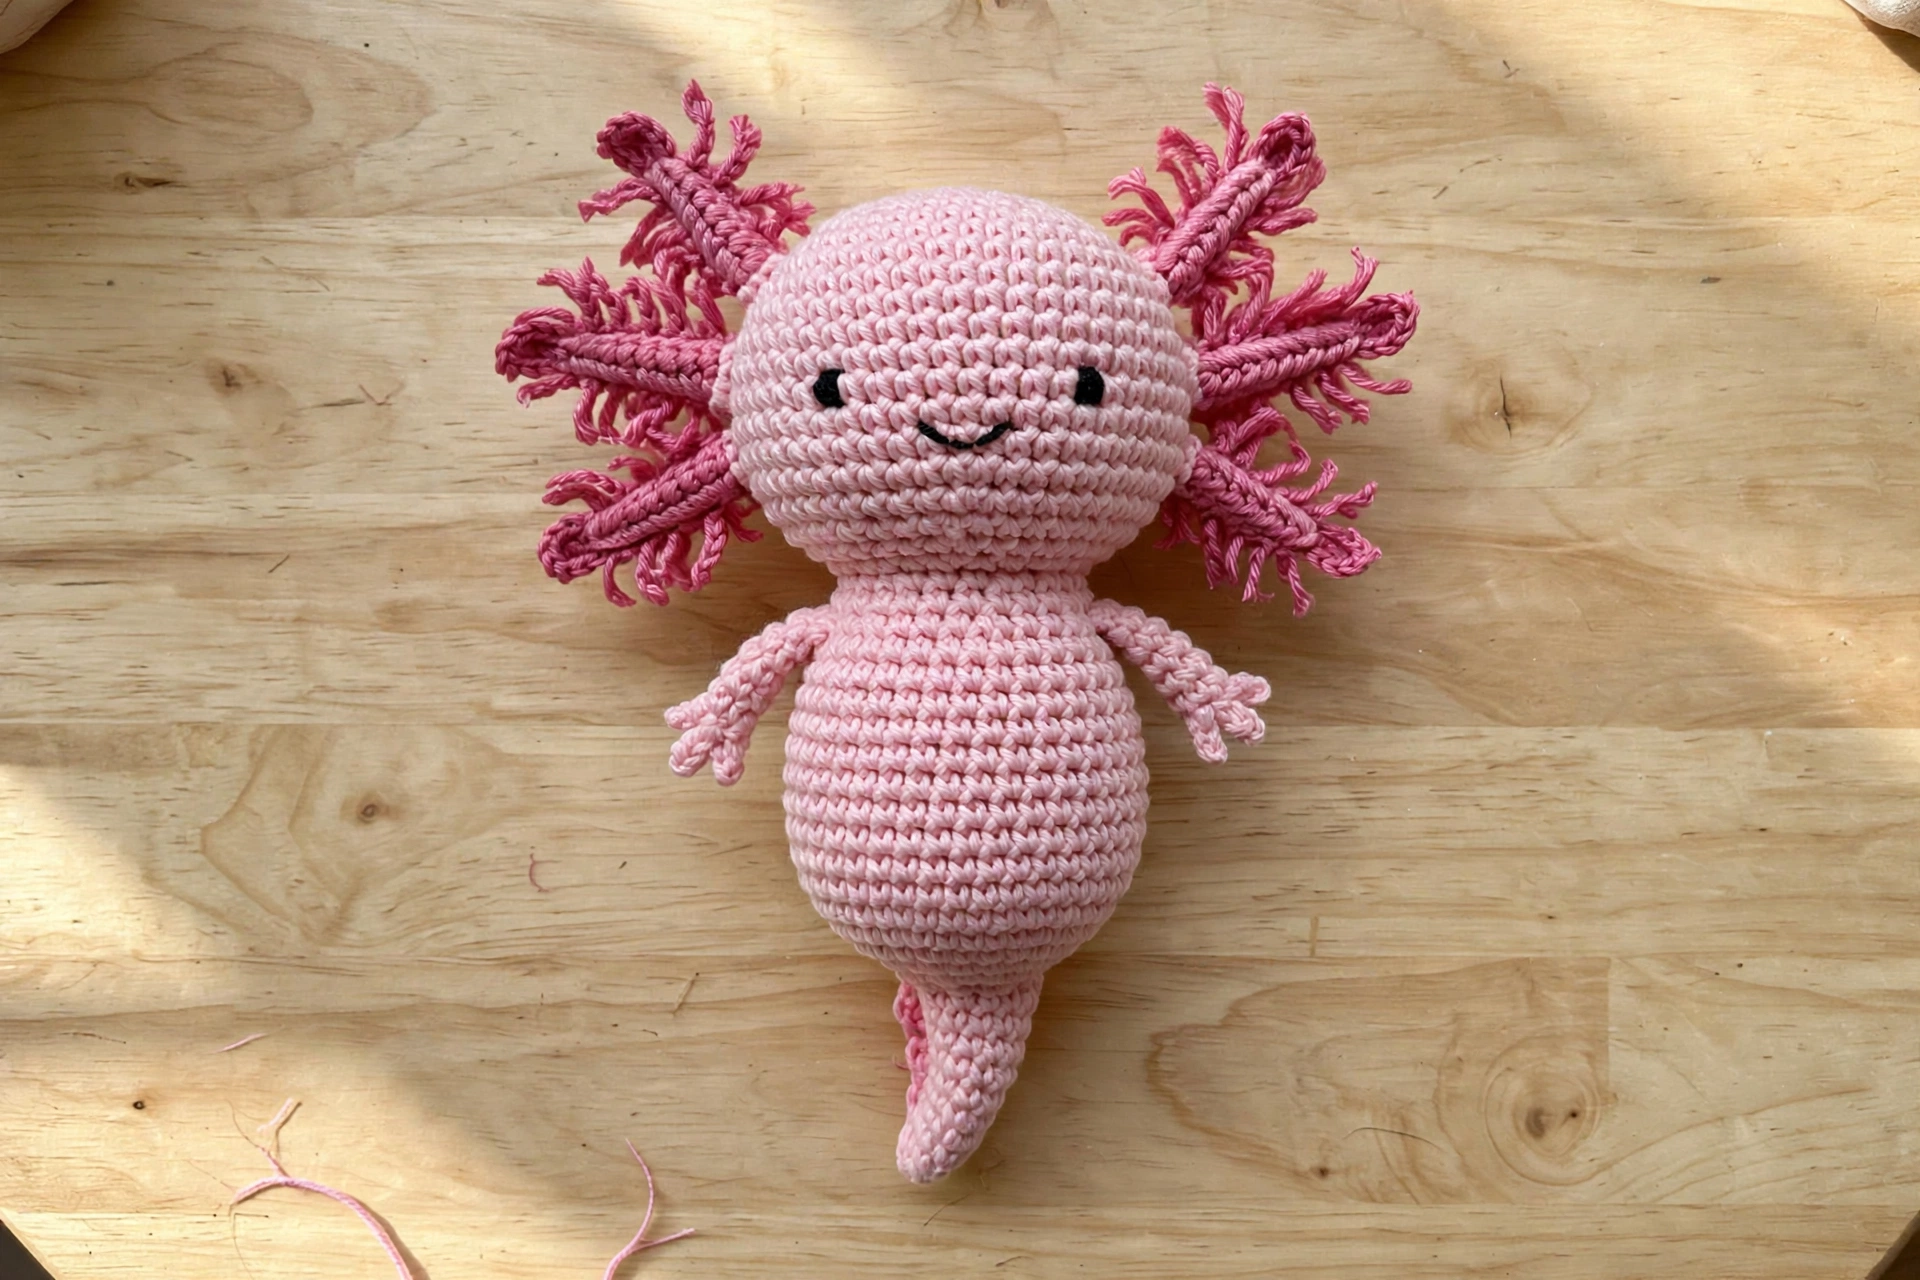
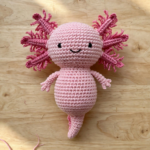
If you’re looking for a cute and easy crochet axolotl pattern, you’ve come to the right place! This step-by-step crochet axolotl pattern walks you through every stage of making your own adorable pink axolotl amigurumi — from the magic ring to the frilly gills. Even if you’re brand new to amigurumi, this beginner-friendly tutorial with clear photos for every step makes the whole project simple, relaxing, and fun.
Axolotls have become one of the most loved amigurumi subjects, and it’s easy to see why: their sweet smile and feathery gills translate perfectly into yarn. Let’s get started!
Materials You’ll Need
- Pink worsted-weight yarn (main color)
- Darker pink yarn (for the gills)
- Black embroidery thread (for the face)
- 3.5 mm crochet hook
- Polyester fiberfill stuffing
- Yarn needle
- Scissors
- Stitch markers (optional, but very helpful)
Step 1: Start with a Magic Ring
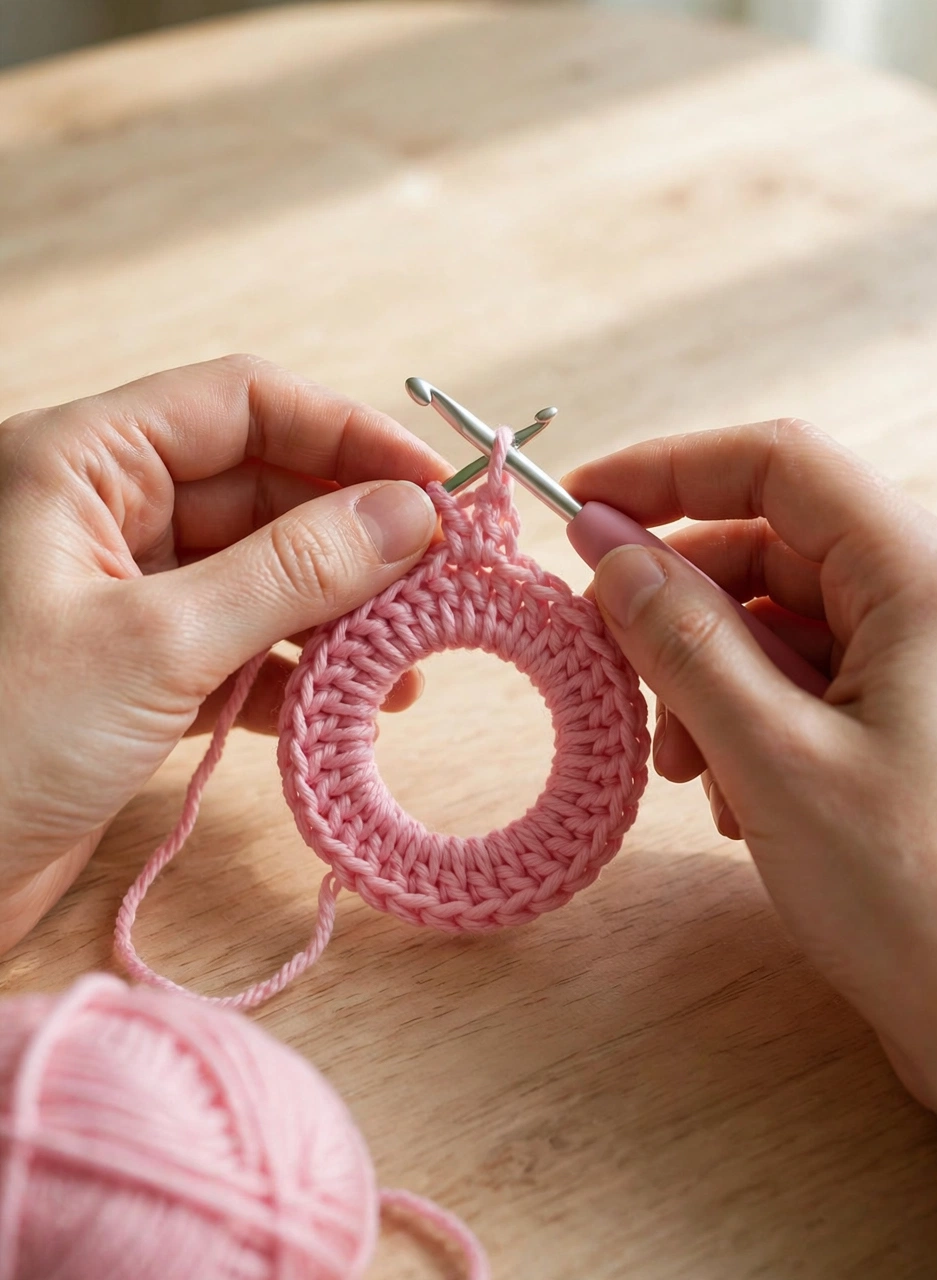
Every great amigurumi begins the same way. To start this crochet axolotl pattern, make a magic ring with your pink yarn and work 6 single crochet stitches into it. Pull the tail tight to close the ring completely — this creates a neat, gap-free base for your axolotl’s body, with no hole for stuffing to peek through.
Step 2: Crochet the Axolotl Body in Rounds
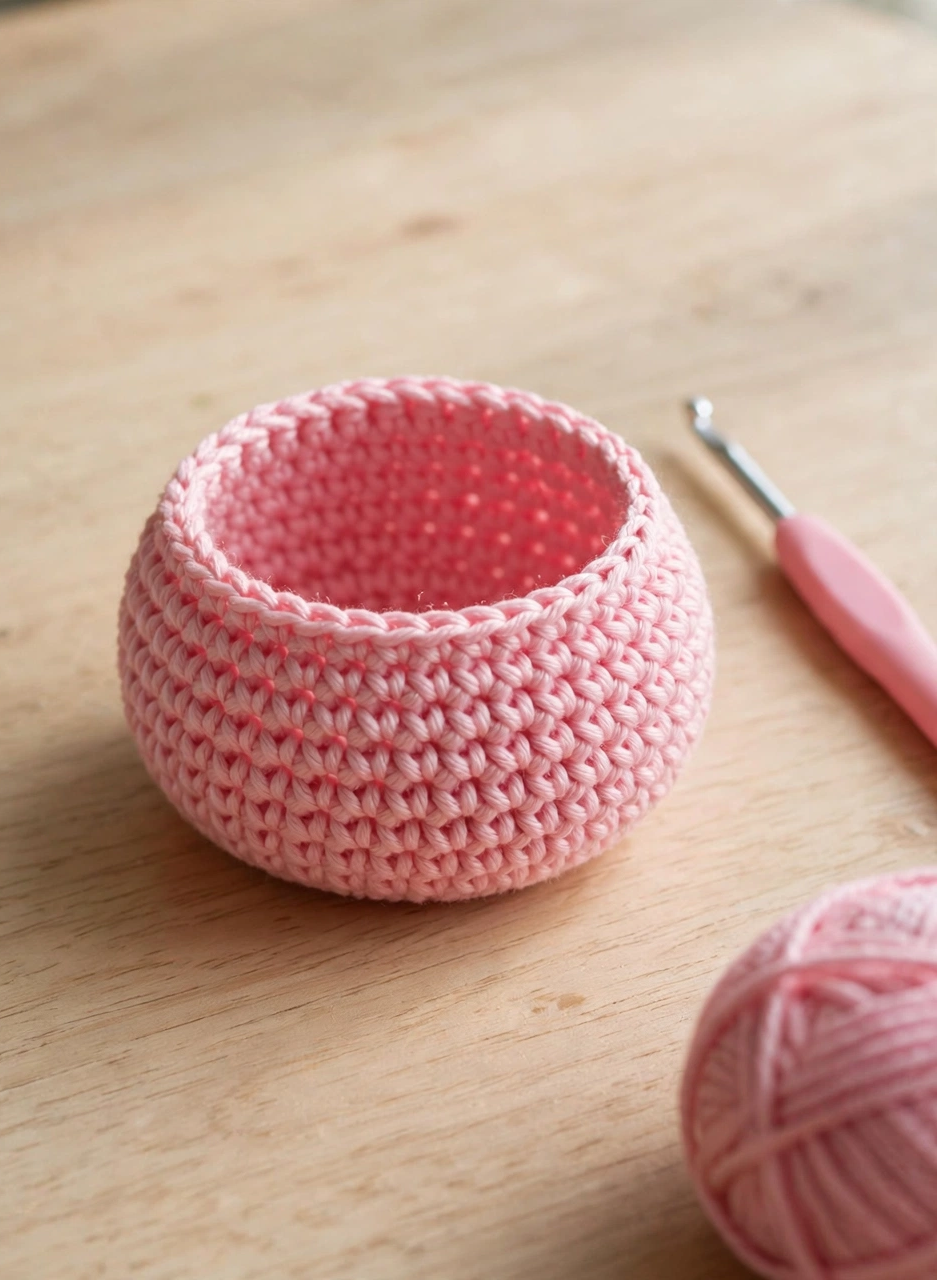
Continue working in single crochet rounds, increasing evenly to shape the round, chubby body of your crochet axolotl. Work about 8–10 increase rounds, then crochet several rounds even (no increases) to build height. Place a stitch marker at the start of each round — it makes counting effortless and keeps your shaping perfectly even.
Step 3: Make the Frilly Gills
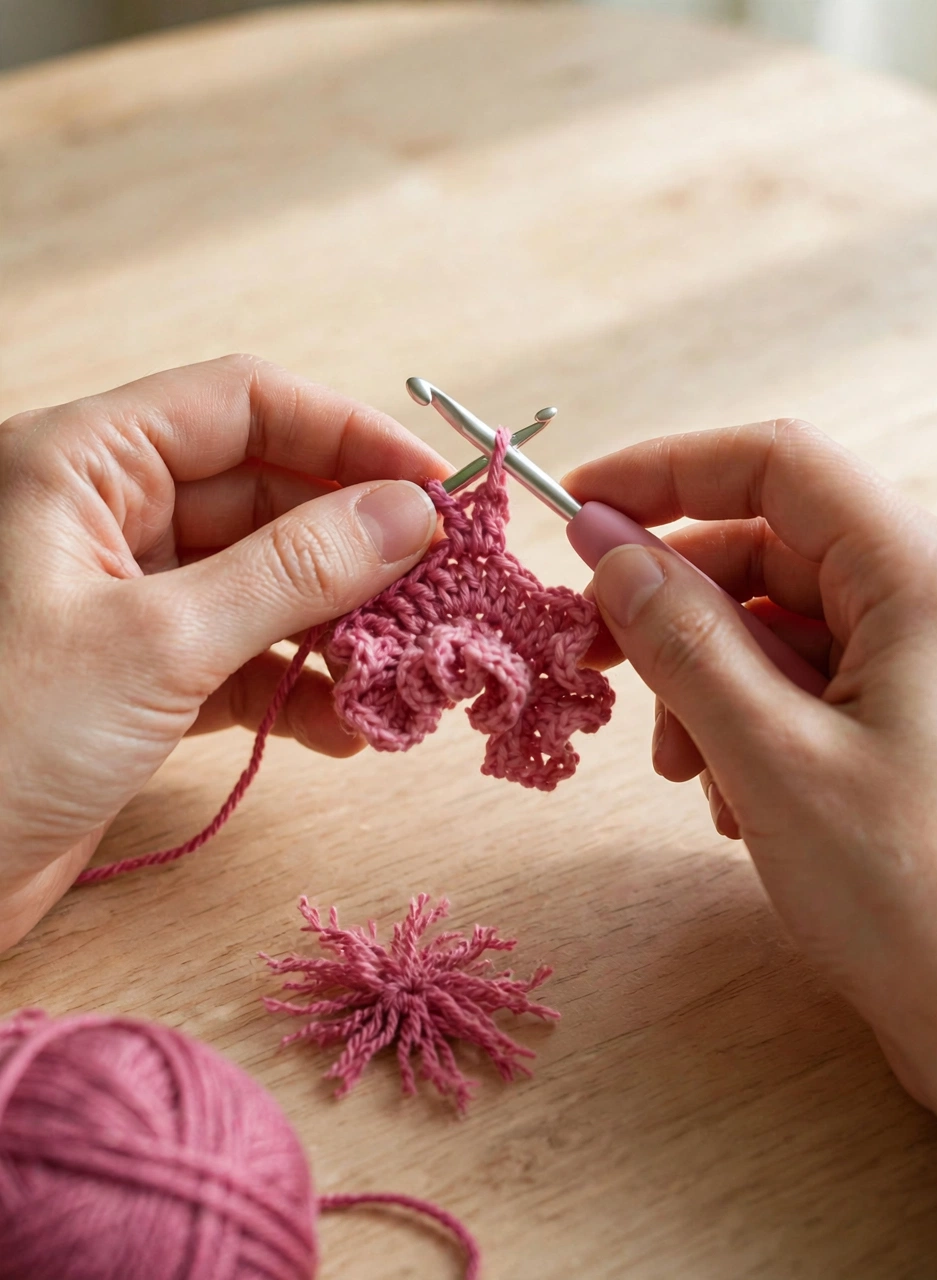
The gills are what make an axolotl instantly recognizable! Using the darker pink yarn, crochet three small frilly pieces for each side of the head. Simple chains topped with double-crochet fans create that lovely ruffled, feathery look. You’ll need six gills in total for this crochet axolotl pattern — three per side.
Step 4: Attach the Gills to the Head
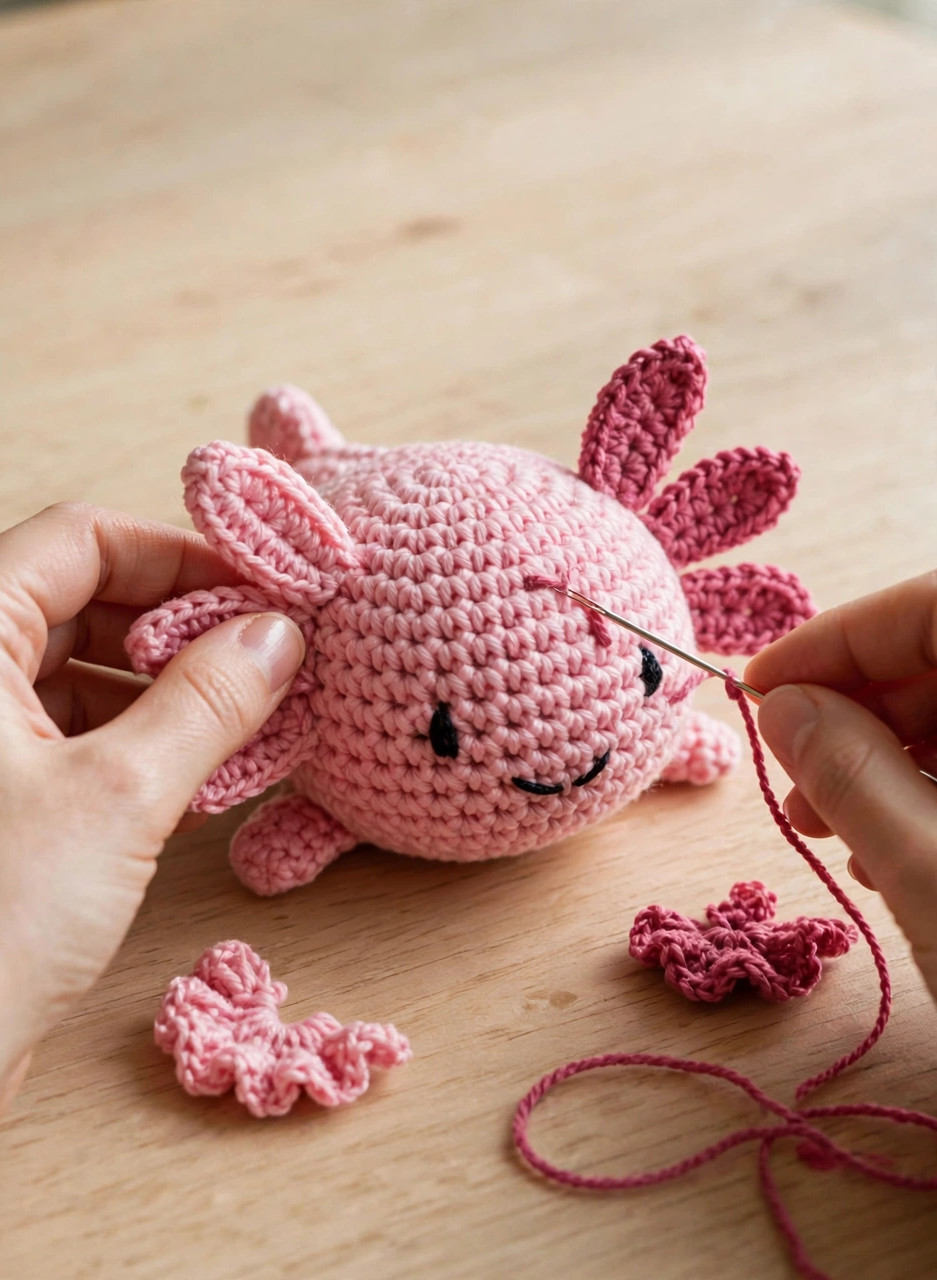
Position three gills on each side of the head, fanning them outward like a little crown. Pin them in place first and step back to check the symmetry from the front — this small pause makes a big difference. Then sew each gill securely with the yarn needle and matching thread. Neat, even gill placement is what gives your finished crochet axolotl that polished, professional look.
Step 5: Embroider the Cute Axolotl Face
Now for the best part — the face! Using black embroidery thread, stitch two small eyes and a sweet little curved smile onto your crochet axolotl. Keep the stitches small, centered, and even. For extra kawaii charm, add a tiny pink blush mark under each eye with a couple of straight stitches.
Step 6: Stuff and Finish Your Crochet Axolotl
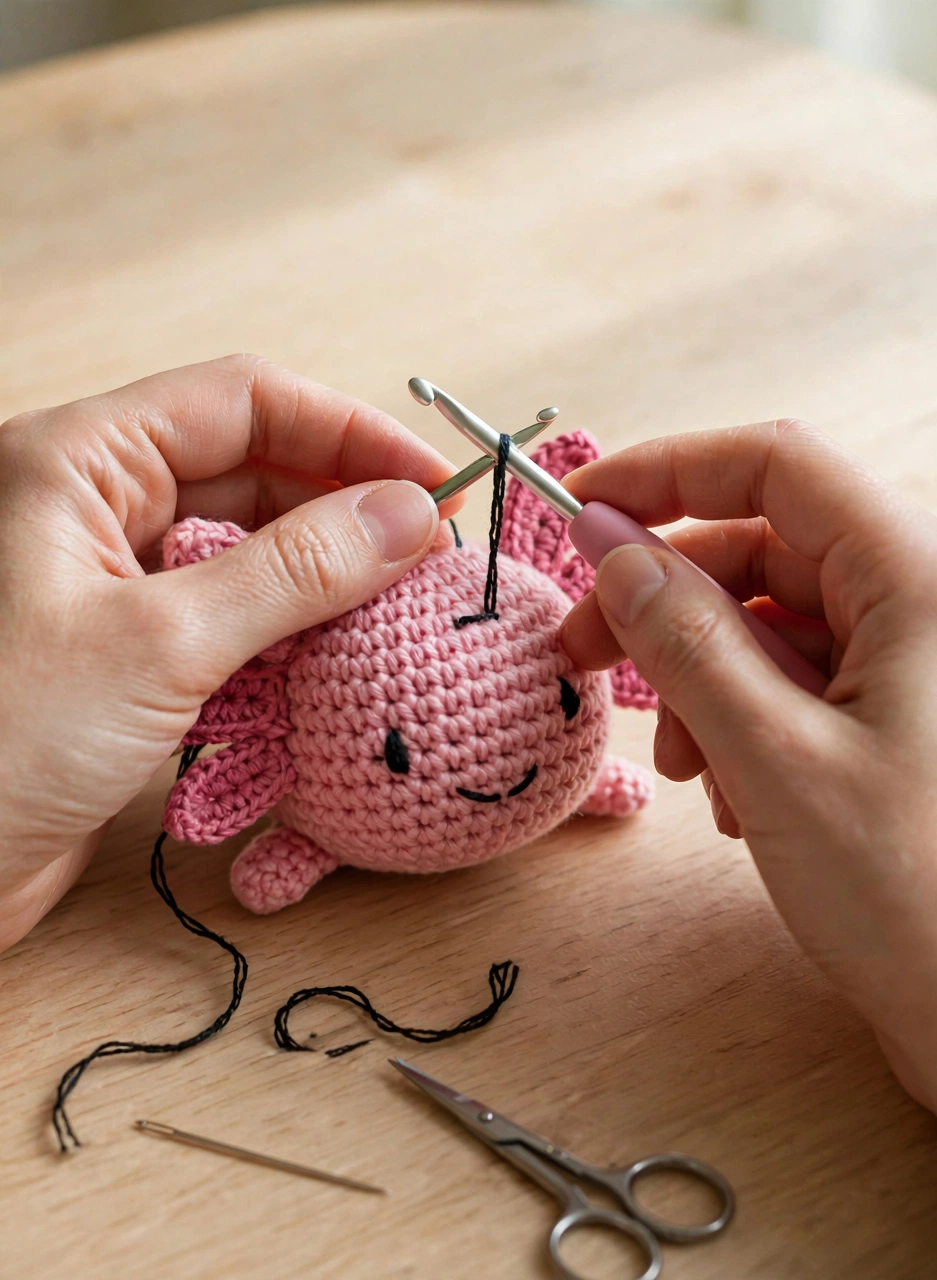
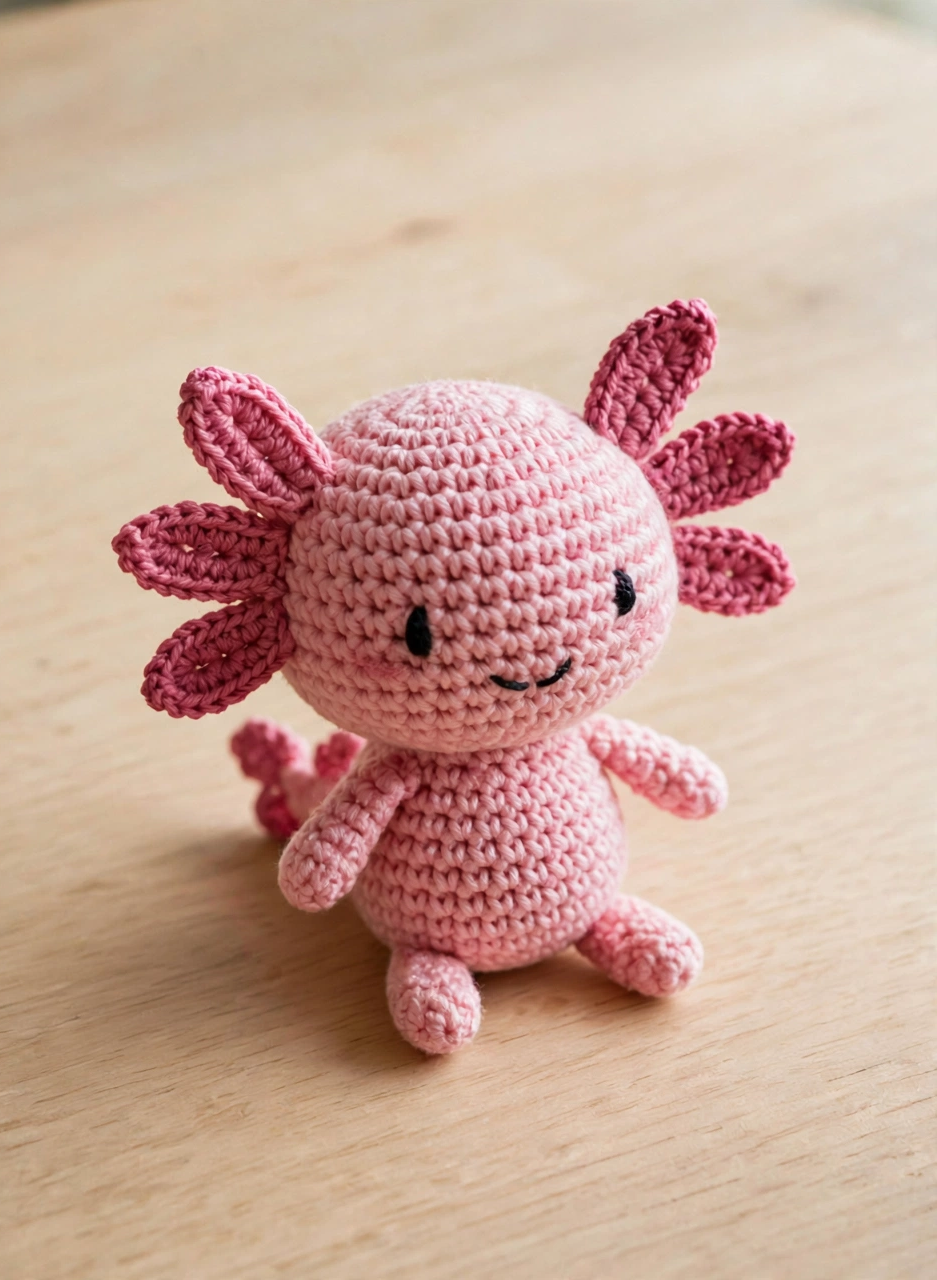
Stuff the body firmly with fiberfill, shaping it with your fingers as you go, then work the final decrease rounds to close the opening. Weave in all loose ends with your yarn needle, hiding them inside the body. And that’s it — your handmade crochet axolotl is ready to display on a shelf, gift to a friend, or cuddle!
Tips for the Perfect Crochet Axolotl
- Use a smaller hook than the yarn label suggests. Tight stitches are the secret to amigurumi — they keep the fiberfill hidden and give a smooth finish.
- Stuff gradually as you crochet rather than all at once at the end. This gives you even shaping with no lumps.
- Pin the gills before sewing. Checking symmetry before you commit to stitches saves you from unpicking later.
Frequently Asked Questions
Is this crochet axolotl pattern beginner-friendly?
Yes! If you know the magic ring, single crochet, increase, and decrease stitches, you can absolutely make this axolotl. Every step is photographed, so you always know exactly what your work should look like.
What yarn is best for a crochet axolotl?
Worsted-weight acrylic or cotton yarn works best for this crochet axolotl pattern. Acrylic is soft, affordable, and widely available; cotton gives beautifully crisp stitch definition. Avoid fuzzy or textured yarns for your first amigurumi — they hide your stitches and make counting difficult.
How long does it take to crochet an axolotl?
Most crocheters finish in 2–3 hours, making it a perfect weekend project. Once you’ve made one, the second works up even faster!
Can I sell axolotls made from this crochet axolotl pattern?
Yes — finished handmade items are yours to sell at markets or online. A credit link back to this tutorial is appreciated but not required.
Conclusion
This easy crochet axolotl pattern proves that adorable amigurumi doesn’t have to be complicated. With just basic stitches, a little pink yarn, and one relaxing afternoon, you’ll have a cute axolotl of your own. Ready for your next project? Save this guide to your crochet board and share your finished axolotl with fellow makers!






1 thought on “Crochet Axolotl Pattern: Easy Step-by-Step Amigurumi Tutorial”