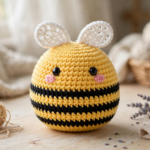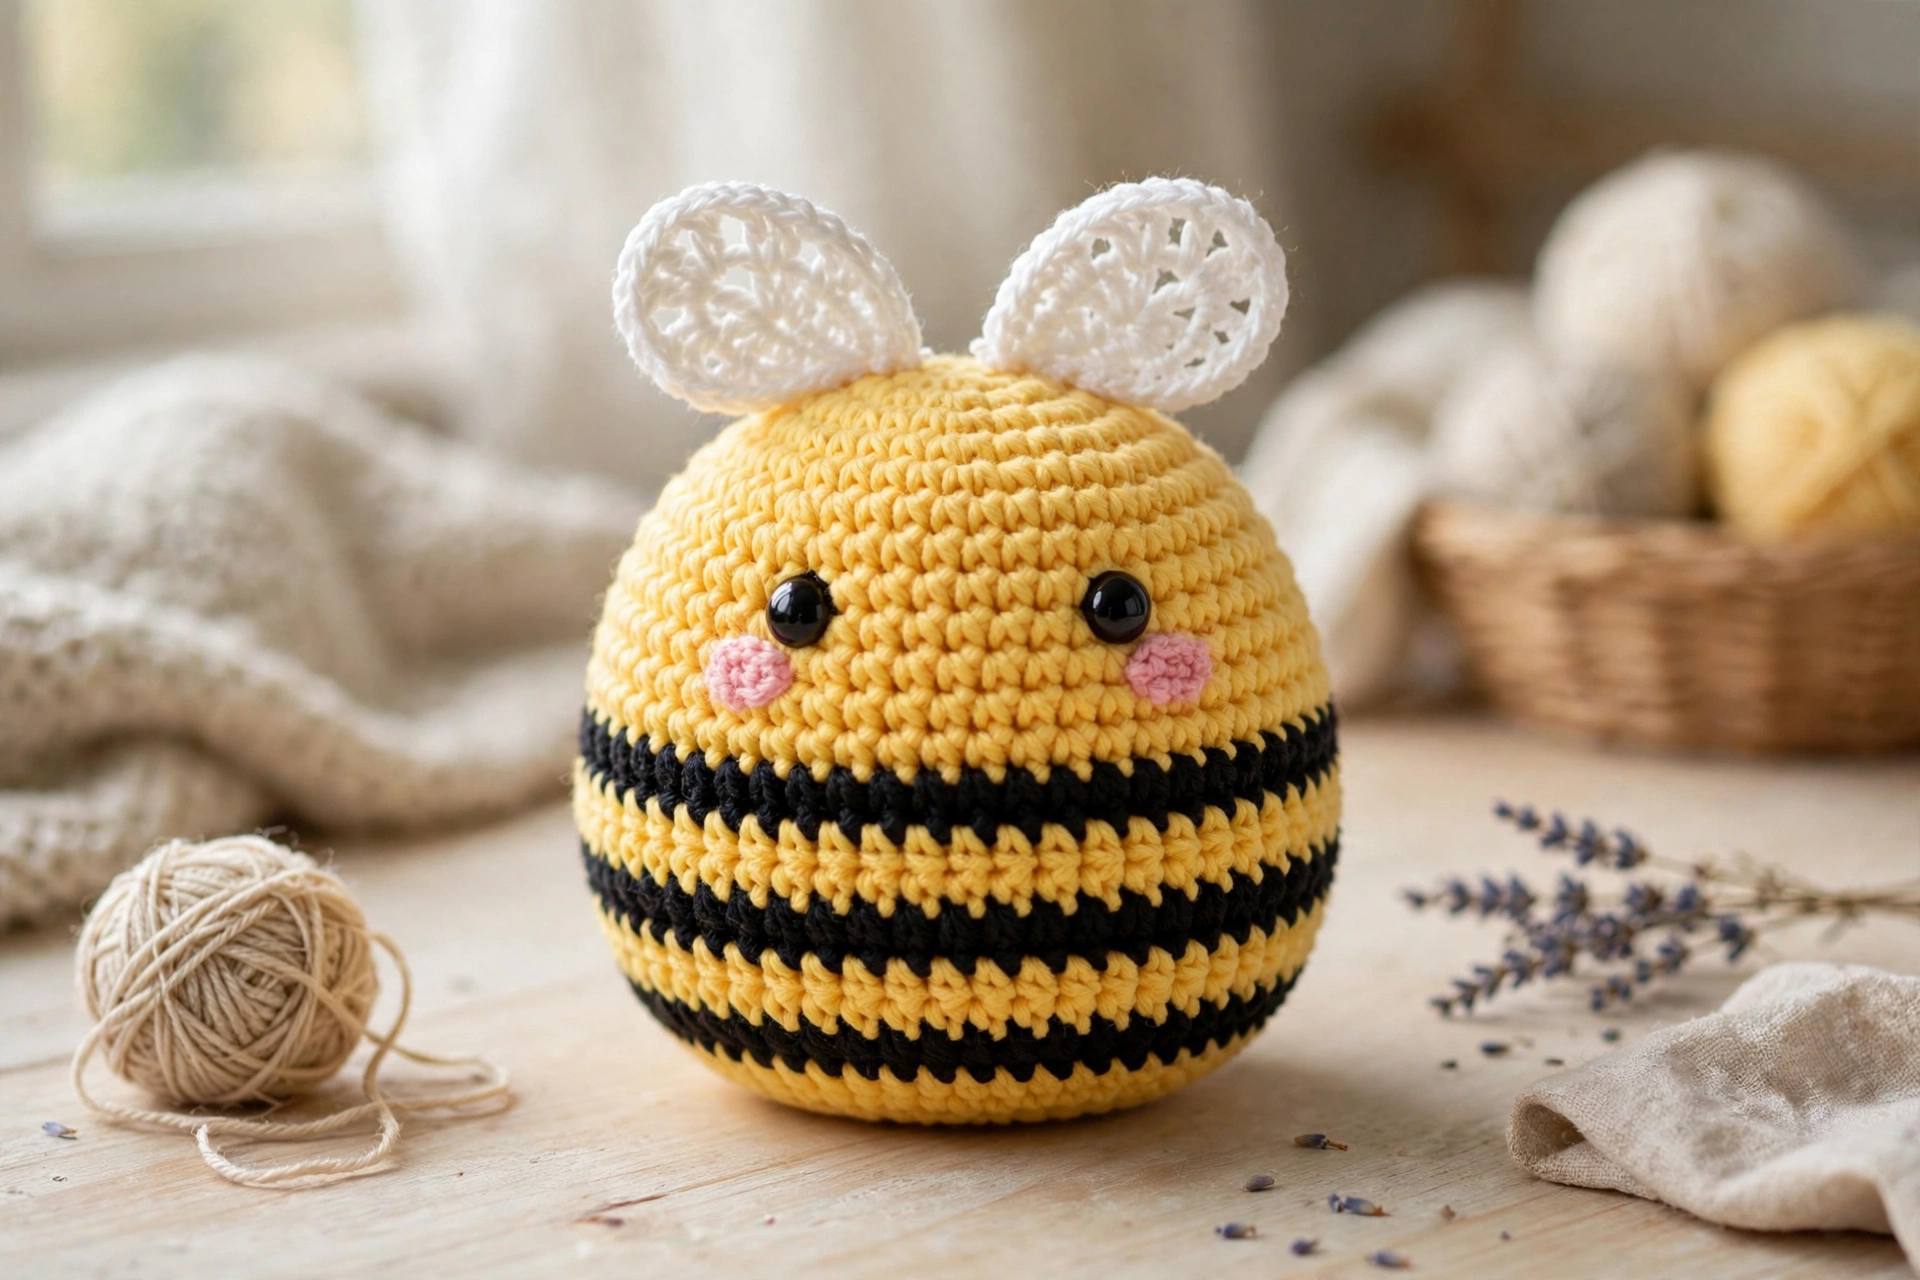
Looking for a sweet, quick project that everyone loves? This crochet bee pattern is the answer. With its round striped body, lacy white wings and happy little face, this kawaii amigurumi bee works up in just a couple of hours. It makes an adorable gift, a nursery decoration or a craft-fair bestseller.
Whether you are brand new to amigurumi or a seasoned crocheter, the simple rounds and clear photos below will guide you from the magic ring to the final blush cheeks. So grab your yellow yarn, and let’s get buzzing!
Materials for This Crochet Bee Pattern
You only need a handful of supplies to make this little bee:
- Worsted weight (#4) yarn in yellow (main color), black (stripes) and white (wings), plus a tiny bit of pink for the cheeks
- 4.0 mm (G-6) crochet hook
- 8 mm black safety eyes
- Polyester fiberfill stuffing
- Yarn needle, scissors and a stitch marker
Most of these supplies are probably already in your stash, which makes this bee amigurumi a perfect scrap-busting project too.
Step 1: Start Your Crochet Bee With a Magic Ring
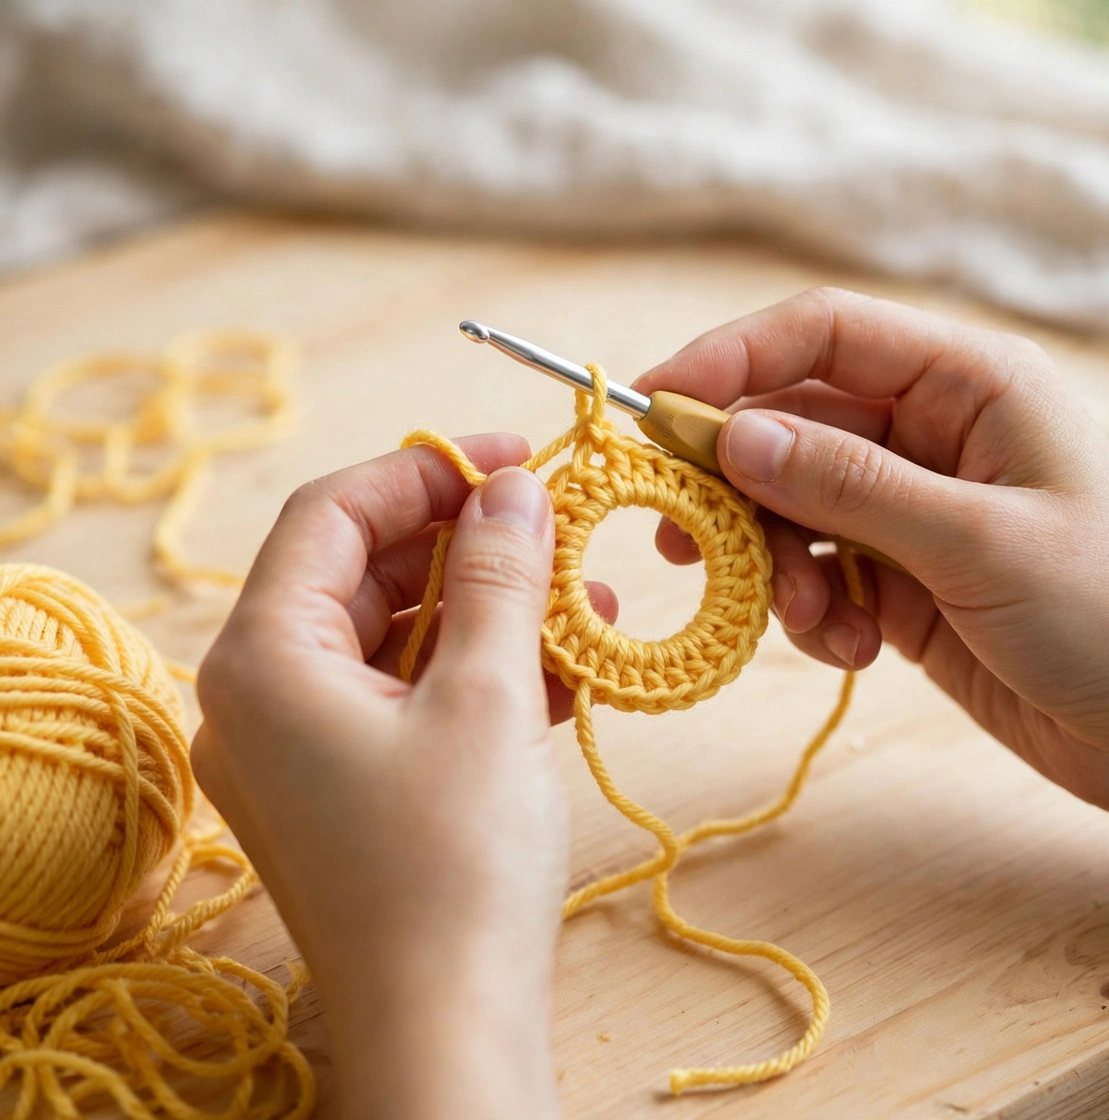
Every great amigurumi begins with a magic ring, and this crochet bee is no exception. Using your yellow yarn, make a magic ring and work 6 single crochet stitches into it. Pull the tail tight to close the center, then place a stitch marker so you can track your rounds.
Work two increase rounds until you have 24 stitches. These first rounds form the top of the bee’s round little head, so keep your tension even for a smooth, professional finish.
Step 2: Crochet the Striped Amigurumi Body
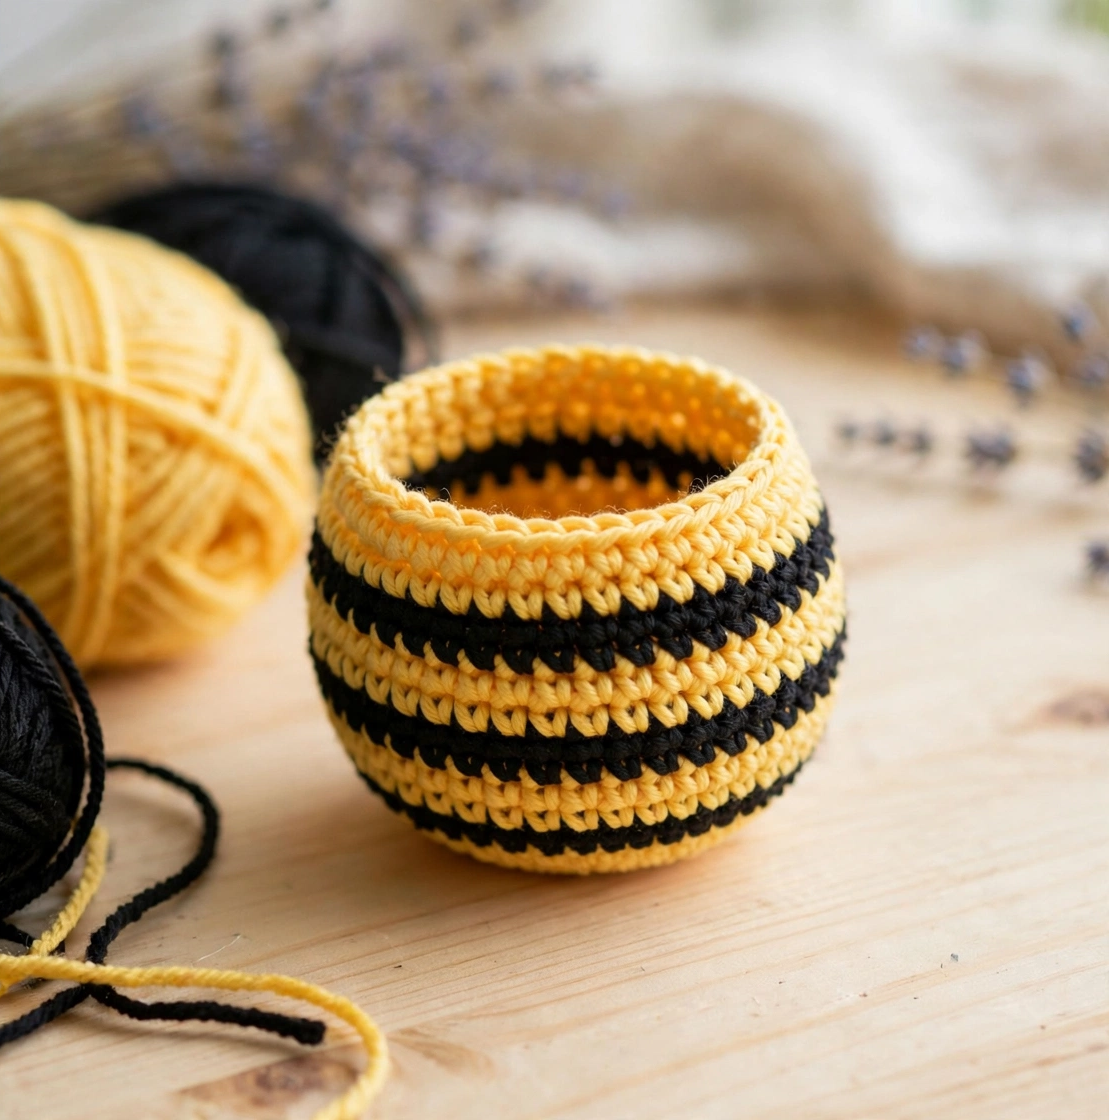
Now for the fun part — the stripes that make a bee a bee! Alternate two rounds of yellow with two rounds of black to build the classic striped body. When you change colors, work the last yarn-over of the final stitch in the new color for a crisp, clean stripe line.
Continue the striped rounds until the body measures about 3 inches tall. Carry the unused yarn up inside the work instead of cutting it each time; this keeps the inside tidy and saves you from weaving in a dozen ends later.
Step 3: Stuff and Close the Bee
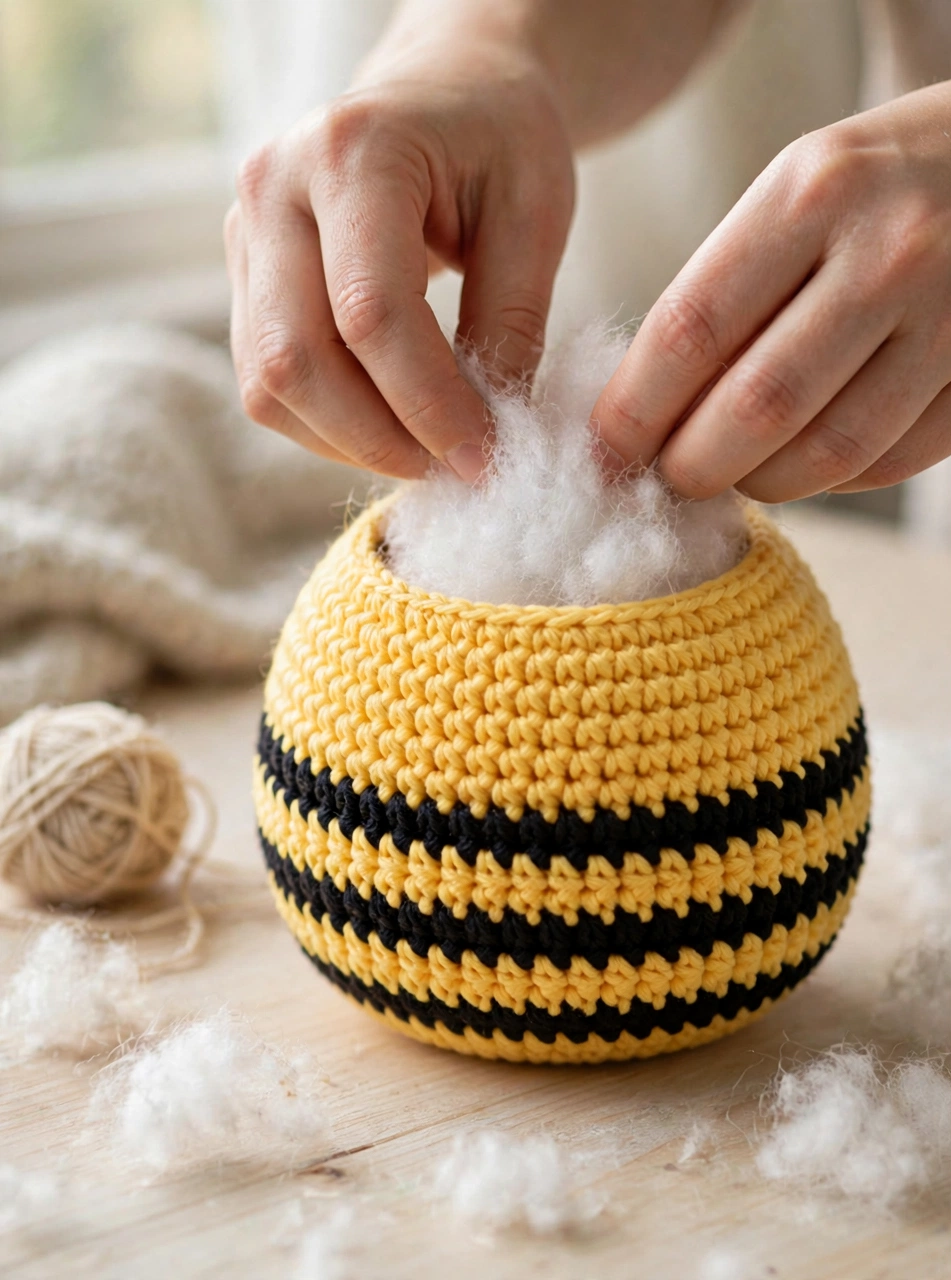
Before the opening gets too small, start stuffing the body with polyester fiberfill. Add the stuffing a little at a time and press it into a firm, round shape. A well-stuffed bee holds its plump kawaii form and sits up nicely on a shelf.
Once the body feels full and springy, work decrease rounds until the opening closes. Fasten off and weave the tail through the remaining stitches to cinch everything shut. Your bee’s body is complete!
Step 4: Make the White Bee Wings
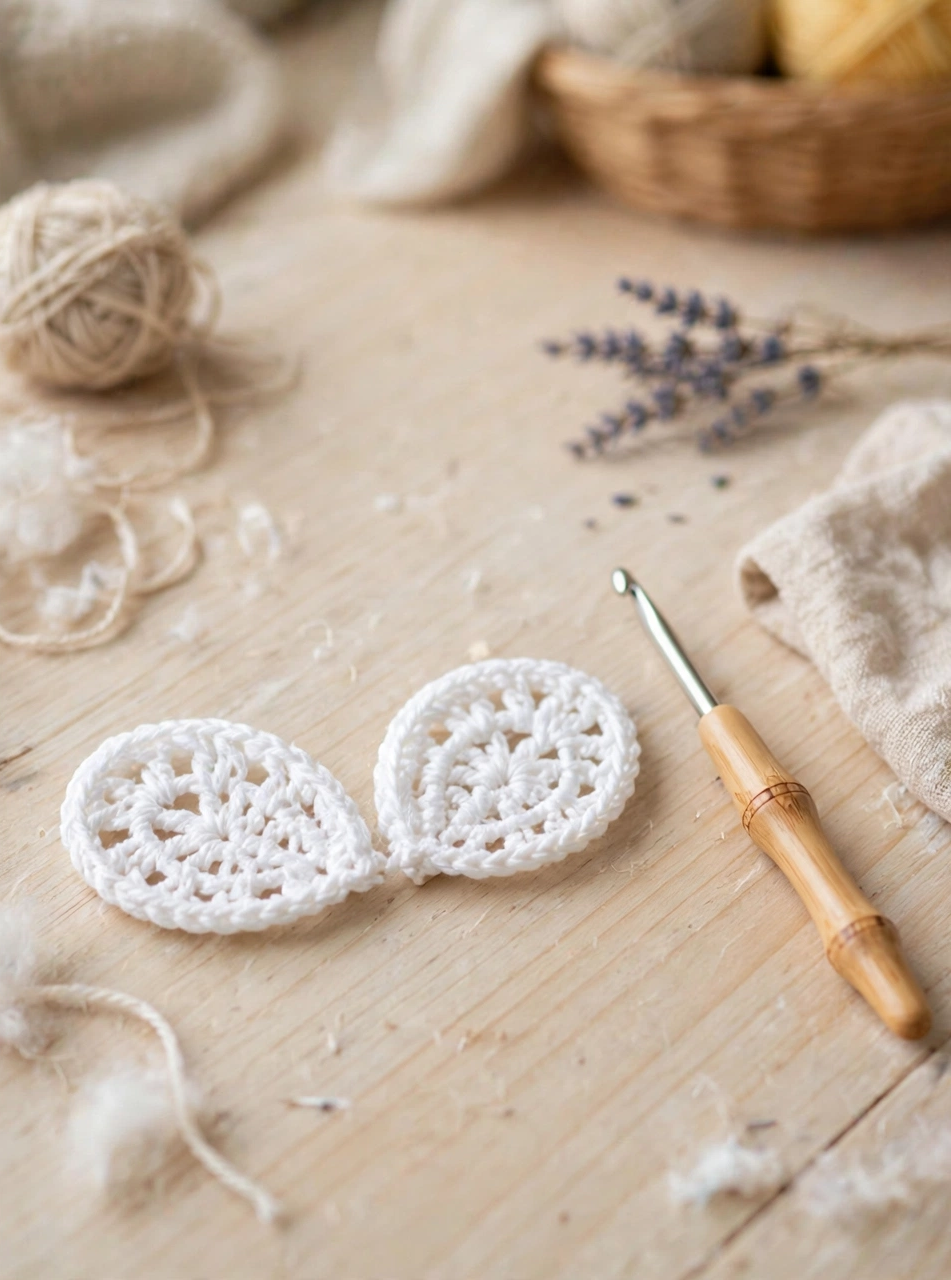
Those delicate wings give this amigurumi bee its charm. With white yarn, crochet two small oval wings: start with a magic ring, work single crochet increases for two rounds, then one even round. Flatten each wing gently — they should look like little petals.
Keep the wings identical in size so the bee looks balanced from the front. If you want extra-sturdy wings, work them a touch tighter than the body.
Step 5: Attach the Wings and Safety Eyes
Sew the white wings to the top of the bee’s body with your yarn needle, spacing them evenly. Small, neat stitches keep them secure while staying nearly invisible. Then press the 8 mm safety eyes into the front of the face, about three stitches apart, and snap the backings on firmly.
The eyes bring this little bee to life, so double-check their placement before you attach the backings. Step back and look at the face from a distance — the classic kawaii look has the eyes sitting low and wide.
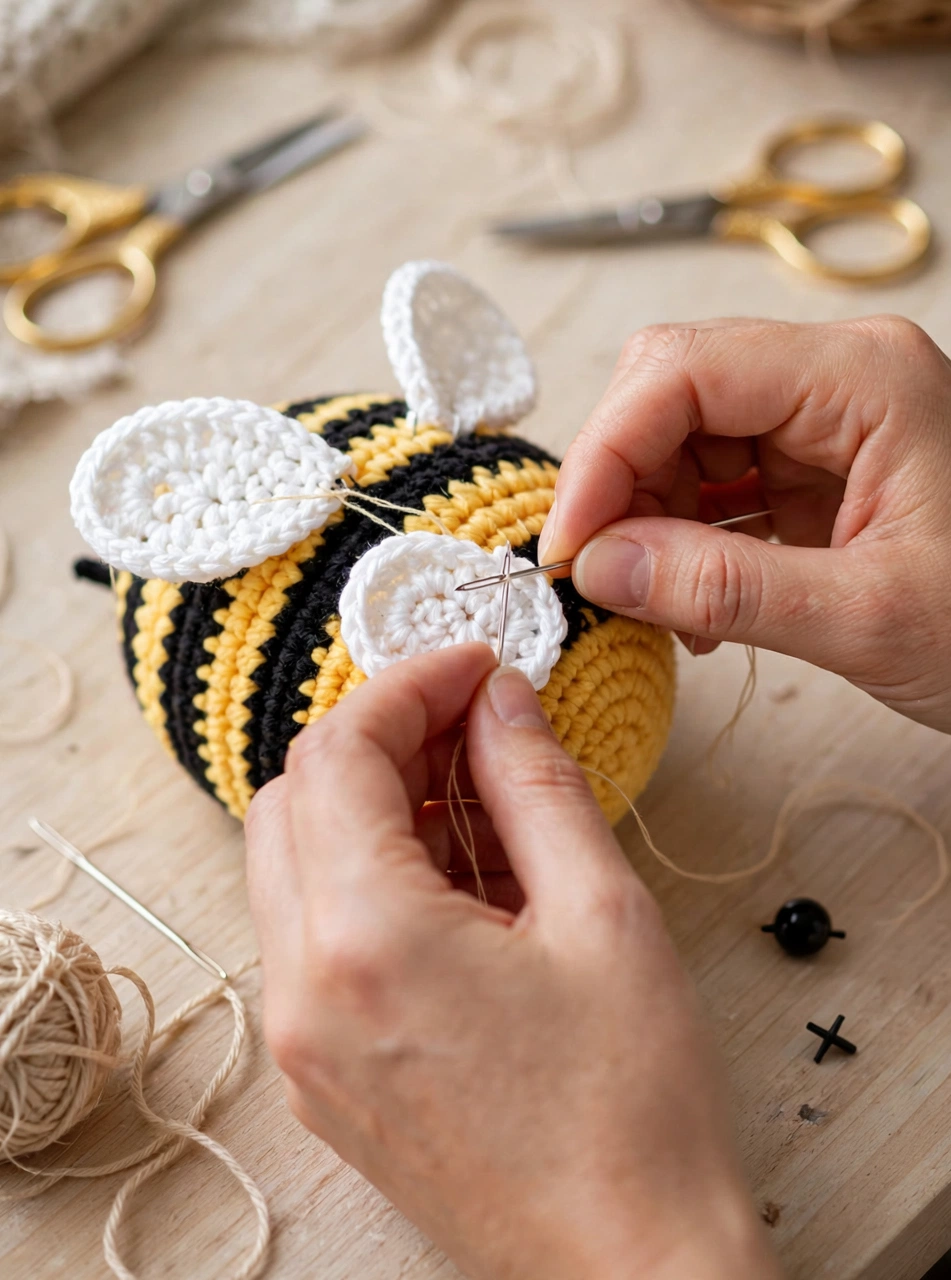
Step 6: Add Antennae and Blush Cheeks
The finishing touches make all the difference. Crochet two tiny antennae with black yarn — a short chain with a small ball at the tip — and sew them between the wings. Then, using pink yarn, embroider two small French-knot blush cheeks just below and outside the eyes.
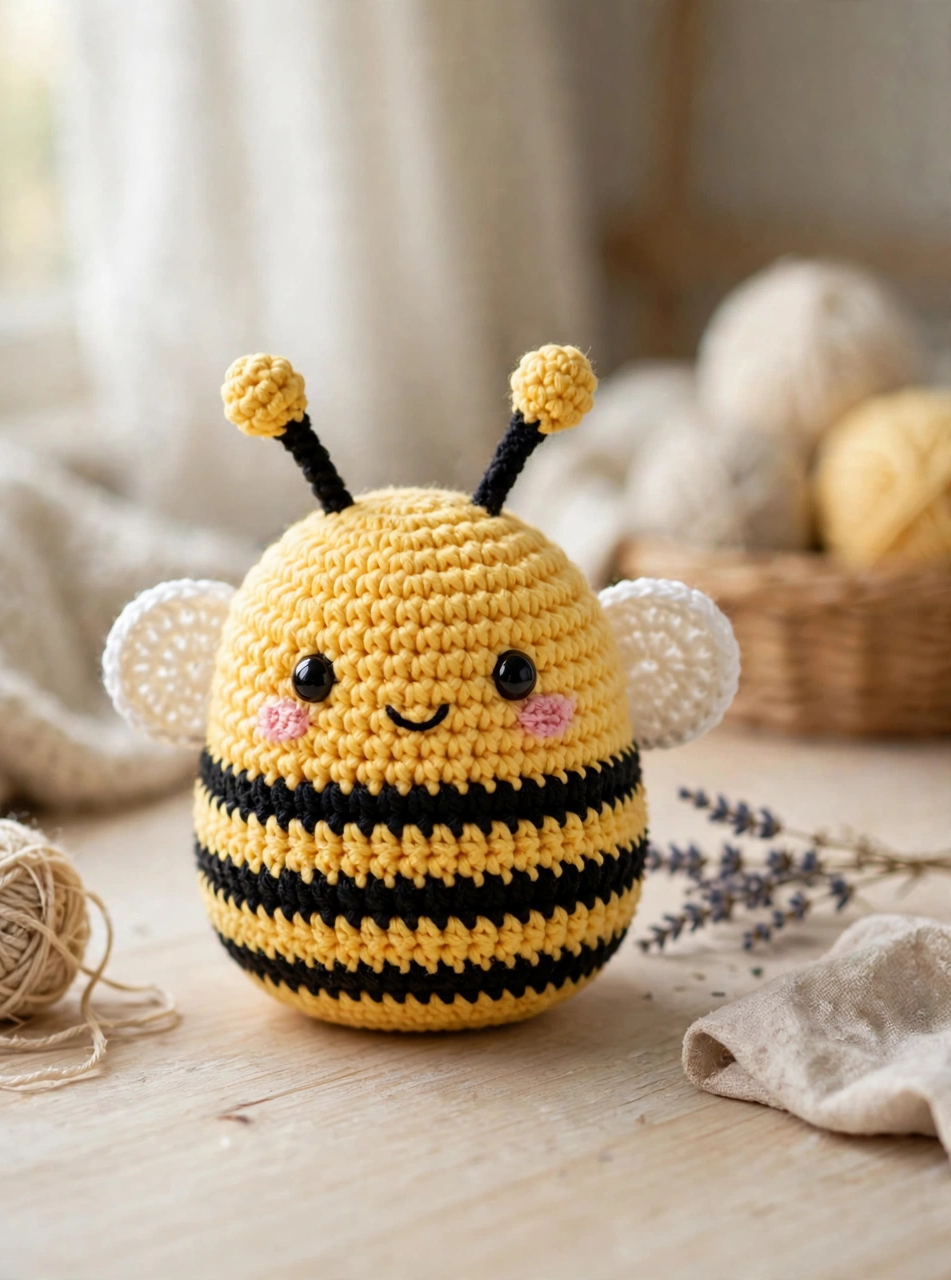
And there she is: your finished kawaii bee, ready to buzz around your home! This last step takes only minutes but transforms a simple striped ball into a character with real personality.
Tips for the Perfect Crochet Bee
- Carry your yarn up the stripes instead of cutting it at every color change — far fewer ends to weave in.
- Stuff firmly but not too hard. A plump bee looks cuter and keeps its round shape over time.
- Pink French knots make the sweetest cheeks. Four wraps around the needle give the perfect blush size.
Crochet Bee Pattern FAQ
Is this crochet bee pattern good for beginners?
Yes! This bee uses only basic stitches — magic ring, single crochet, increases and decreases — plus simple color changes. If you can crochet in the round, you can make this bee.
How long does it take to crochet a bee?
Most crocheters finish this amigurumi bee in 2 to 3 hours. It is an ideal one-evening project or a last-minute handmade gift.
What yarn is best for amigurumi bees?
Worsted weight acrylic or cotton yarn works beautifully. Cotton gives crisp stitch definition for the stripes, while acrylic is soft, affordable and comes in bright bee-yellow shades.
Can I sell finished bees made from this pattern?
Absolutely — finished items made from this free crochet bee pattern may be sold at craft fairs or online shops. A credit link back to this tutorial is always appreciated.
Conclusion
This easy crochet bee pattern proves that the cutest projects are often the simplest. In one cozy evening you can turn a few scraps of yarn into a striped little friend that makes everyone smile. If you loved making this kawaii bee, try our crochet frog pattern next — it is another beginner-friendly amigurumi with the same photo tutorial style.
For a different take on bee amigurumi, Debbie Chapman’s free crochet bee pattern at One Little Project is another lovely version worth a look.
Happy crocheting, and don’t forget to pin this tutorial for later!