There’s nothing cozier than pulling a handmade hat down over your ears on a chilly morning — especially when you made it yourself. This crochet beanie pattern is designed for total beginners: you only need to know the chain stitch and the half double crochet to finish a warm, stylish, knit-look ribbed beanie in a single evening. Follow the six photo steps below and you’ll have a butter-yellow winter hat topped with a fluffy pom pom, ready to wear or gift.
The secret to this crochet beanie pattern is working in rows instead of rounds. You crochet one long ribbed rectangle, seam the short ends together into a tube, cinch the top closed, and sew on a pom pom. No tricky decreases, no joining rounds, no counting headaches — just relaxing rows of half double crochet worked in the back loop only.
Materials You’ll Need
- Yarn: 1 skein of medium worsted-weight (#4) yarn in butter yellow (about 150 yards / 100 g). A soft acrylic or acrylic-wool blend works perfectly for a beginner crochet beanie pattern.
- Hook: 6.0 mm (J-10) crochet hook.
- Notions: yarn needle, scissors, stitch marker (optional), and one cream faux-fur pom pom (or make a yarn pom pom).
- Gauge: 13 half double crochet stitches = 4 inches (10 cm). The ribbing is very stretchy, so exact gauge is not critical.
Crochet Beanie Pattern: Step-by-Step Tutorial
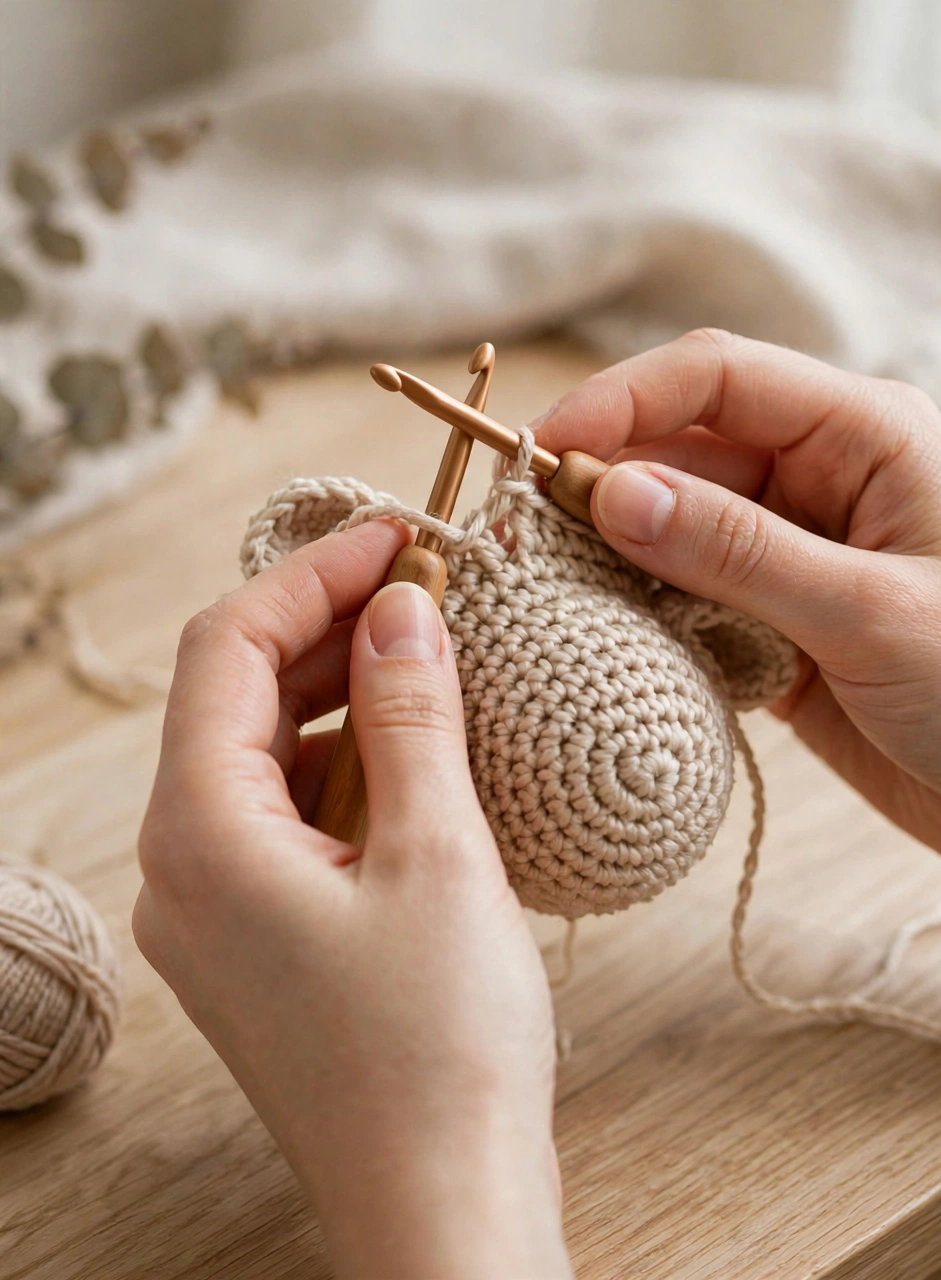
Step 1: Make the Foundation Chain
Start with a slip knot and chain 35 (this makes an adult small/medium; chain 37 for a large). The length of your chain sets the height of the hat, including the folded brim. Keep your chains even and relaxed — a tight foundation chain will make the brim pinch. If your beanie needs to fit a smaller head, simply chain fewer; every 2 chains removed narrows the hat by about half an inch.
Step 2: Work the First Ribbed Row
Row 1: Half double crochet (hdc) in the 2nd chain from the hook and in each chain across (34 hdc). Chain 1 and turn. This first row becomes one short edge of your rectangle — the side that will later form the brim. Take a look at the photo: the stitches should look neat and even, with the little “V” of each half double crochet clearly visible.
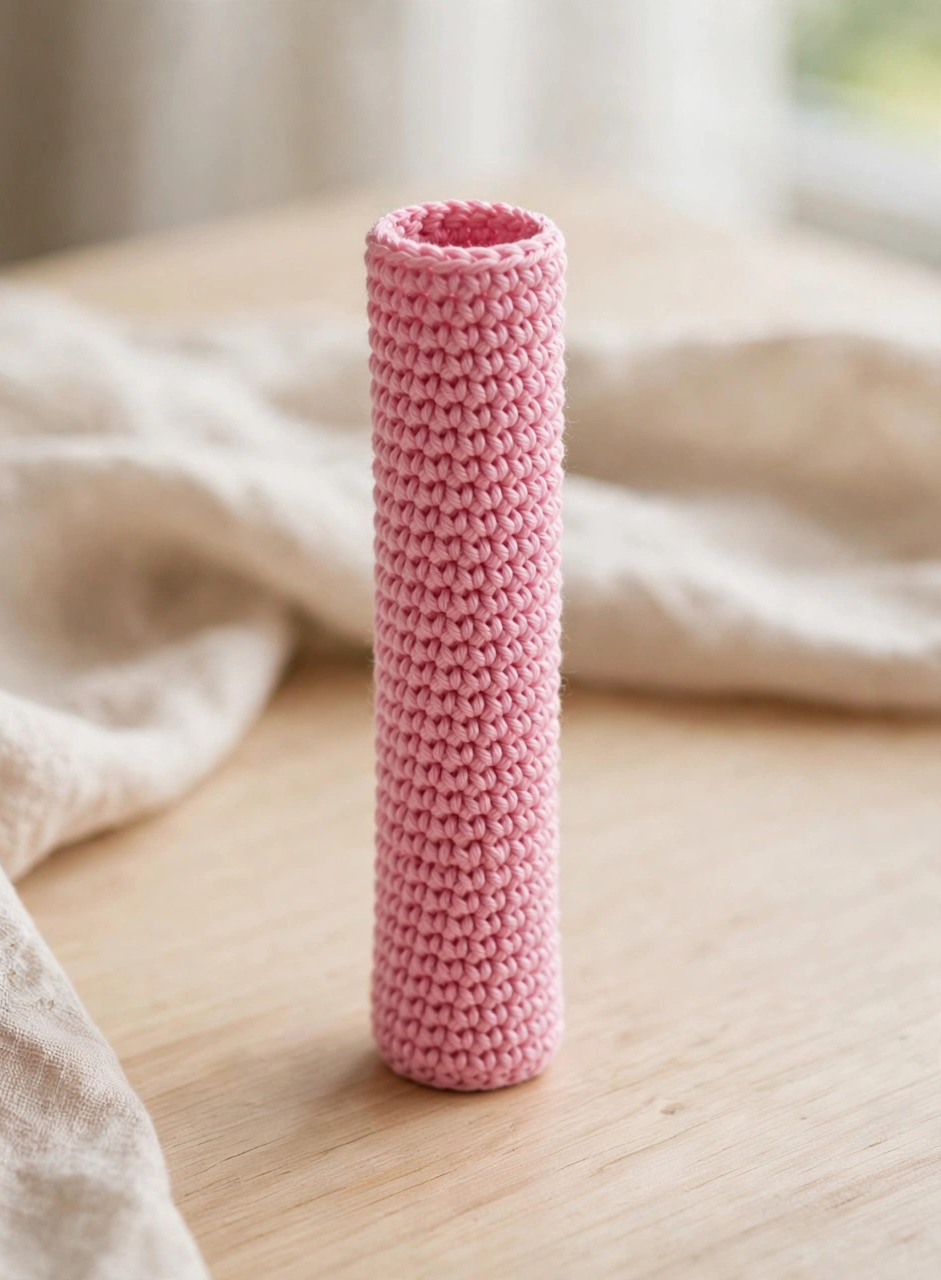
Step 3: Build the Knit-Look Ribbing
Rows 2–44: Chain 1, then half double crochet in the back loop only (blo) of each stitch across. Working in the back loop only is the whole trick behind this crochet beanie pattern — it creates those stretchy, knit-look ribs. Repeat until your rectangle measures about 18 inches (46 cm) long for an adult small; wrap it around your head to check the fit, stretching it slightly. It should feel snug, because ribbing relaxes with wear.
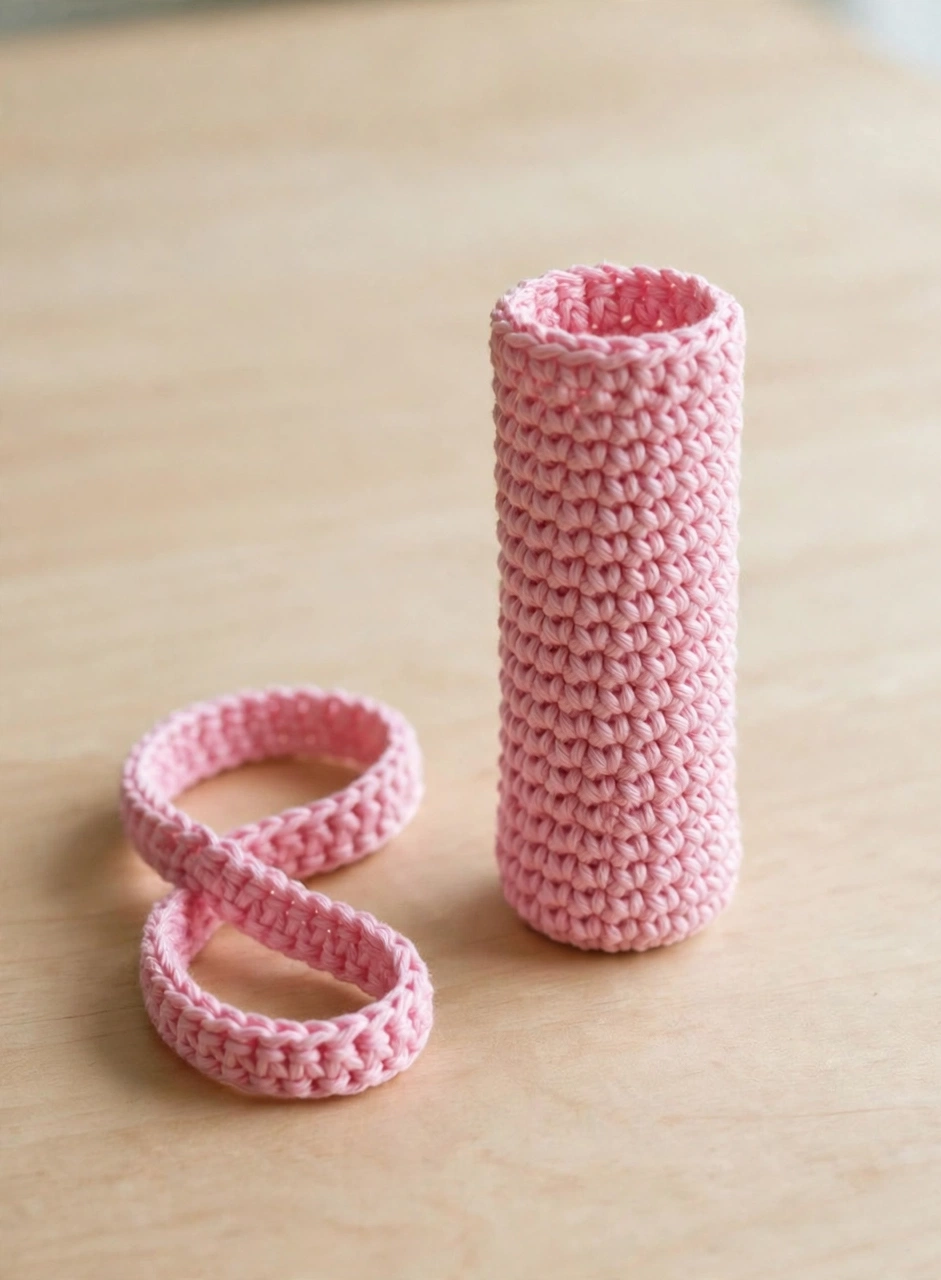
Step 4: Fold and Seam the Beanie Tube
Fold the rectangle in half so the two short ends meet, and seam them together using your yarn needle and a whipstitch through the back loops. You now have a tube — this is the body of the hat. The ribbed texture runs vertically around the head, which is exactly what gives this crochet beanie pattern its classic knit-hat look. Fasten off the seam but don’t cut the tail yet; you’ll reuse it in the next step.
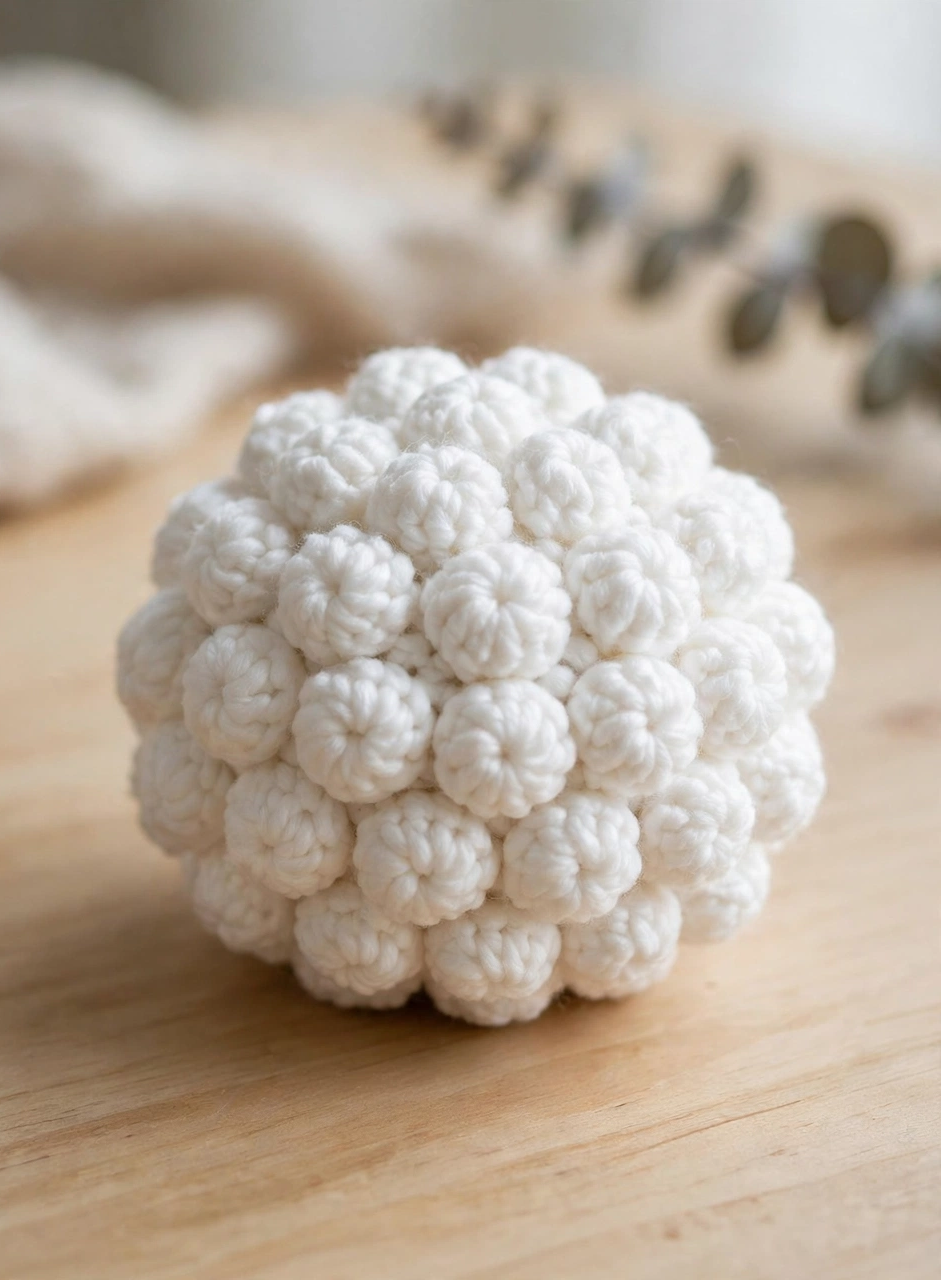
Step 5: Cinch the Crown of Your Crochet Beanie Closed
Thread the yarn needle with a long tail and weave it in and out through the stitches along one open edge of the tube. Pull firmly to gather and cinch the crown closed, like a drawstring bag. Take a few extra stitches across the tiny opening that remains, knot securely, and weave in the end. Flip the tube so the gathered crown is at the top and the seam runs down the back.
Step 6: Attach the Pom Pom and Finish Your Beanie
Sew the cream faux-fur pom pom firmly to the gathered crown with several passes of yarn, knotting on the inside. Fold up the bottom edge to form the brim — about 2 inches (5 cm) — and your hat is done! Weave in any remaining ends with the yarn needle. Try it on: the ribbed brim should hug your forehead comfortably without squeezing.
Tips for the Perfect Crochet Beanie
- Mind the stretch. Ribbed crochet relaxes after a few wears. If you’re between sizes in this crochet beanie pattern, make the smaller one — it will loosen up just right.
- Keep the back loops consistent. Always insert your hook under the back loop only from row 2 onward. One accidental front-loop row will show as a line in the ribbing.
- Secure the pom pom well. Faux-fur poms are heavy; sew through the elastic loop (or the pom’s core) at least four times so it survives winter winds and washing.
Crochet Beanie Pattern FAQ
How long does this crochet beanie pattern take?
About 2–3 hours for a confident beginner. The rows are repetitive and meditative, and there are no complicated stitch counts once you pass row 2.
What size does this pattern make?
The written instructions make an adult small/medium (fits 21–22 inch head circumference). To size up, chain 37 and work 48 rows; to size down for a teen, chain 31 and work 40 rows. The stretchy ribbing forgives a lot.
Can I make this beanie without a pom pom?
Absolutely. The hat looks great plain or with a handmade yarn pom pom instead. If you skip the pom, cinch the crown extra tight so the gathered top lies flat.
What yarn is best for a crochet beanie pattern like this?
A soft medium-weight acrylic or wool-blend yarn in any color you love. Butter yellow is trending for fall 2026, but charcoal, rust, and sage green all show off the ribbing beautifully.
Conclusion
That’s the whole crochet beanie pattern — one rectangle, one seam, one cinched crown, and you’re wearing a hat you made with your own hands. If you loved this project, try our crochet tote bag pattern next for another satisfying one-evening make, and check out this alternate beginner beanie tutorial if you’d like to compare methods. Happy crocheting — and don’t forget to pin this tutorial so you can find it when the next cold snap hits!