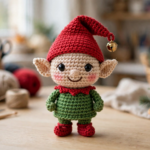
Looking for a cheerful little helper for your holiday shelf? This crochet Christmas elf pattern is a free, beginner-friendly amigurumi tutorial that walks you through every stitch — from the magic ring to the final jingle bell. The finished elf stands about 18 cm (7 inches) tall, complete with a tall floppy red pointy hat, a gold jingle bell, pointy ears, a green tunic with a red scalloped collar, and tiny red shoes. He works up in one cozy evening, which makes him perfect for last-minute Christmas gifts, craft fair stock, or a mantel full of handmade mischief.

Materials You’ll Need for This Crochet Christmas Elf Pattern
- Worsted-weight (#4) yarn in skin tone (beige), green, red, and a small amount of cream or pink for the cheeks; a little brown or dark thread for the embroidered smile. A quality acrylic or cotton yarn gives the best stitch definition — Lion Brand’s worsted cotton lines are a reliable pick for amigurumi.
- 4.0 mm crochet hook
- 10 mm black safety eyes (for children under 3, embroider the eyes instead)
- Polyester fiberfill stuffing
- One small gold jingle bell (about 12 mm)
- Stitch marker, tapestry needle, scissors
- Optional: pink blush powder for the cheeks
Abbreviations (US terms): MR = magic ring, sc = single crochet, inc = increase (2 sc in the same stitch), dec = invisible decrease, st = stitch, R = round.
Step 1: Crochet the Magic Ring and the Elf’s Head
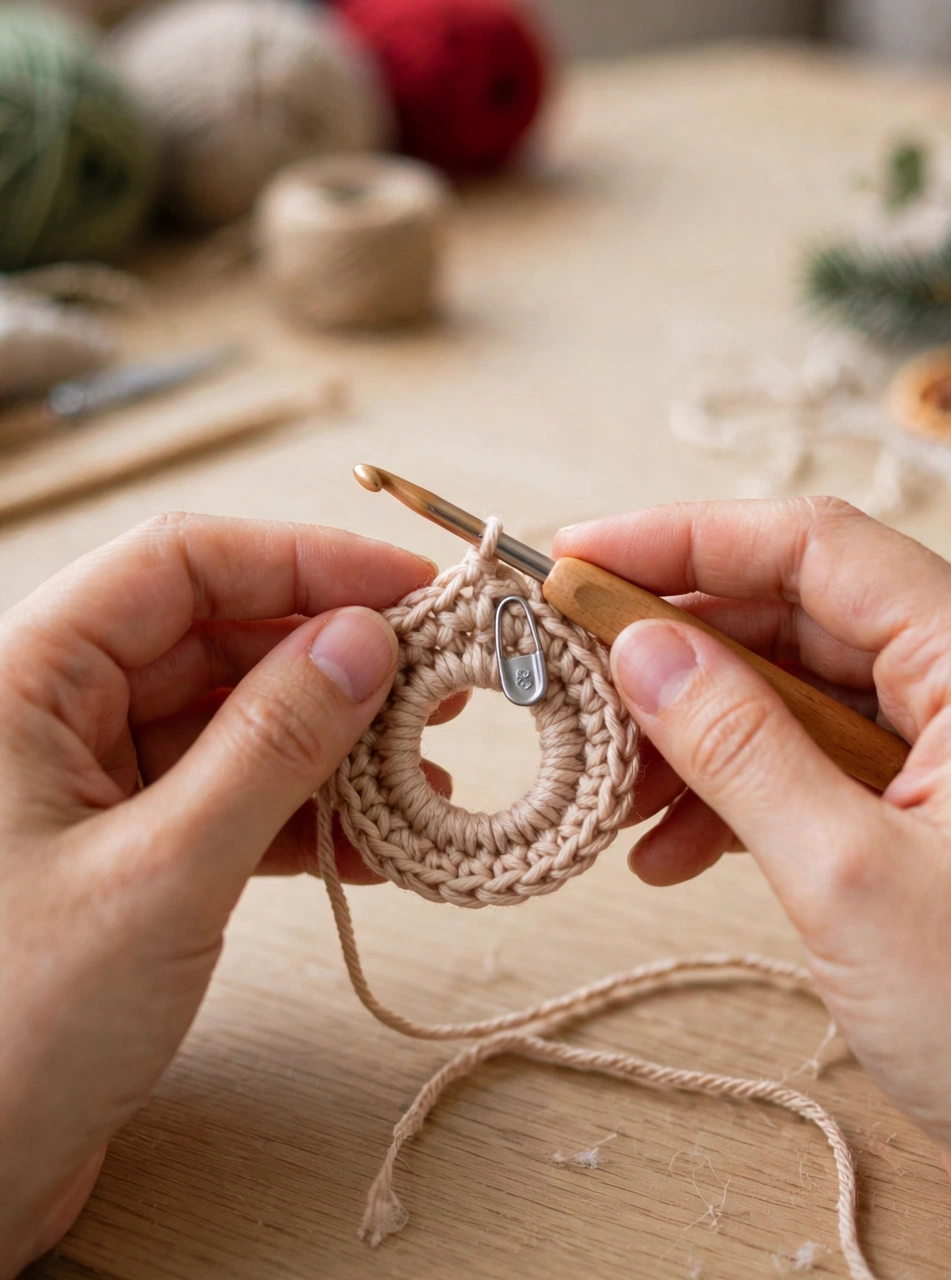
Every good amigurumi starts with a magic ring, and this crochet Christmas elf pattern is no exception. Work in skin-tone yarn in continuous spirals (no joining), and place your stitch marker in the first stitch of each round.
- R1: 6 sc in a magic ring (6)
- R2: inc in each st (12)
- R3: [sc, inc] × 6 (18)
- R4: [2 sc, inc] × 6 (24)
- R5: [3 sc, inc] × 6 (30)
- R6–R9: sc in each st (30) — 4 plain rounds
Keep your tension even so the head grows into a smooth ball — this round shape is the base that the elf’s ears, eyes, and hat all sit on.
Step 2: Shape and Stuff the Elf’s Head
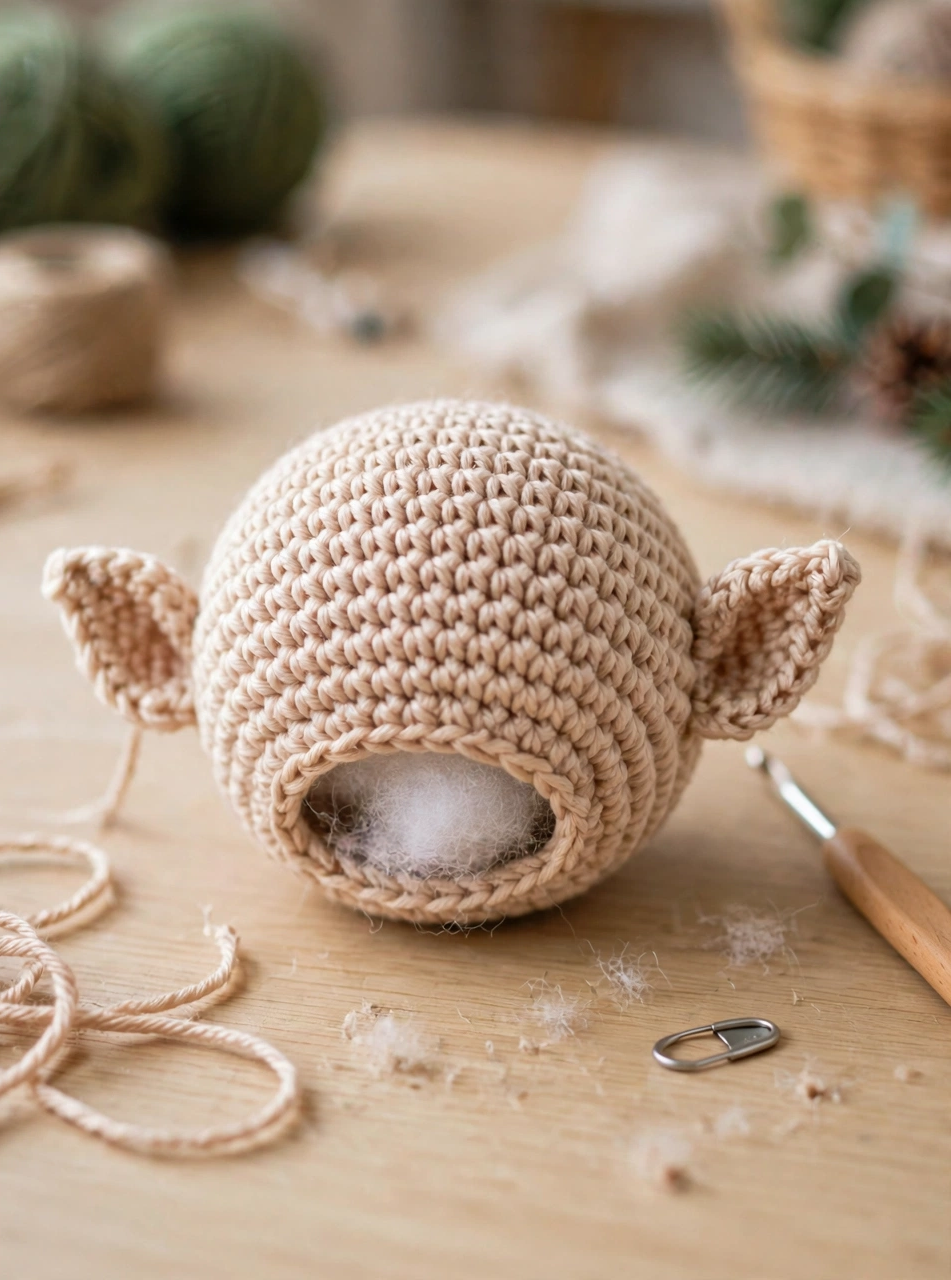
Now we taper the head back down with invisible decreases and stuff it firmly, which gives the elf his plump, huggable shape.
- R10: [3 sc, dec] × 6 (24)
- R11: [2 sc, dec] × 6 (18) — now is the moment to place the safety eyes between R7 and R8, about 7 stitches apart. Begin adding fiberfill.
- R12: [sc, dec] × 6 (12) — stuff the head firmly before this round is finished.
- R13: dec × 6 (6). Fasten off, weave the tail through the front loops, and pull closed.
Step 3: Embroider the Elf’s Face and Attach the Ears
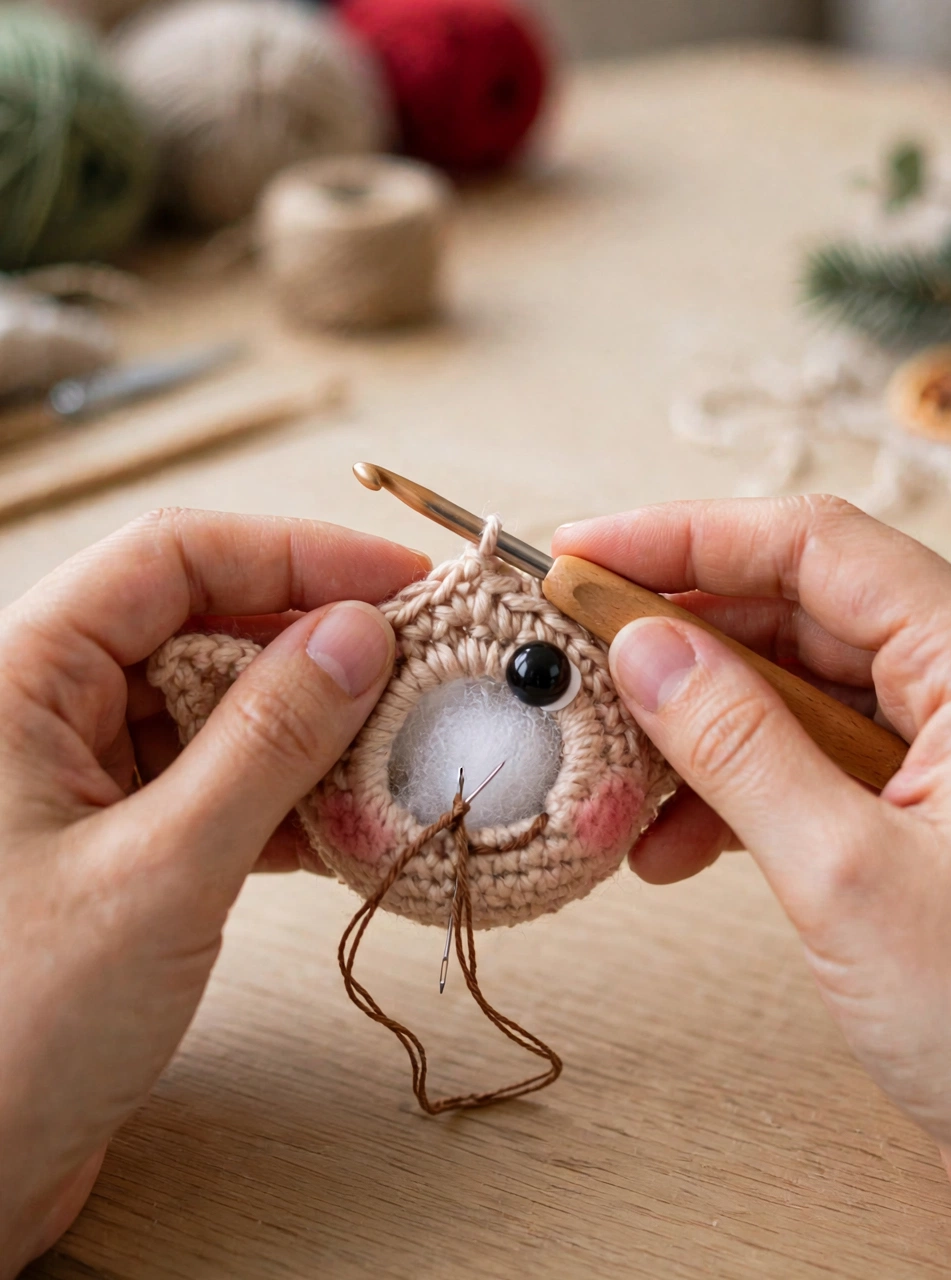
This is where the personality appears. Using your tapestry needle and brown thread, stitch a small curved smile centered beneath the eyes. Blush the cheeks with a dab of pink blush powder or a few light stitches of pink yarn — it gives the elf that freshly-baked, festive glow.
Then make the pointy ears (make 2):
- R1: 4 sc in a magic ring (4)
- R2: [sc, inc] × 2 (6)
- R3: sc in each st (6)
- R4: [2 sc, inc] × 2 (8)
- R5: sc in each st (8)
Fasten off, flatten each ear (no stuffing), and sew them to the sides of the head at R7–R8. They should stick out sideways like a classic Christmas elf.
Step 4: Crochet the Green Tunic Body
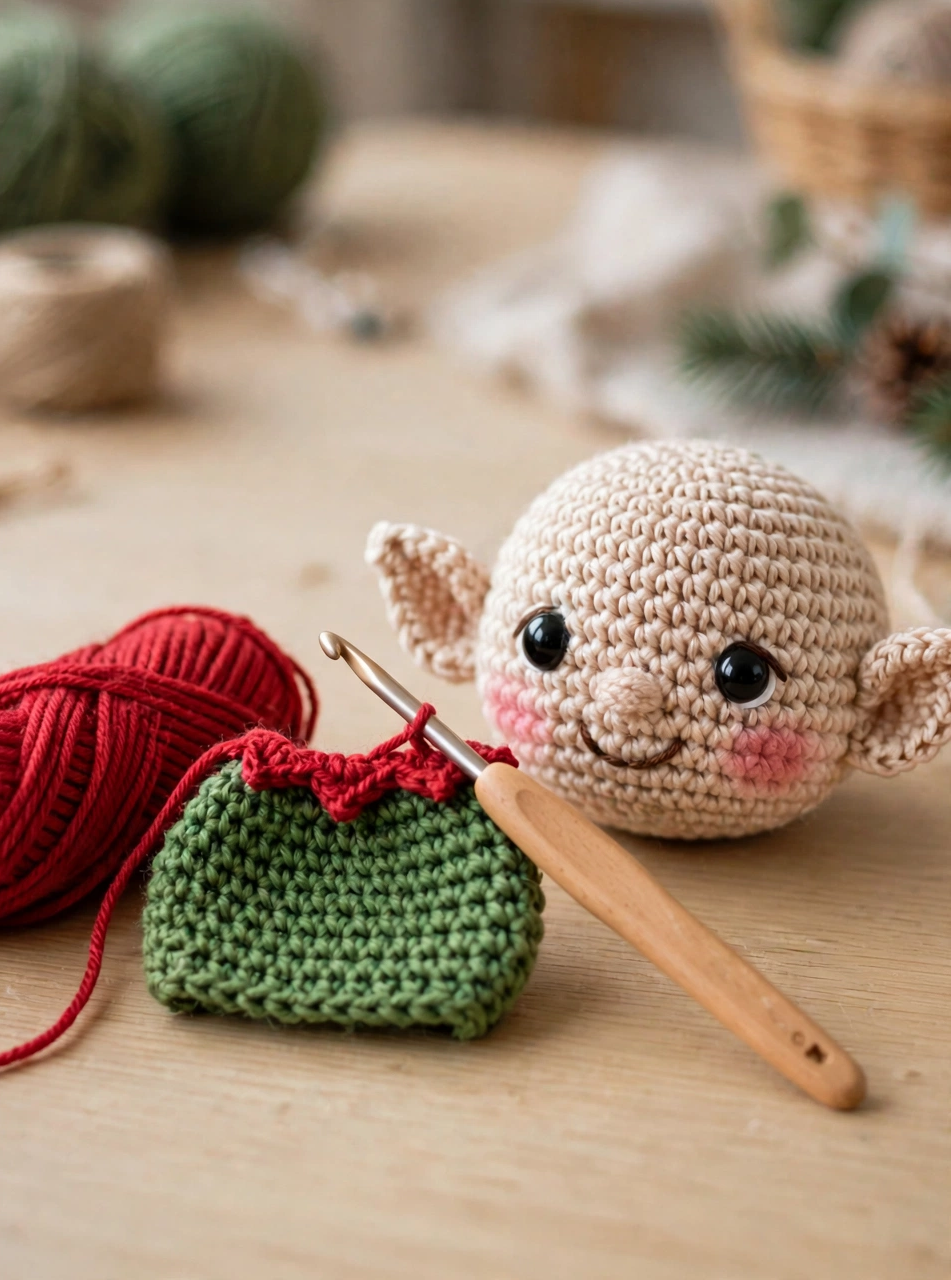
Switch to green yarn for the elf’s little tunic. The body is a simple tapered oval — quick to work and very forgiving.
- R1: 6 sc in a magic ring (6)
- R2: inc in each st (12)
- R3: [sc, inc] × 6 (18)
- R4: [2 sc, inc] × 6 (24)
- R5–R7: sc in each st (24) — 3 plain rounds
- R8: [2 sc, dec] × 6 (18)
- R9: sc in each st (18). Stuff firmly.
- R10: [sc, dec] × 6 (12)
- R11: dec × 6 (6). Fasten off and close like the head.
Red scalloped collar: join red yarn in the front loops of R9 of the body and work [ch 2, skip 1 st, slip st in the next st] all the way around. Fasten off and weave in the ends — this little collar is what makes the elf read as a Christmas elf at a glance.
Step 5: Make the Tall Red Pointy Hat with a Jingle Bell
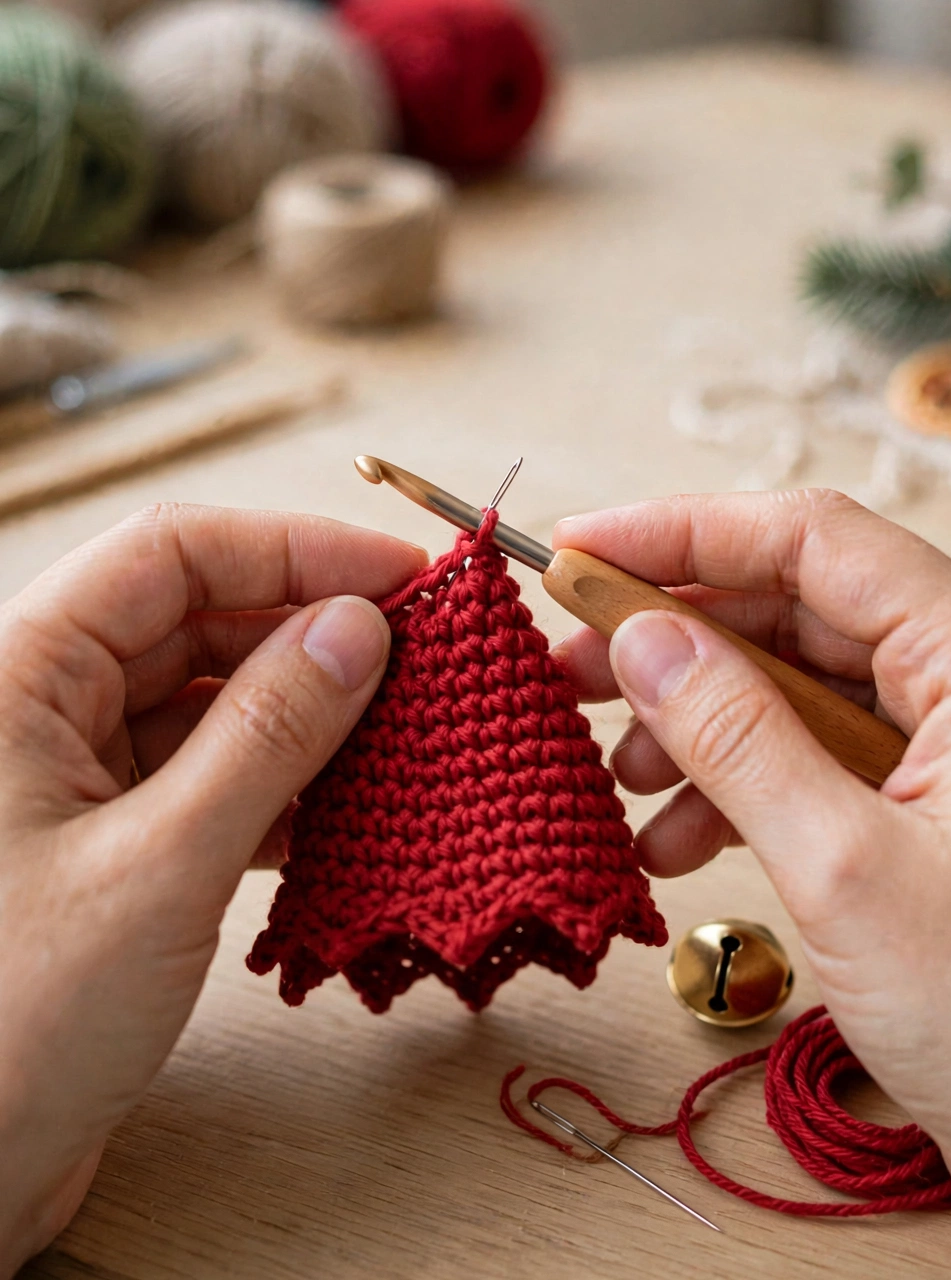
The hat is the star of this crochet Christmas elf pattern. Worked in red yarn, it starts tiny and grows slowly, alternating plain rounds with gentle increase rounds, so it forms a long, floppy cone.
- R1: 4 sc in a magic ring (4)
- R2: [sc, inc] × 2 (6)
- R3: sc in each st (6)
- R4: [2 sc, inc] × 2 (8)
- R5: sc in each st (8)
- R6: [3 sc, inc] × 2 (10)
- R7: sc in each st (10)
- R8: [4 sc, inc] × 2 (12)
- R9: sc in each st (12)
- R10: [5 sc, inc] × 2 (14)
- R11: sc in each st (14)
- R12: [6 sc, inc] × 2 (16)
- R13: sc in each st (16)
- R14: [7 sc, inc] × 2 (18)
- R15: sc in each st (18)
- R16: [8 sc, inc] × 2 (20)
- R17: sc in each st (20)
- R18: [9 sc, inc] × 2 (22)
- R19: sc in each st (22)
- R20: [10 sc, inc] × 2 (24)
- R21–R22: sc in each st (24)
Fasten off, leaving a long tail for sewing. Sew the gold jingle bell to the tip of the hat with several passes of thread — it should jingle gently but sit securely. No stuffing needed; the cone holds its flop on its own.
Step 6: Assemble Your Crochet Christmas Elf
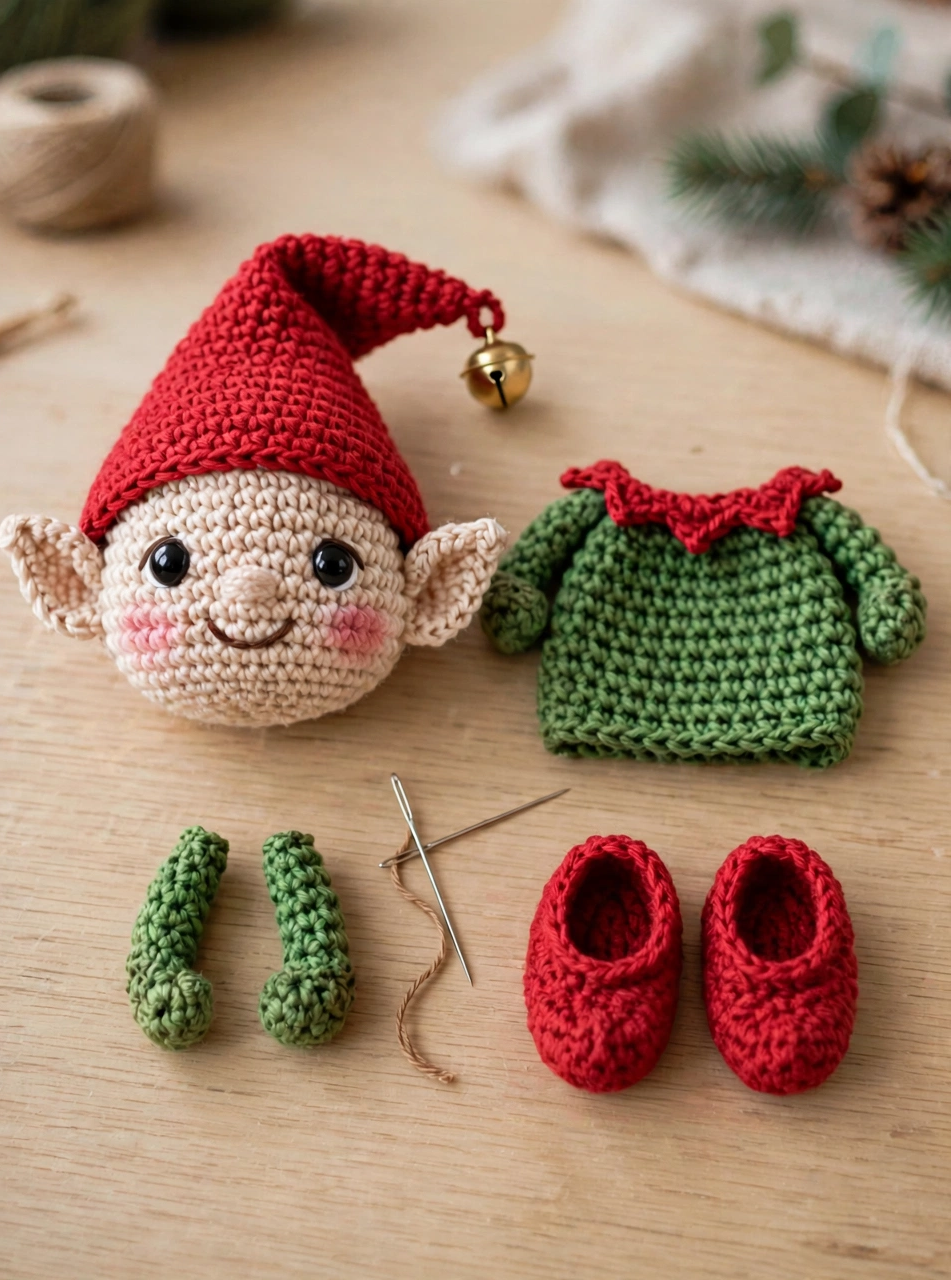
Lay out all your pieces — the head with ears, the tunic, the hat, two arms, and two red shoes — and pin before you sew for a balanced result.
Arms (make 2, green): R1: 6 sc in MR (6); R2–R5: sc in each st (6) — 4 rounds. Stuff lightly, fasten off with a long tail.
Shoes (make 2, red): R1: 6 sc in MR (6); R2: [sc, inc] × 3 (9); R3–R4: sc in each st (9). Stuff lightly, fasten off with a long tail.
- Sew the body to the bottom of the head, centered.
- Sew the arms to the sides of the body at R8, angled slightly forward.
- Sew the red shoes under the body, pointing slightly outward.
- Set the hat on the head at a jaunty sideways angle and stitch around its base so it can’t slip off.
Stand him back, give the hat a playful flop, and your crochet Christmas elf is ready for the mantel, the tree, or a gift box.
Tips for a Perfect Crochet Christmas Elf
- Use invisible decreases on the hat and head — they keep the stitches smooth so the cone stays crisp and the head stays perfectly round.
- Stuff the head firmly before the final decrease rounds. A well-packed head holds the ears at exactly the right perky angle.
- Keep your magic ring tail long. A firm tug closes the tiny hole at the top of the head and the tip of the hat completely — no fiberfill peeking through.
- Sew the bell on with several thread passes. It should jingle when the elf is moved, but never wiggle loose in little hands.
If you enjoy quick holiday makes, this elf pairs beautifully with our crochet Christmas gnome pattern — the two make an adorable shelf duo.
Frequently Asked Questions About the Crochet Christmas Elf Pattern
Is this crochet Christmas elf pattern beginner friendly?
Yes. It uses only single crochet, increases, and decreases, all worked in continuous spirals. If you can make a magic ring, you can make this elf.
How long does the elf take to make?
About 2–3 hours of relaxed crocheting — a perfect one-evening Christmas project.
What yarn works best for a Christmas elf amigurumi?
Worsted-weight (#4) acrylic or cotton. Acrylic is soft and affordable; cotton gives slightly crisper stitch definition for the face and hat.
Is the finished elf safe for small children?
Embroider the eyes with dark yarn instead of using safety eyes for children under 3, and sew the jingle bell on very securely (or leave it off). Otherwise, this elf is a soft, squeezable friend.
A Little Helper for Your Holidays
This free crochet Christmas elf pattern gives you a festive, gift-ready amigurumi in a single evening — no complicated stitches, just the basics done well. Make one in classic red and green, or try him in your own holiday palette: deep burgundy with cream, or forest green with gold, both look stunning. Share your finished elf and tag us — we’d love to see where your little helper ends up!