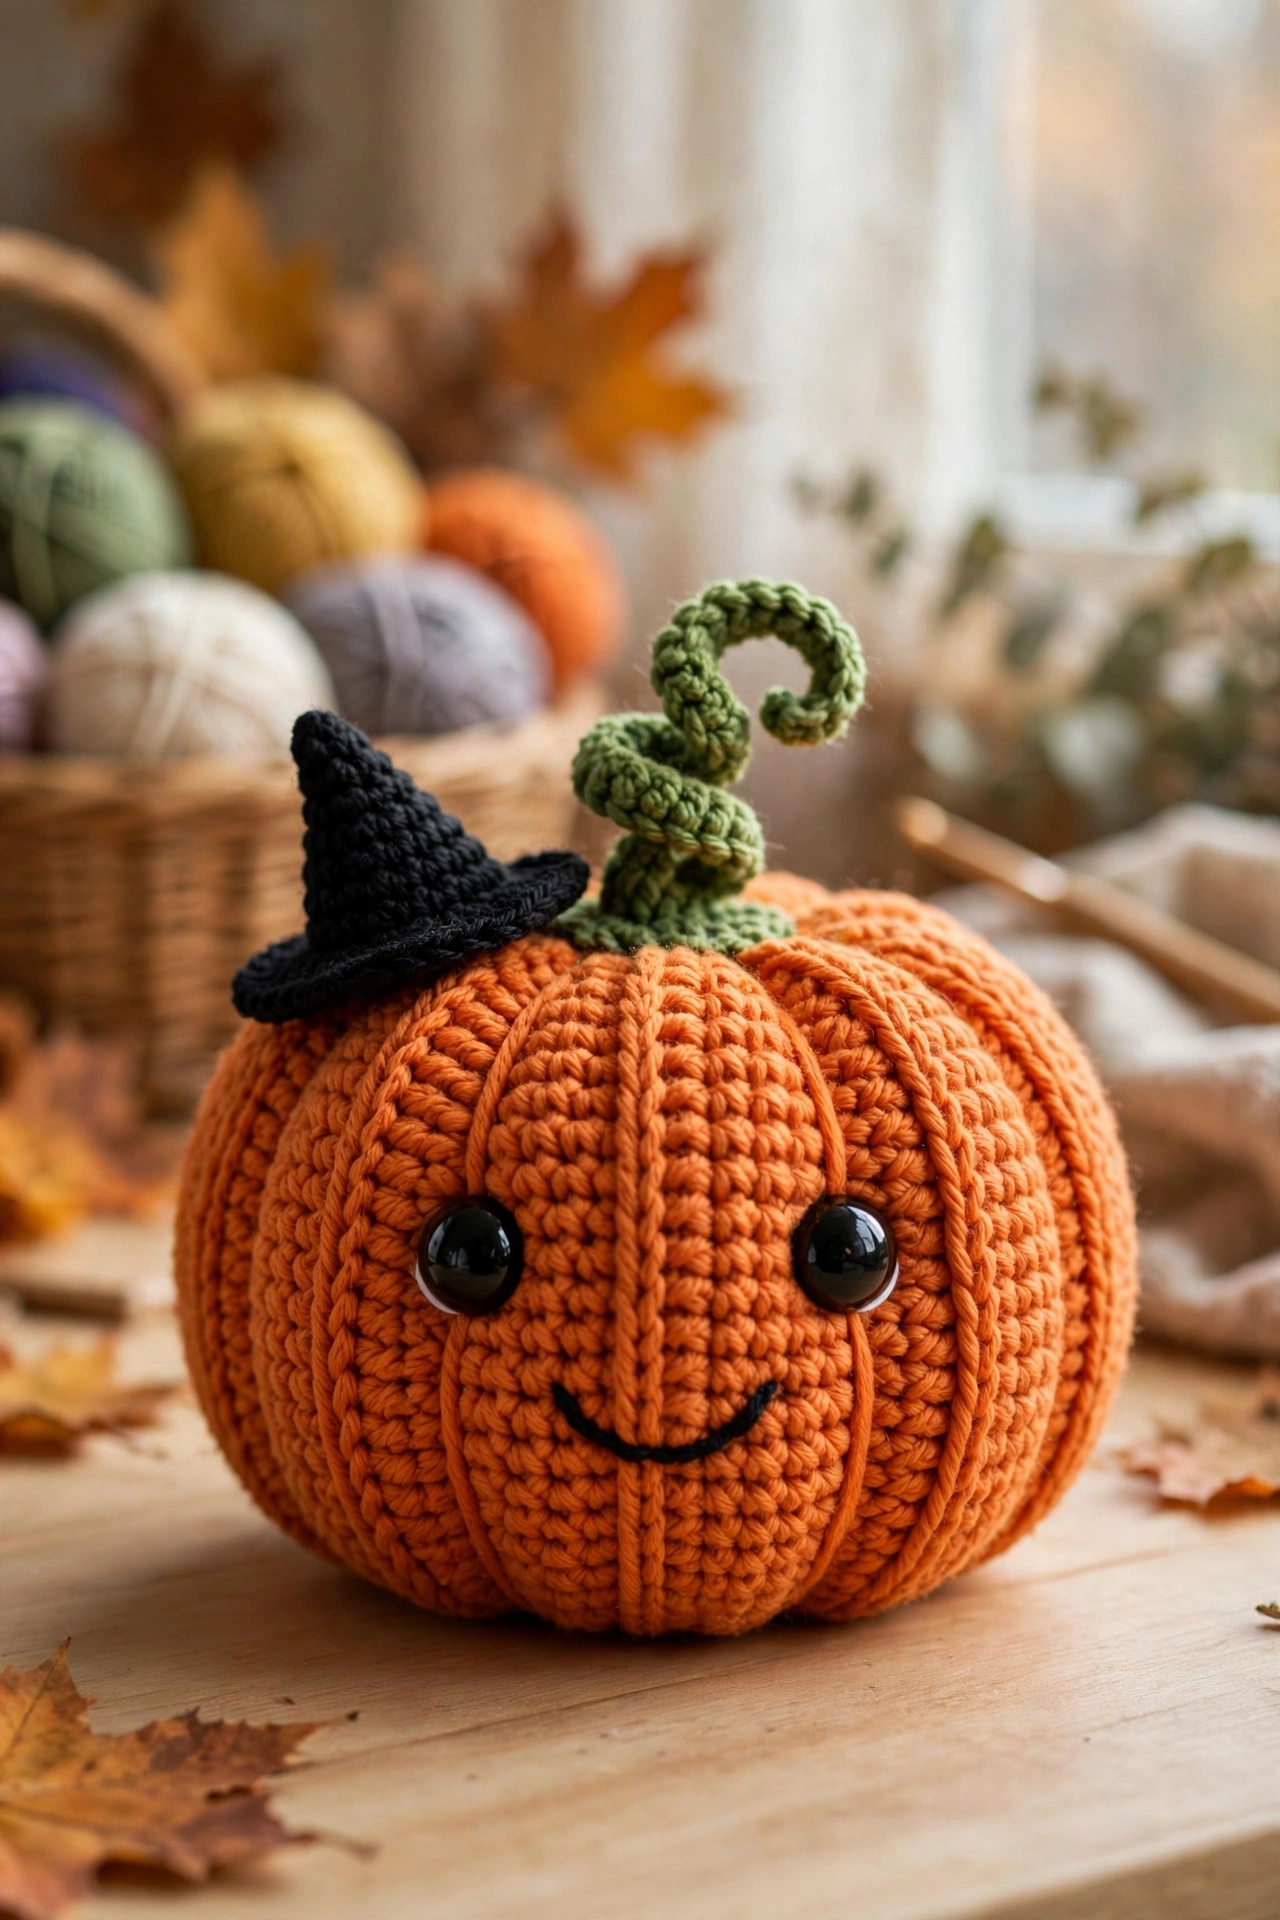
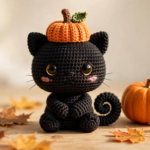
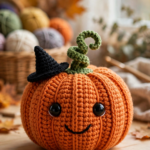
This free halloween pumpkin crochet pattern is the cutest way to decorate for spooky season. With bright orange yarn, a curly green stem, and a tiny black witch hat, you can crochet a smiling pumpkin in one cozy afternoon. This beginner-friendly amigurumi tutorial includes six photo steps, a full materials list, and practical tips, so your little pumpkin turns out adorable on the first try.
Materials for Your Halloween Pumpkin Crochet Pattern
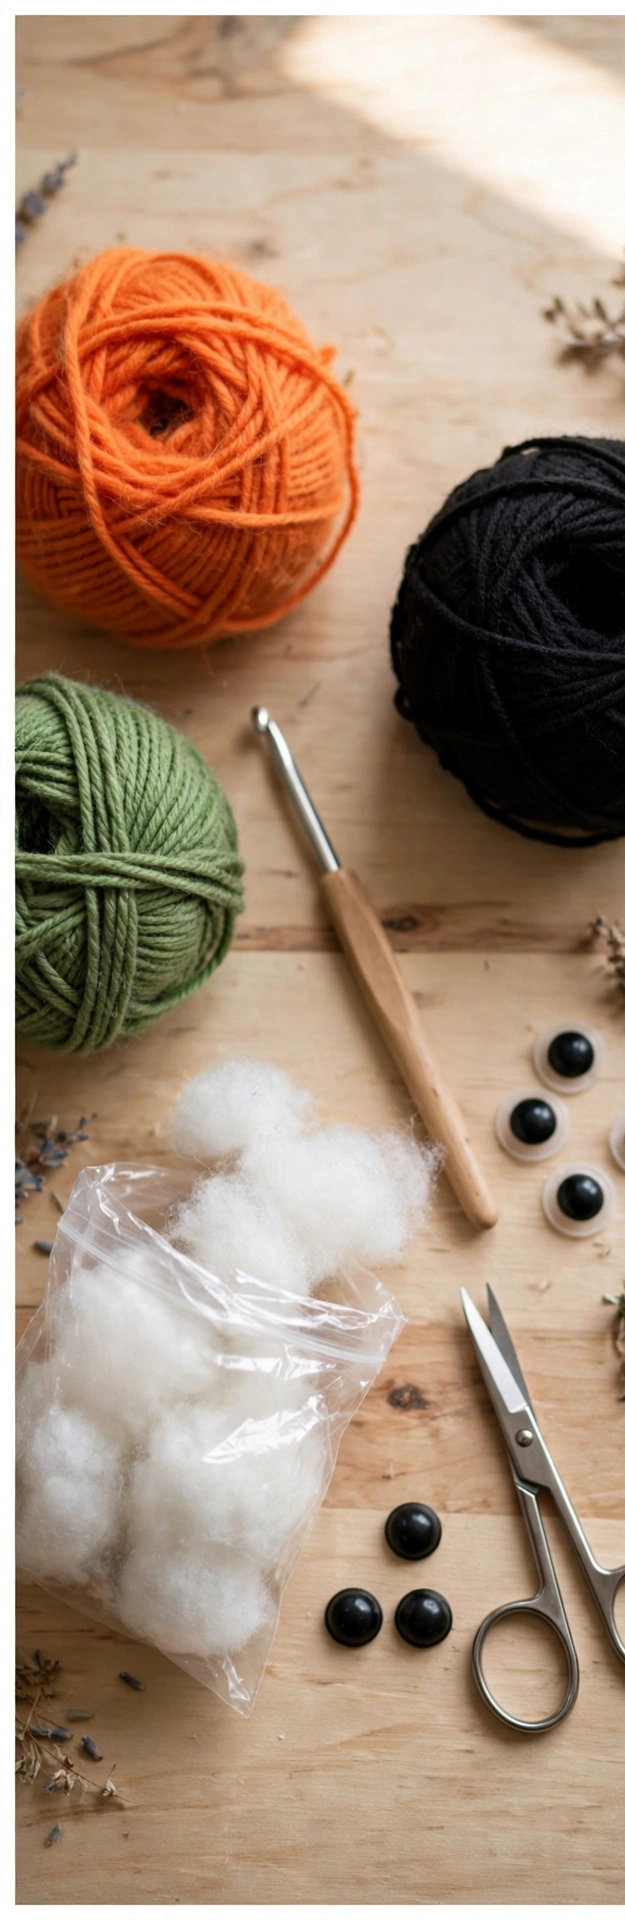
Gather these supplies before you start:
- Orange worsted-weight yarn (about 60 g) for the pumpkin body
- Green worsted-weight yarn (about 15 g) for the stem and leaf
- Black worsted-weight yarn (about 15 g) for the witch hat
- 4.0 mm crochet hook
- Two 12 mm black safety eyes
- Black embroidery thread for the smile
- Fiberfill stuffing
- Yarn needle, stitch markers, scissors, and a few sewing pins
If you are restocking your yarn stash, Yarnspirations has a wide worsted-weight selection in perfect Halloween shades. For another spooky make on this site, see our crochet witch hat pattern next.
Step 1: Start With the Magic Ring
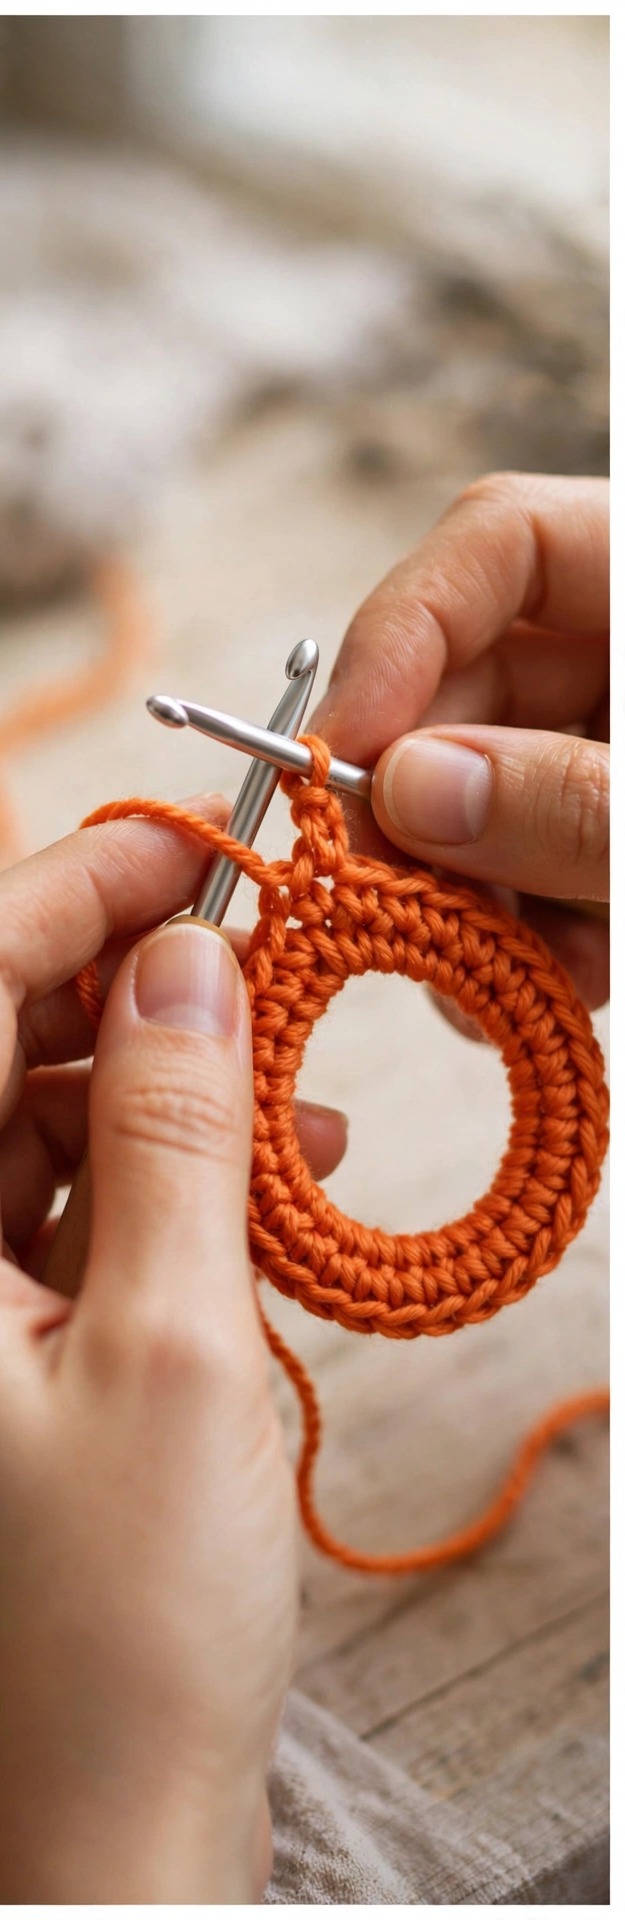
Start your pumpkin with a magic ring and work six single crochet stitches into it. Increase evenly over the next few rounds until the base is about 10 cm wide, then work straight rounds to build the round body. Place a stitch marker at the start of each round — amigurumi is worked in a continuous spiral, and a marker keeps your counts honest from the very first round of this pattern.
Step 2: Crochet the Body & Shape the Ridges
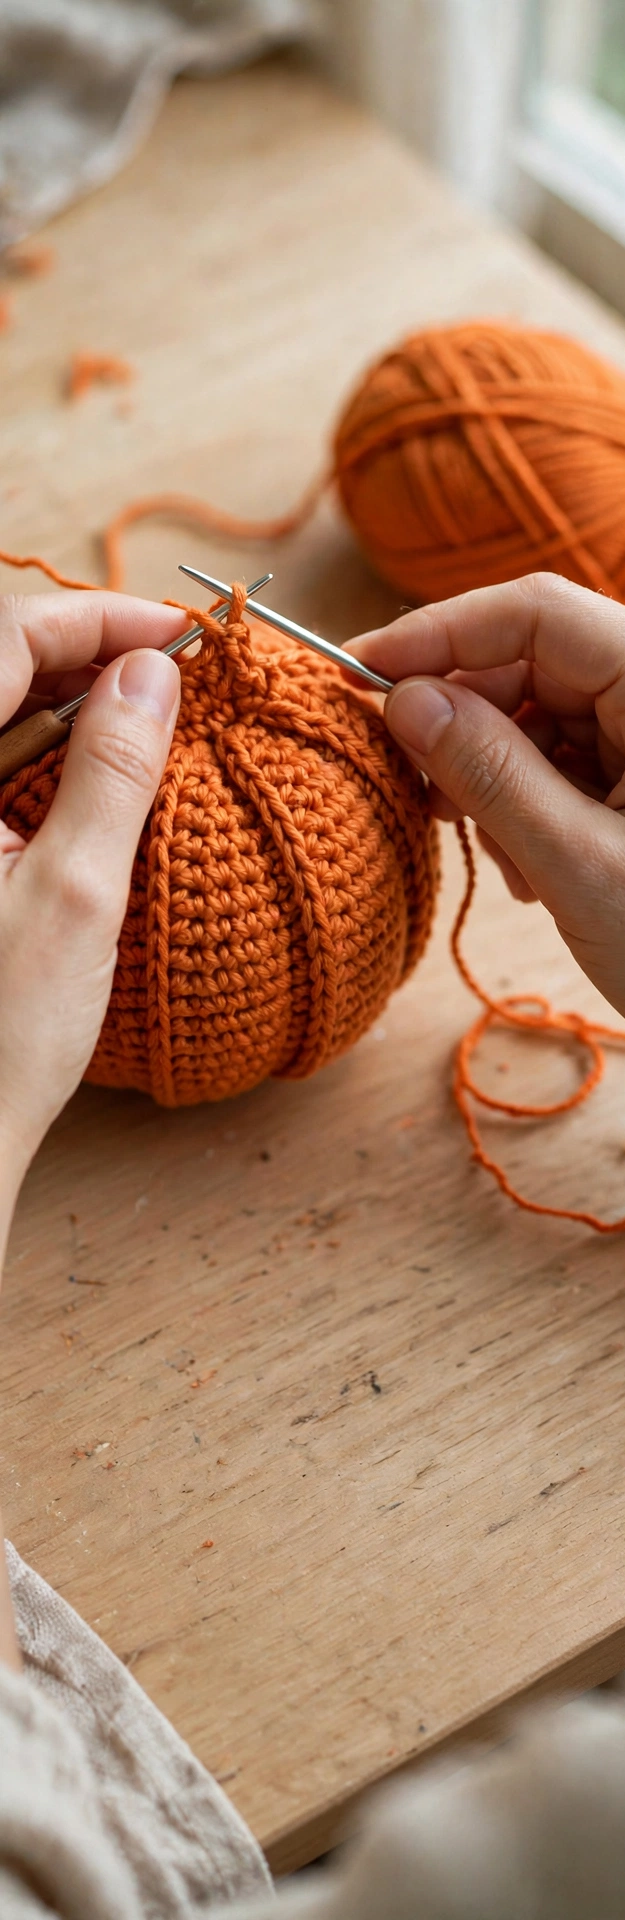
Keep working straight rounds until the body is nicely plump, then decrease evenly and stuff firmly with fiberfill before closing the top. The pumpkin’s ridges come from a simple trick: after closing, thread a long tail of orange yarn on your needle, wrap it vertically around the body from top to bottom, and pull snug to indent a groove. Repeat six or seven times, spacing the wraps evenly, then cinch the top center — those deep grooves are what make this pumpkin look like the real thing.
Step 3: Crochet the Curly Stem & Leaf
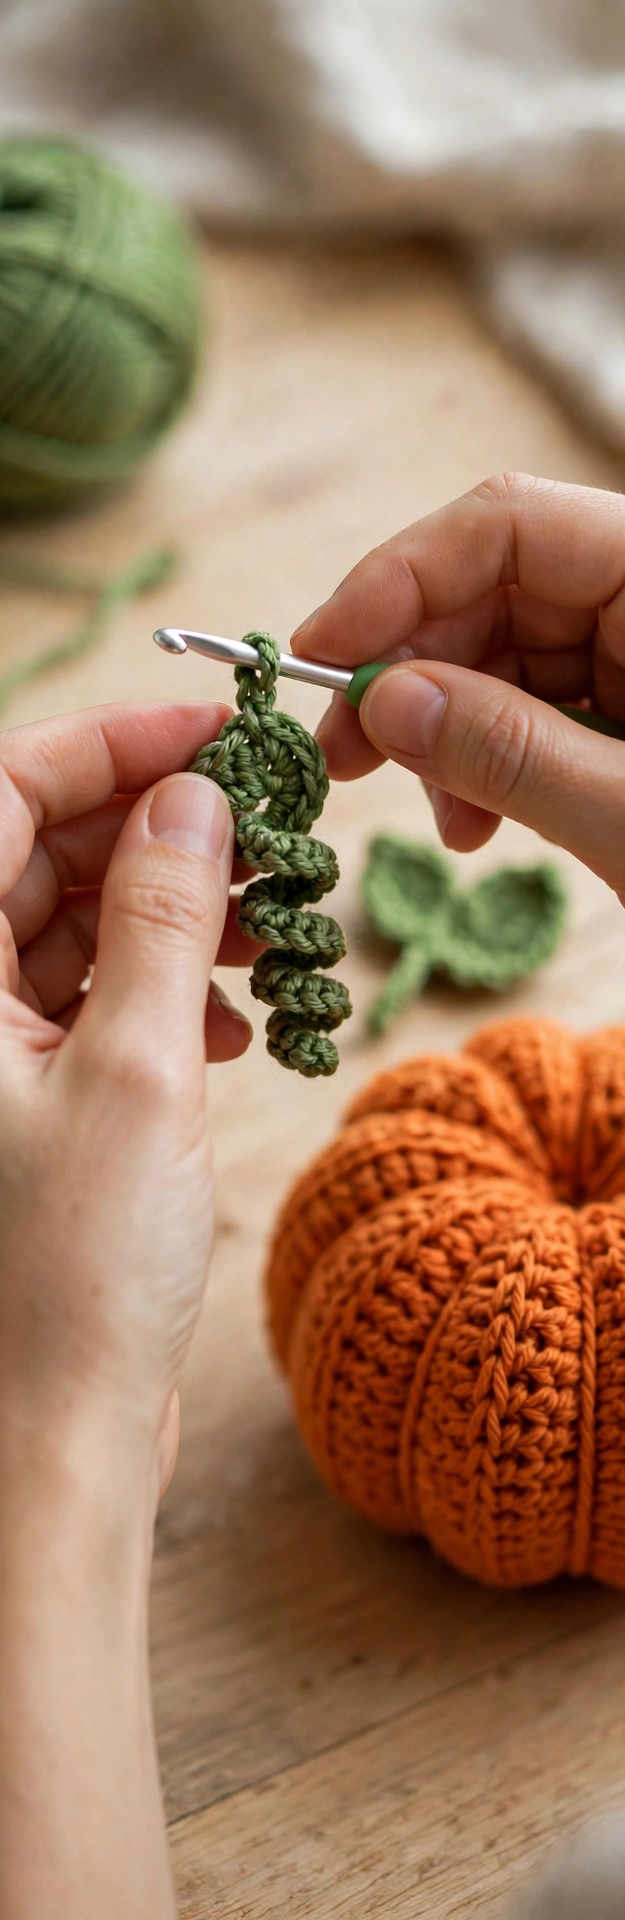
For the stem, work a short green tube in the round and stuff it very lightly. The curly tendril is even easier: chain 12, then work two single crochet stitches into every chain — the extra stitches force the chain to spiral into a perfect pumpkin-vine curl all by itself. Add one small flat leaf if you like. Crochet both pieces now so assembly goes quickly later.
Step 4: Add the Face & the Tiny Witch Hat
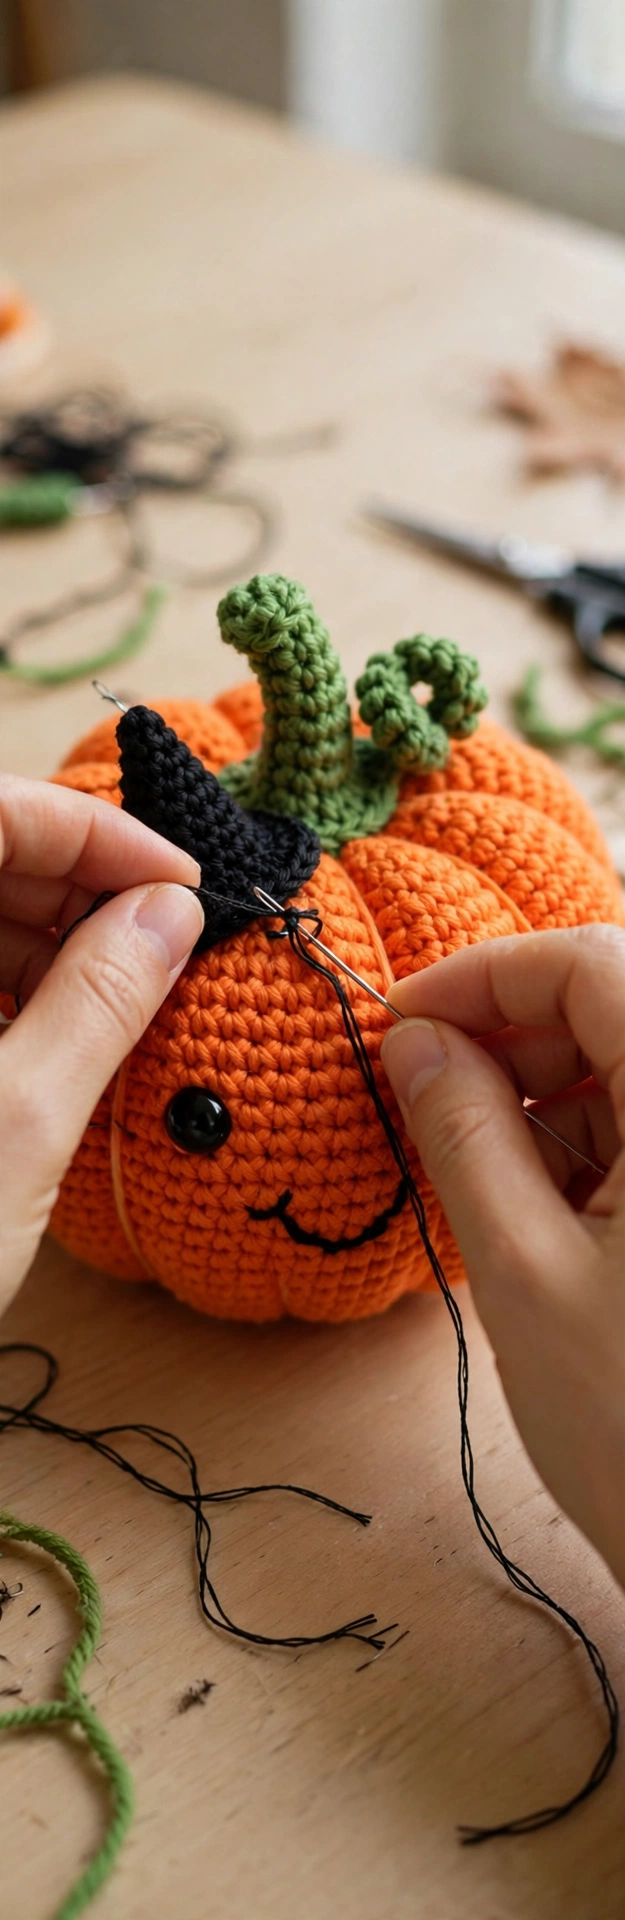
Push the two safety eyes into the front of the pumpkin, about 5 cm apart, before the body is fully closed — check their height from a distance so the face sits cheerful and level. Embroider a small curved smile below them with black thread. Then sew the stem and curl firmly to the top center. The witch hat is a simple black cone with a flat brim: work a tiny magic-ring cone, finish with one round of increases for the brim, and sew it on at a playful tilt beside the stem. The hat is the signature detail of this pattern, so pin it first and admire the angle before stitching.
Step 5: Finish & Style Your Pumpkin
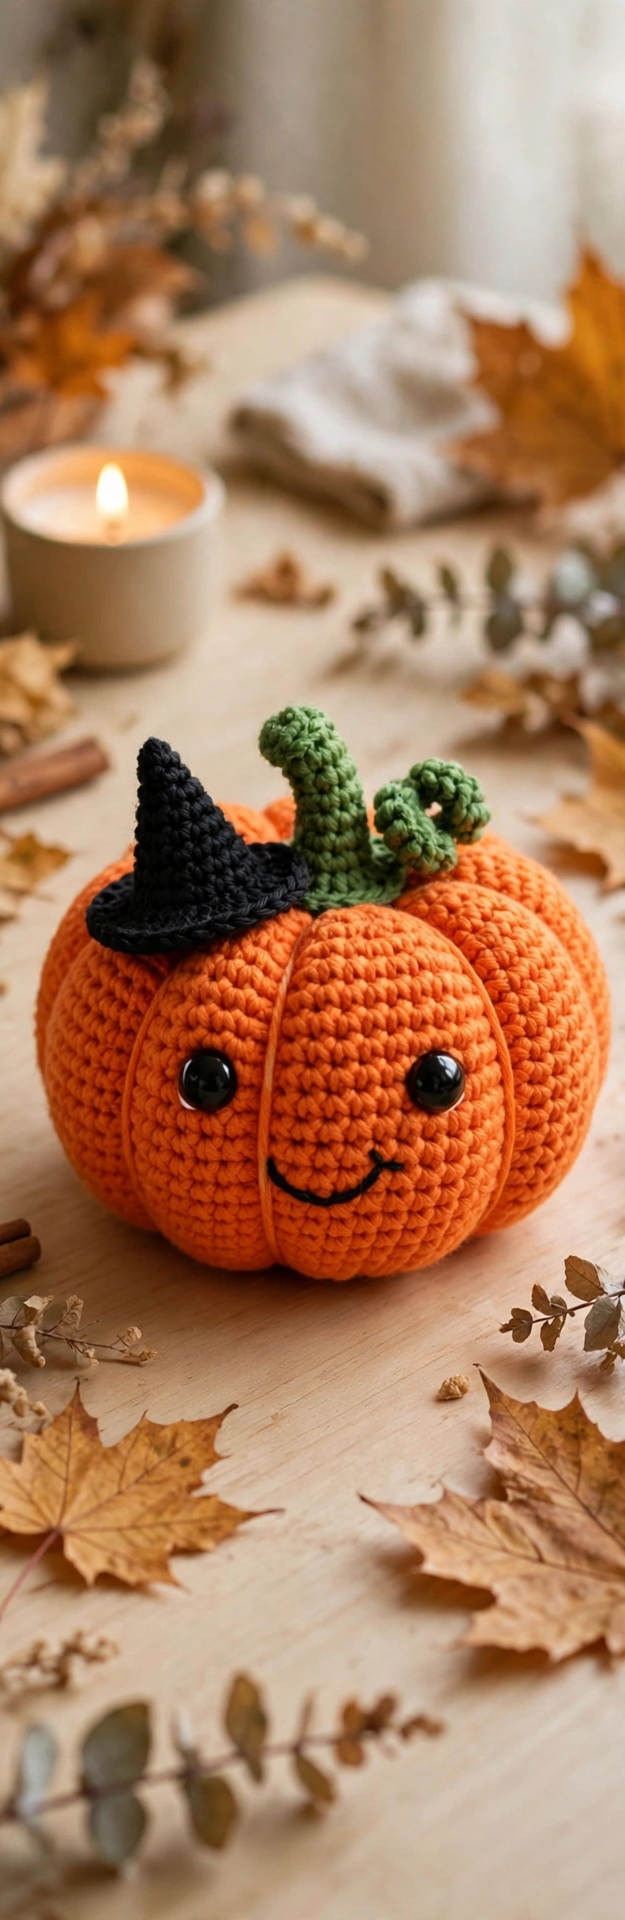
Weave in every yarn end, fluff the ridges with your fingers so the pumpkin sits round and even, and give the curly stem a gentle twist to set its spiral. Your pumpkin is complete — the whole project takes about 2 to 3 hours, making it a perfect last-minute Halloween decoration or craft-fair bestseller.
3 Tips for a Perfect Amigurumi Pumpkin
- Pull the ridge wraps snug. Loose wraps slide around and look messy. Cinch each one until it sinks into the stuffing, then secure the yarn at the top before moving to the next groove.
- Keep stitches tight. Use a hook one size smaller than the yarn label suggests so the fiberfill never peeks through the stitches.
- Insert the eyes before closing. Safety eyes cannot be added once the pumpkin is stuffed and shut — mark their spots with pins while the body is still open.
Halloween Pumpkin Crochet Pattern FAQ
Is this halloween pumpkin crochet pattern good for beginners?
Yes. It uses only the magic ring, single crochet, increases, and decreases — the same four skills as every amigurumi on this site — and each shaping step is shown in the photos above.
How big is the finished pumpkin?
The finished pumpkin is about 12 cm (5 inches) wide and 10 cm tall including the stem — a lovely size for a mantel, a Halloween table centerpiece, or a trick-or-treat gift.
What yarn works best for this pumpkin?
Worsted-weight acrylic is ideal: it holds the round amigurumi shape, comes in perfect pumpkin oranges, and the ridge wraps cinch into it beautifully.
Can I make the pumpkin without the witch hat?
Absolutely — skip the hat for a classic autumn pumpkin that works from September all the way to Thanksgiving. The curly stem and leaf carry the design on their own.
Start Your Halloween Crochet Today
This halloween pumpkin crochet pattern proves that adorable Halloween decor does not need to be complicated. A few simple steps, one afternoon, and you will have a handmade pumpkin ready for the mantel, the porch, or a thoughtful gift. Save this tutorial, share it with a crochet friend, and let us know how yours turned out!

1 thought on “Halloween Pumpkin Crochet Pattern: Free Easy Amigurumi Tutorial”