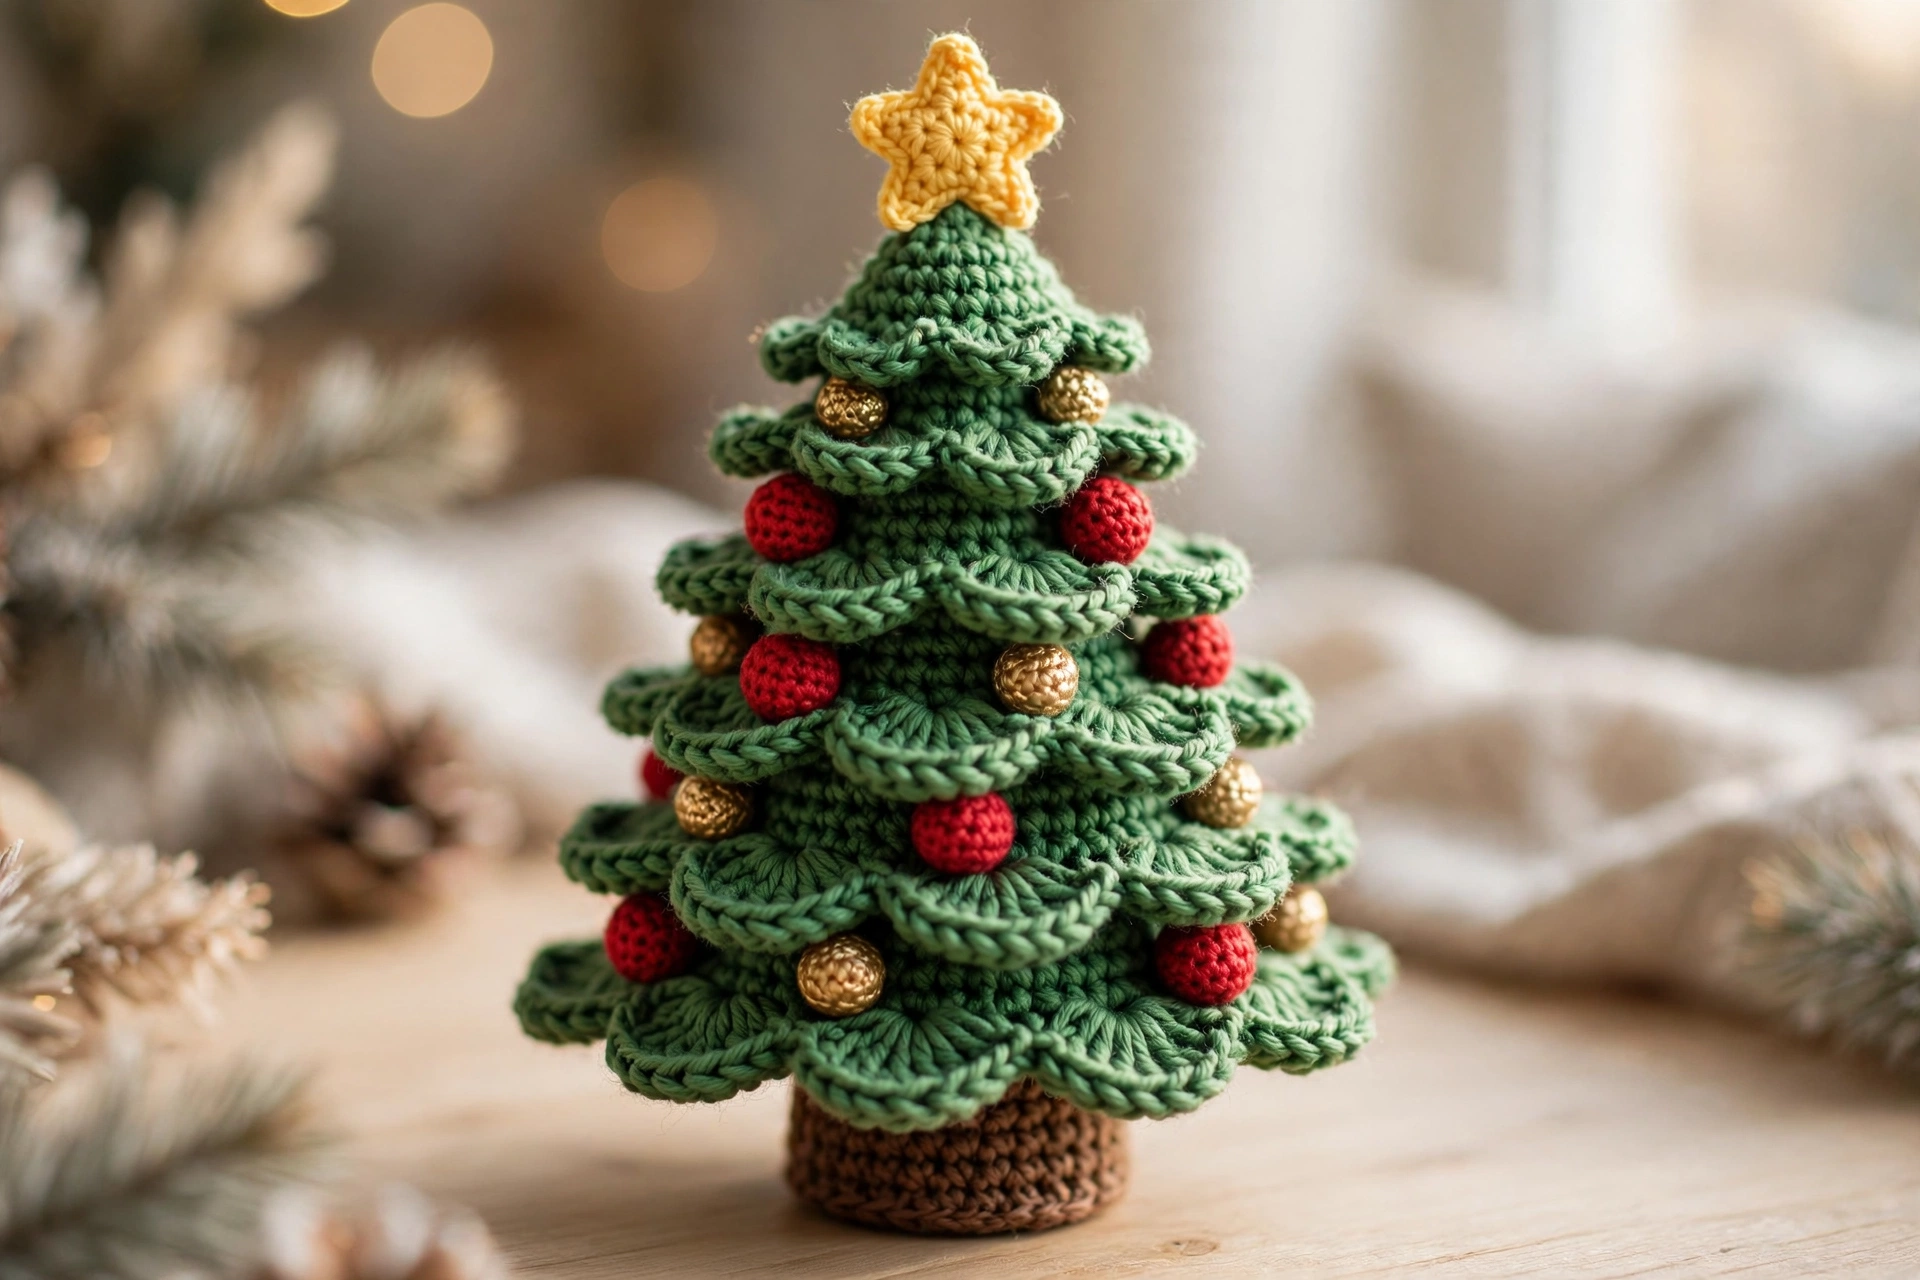
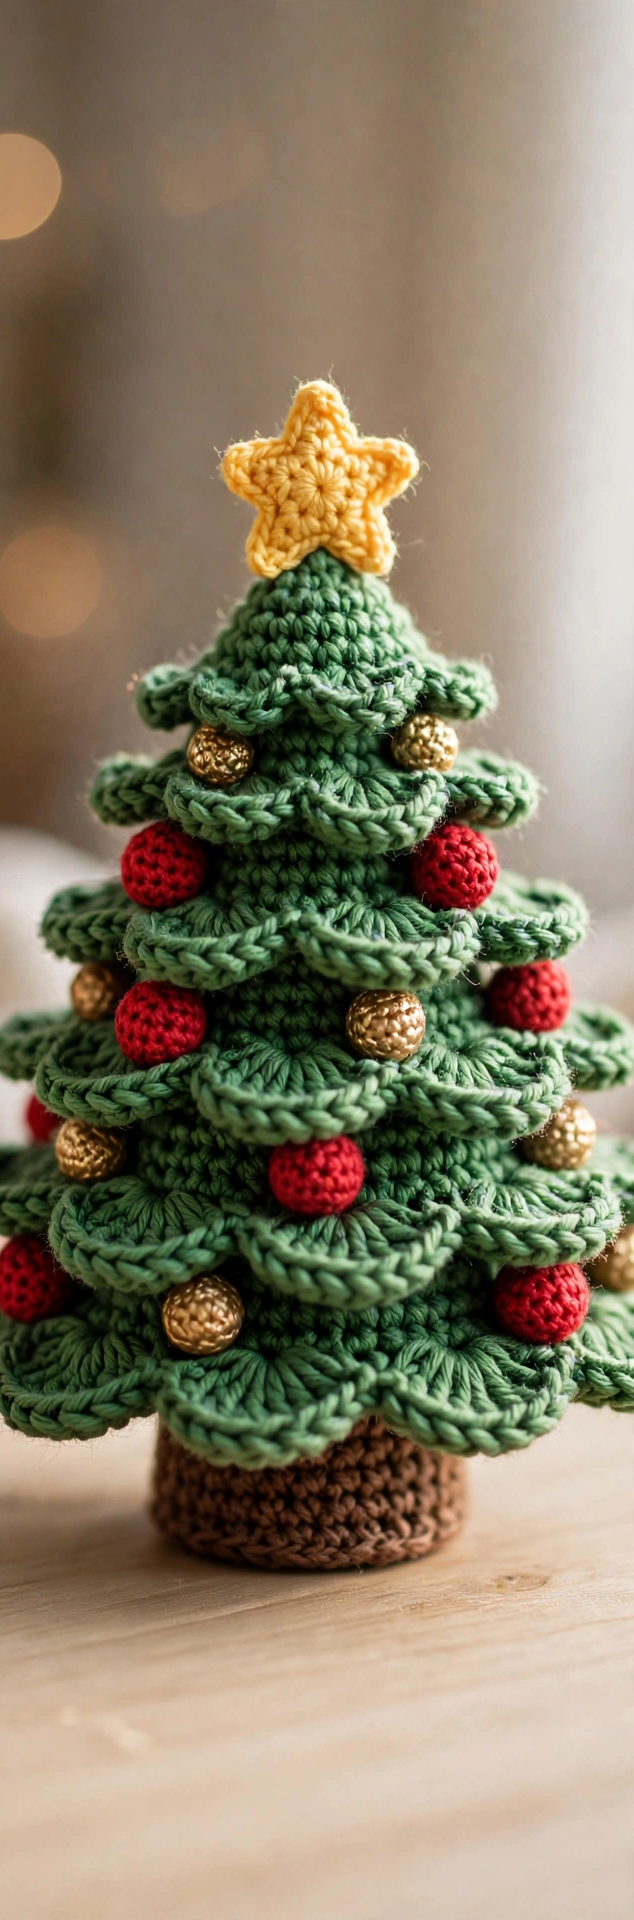
Nothing says the holidays quite like a tiny, handmade tree. This free crochet Christmas tree pattern walks you through every stitch of an adorable mini amigurumi Christmas tree — green tiered branches, a sturdy brown trunk, tiny red and gold ornaments, and a cheerful yellow star on top. It is quick to make, uses only basic stitches, and the finished tree stands about 15 cm tall, which makes it perfect for a mantel, a desk, or as a thoughtful handmade gift.
This crochet Christmas tree tutorial is written for beginners. If you can work a magic ring and single crochet, you can finish this project in one cozy evening. Each of the six steps below includes a clear photo so you always know what your work should look like.
Materials
- Worsted weight yarn in green (tree), brown (trunk), yellow (star), and red & gold (ornaments)
- 4.0 mm crochet hook
- Polyester fiberfill stuffing
- Yarn needle
- Scissors
- Stitch markers (optional, but helpful)
For soft, even stitches, a smooth worsted weight acrylic or cotton yarn works best — you can browse colors at LoveCrafts. If you enjoyed our winter amigurumi makes, you may also like our crochet snowman pattern for a matching set.
Step 1: Start with a Magic Ring
Begin your crochet Christmas tree with a green magic ring and work 6 single crochet stitches into it. This forms the very top of the tree, right where the star will sit later. Pull the ring closed and place a stitch marker so you can track your rounds. Keep your tension even — a neat start gives the whole mini Christmas tree a polished look.

Step 2: Crochet the Widest Tier
Work increase rounds to build out the widest tier of the tree. Crocheting in the back loops only on alternating rounds creates the signature stepped look of the branches, with little ruffled edges that read as layered pine boughs. This is the largest section of the amigurumi Christmas tree, so take your time and count your stitches at the end of each round.
Step 3: Shape the Stacked Tiers
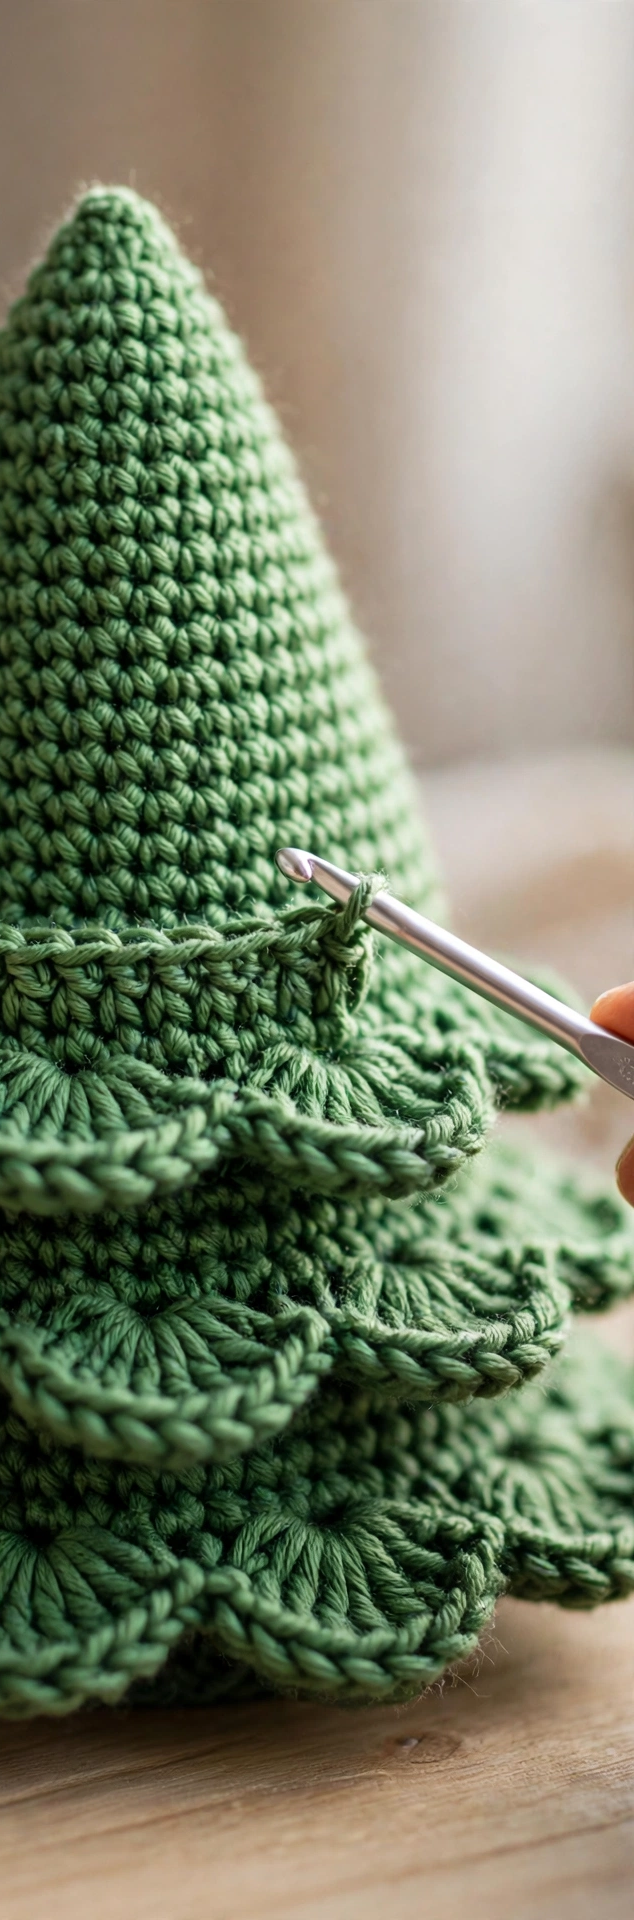
Now decrease steadily as you work upward to shape the classic Christmas tree cone. Each tier gets smaller than the one below it, which gives the finished tree its charming stepped silhouette. Stuff the tree lightly with fiberfill as you go so the tiers hold their shape — this is the secret to a mini Christmas tree that stands tall instead of slumping.
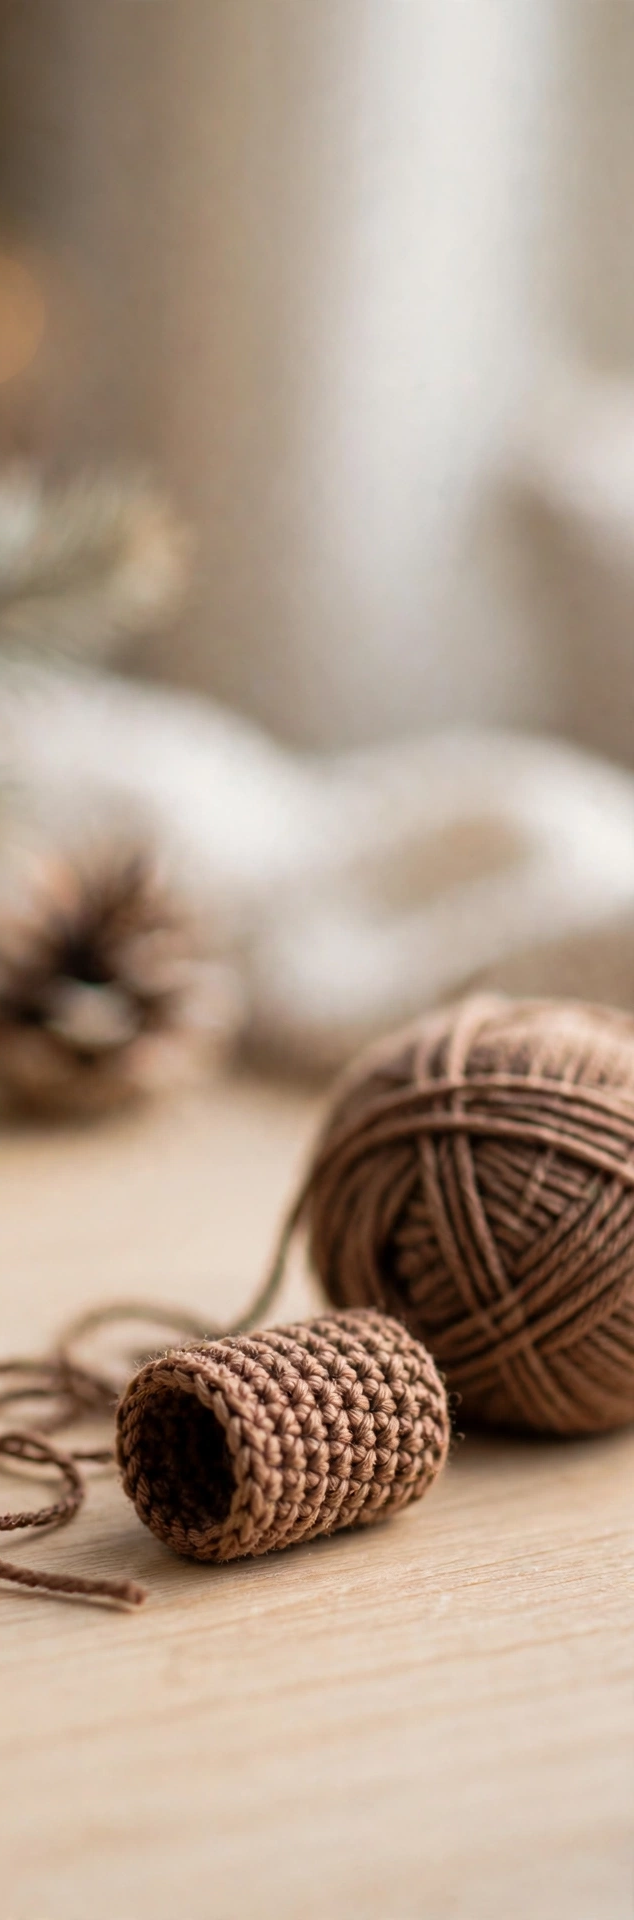
Step 4: Make the Brown Trunk
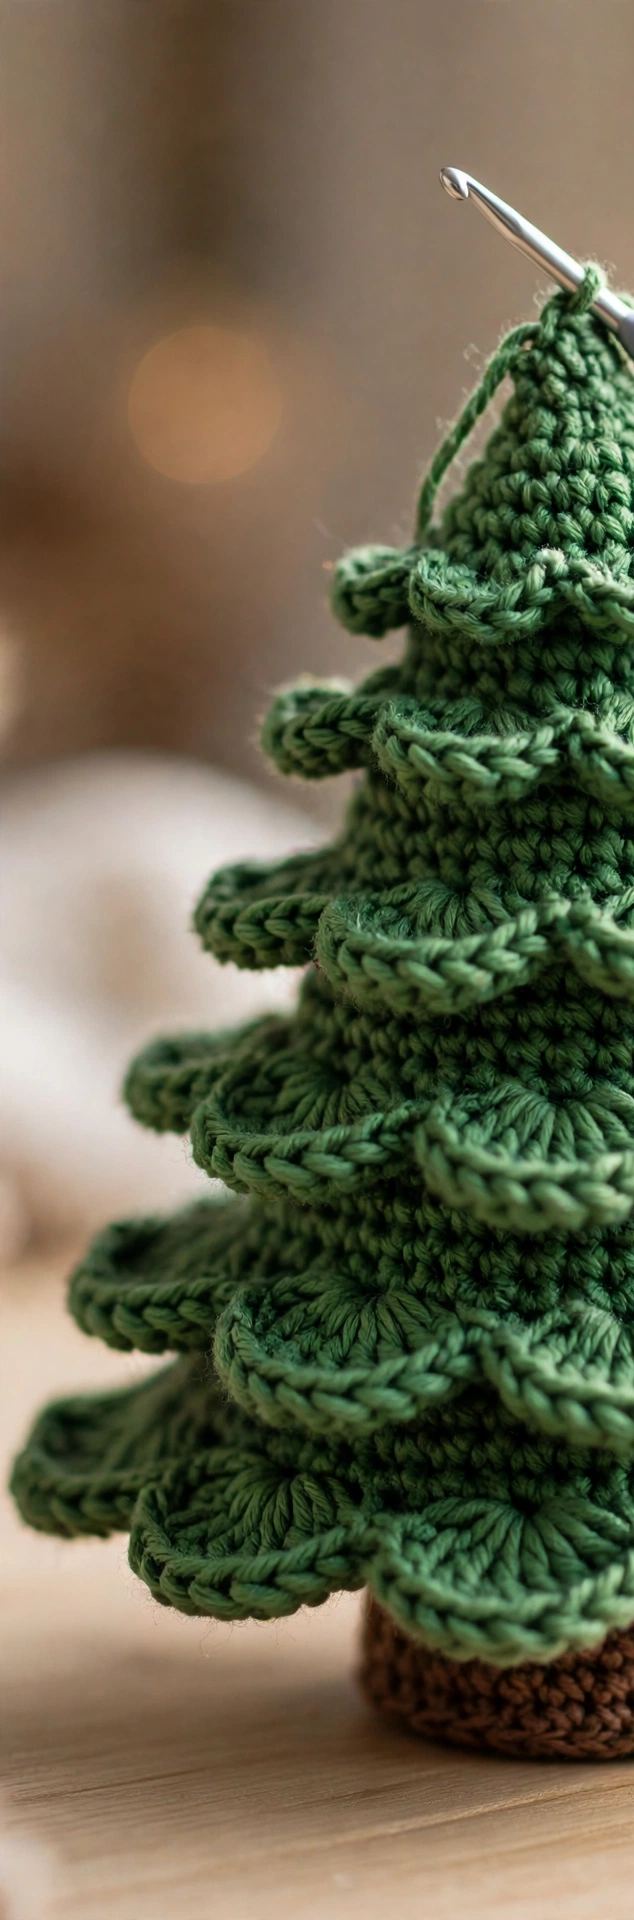
Then switch to brown yarn and crochet a small cylinder for the trunk, working even rounds of single crochet. The trunk only needs to be a few centimeters tall — just enough to peek out beneath the lowest tier. A firm, tightly stitched trunk acts as the base of the tree, so keep your stitches snug here.
Step 5: Crochet the Ornaments and Star
Then it’s time for the decorations. Crochet a handful of tiny ornament balls in red and gold yarn — each one is just a few rounds of single crochet stuffed lightly and pulled closed. Then make the yellow star with a magic ring and five points. These little details are what turn a simple green cone into a festive crochet Christmas tree, so enjoy this part.

Step 6: Assemble and Stuff Your Crochet Christmas Tree Pattern
Finally, sew the trunk to the bottom of the tree, then stitch the ornaments evenly around the tiers, tucking them between the branches. Finish by sewing the yellow star to the very top. Add a final bit of stuffing if needed, weave in all your ends, and your amigurumi Christmas tree is ready to display.
Tips for a Perfect Crochet Christmas Tree Pattern
- Mind your tension. Slightly tight stitches hide the fiberfill and give the tiers a crisp, professional finish.
- Vary the ornament placement. Stagger the red and gold baubles between tiers for a naturally decorated look.
- Make a forest. This pattern works up fast — crochet three or four trees in different greens for a mantel display or a handmade Christmas garland.
FAQs About This Crochet Christmas Tree Pattern
How long does it take to crochet a mini Christmas tree?
Most beginners finish this crochet Christmas tree pattern in about 1–2 hours. The ornaments and star add a little extra time, but each piece is small and quick.
What is the best yarn for a crochet Christmas tree?
Worsted weight acrylic or cotton yarn in a medium green gives the sturdiest, most tree-like result. Cotton shows off the tiered stitch definition beautifully.
Can a complete beginner make this Christmas tree amigurumi?
Yes. If you know the magic ring, single crochet, increases and decreases, you have every skill this pattern needs. The step photos guide you through the rest.
How do I get the tree to stand up straight?
Stuff the tree firmly but not over-full, and keep the trunk stitches tight. A small cardboard circle glued inside the trunk base adds extra stability for display.
Conclusion
This free crochet Christmas tree pattern is one of the sweetest ways to bring handmade warmth into your holiday decorating. It is beginner-friendly, stash-busting, and endlessly giftable — whip up a few for friends, teachers, or your own tree skirt. Happy crocheting, and do not forget to save this tutorial to your Christmas crochet board so you can find it next year.